DIY Guide: Turning a Mantel into a Rental-Friendly Fireplace
Transform a simple mantel into a cozy, renter-approved fireplace with this step-by-step DIY project. No permanent modifications needed!
By Jordan Lee
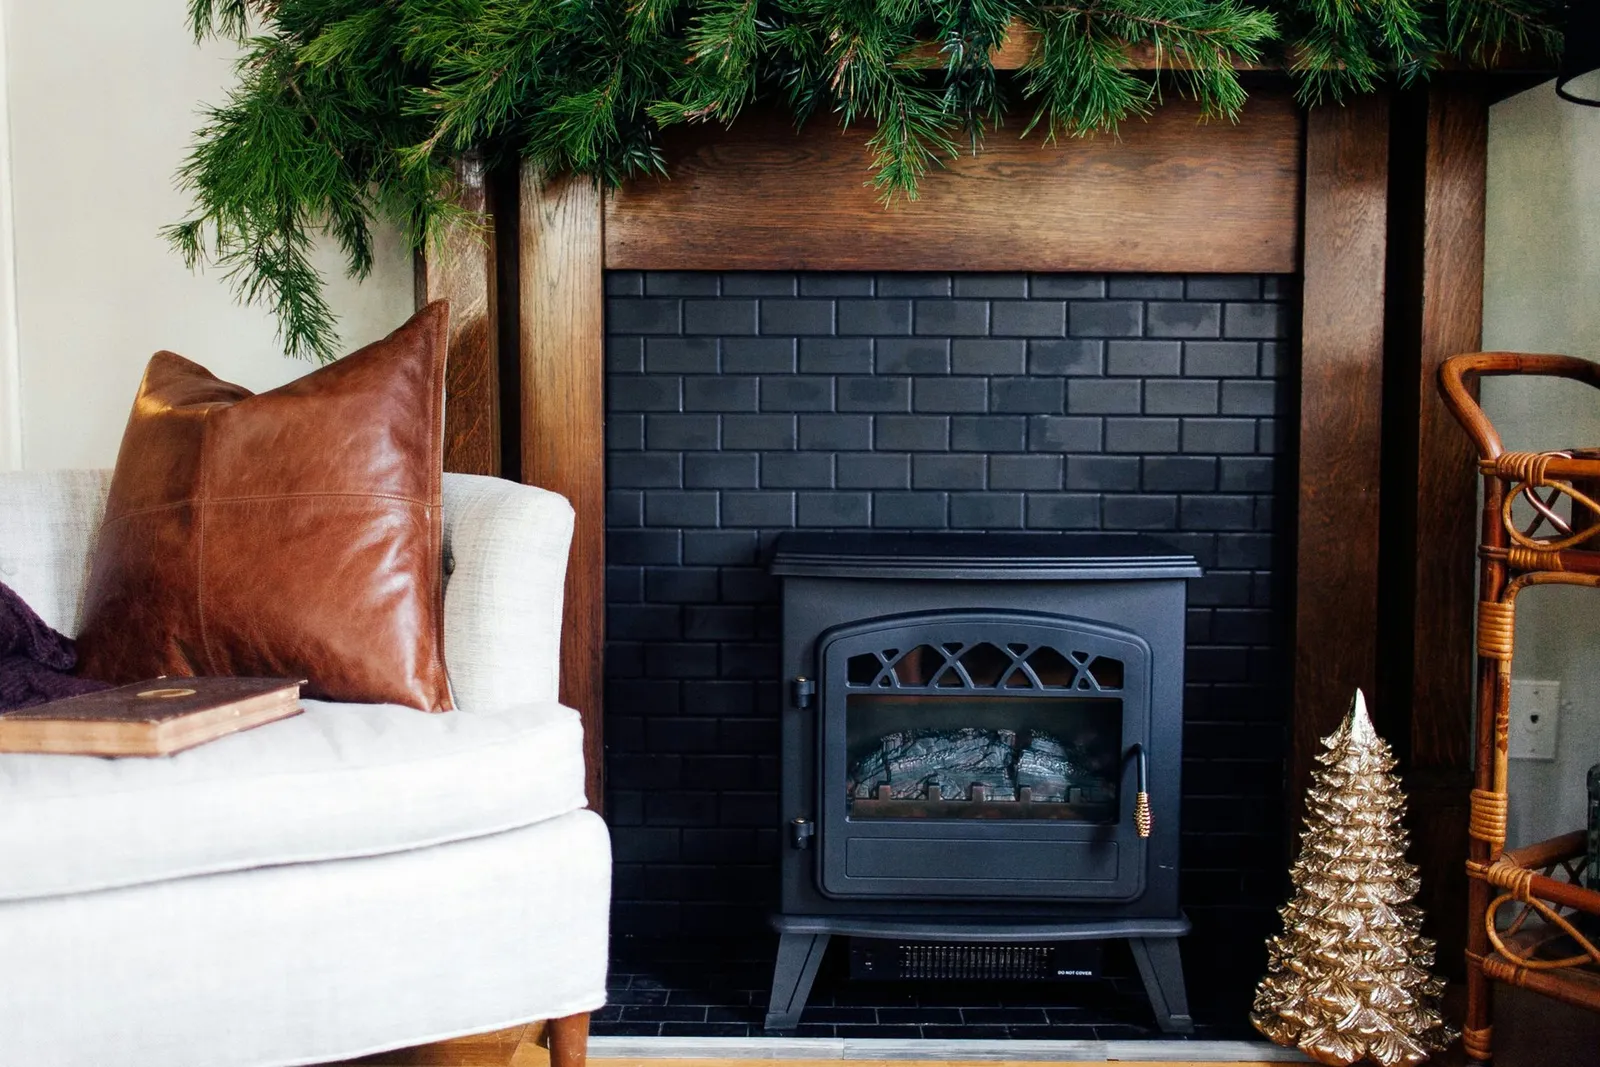
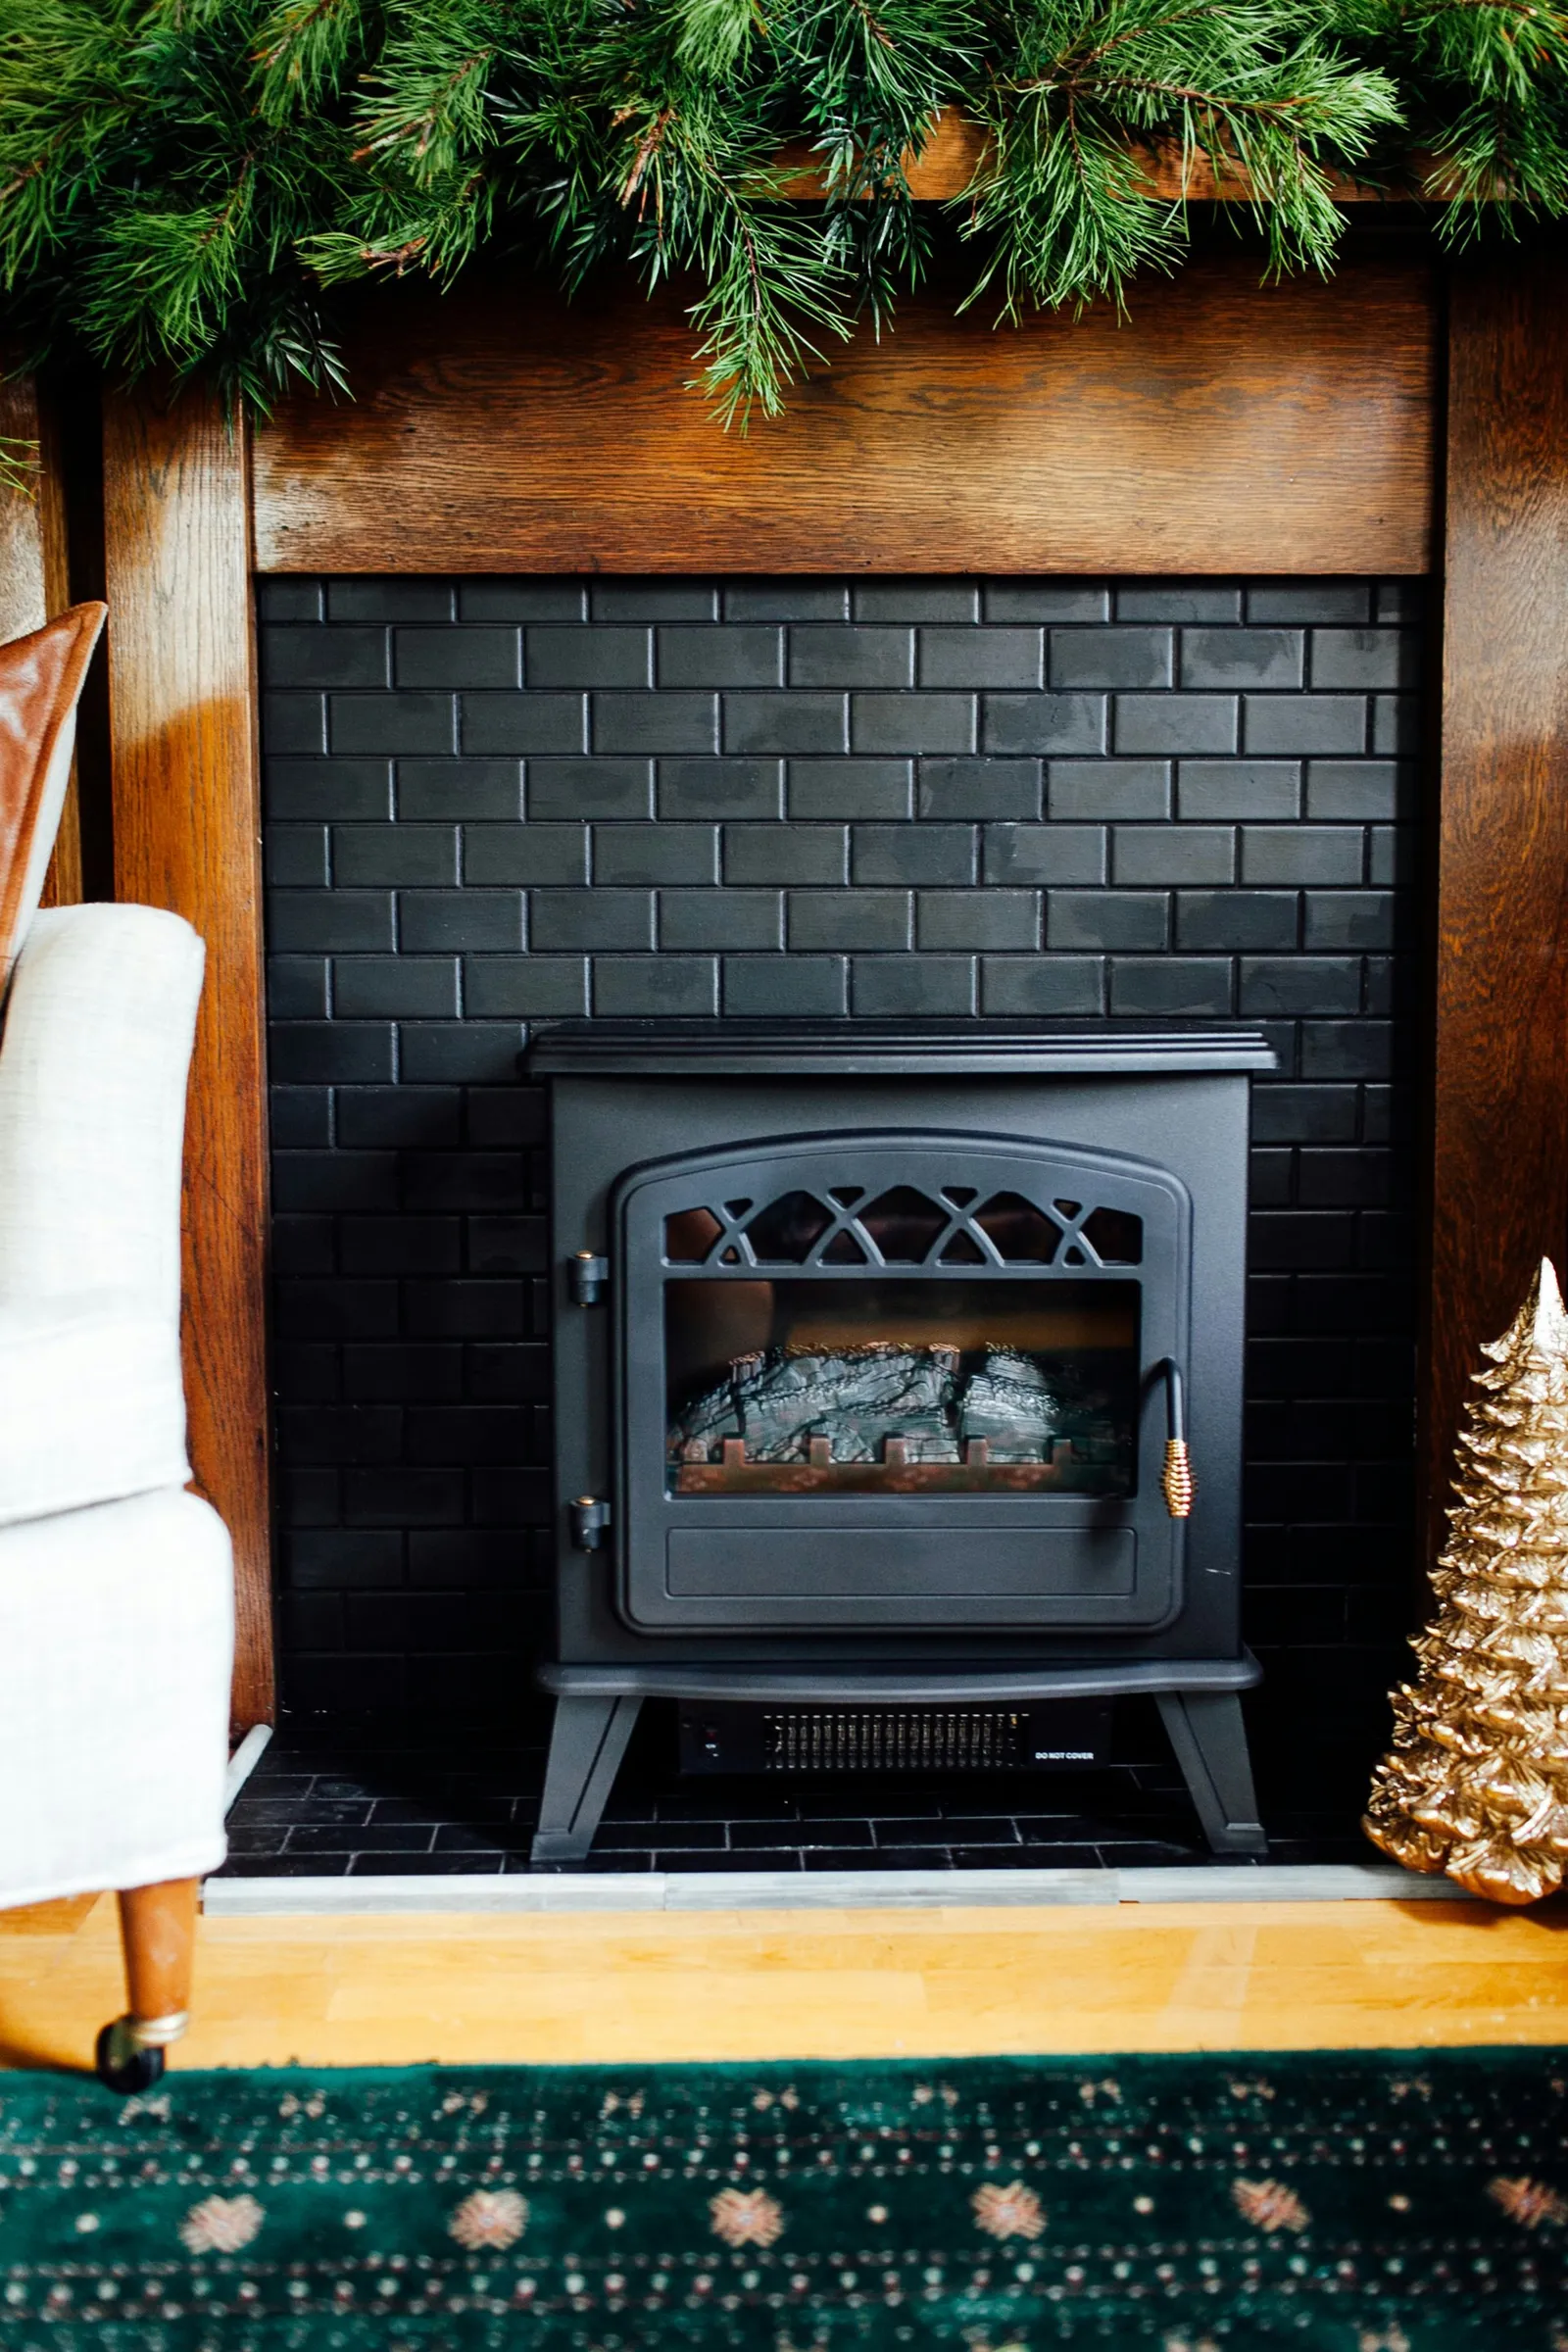
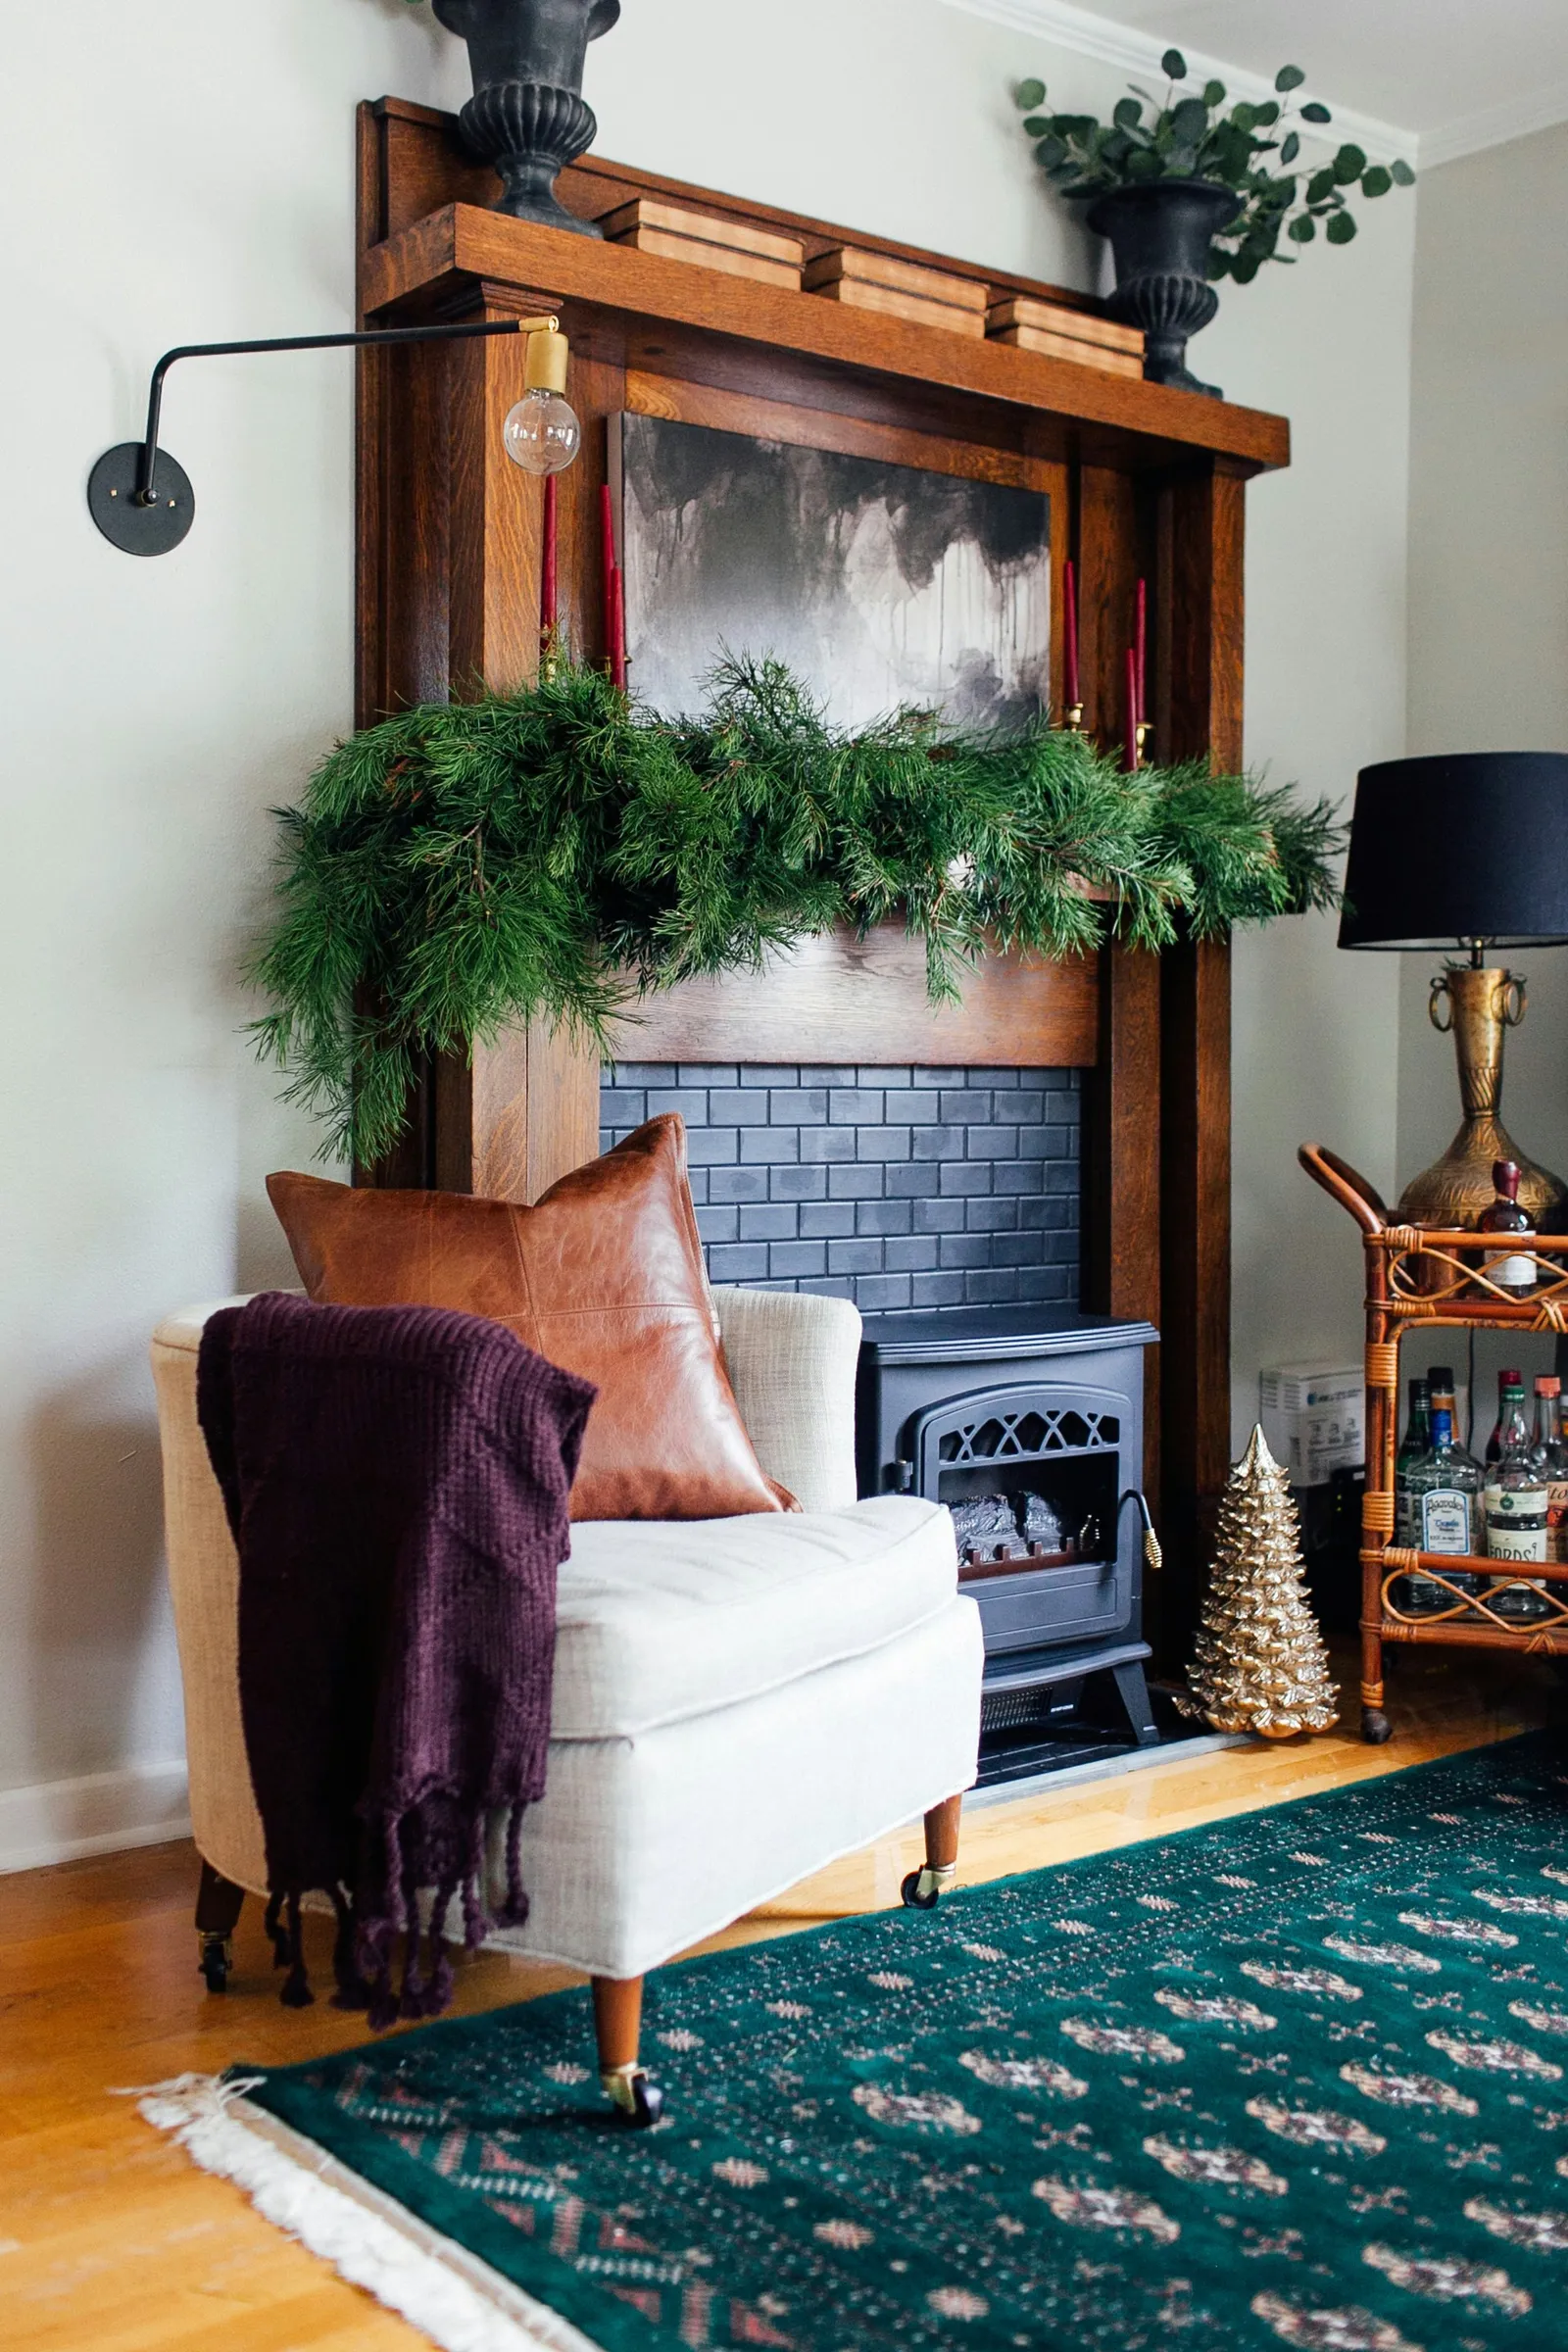
During colder seasons, many people enjoy the idea of spending time around a fireplace with loved ones. Beyond serving as a social hub, a fireplace can also act as a captivating centerpiece in a room. The good news is that even those who rent can have a fireplace if they want one. This guide walks you through converting an old mantel into a fireplace that works for renters.
Phase 1: Find a Fireplace Mantel
If you don't already own a mantel, look on Craigslist and at local sales for one that fits your taste.
Phase 2: Determine Fireplace Opening Dimensions
Take measurements of the fireplace opening's height and width. Consider whether you want a landing area in front of the opening, and if so, how deep it should be. In this example, the opening was 3 feet by 3 feet, so the landing was designed to be 3 feet by 2 feet.
Phase 3: Size and Cut the Backerboard
Cut the backerboard so it extends 3 inches beyond the fireplace opening (1 1/2 inches on each side). Here, with an opening of 3 feet by 3 feet, the backerboard was trimmed to 3 feet and 3 inches by 3 feet and 3 inches. For the landing, the backerboard was cut to 3 feet by 2 feet and 3 inches (the additional 3 inches is meant to attach to the mantel's rear).
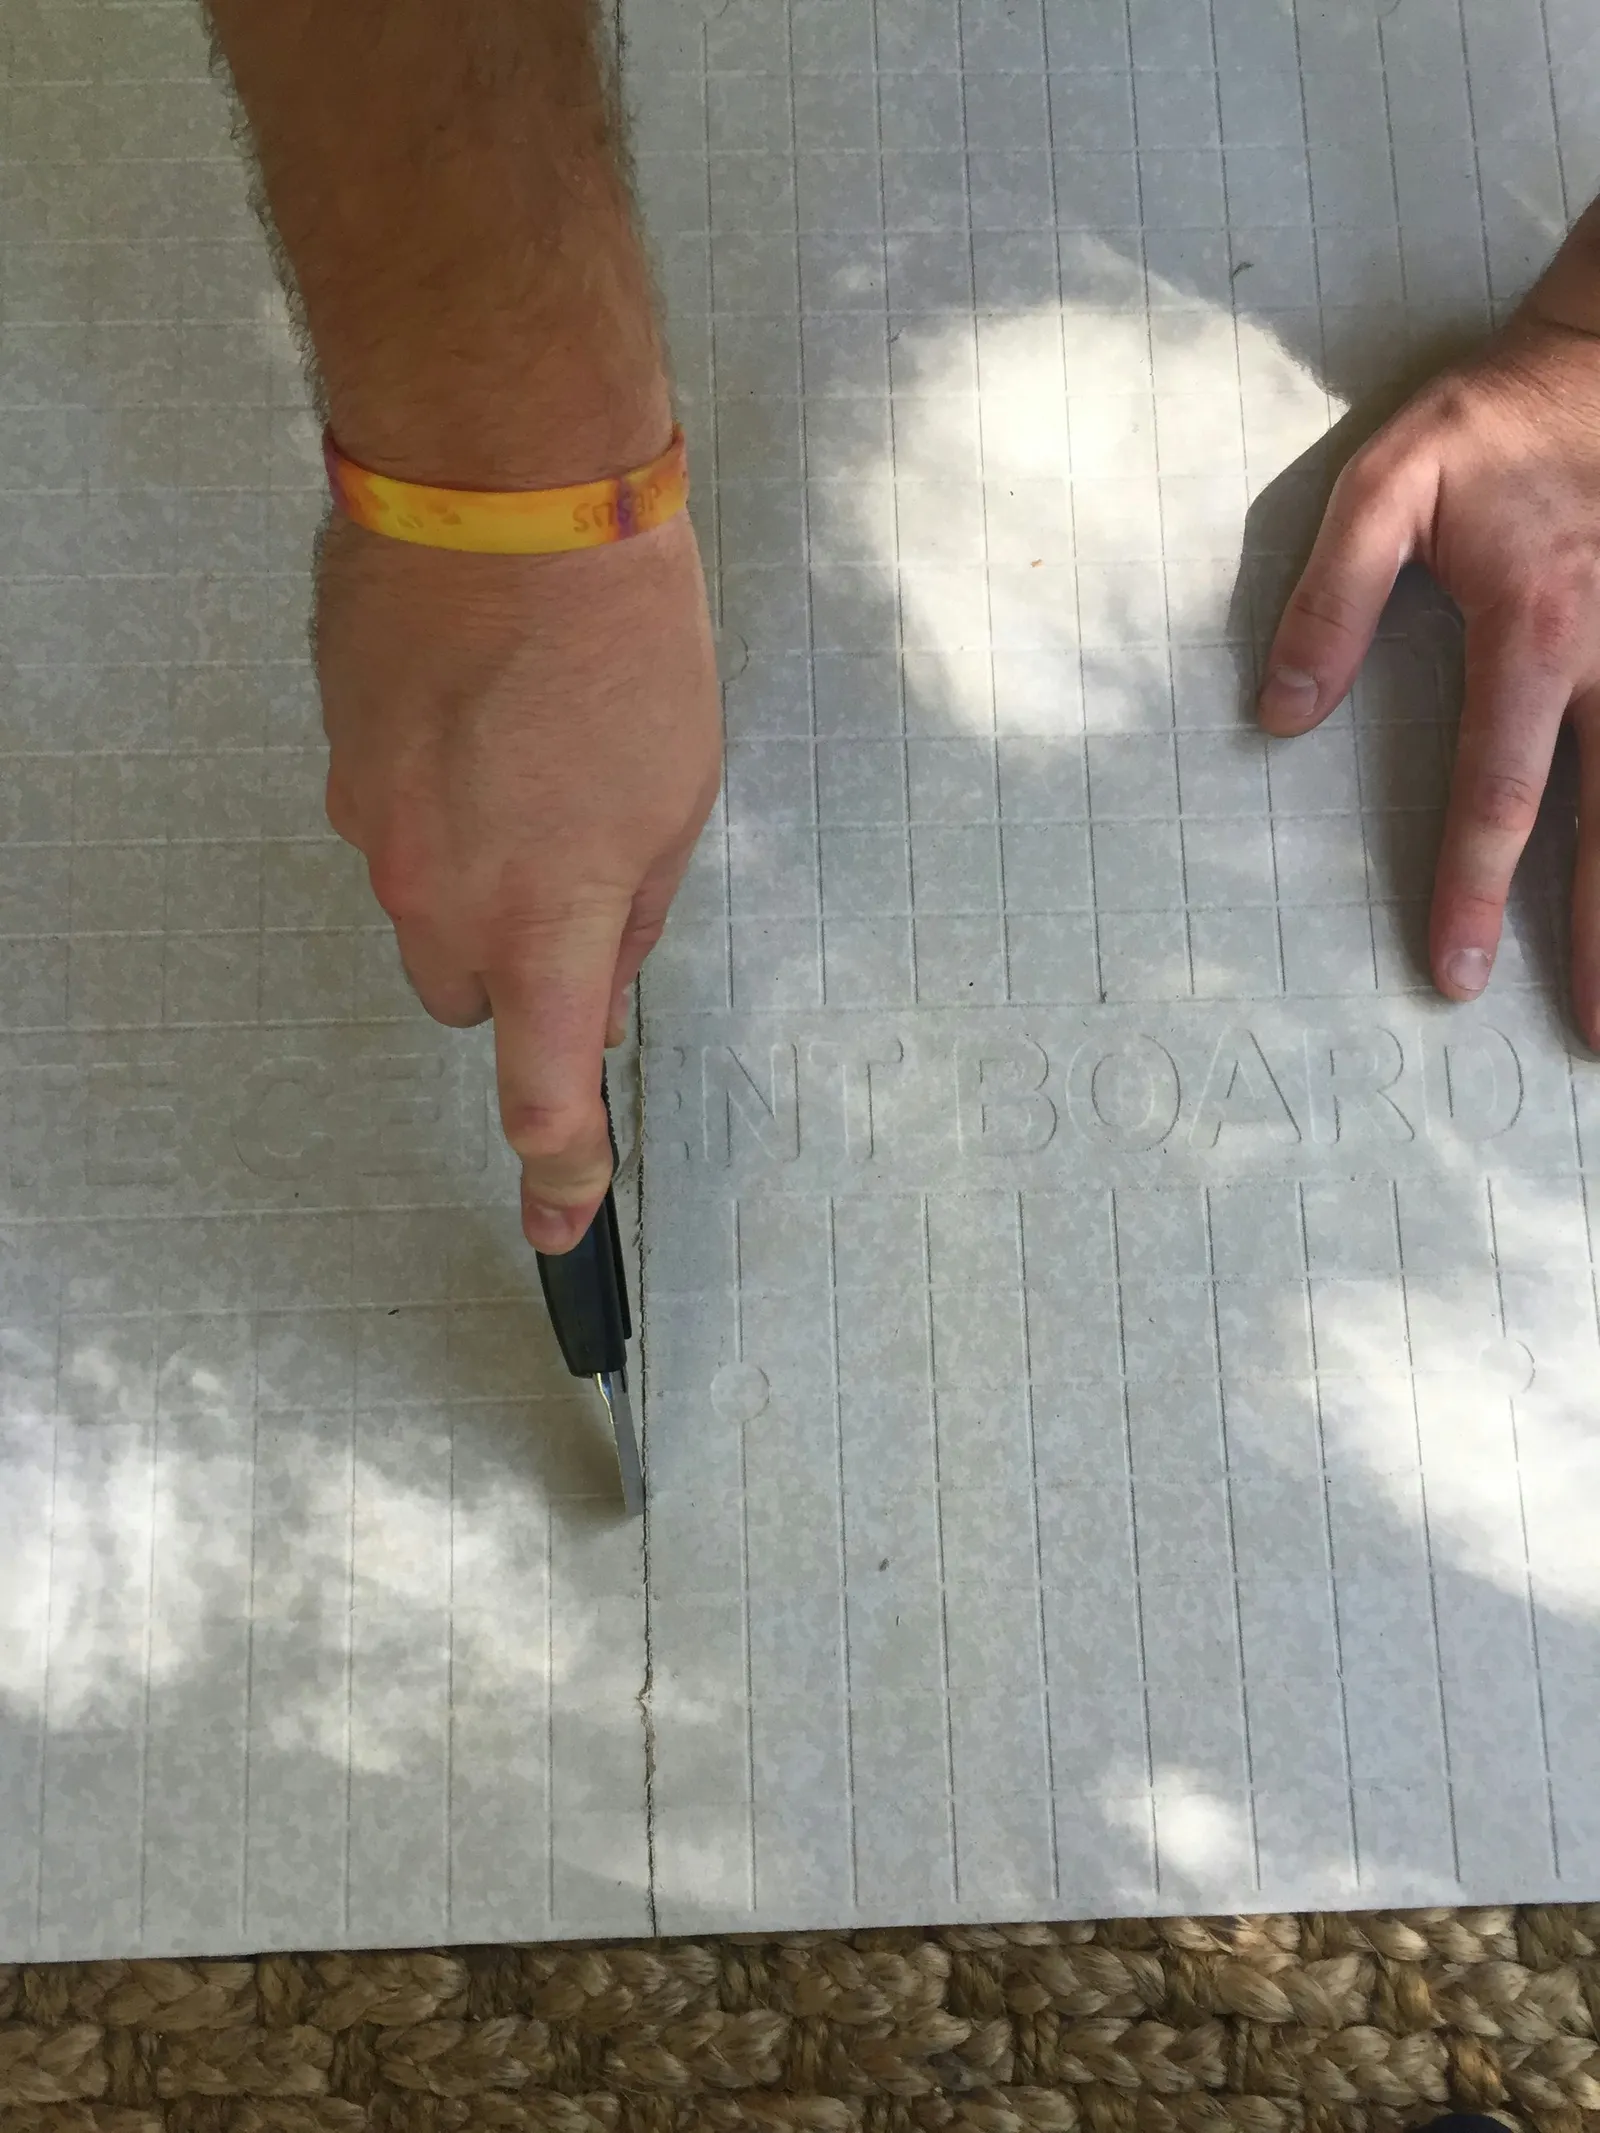
To cut the backerboard, moisten the intended cut line with a damp cloth. The backerboard features gridlines to help guide the cut. Once the line is wet, score it with a box cutter and then apply gentle pressure until it snaps along the seam. If you're making a landing, you'll need two distinct backerboard pieces.
Phase 4: Trim Tile Edges
Set the cut backerboard aside. Next, trim the tile edges to form a flawless square. Each tile set usually includes a few pieces that stick out beyond the square. Use a tile cutter to trim each one. These can be rented from local hardware stores for about $10 to $15 per hour.
Phase 5: Bond Tile to Backerboard
With the tiles cut, the next step is to attach the tile sets to the backerboard using thin-set mortar. Apply thick rows of mortar onto the backerboard with a trowel, then position the tile sets with proper spacing using tile spacers. The tile sets can be adjusted slightly after placement. After laying the tiles, allow 24 hours to pass before proceeding. It's crucial to give the tile adequate time to set, or it might shift or even detach due to weight.
Phase 6: Apply Grout to Tile
Once the mortar has dried for at least 24 hours, you can safely grout. Take out the tile spacers before grouting. Use a grout float to apply grout liberally over the tile. Wipe away excess grout from the tile with a wet grout sponge as needed. Let it dry for 24 hours.
Phase 7: Secure Tiled Backerboard to Mantel
Place the landing tiled piece on the floor. Its width should be cut to fit snugly within the fireplace opening's floor (refer to measurements in Phase 1). After the landing piece is positioned, attach the larger tiled piece inside the fireplace opening. Use the additional backerboard to screw into the fireplace's back frame.
Phase 8: Install Dome Trim
With both backerboard pieces secured, install dome trim around the backerboard edges. You can join them using the same thin-set as for the tile. Apply grout between each trim piece to secure them.
Phase 9: Place Free-Standing Fireplace
Set the free-standing electric fireplace of your choice onto the landing.
Phase 10: Mount the Mantel on the Wall
Use brackets of the right size to fix the top of the mantel to the wall. Drive screws into both the mantel's top and the wall to ensure it's securely attached.