A Step-by-Step Guide to Sealing and Protecting Oak Stair Treads
Oak stair treads are a popular choice for their durability and distinct grain. This guide outlines a ten-step process for sanding, staining, and applying a protective polyurethane finish to oak stair treads, typically featuring a rounded bullnose edge.
By Skyler Reed10 steps
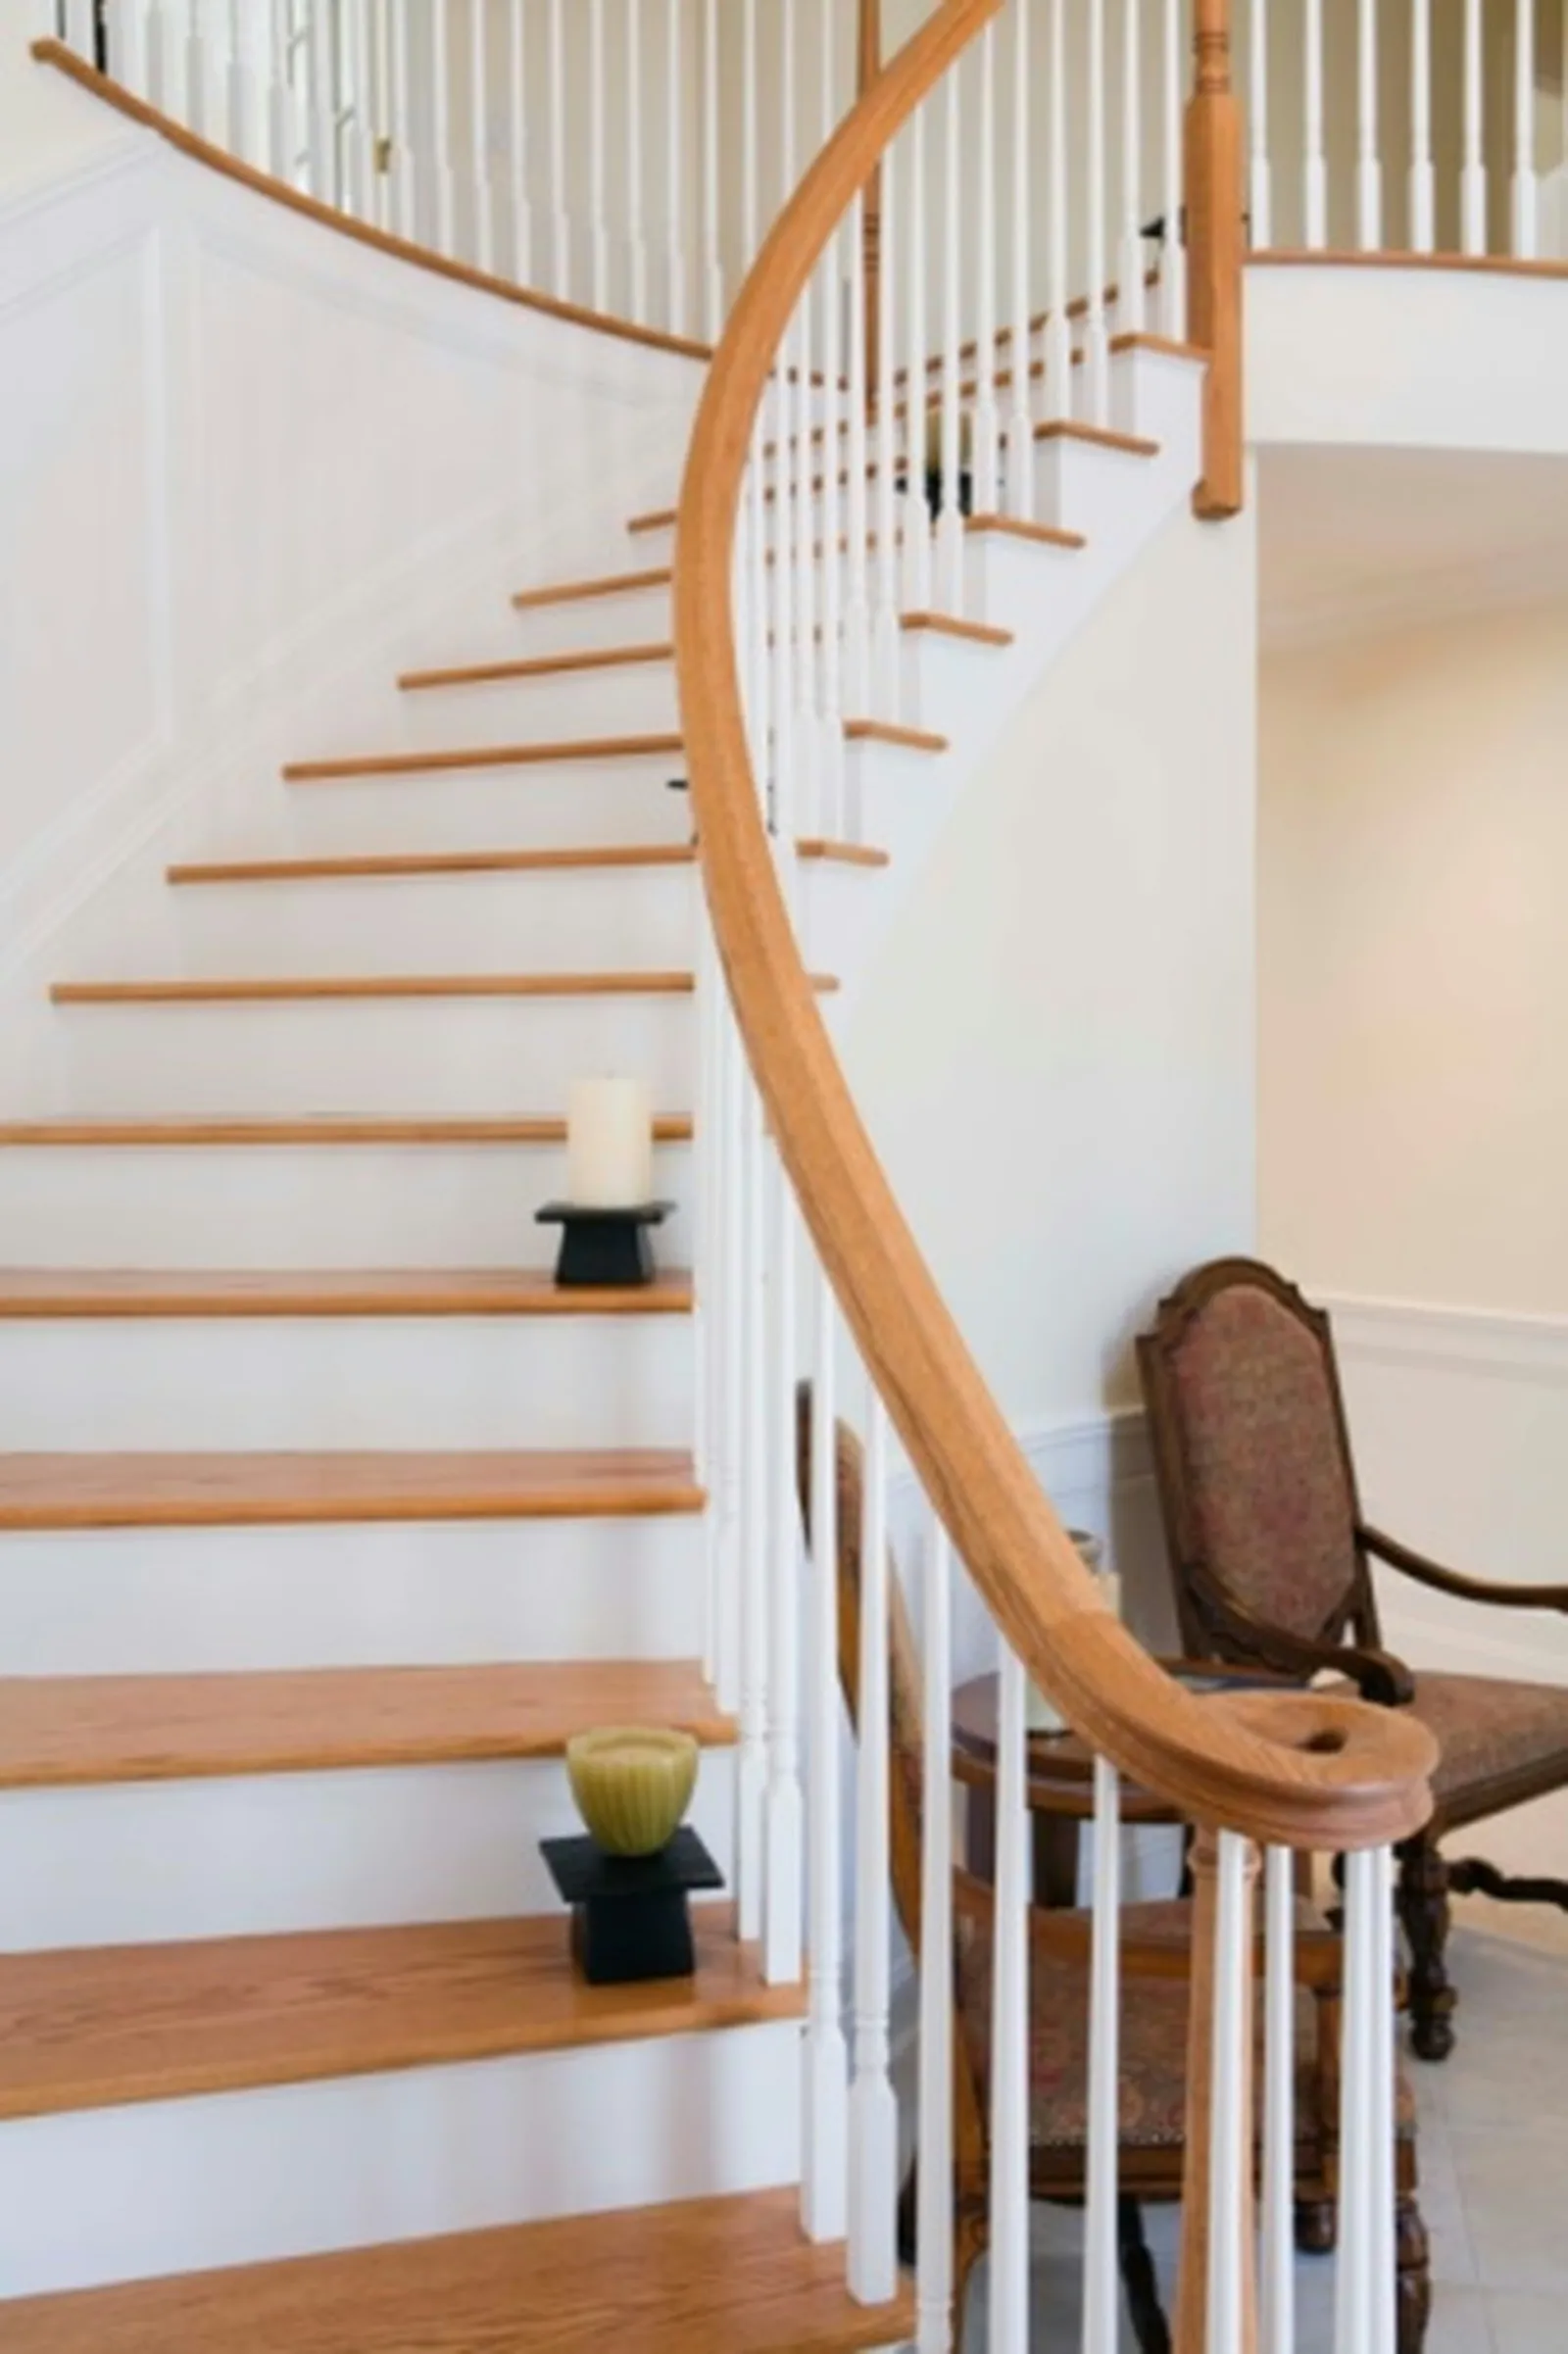
Honey-colored oak stair treads exude a clean and bright look.
Oak wood is prized for its striking grain and warm honey hue. Its strength, resilience, and durability make it a common selection for stair treads among both homeowners and contractors. These treads often feature a bullnose—a rounded edge—running along their length. To highlight oak's rich grain lines, select a stain such as honey or deep red oak. A satin polyurethane finish will safeguard the stain and create a surface suitable for foot traffic.
Step 1
Begin by sanding the treads with 100-grit sandpaper. Always sand in the direction of the wood grain; never go across it. Run your hand over the wood to confirm the surface is smooth and free of raised fibers.
Step 2
Remove sanding dust with a vacuum. Then, use a tack cloth or rags to eliminate any remaining dust particles from the treads.
Step 3
Using a paint stick, gently stir the stain. Make sure to mix in any settled pigment at the bottom of the can to achieve a consistent color.
Step 4
Dip a paintbrush into the stain and tap it against the can's rim to remove excess. Apply the stain to the wood's surface, brushing in the direction of the grain. Use a clean, lint-free rag to wipe away surplus stain. Let the stain dry following the manufacturer's instructions.
Step 5
Apply a second coat of stain to the treads. Wipe off any excess with the lint-free rag. Let the stain dry as directed by the manufacturer.
Step 6
Open the polyurethane and stir it very gently with a paint stick. Be careful not to introduce bubbles while stirring.
Step 7
Dip a clean paintbrush into the polyurethane. Do not overload the brush; when you lift it from the can, the liquid should not drip excessively or pour off.
Step 8
Slowly brush across the treads, following the grain direction. Overlap your strokes at the edges to ensure a full, even coat. Let the polyurethane dry according to the manufacturer's instructions.
Step 9
Lightly sand the treads with 120-grit sandpaper. Sand gently to remove only the raised wood fibers on the surface. Wipe away sanding dust with a clean, lint-free rag.
Step 10
Apply another coat of polyurethane. Once dry, sand the surface with 120-grit sandpaper and thoroughly wipe away all residue. Repeat this process for a final coat of polyurethane. Do not sand the final coat. Let the polyurethane dry completely before allowing foot traffic on the treads.



