
Creating a Custom Wall Display for a Kimono
Finley Hayes
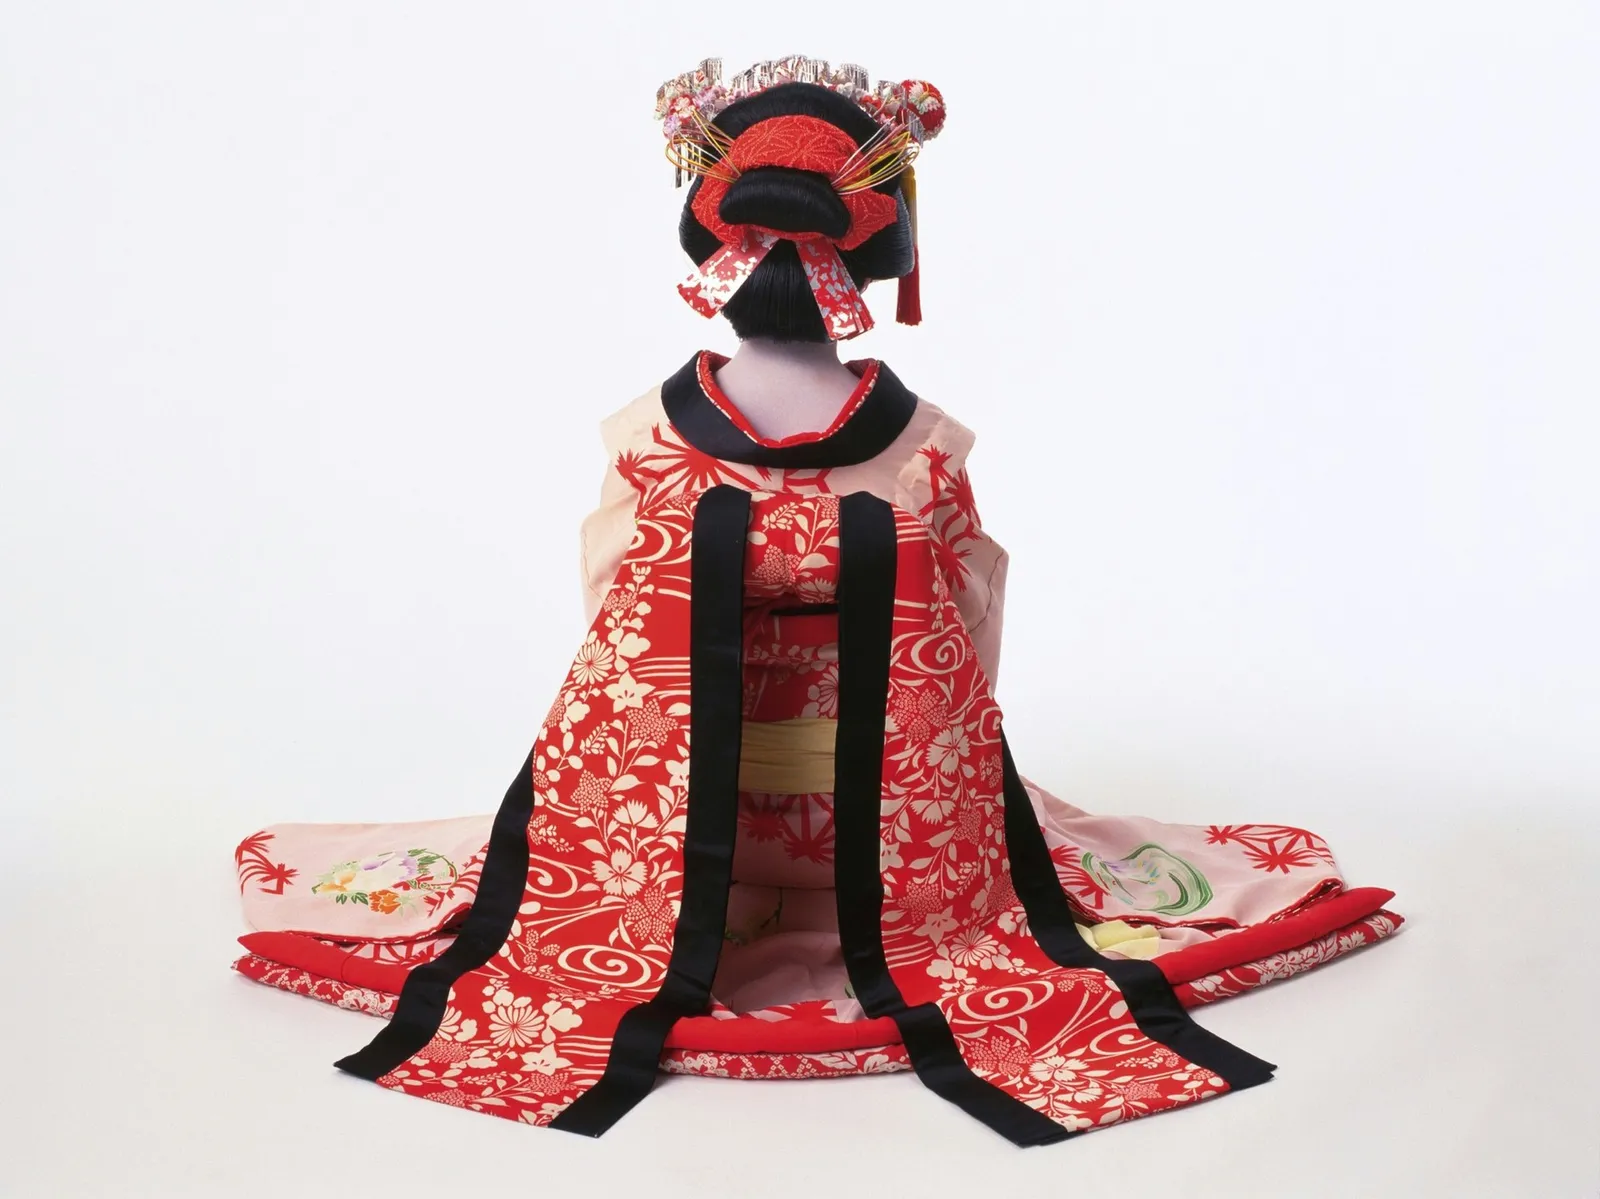
Hang vintage kimonos too delicate to wear so you can display their beauty as part of your decor.
A kimono mounted on a wall can serve as a dramatic focal point, introducing rich color and a Japanese sensibility to the room. Though you can purchase a ready-made stand known as an ikou, or iko, or a kimono hanger, constructing your own hanger gives you the freedom to design a display to your own specifications. A common approach is to hang the kimono with its back to the wall, spreading the lower ends open and fastening them to the sleeves so the full range of colors and the back details are visible. If the front of the garment carries more attractive detailing, you can instead display it facing outward, with a coordinating obi suspended beneath it.
Step 1
Place the kimono on a clean, flat surface. Smooth it out so the shoulders form a straight line across the top and the sleeves and body extend straight downward. For a face-out display, lay the kimono face up and keep it straight. For a wall-facing display, lay it face down and draw the front hem ends over until they meet the bottom edges of the sleeves.
Step 2
Measure the distance across the shoulders, from one sleeve edge to the other, then add 2 inches. Record this figure. It will determine the width of the bamboo pole or wooden dowel you need.
Step 3
Measure the kimono's length, from the middle of the neck down to the bottom of the hem. Write this number down. It will guide how high you position the kimono.
Step 4
Choose a location for hanging. Use your measurements to identify a clear wall area big enough for the display. Whenever possible, the kimono should be positioned above furniture rather than behind it.
Step 5
Buy a bamboo pole or wooden dowel and have it cut to size. Many home improvement stores stock garden bamboo and will cut it for you. Select a piece roughly 1 1/4 inches in diameter, or substitute a wooden closet rod or dowel.
Step 1
Measure the wall section where the kimono will go. Using the kimono's vertical length, decide how high the center of the bar should sit, and mark that point with a pencil.
Step 2
From the center point, measure horizontally and mark the wall where the rod ends will be, just beyond the kimono sleeves. Check that the marks are level with a level, or measure down from the ceiling to each mark to make them even. At each end, line up the outer edge of the rod hanger bracket with your marks. Mark the bracket's mounting holes on both sides.
Step 3
Drill pilot holes at the marks using the drill and a small bit. If no studs are available to support the rod hanger brackets, insert wall anchors. Where studs are present, the rod hangers can be screwed directly into the wall. Before attaching the second rod hanger bracket, verify the height with the level or by measuring again.
Step 4
Set the rod on the hangers and confirm that it is level and firmly in place.
Step 1
Remove the rod and thread its ends through the kimono sleeves, taking care to center the kimono on the rod.
Step 2
For a face-out display, place an obi on the rod beneath the kimono to add another layer of color and depth. Position the obi so its most decorative side faces outward, framed by the kimono.
Step 3
Gently set the rod on the brackets, with each end resting just outside the sleeves. Adjust the kimono and obi so they are centered and hang straight down from the rod. The kimono collar should stand straight up in the middle.
Step 4
For a wall-facing display, slide the kimono onto the rod and center it. Rest the rod's center ends on the two brackets, then carefully arrange the kimono so it hangs straight down. Reach under the left side and gently draw the left lower hem outward to meet the inner bottom of the left sleeve. Secure it with a clothespin, keeping the pin hidden against the wall. Do the same on the right side.



