Mounting an IKEA Lack Shelf on Your Wall
A Lack shelf from IKEA hangs on a concealed metal bracket that is first fastened to the wall. Installing it involves locating studs, leveling the bracket, adding drywall anchors where needed, and then sliding the shelf into place over the mounted hardware.
By Quinn Cooper6 steps
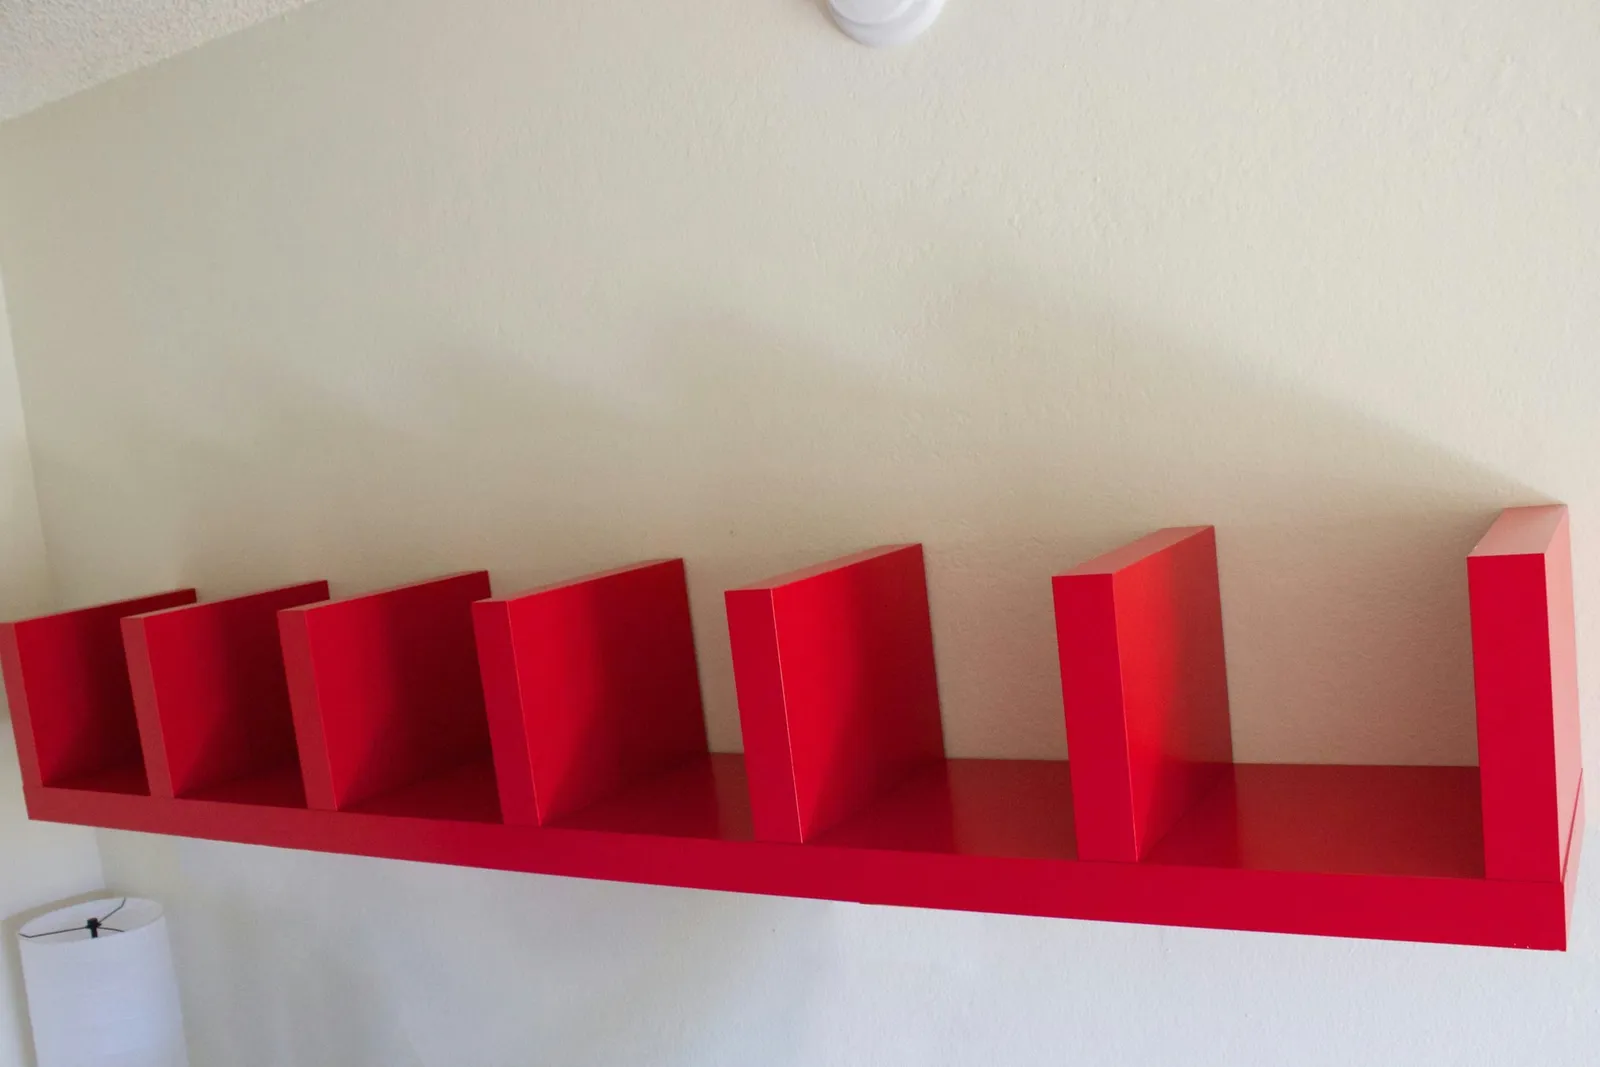
IKEA furniture stores carry the Lack wall shelf. The company offers many products that customers put together themselves at home. A metal bracket is the mounting component for the Lack shelf, and it gets attached to the wall. Once the shelf is slid over that bracket, the bracket is hidden entirely, so the shelf appears to hover on the wall without any visible fasteners or brackets holding it.
Step 1
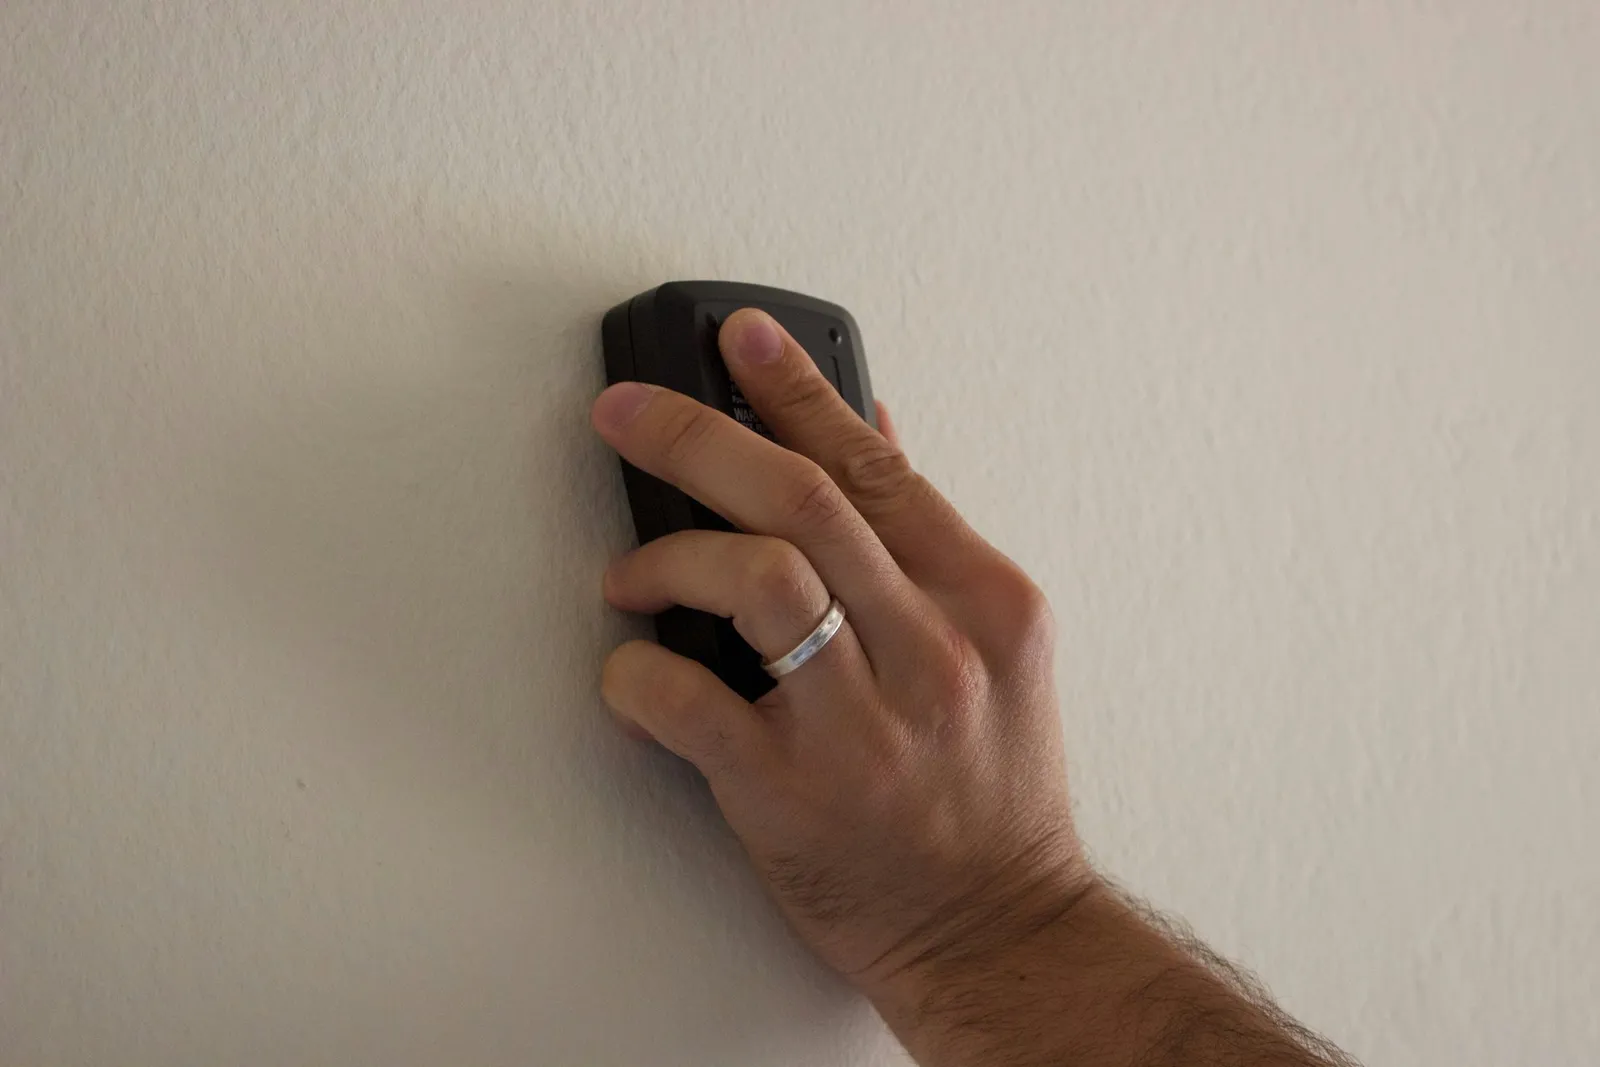
Pick the approximate area on the wall where the shelf will go, and run a stud finder over it. With a pencil, put a mark on the wall at the spot of one or two studs.
Step 2
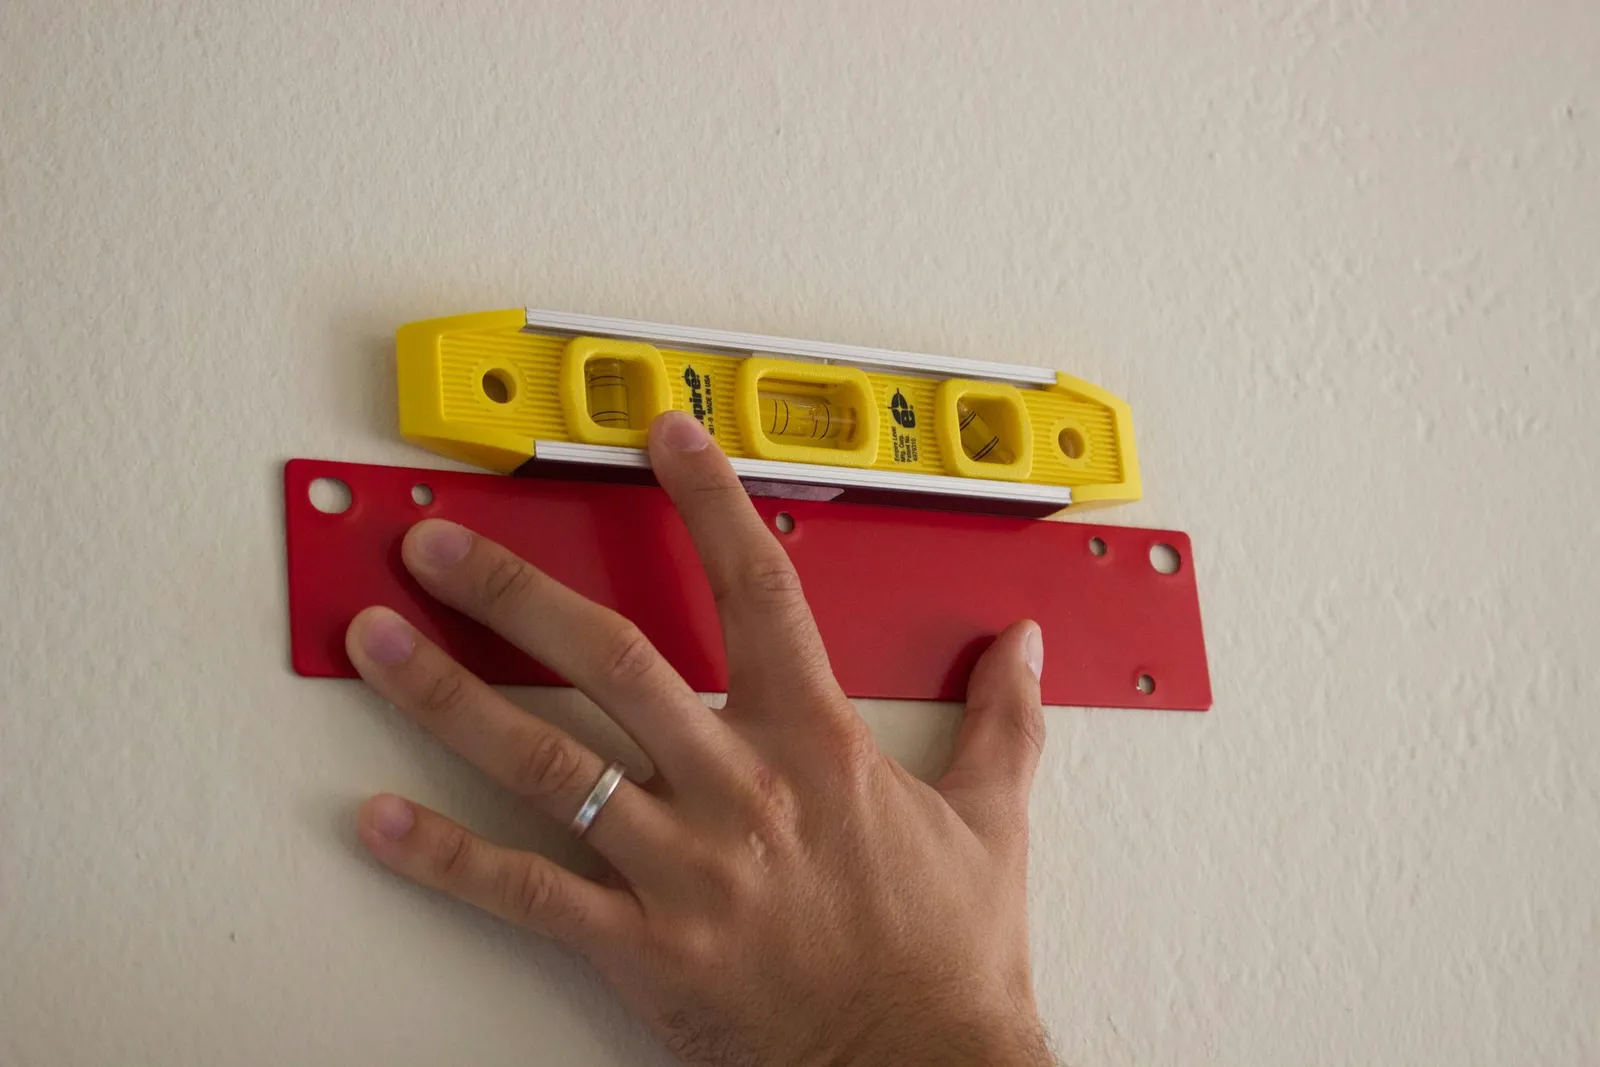
Position the metal shelf bracket on the wall where you want it, making sure at least one mounting hole lines up with the pencil mark for the studs. Set a small level on top of the bracket. Shift the bracket up or down until the bubble sits centered between the two lines on the level.
Step 3
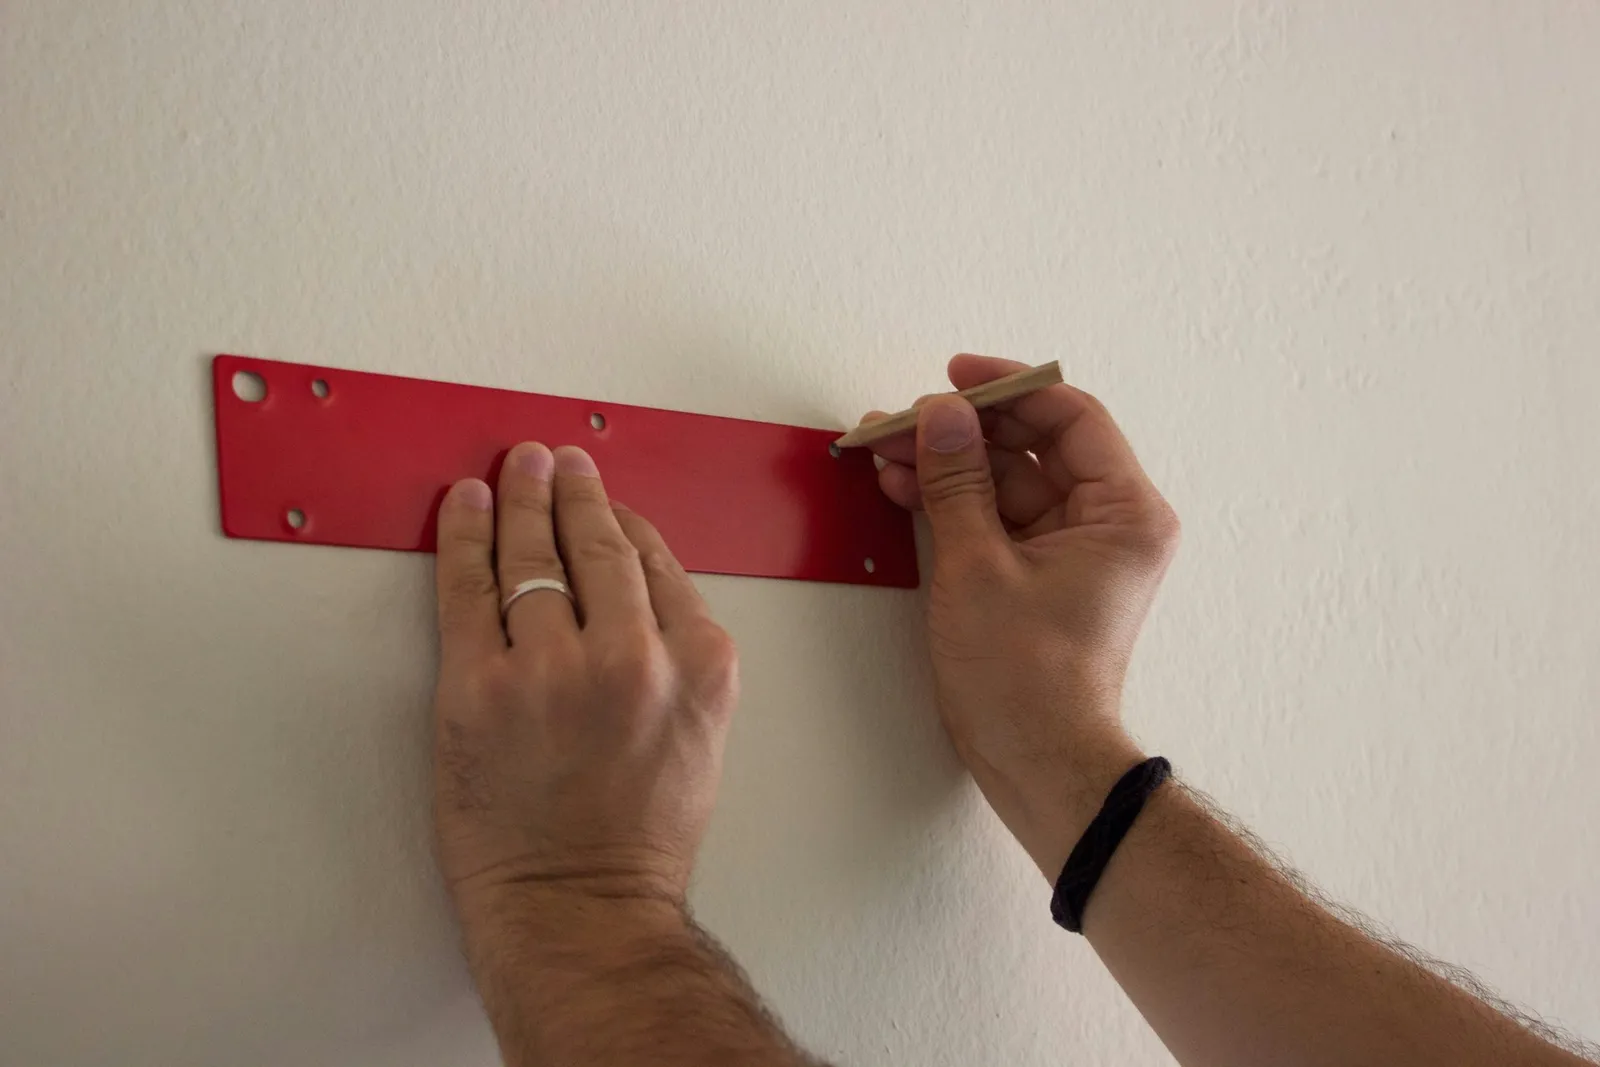
Take the level off, keep the shelf bracket steady against the wall, and use a pencil to mark the wall through the rest of the bracket's mounting holes. Lift the bracket away and set it down nearby.
Step 4
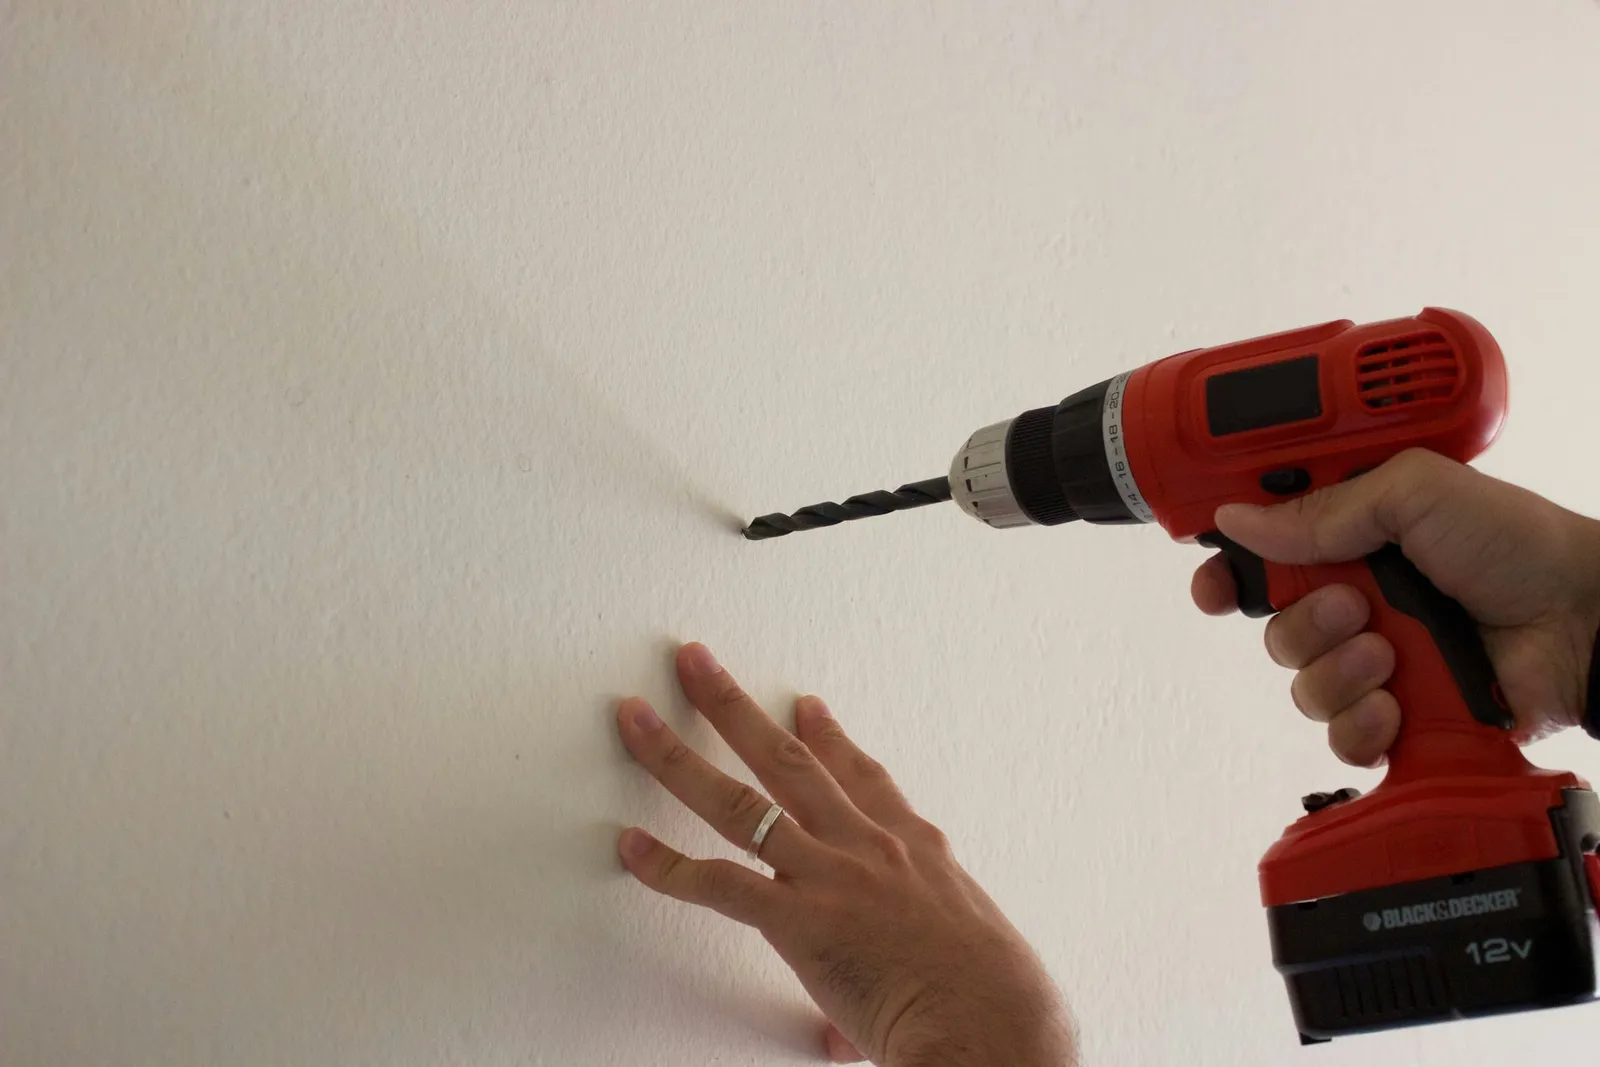
At the pencil marks that are not over a stud, put drywall anchors into the wall. Choose anchors capable of holding the shelf plus whatever you place on it. Following the instructions supplied with the anchors, drill holes of the correct size using the pencil marks as your reference. Take the screw out of the middle of the anchor. Press the anchor into the drilled hole until its lip sits flush with the wall surface.
Step 5
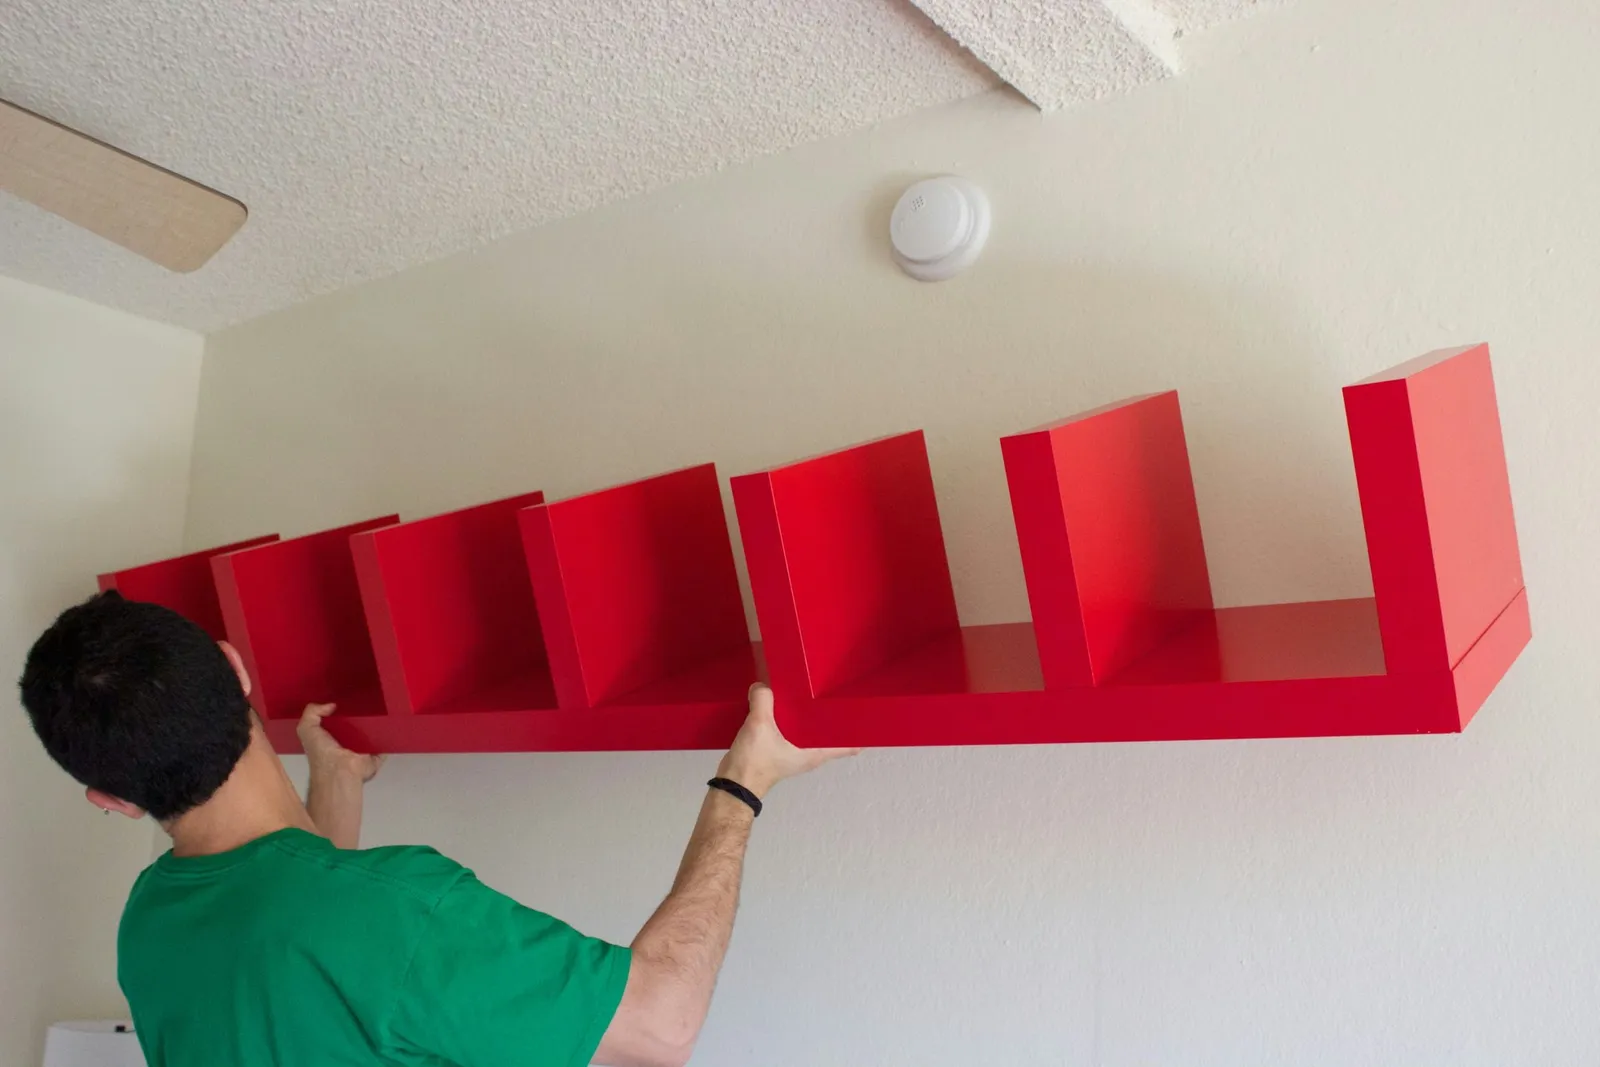
Hold the shelf bracket against the wall and align its mounting holes with the drywall anchors and with the pencil mark for the stud or studs. Insert the drywall anchor screws through the bracket's mounting holes and into the anchors in the wall, then tighten them with a Philips screwdriver. For the mounting hole or holes positioned over studs, drive a two-inch wood screw through and tighten it using a Philips screwdriver or a Philips head bit in an electric drill.
Step 6
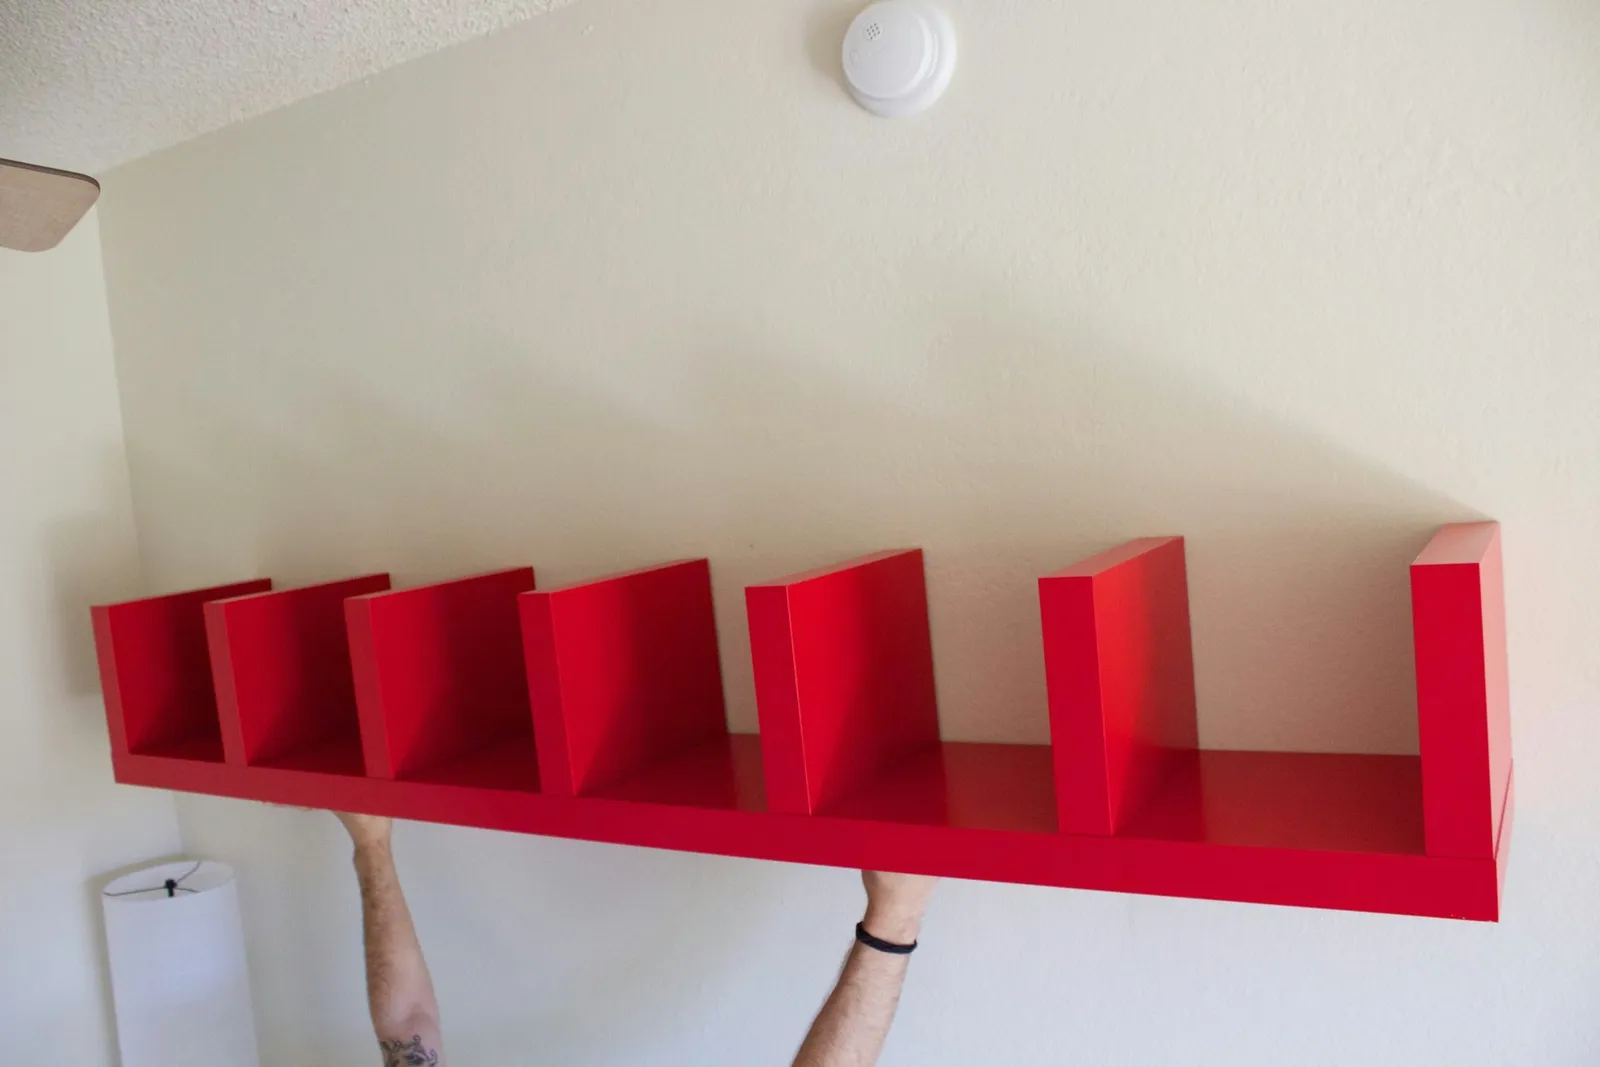
Slide the wall shelf over the bracket and push it until it sits flush against the wall. Insert the two screws included with your Lack shelf into the underside of the shelf and into each side of the wall bracket, then tighten them with a Philips screwdriver.



