Craft Your Own Pom-Pom Rug for a Whimsical Touch
Add playful texture and warmth to your home with a handmade pom-pom rug that you can customize to fit your style. This guide walks you through the process of making and assembling pom-poms into a cozy, practical decor piece.
By Rowan Green11 steps
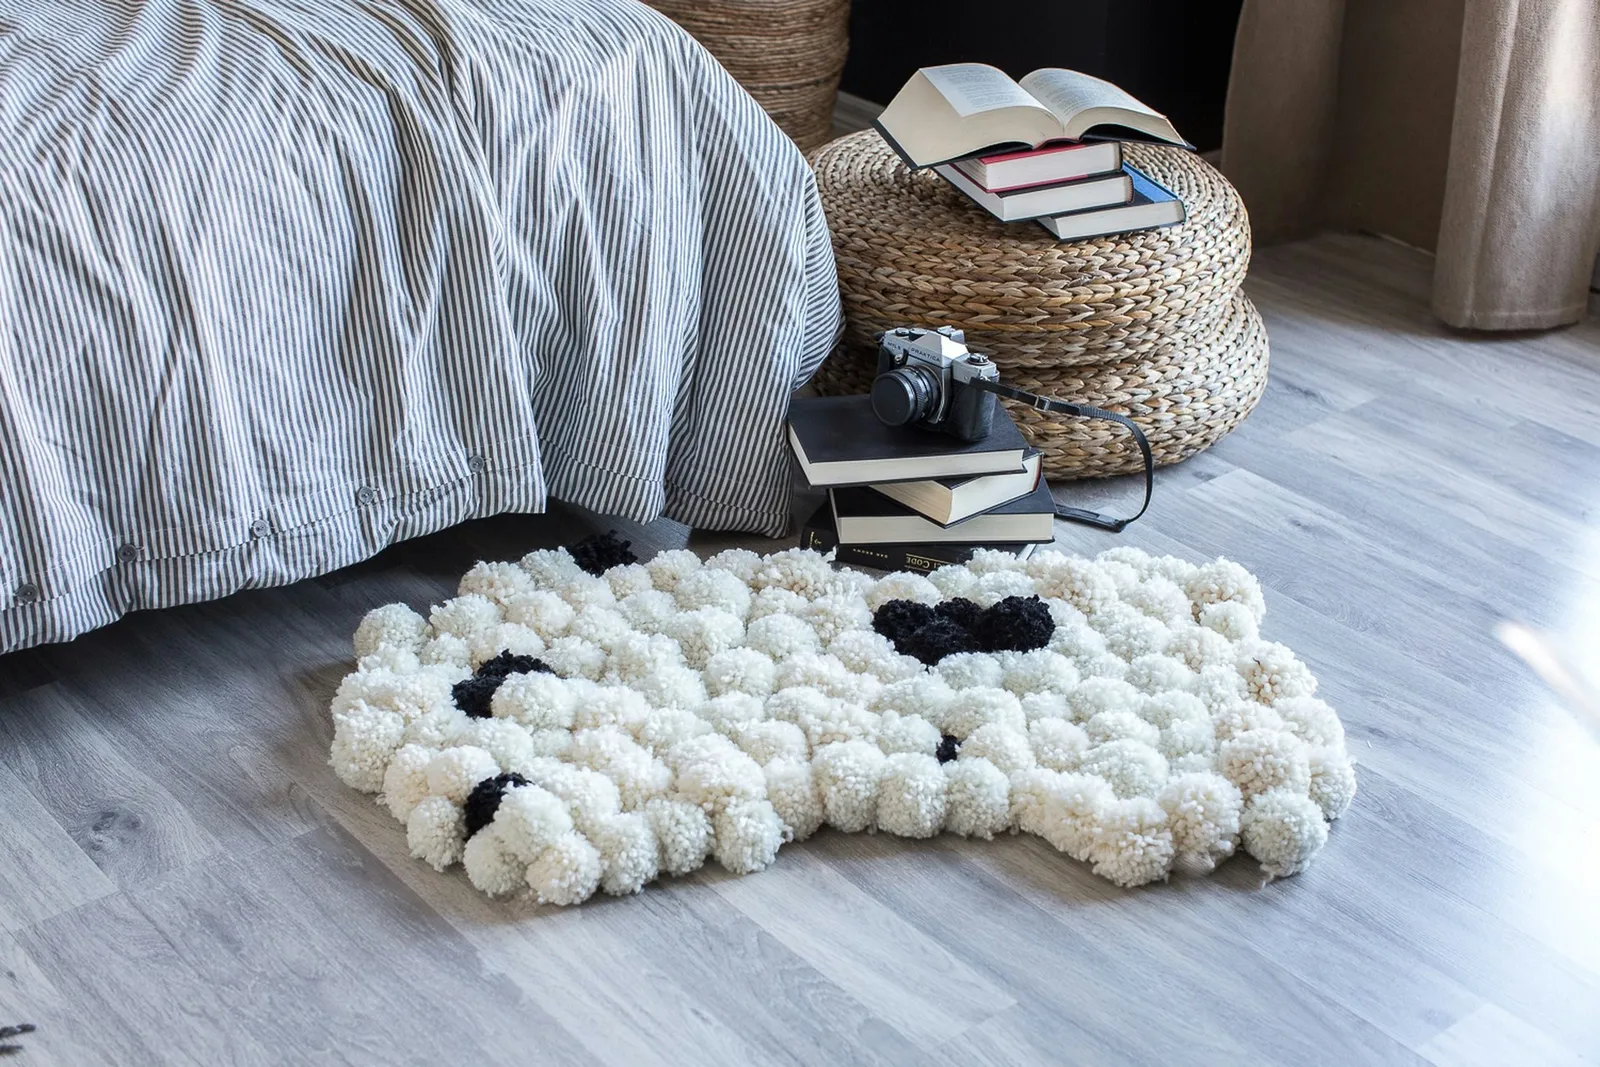
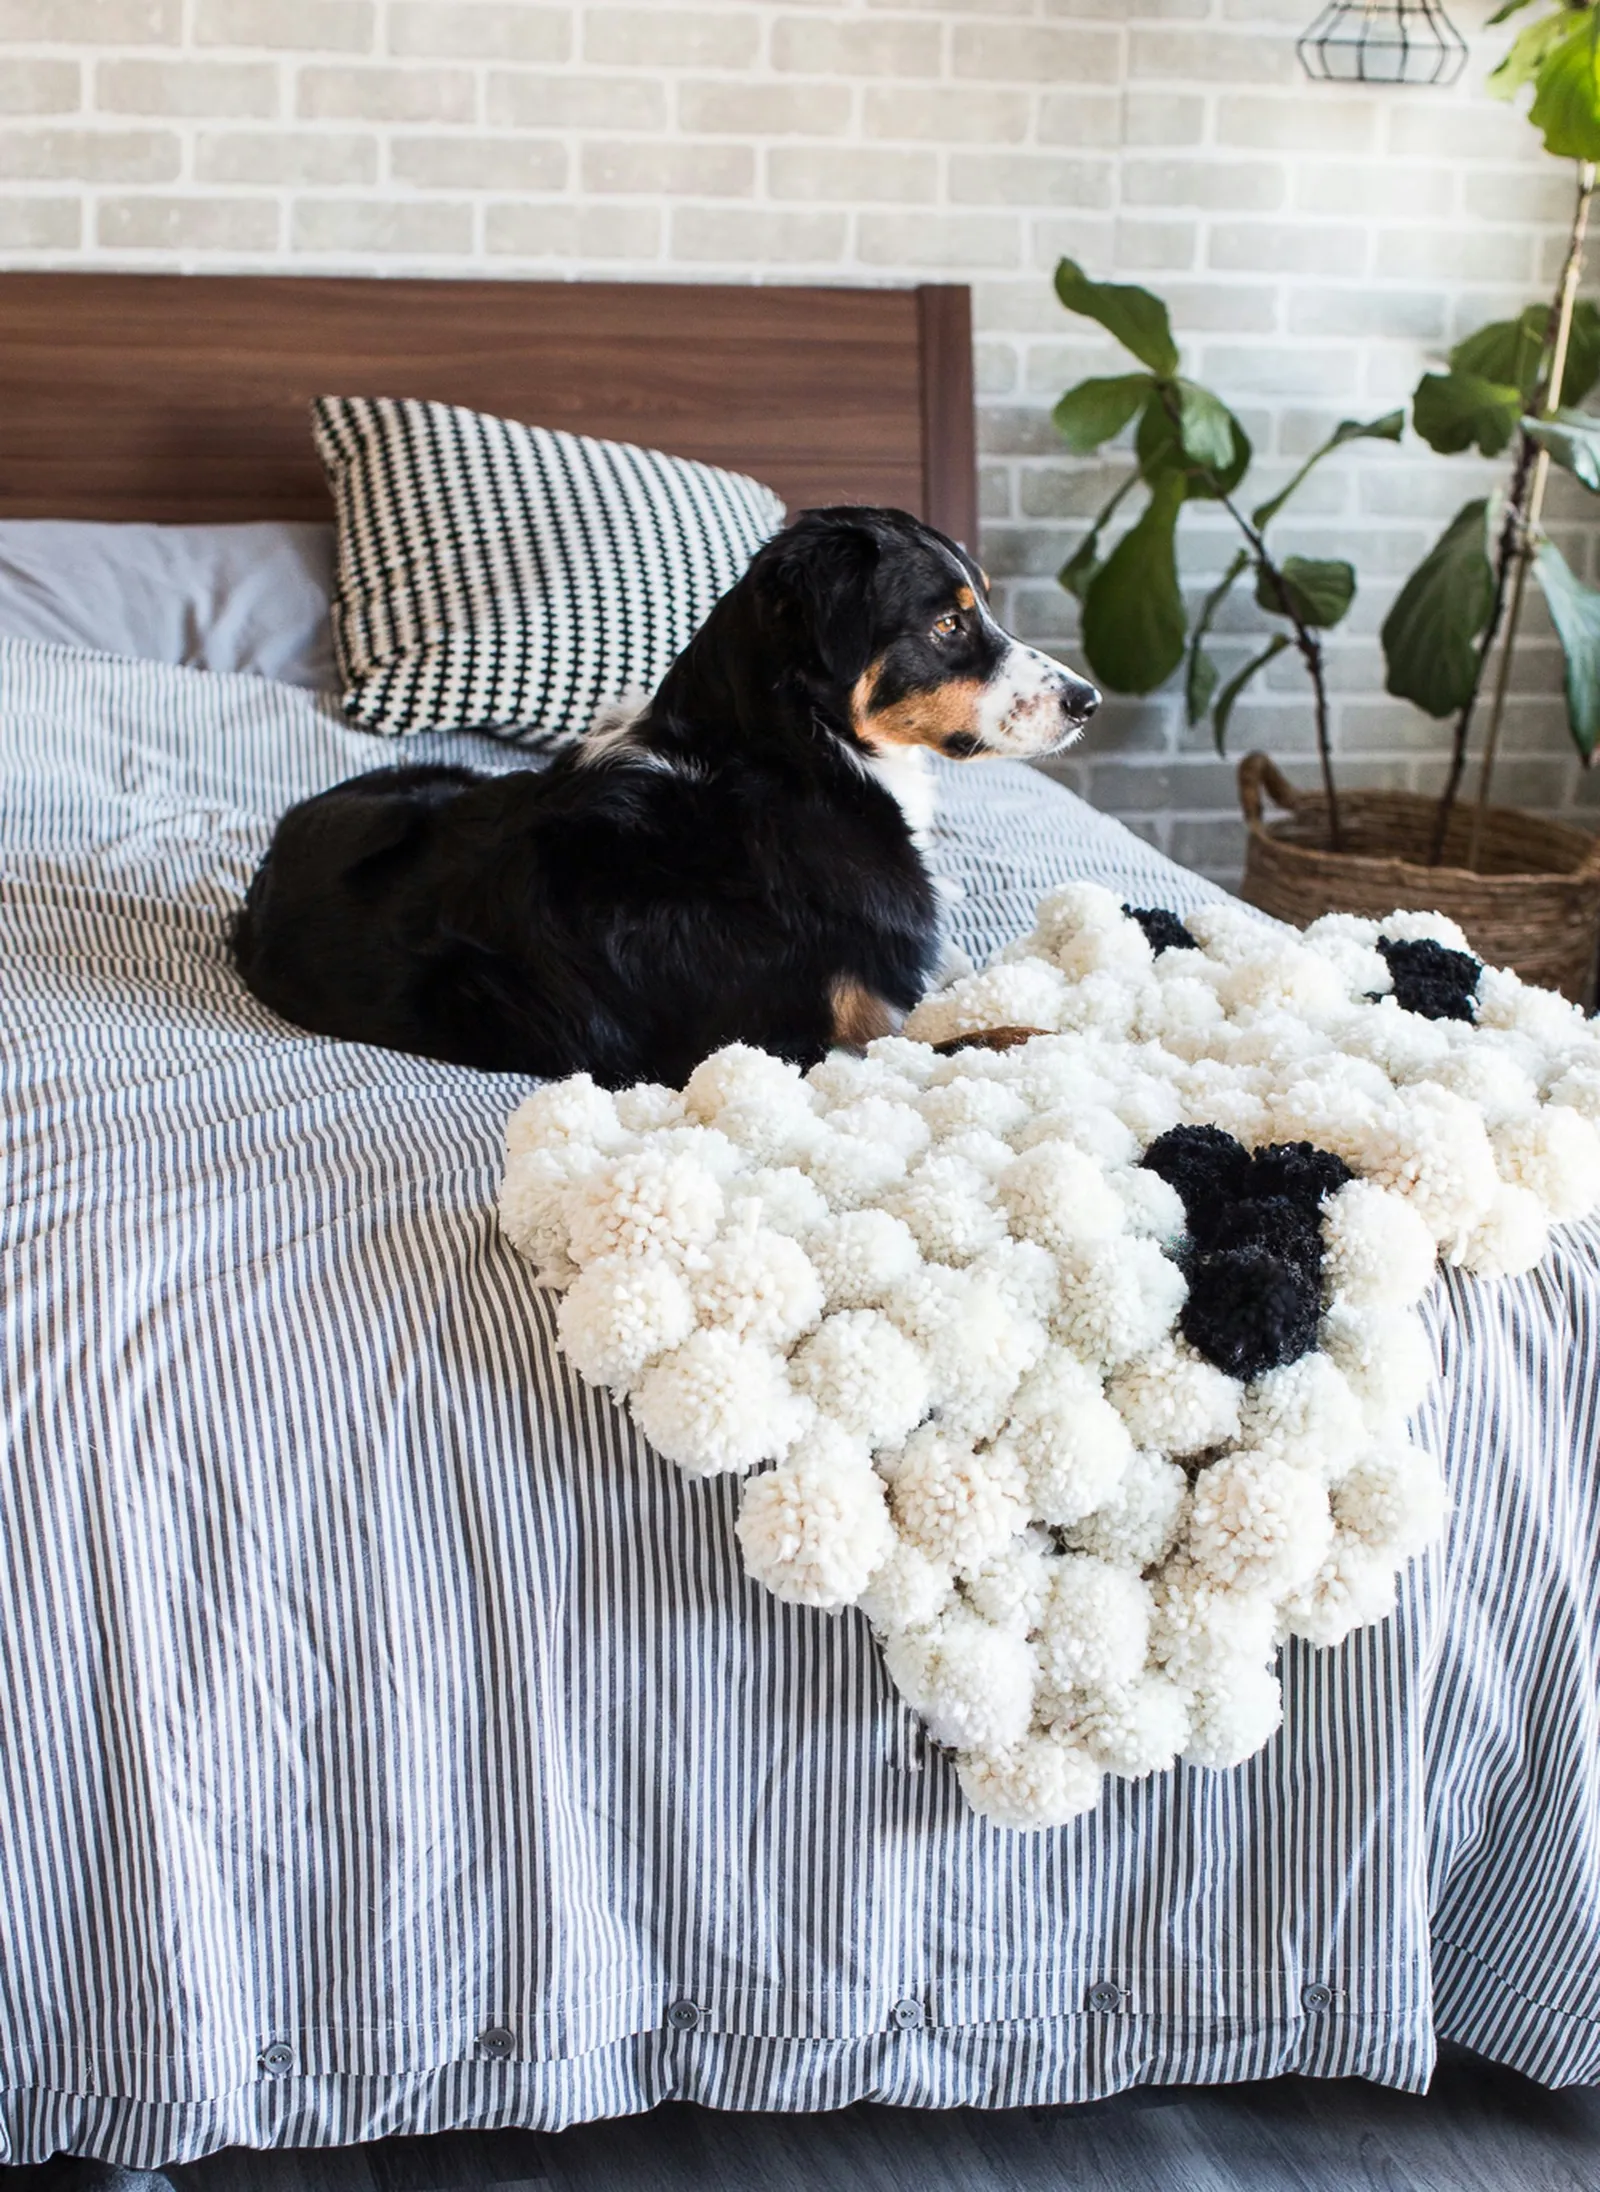
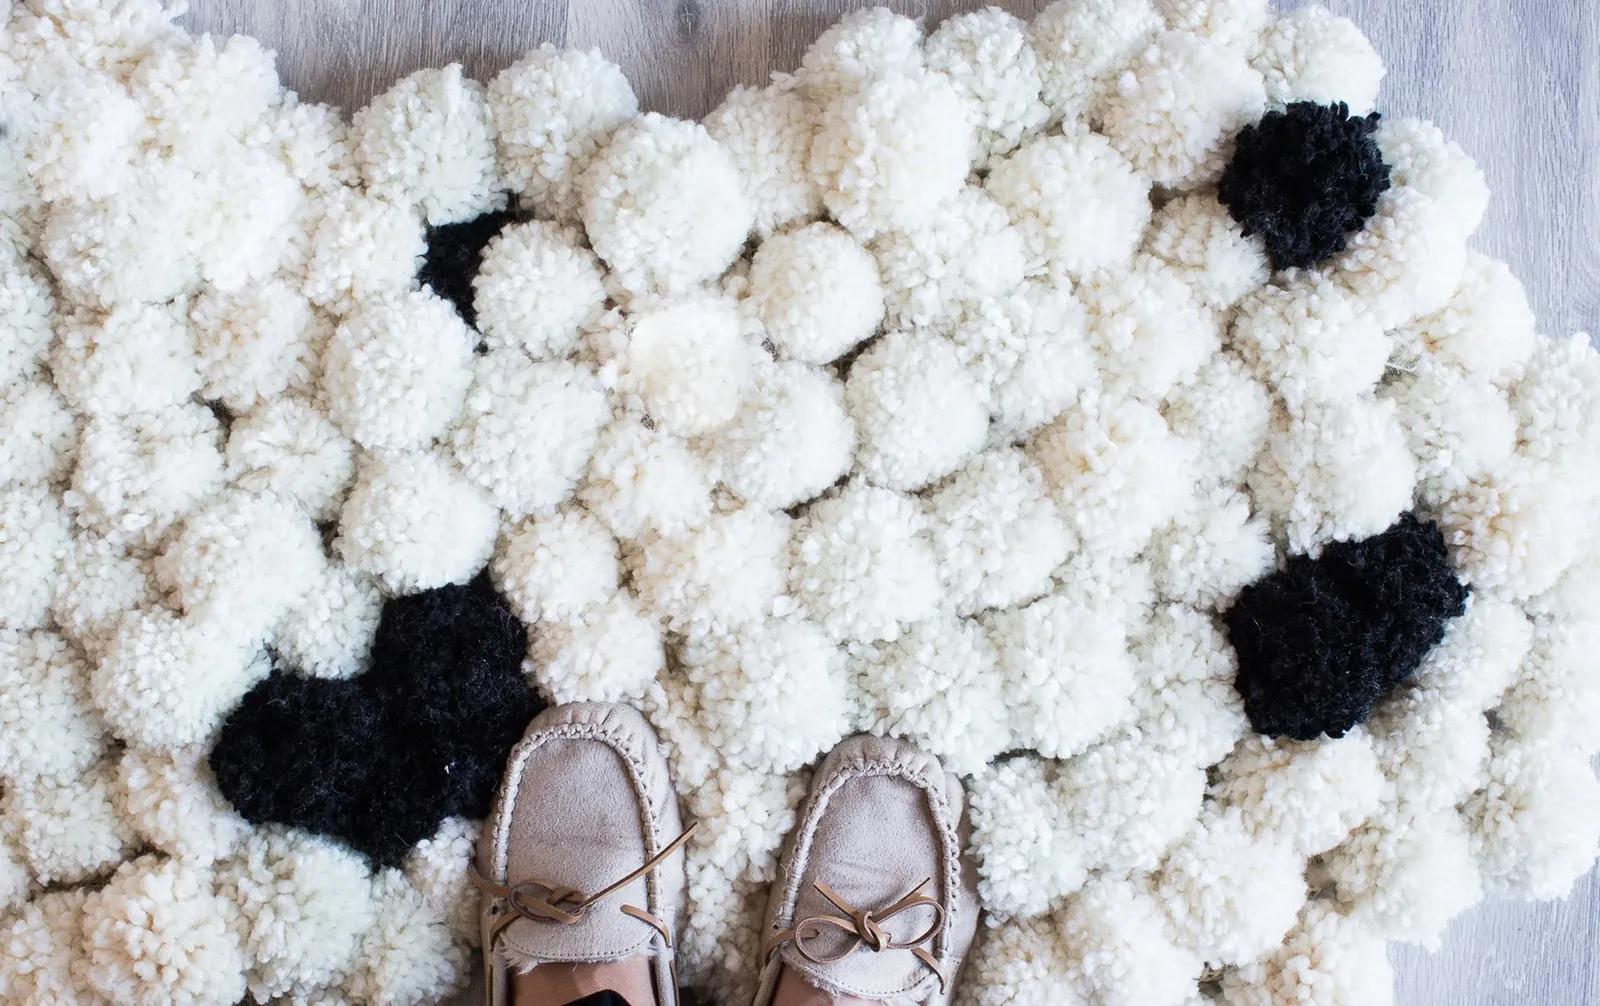
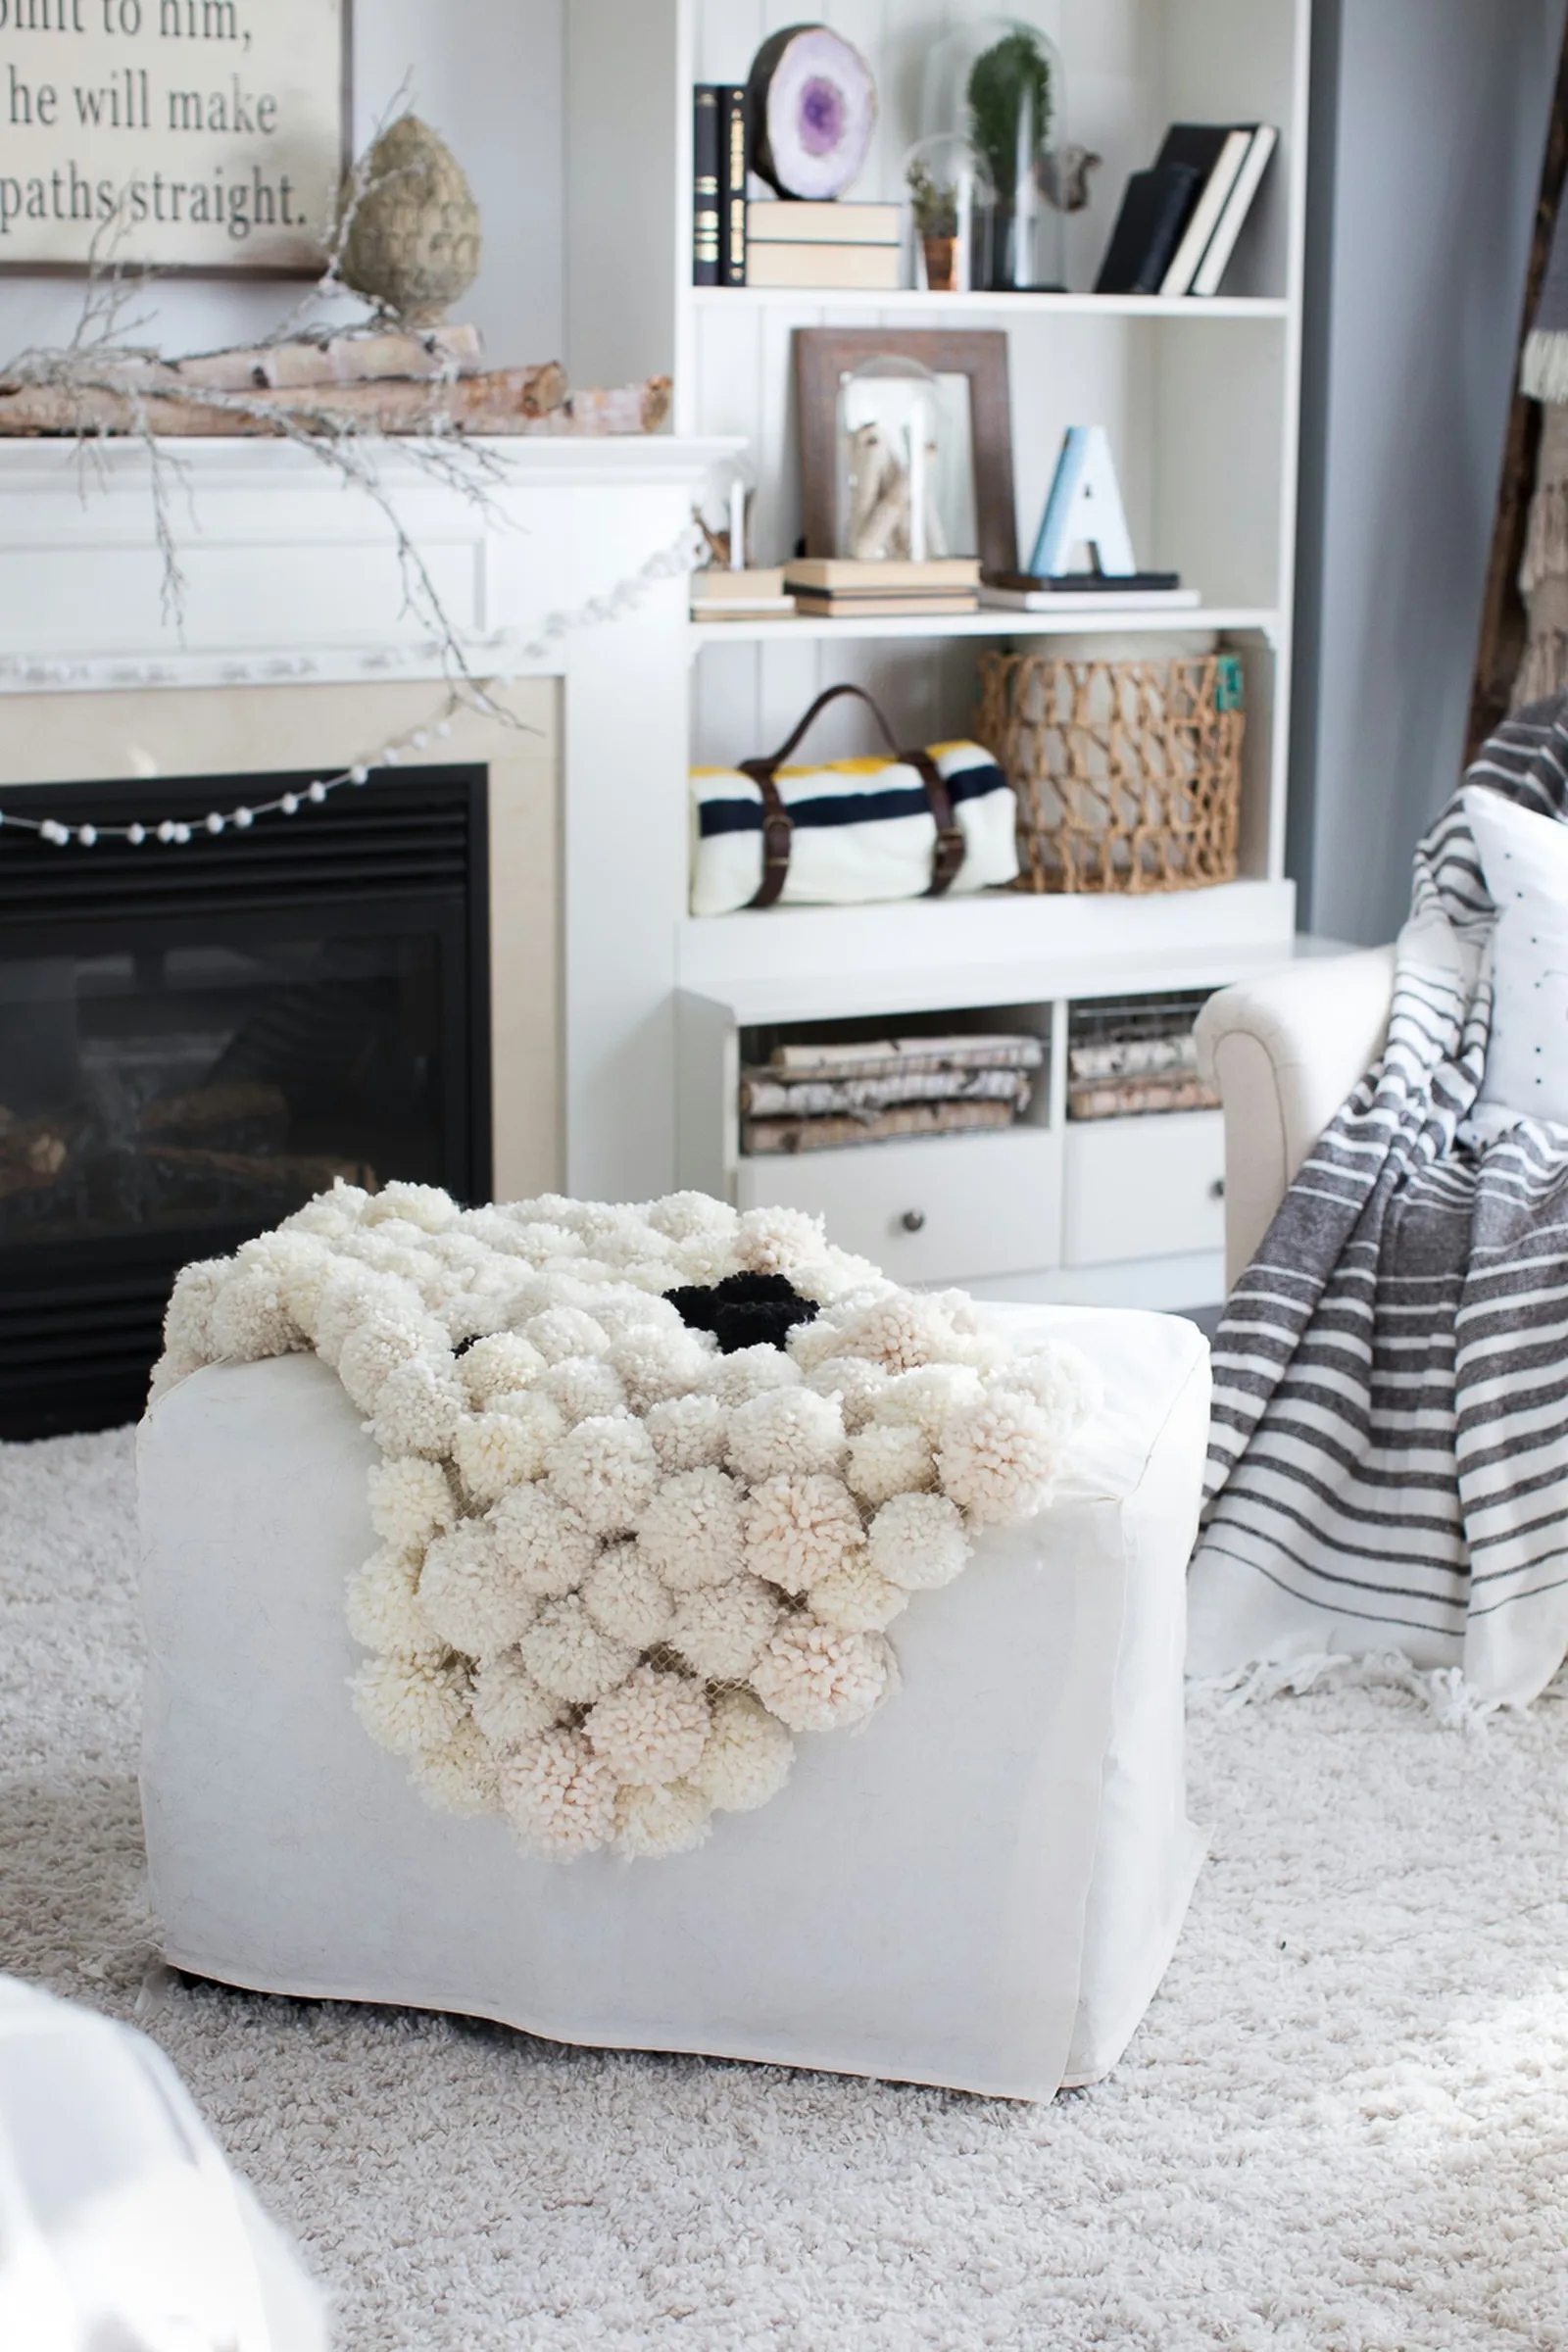
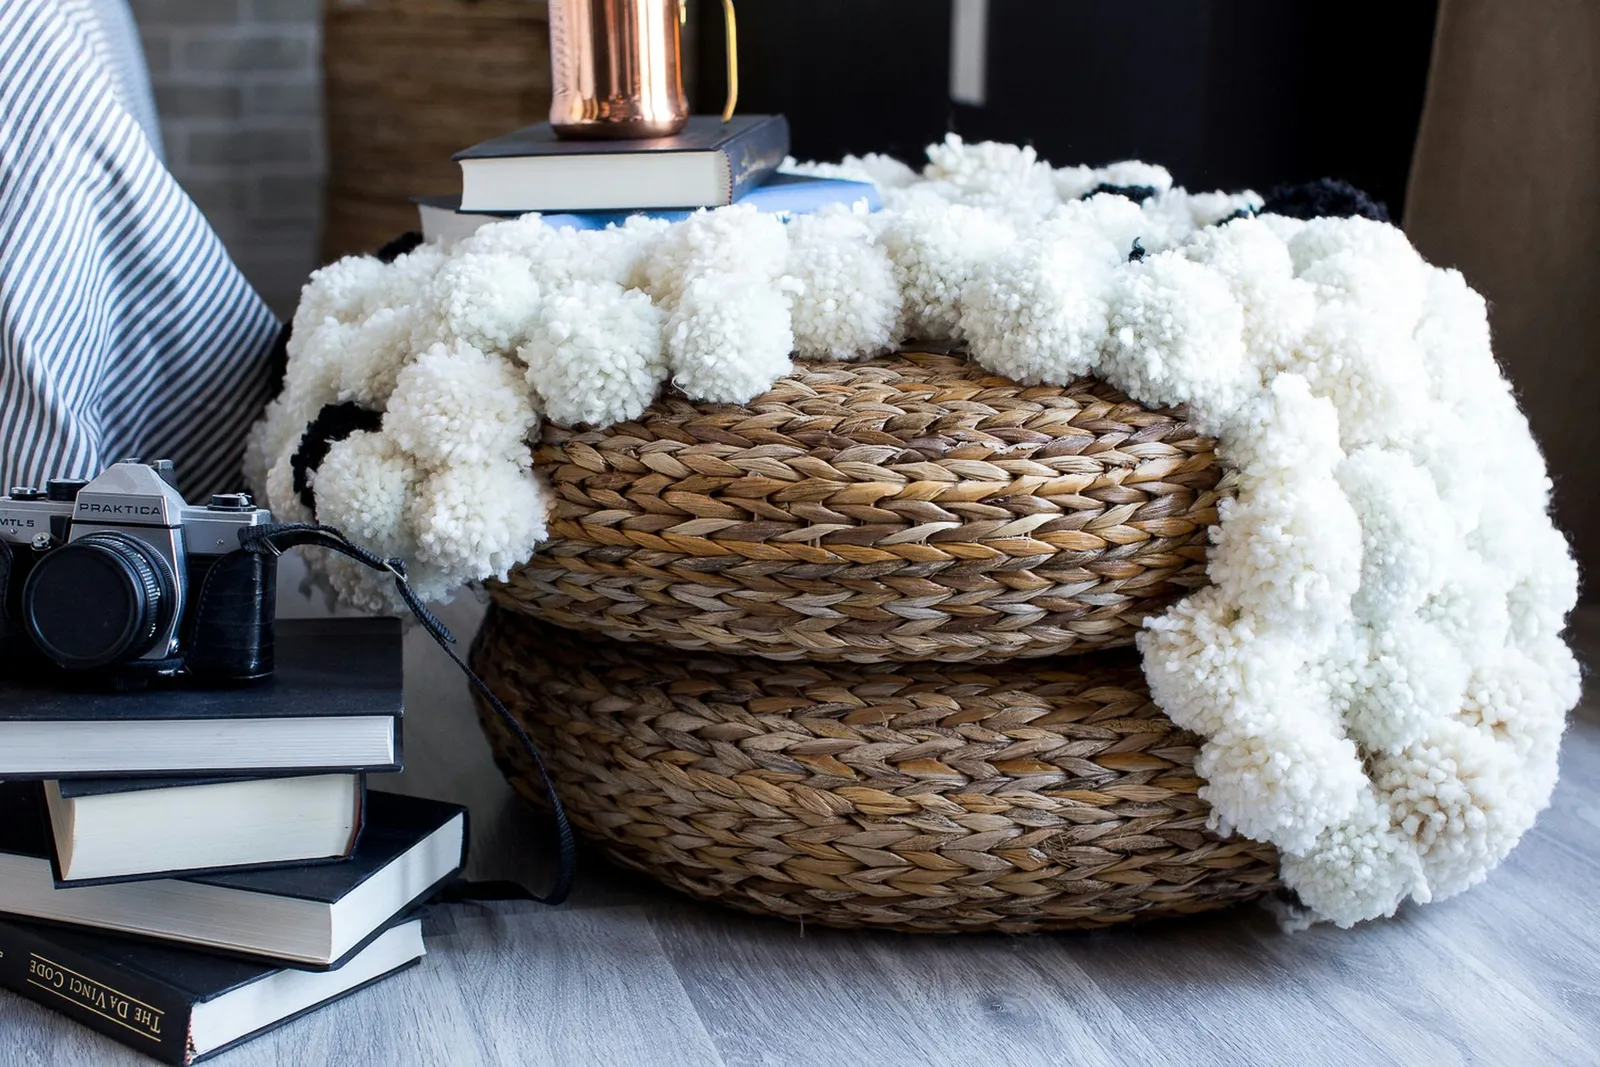
Finding a rug that perfectly fits your space in terms of shape, color, and size can be a challenge. Instead, you can make your own rug that is both soft and cozy, and tailored to your decor. Playful pom-poms introduce delightful texture and warmth, offering a distinctive alternative to a sheepskin rug.
Step 1
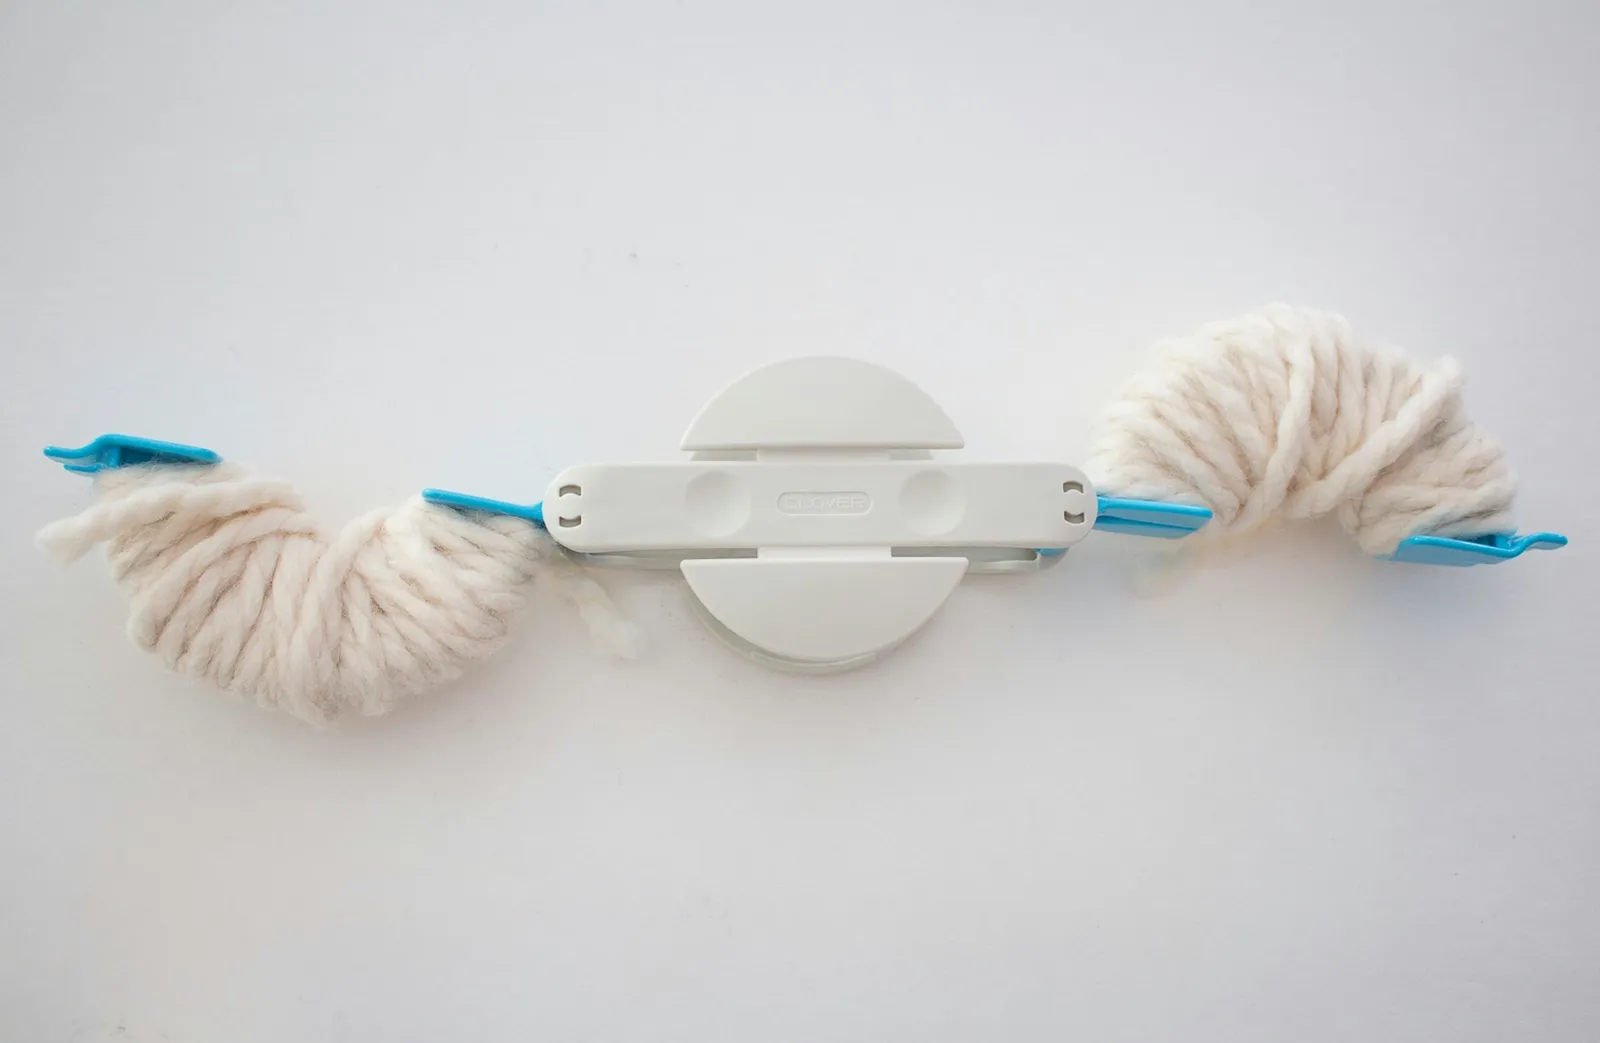
Begin winding yarn around each arch, starting from the left side and moving to the right. Ensure that both arches are completely covered with yarn.
Step 2
Continue wrapping the yarn around the pom-pom maker until its surface is covered, then close it securely.
Step 3
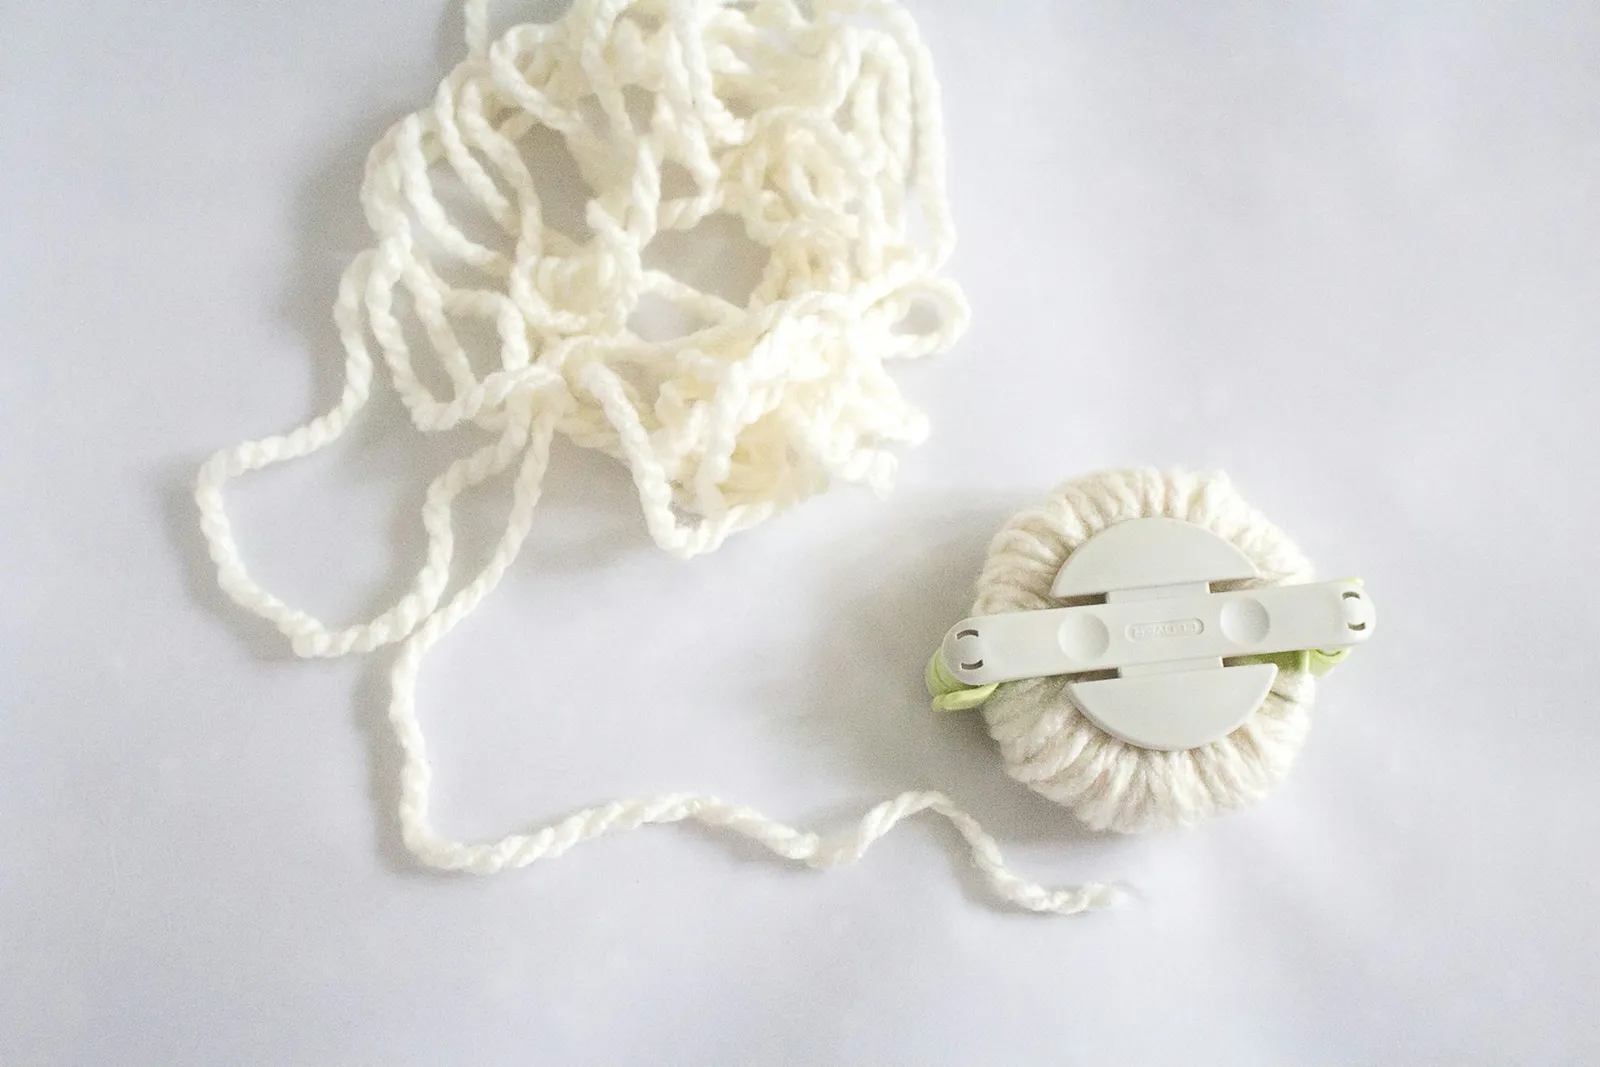
Insert scissors into the gap between the arches and carefully cut through the yarn.
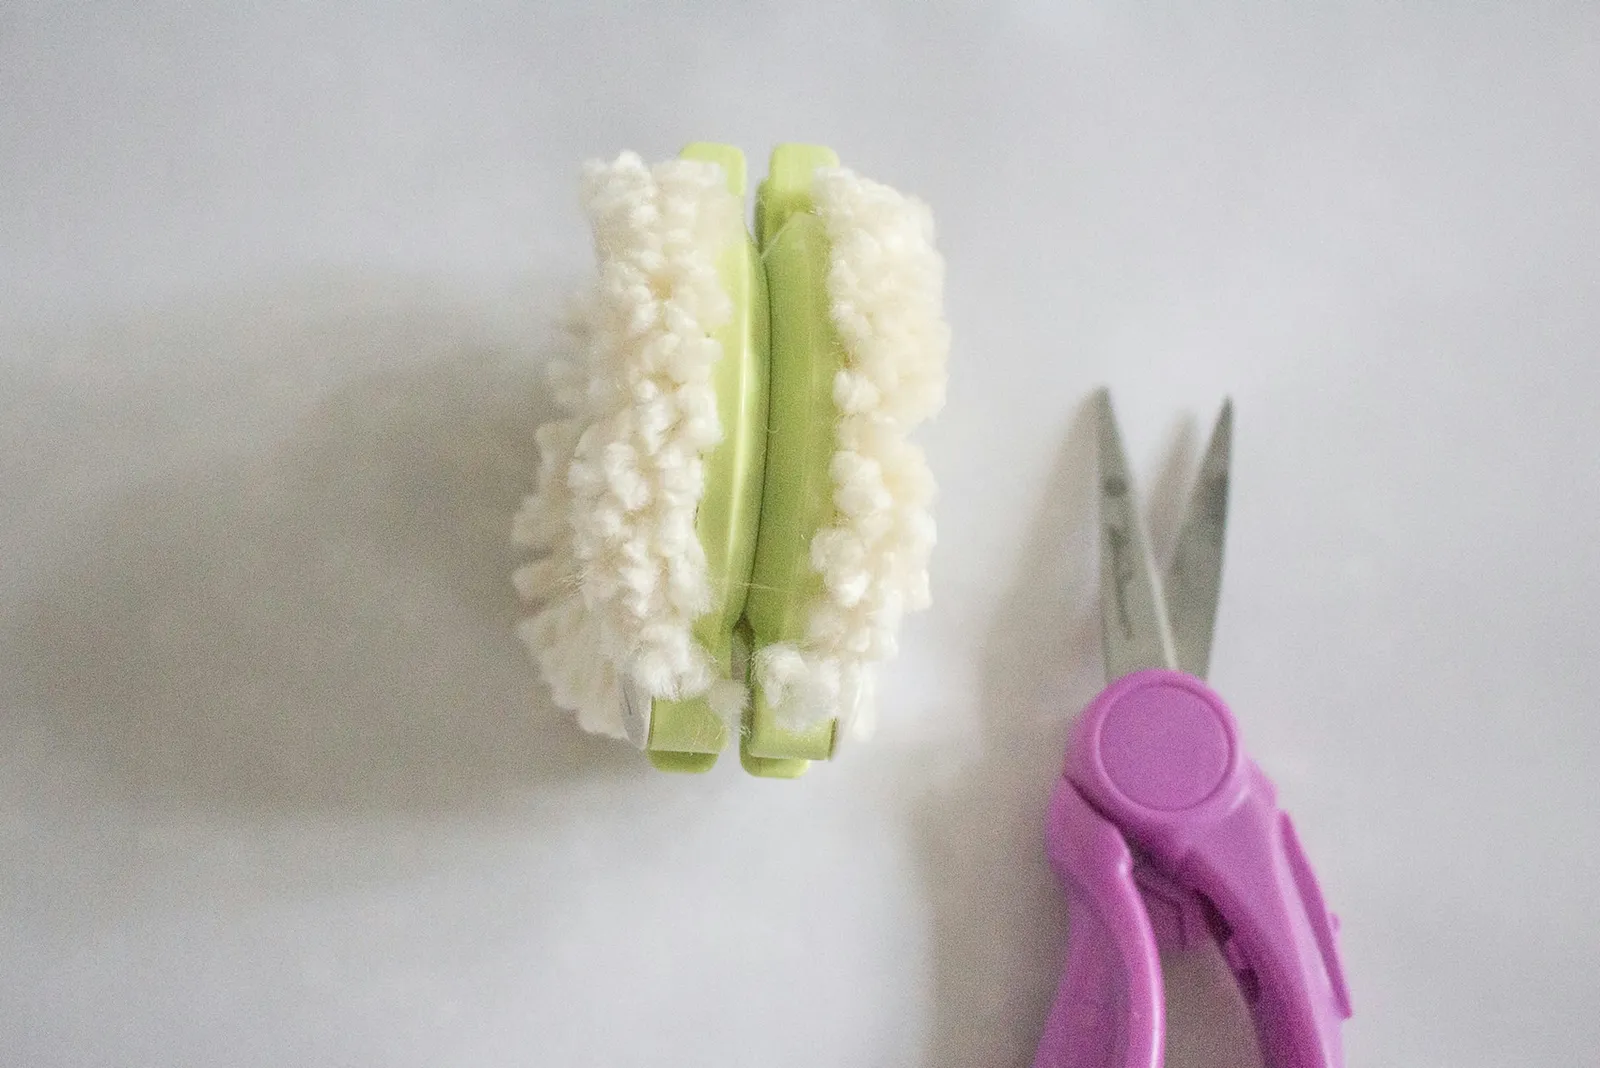
Step 4
Cut a long piece of yarn and thread it between the arches. Tie it with a tight double knot. Do not cut off the long tails of yarn — they will be used to attach the pom-pom to the under-padding.
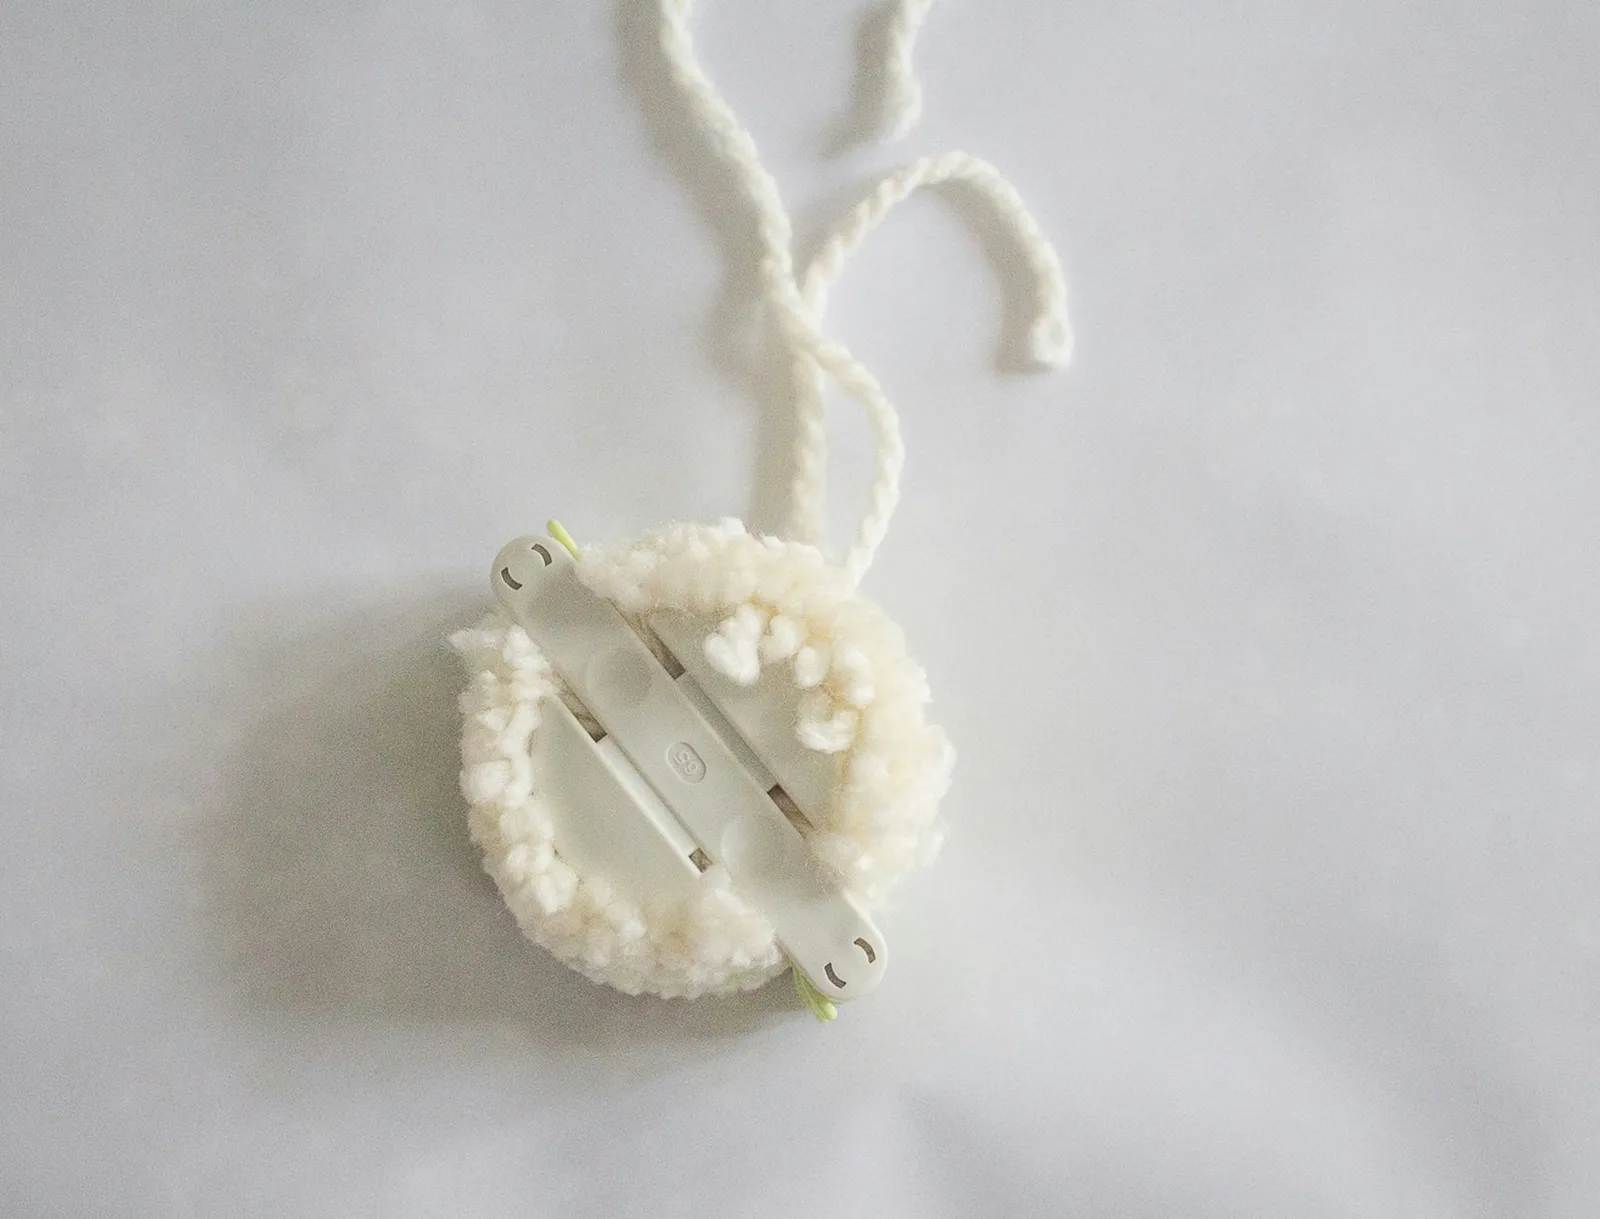
Step 5
Open the pom-pom maker by separating its top and bottom to release the pom-pom. Fluff and shape it as desired.
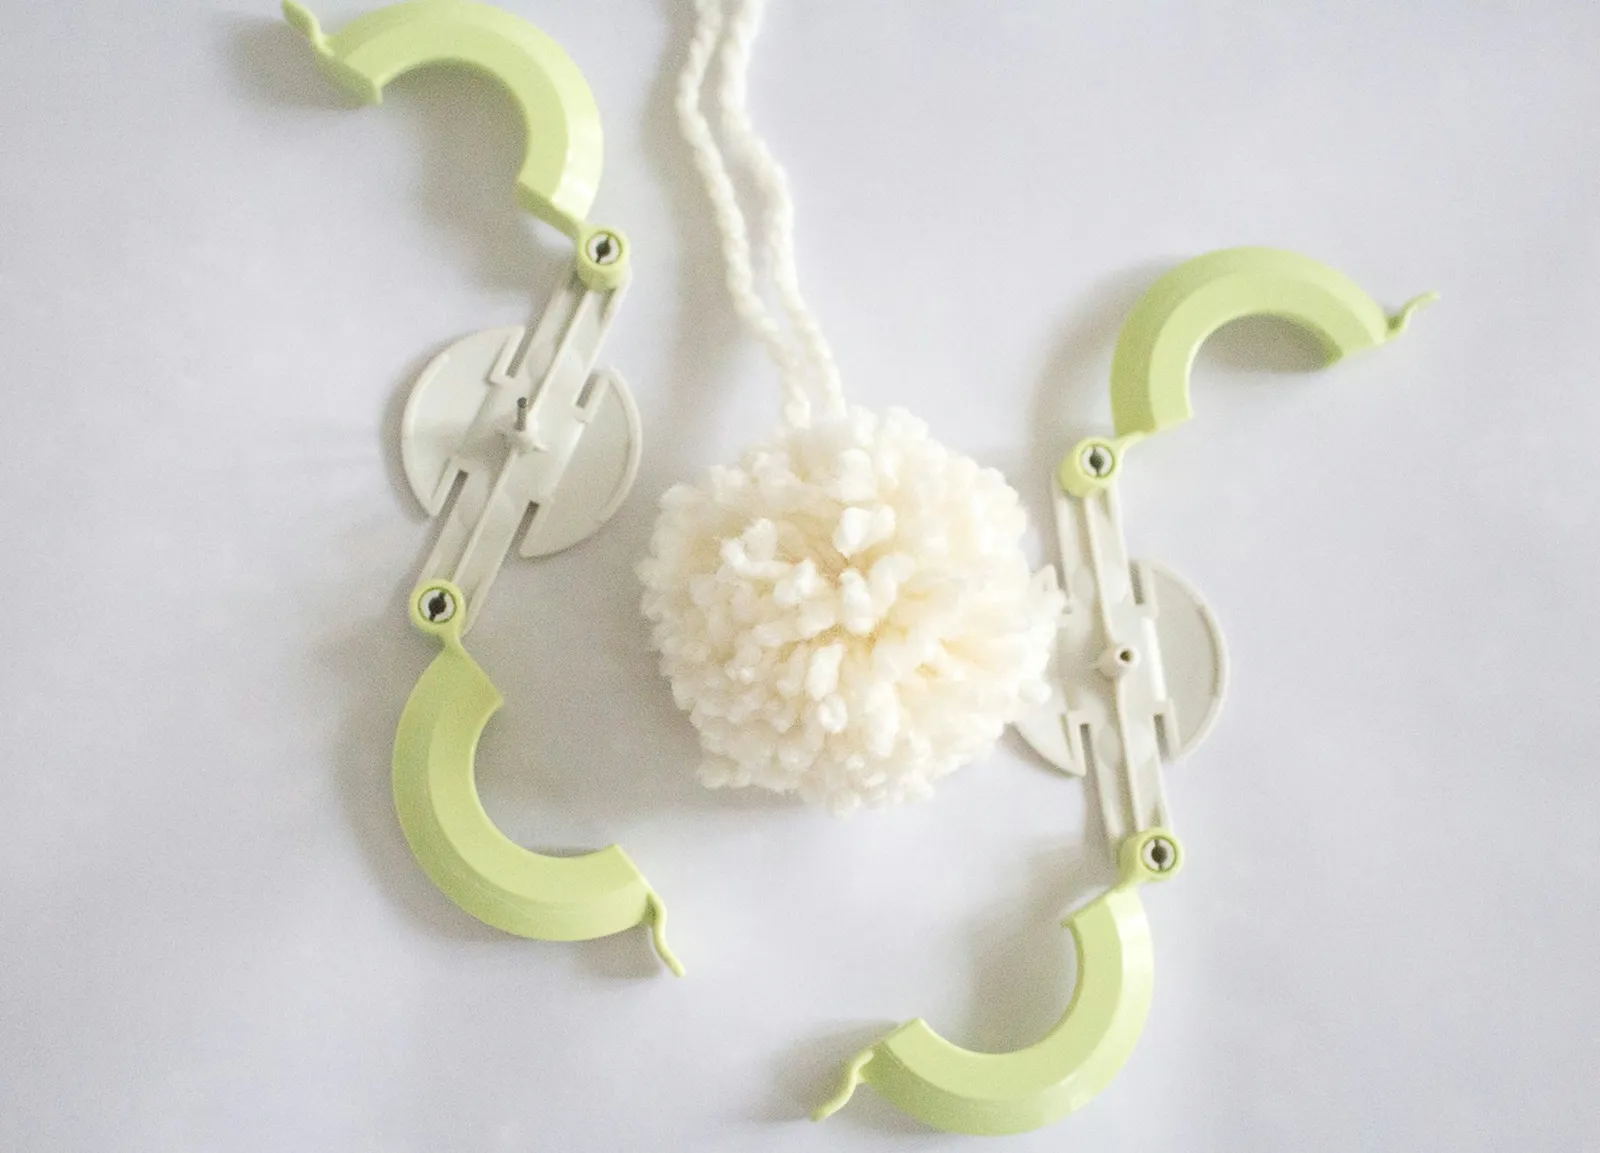
Step 6
Trim and shape any longer strands of yarn on the pom-pom, but keep the long tails intact.
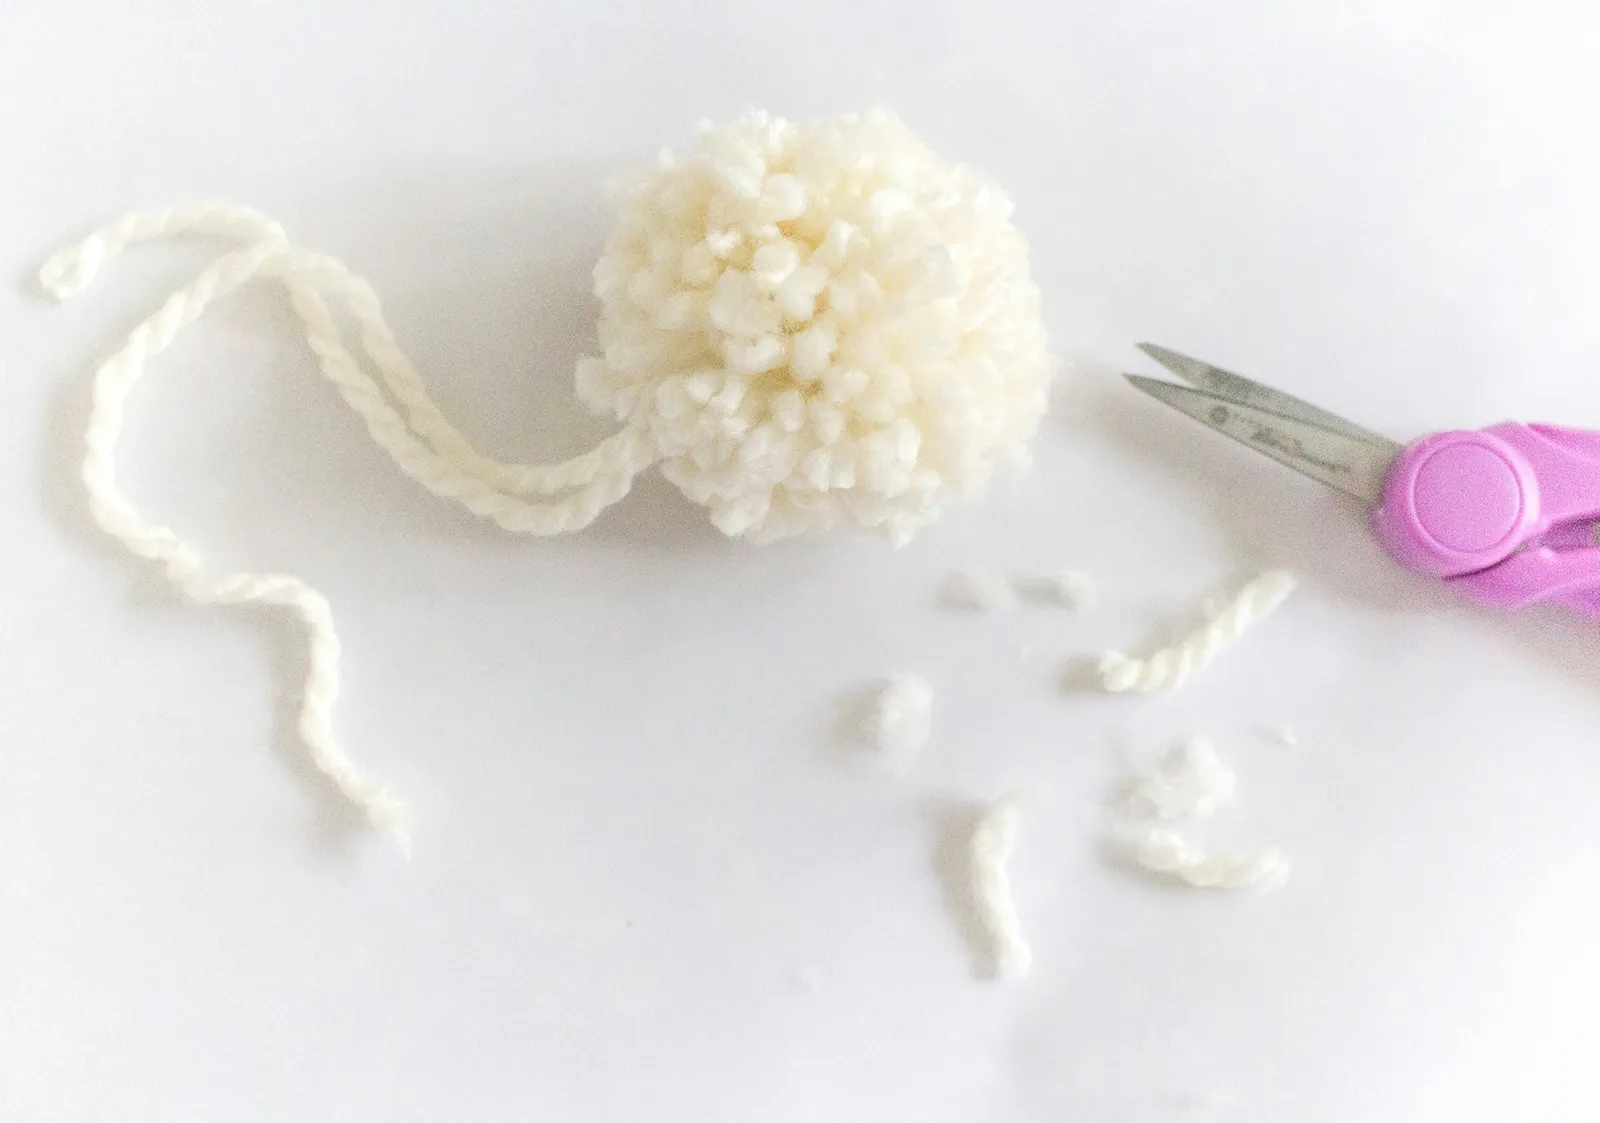
Step 7
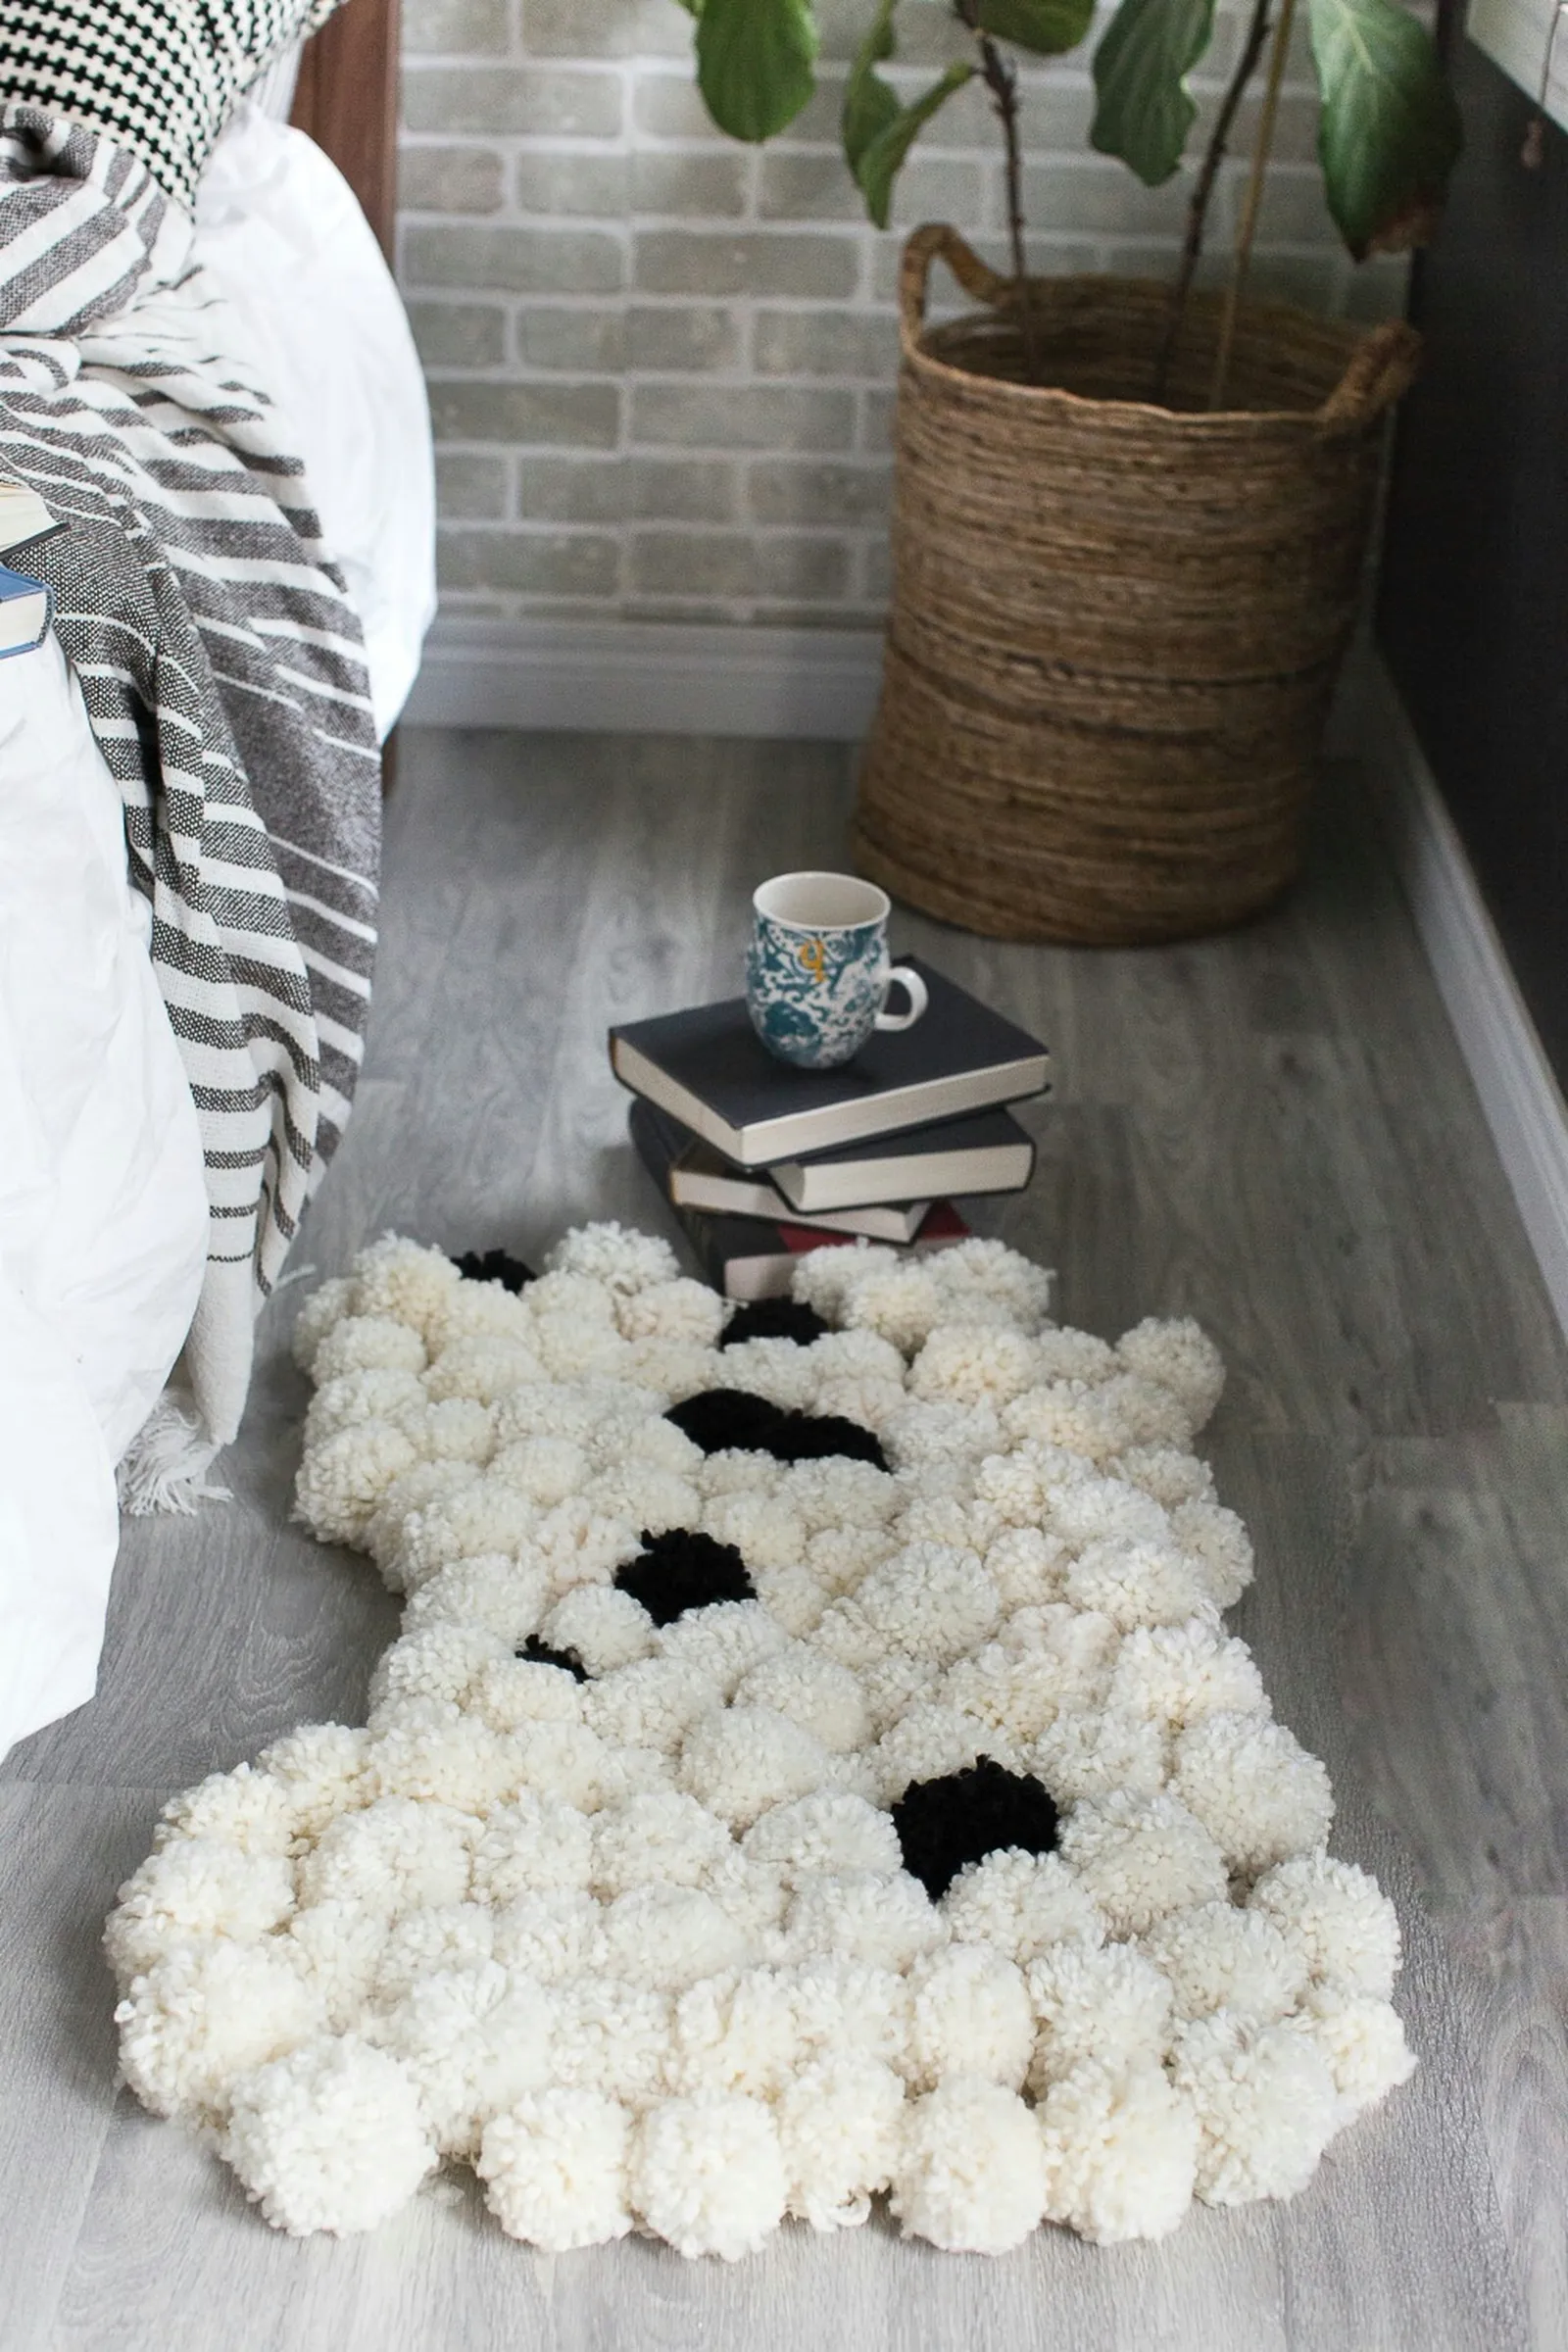
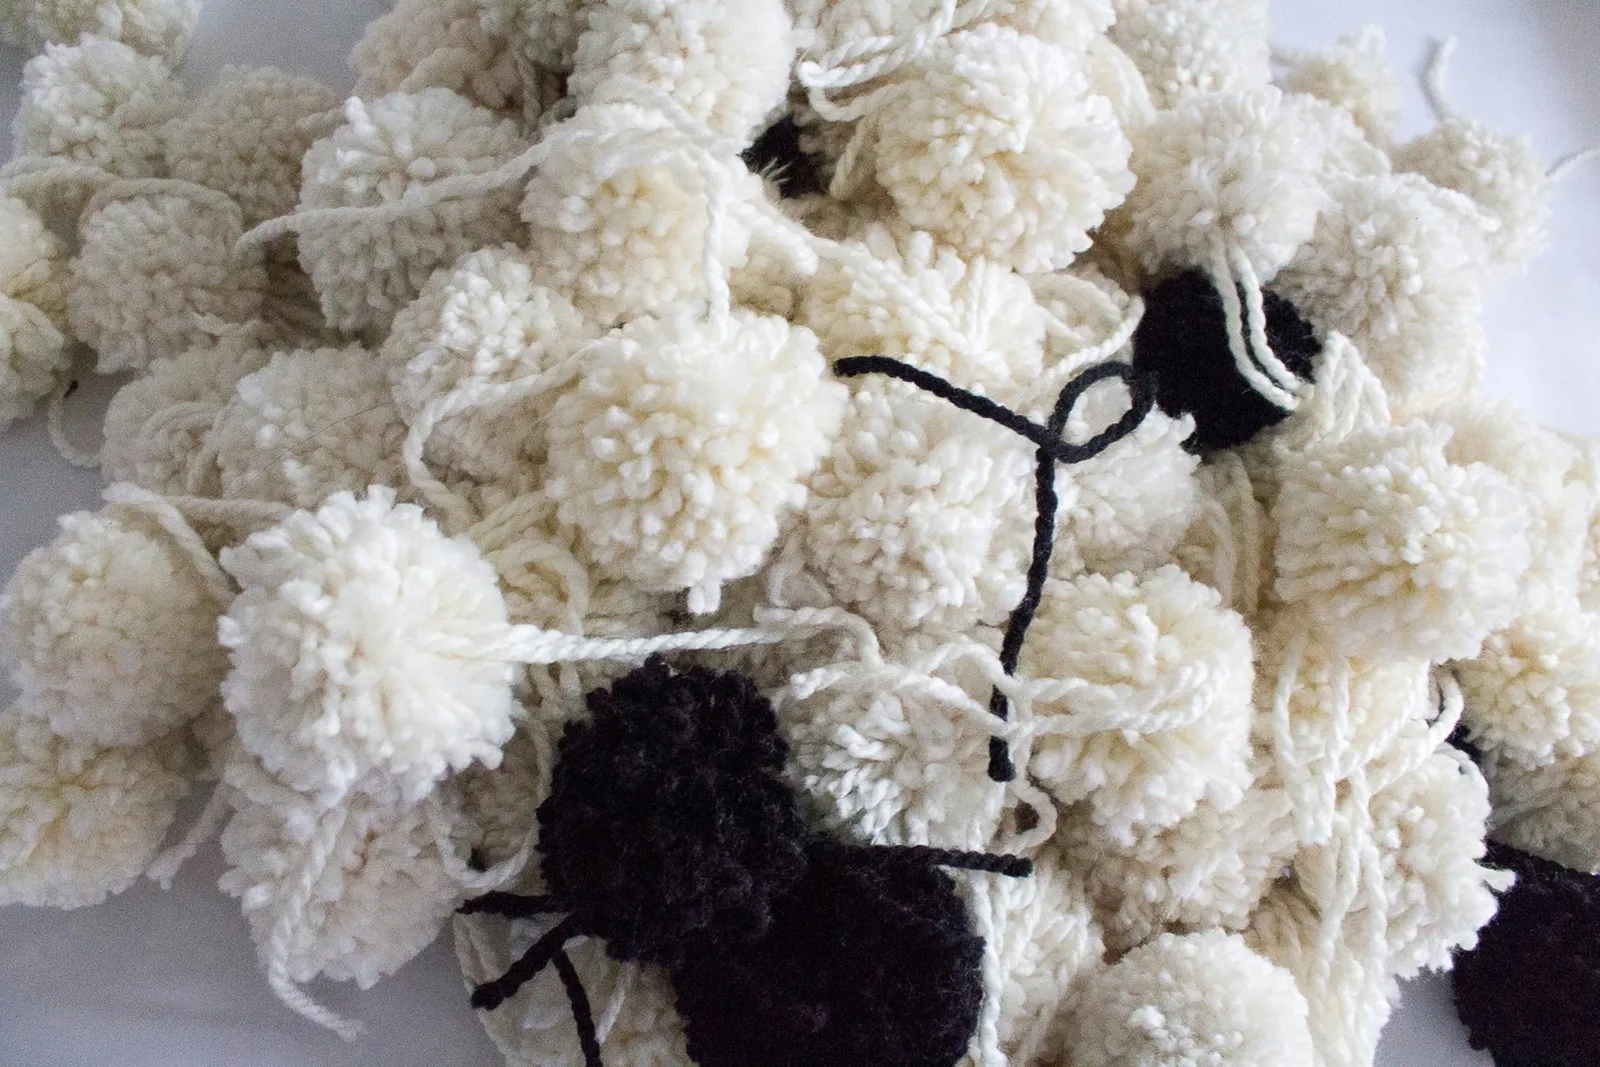
Produce as many pom-poms as necessary for your intended rug size. The rug shown here measures 3 feet by 1½ feet and used 12 skeins of yarn, resulting in about 120 pom-poms.
Step 8
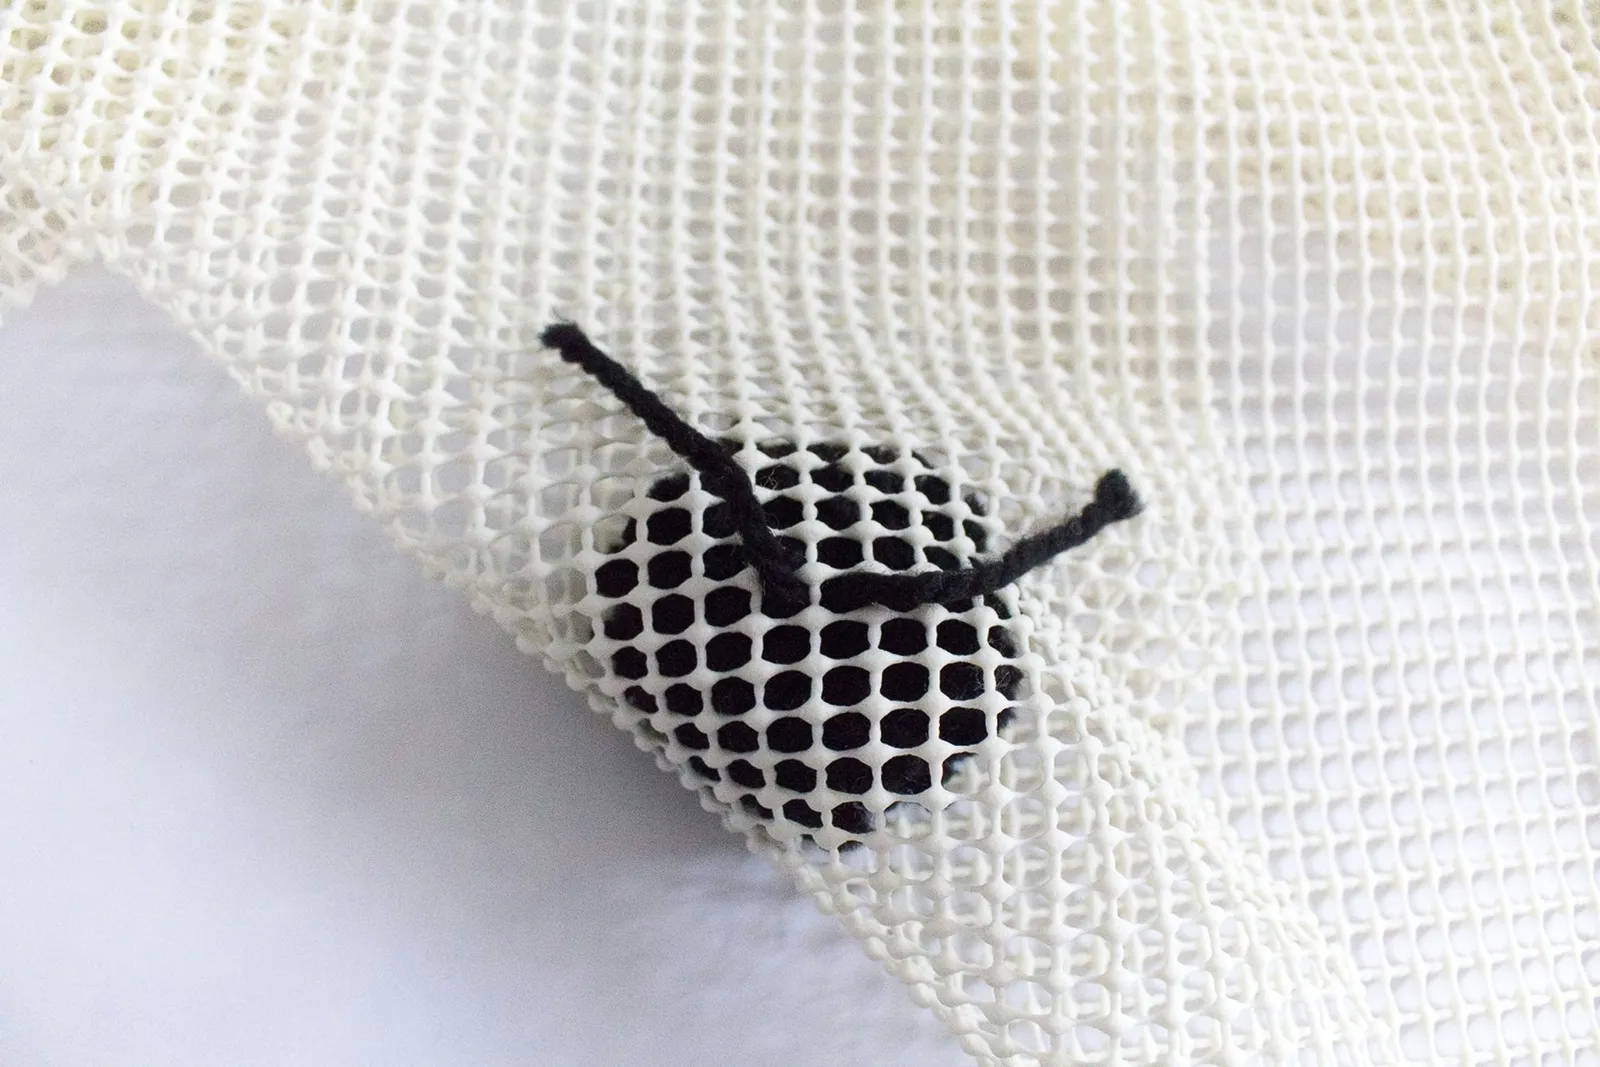
Pass the long tails of a pom-pom through the holes in the non-skid rug pad.
Step 9
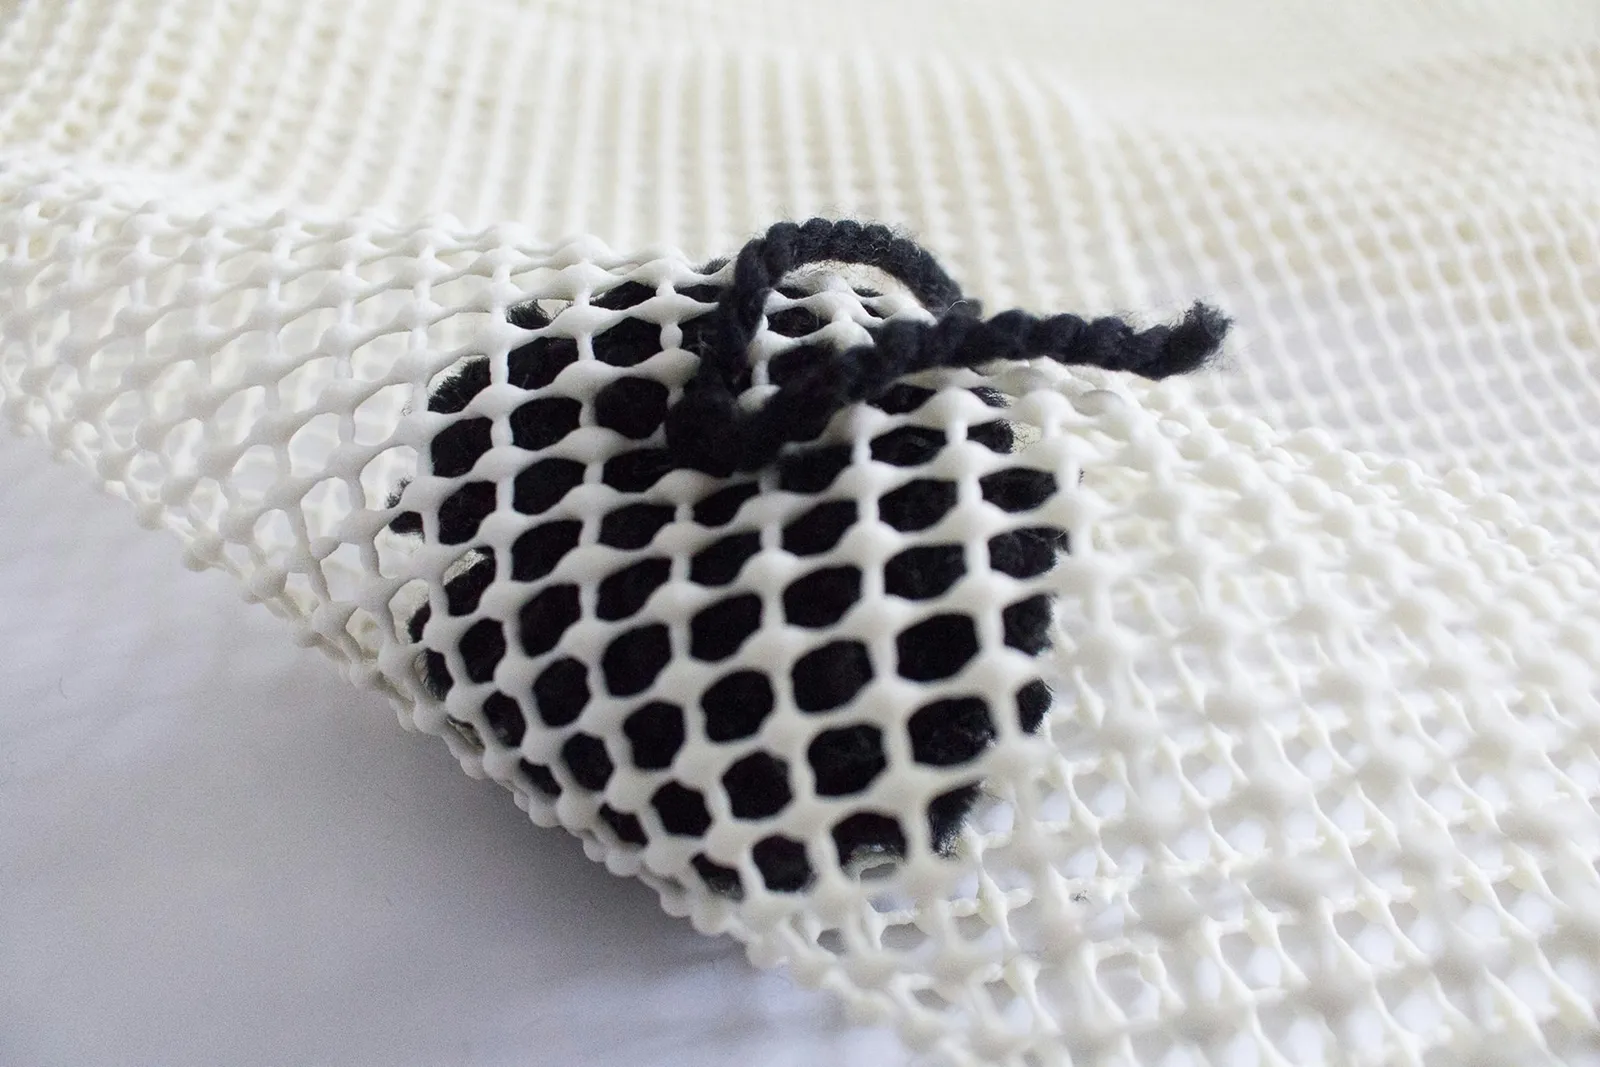
Tie the yarn with a secure double knot and trim the ends.
Step 10
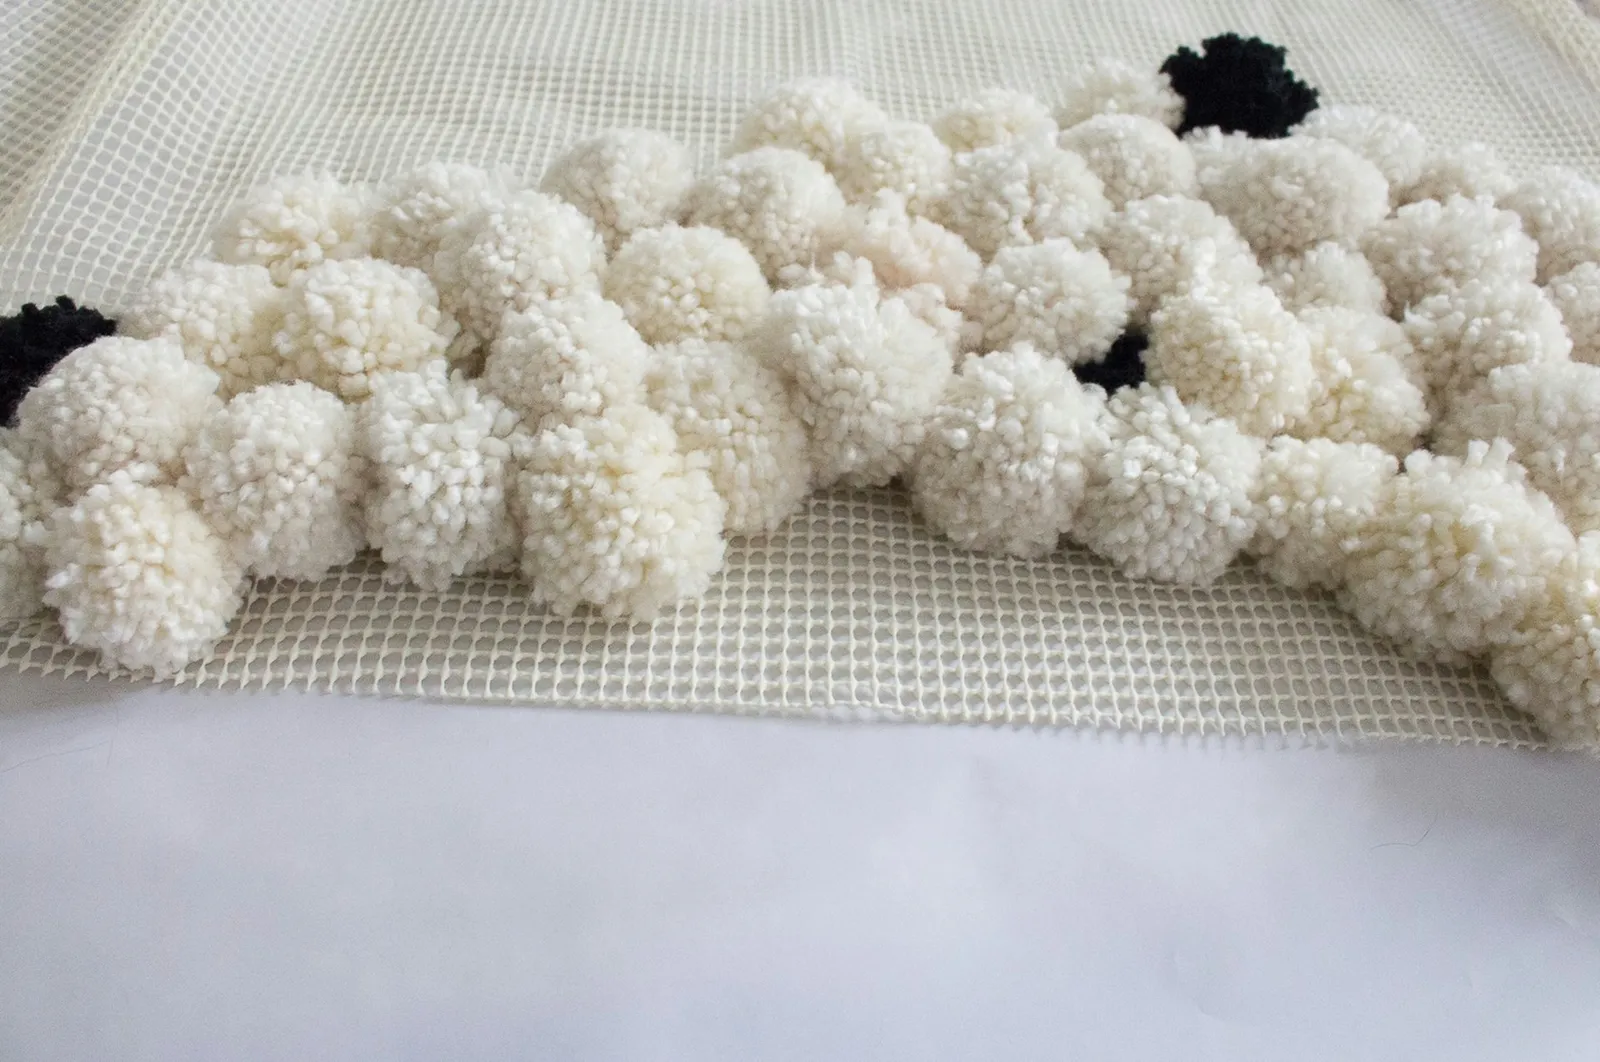
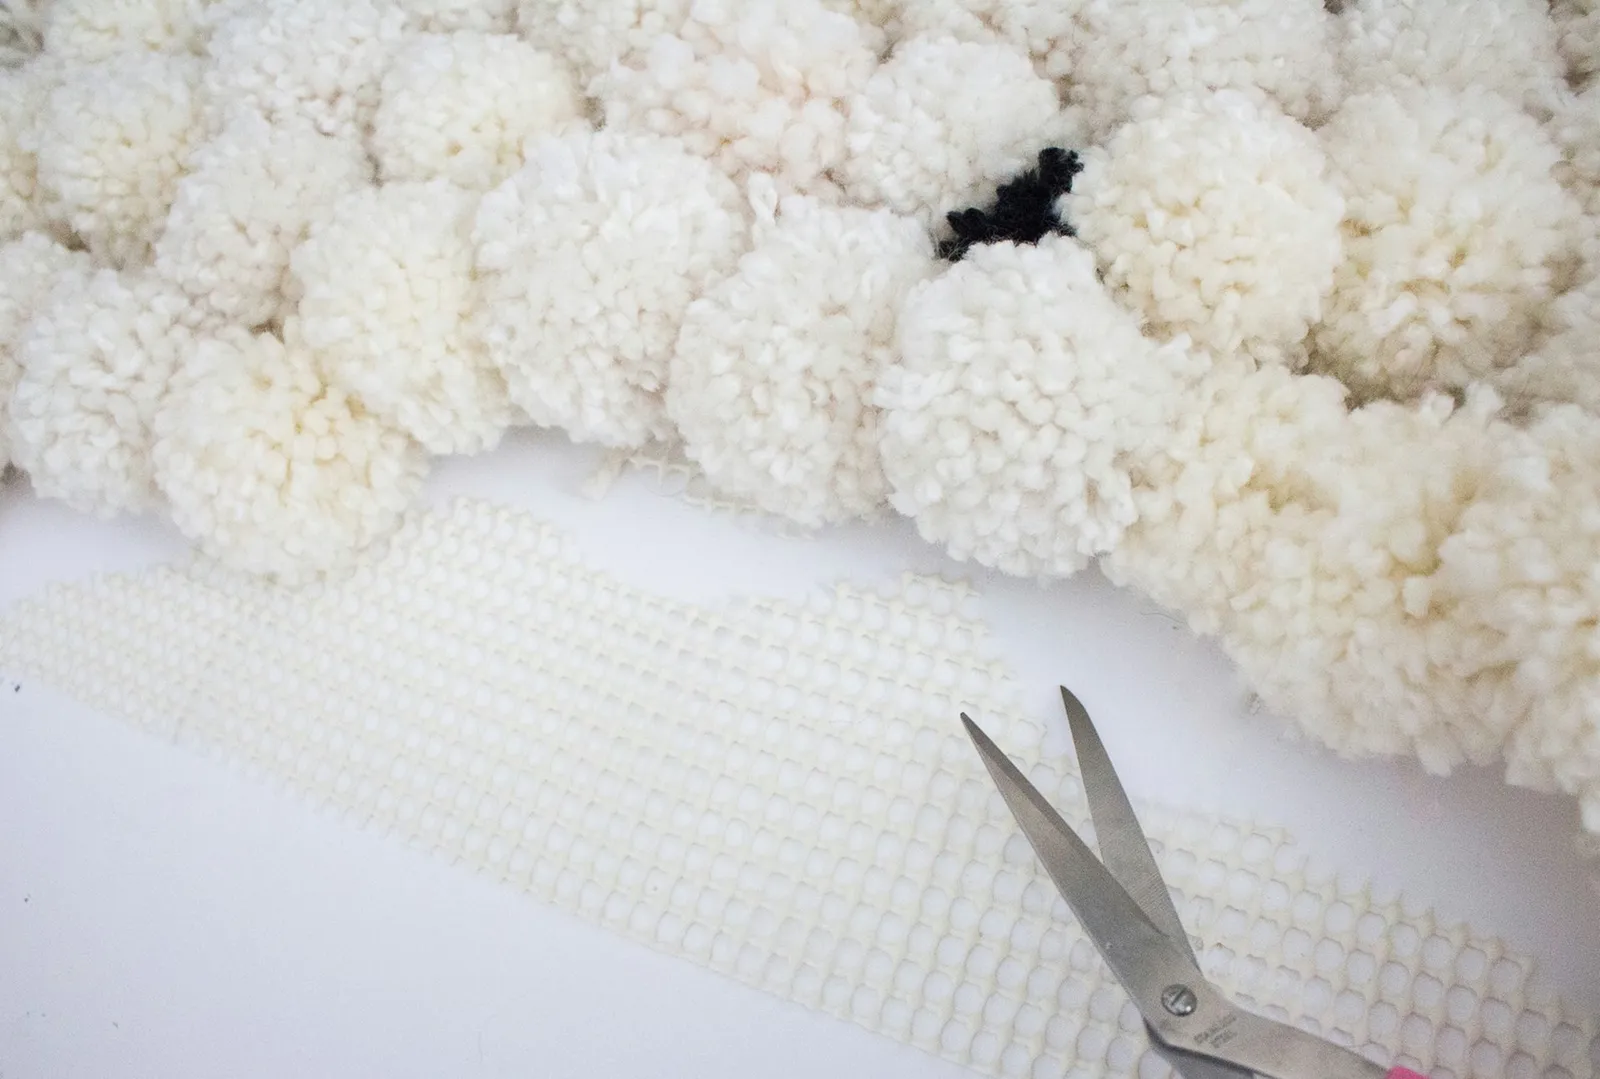
Keep threading pom-poms through the rug pad and tying each one firmly in place. For this rug, the pom-poms were arranged in an organic, irregular shape to add visual interest, but you can also tie them in a more uniform pattern to create a perfectly rectangular or round rug.
Step 11
Use scissors to trim away any excess padding.
These pom-pom rugs can be draped over a chair, placed at the foot of your bed, or even hung on a wall. There are no fixed rules when it comes to designing your own unique space!