Crafting a Fragrant Lavender Wreath: A Step-by-Step Guide
Create a beautiful and aromatic lavender wreath with this easy-to-follow tutorial. Perfect for home decor or as a thoughtful gift, this project uses dried lavender and a grapevine base to make a lasting, scented piece.
By Logan Davis10 steps
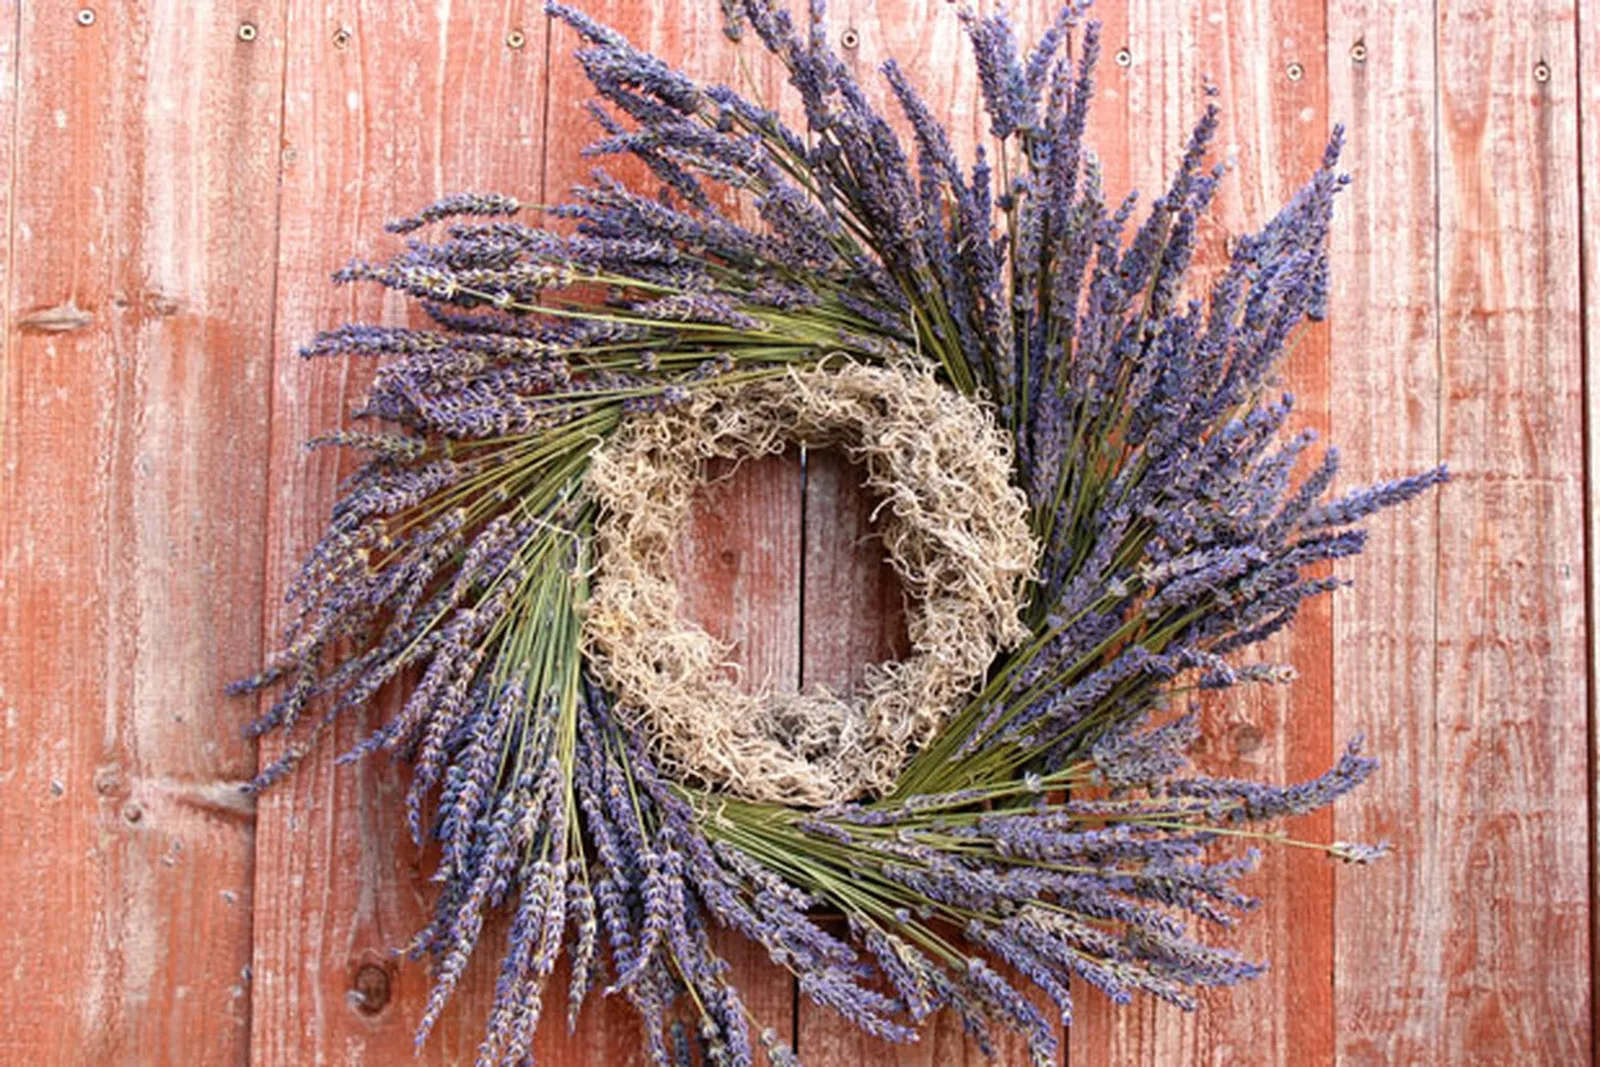
A lavender wreath is a beauty to behold.
A lavender wreath brings a calming fragrance and visual charm to any space. It can be displayed on a front door or above a fireplace, and it also serves as a thoughtful handmade gift.
Step 1
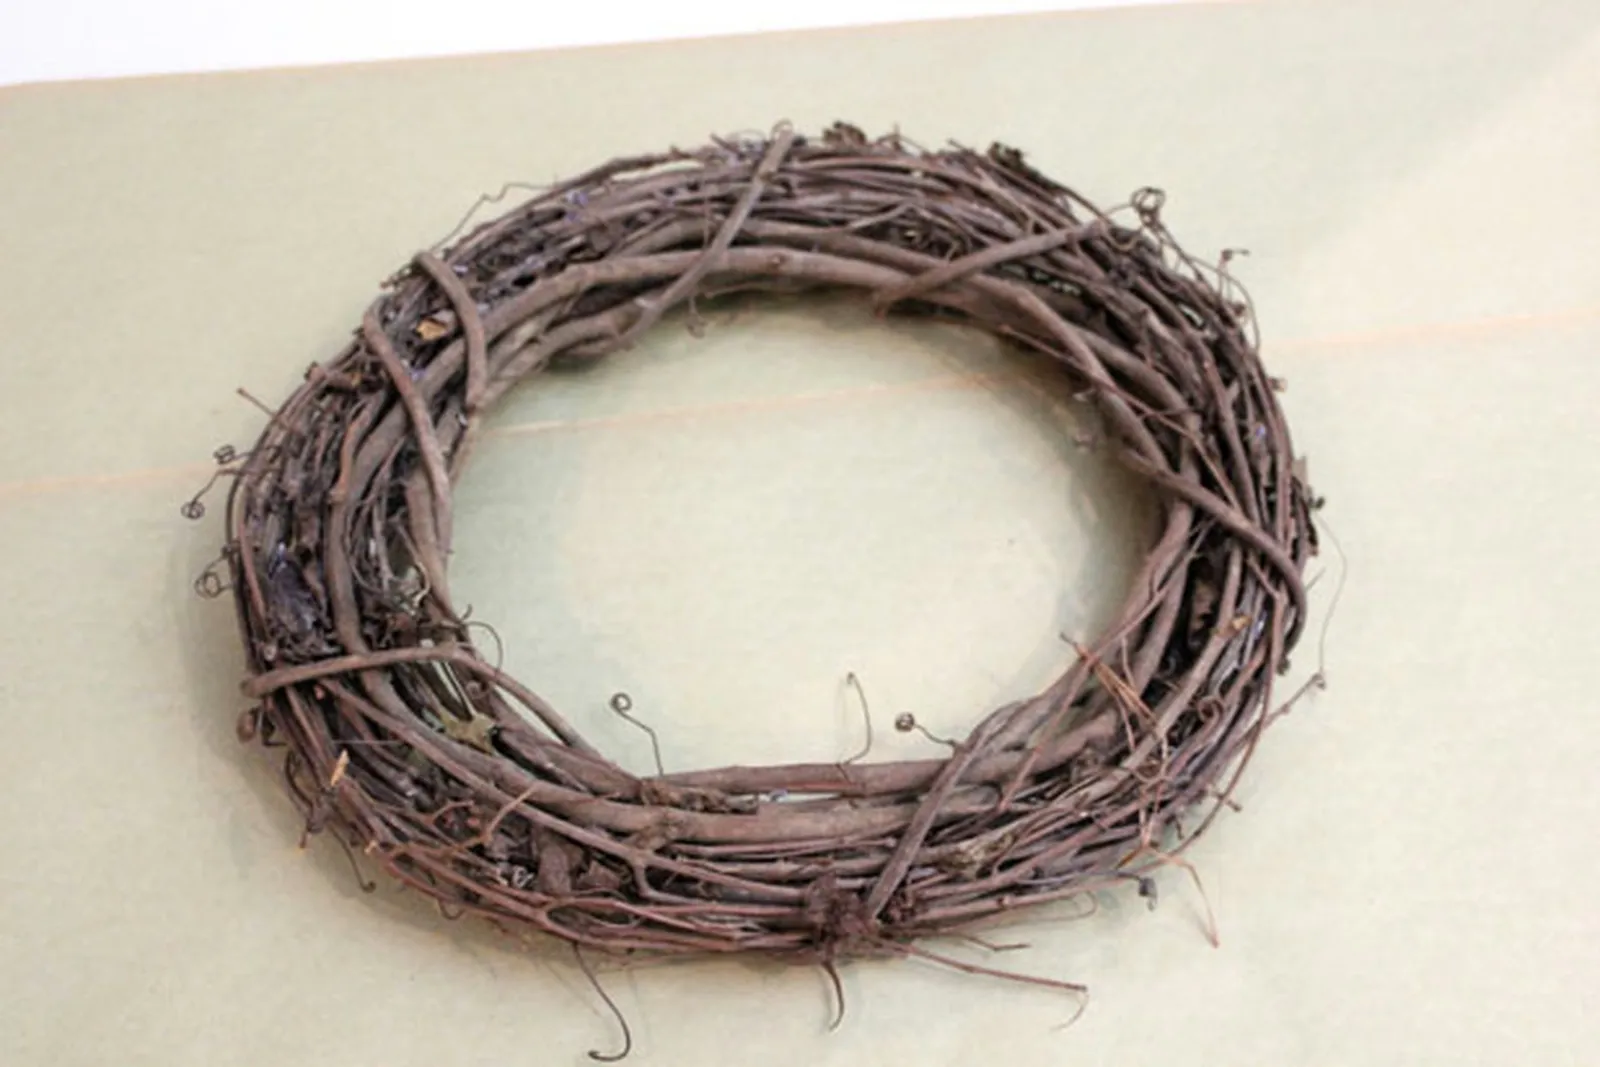
Start with a grapevine wreath form.
Choose a wreath form from a local craft store. A grapevine base is suggested because its vines blend naturally with the lavender stems. The example uses a 12-inch form, but the completed wreath will be bigger due to how the lavender is attached.
Step 2
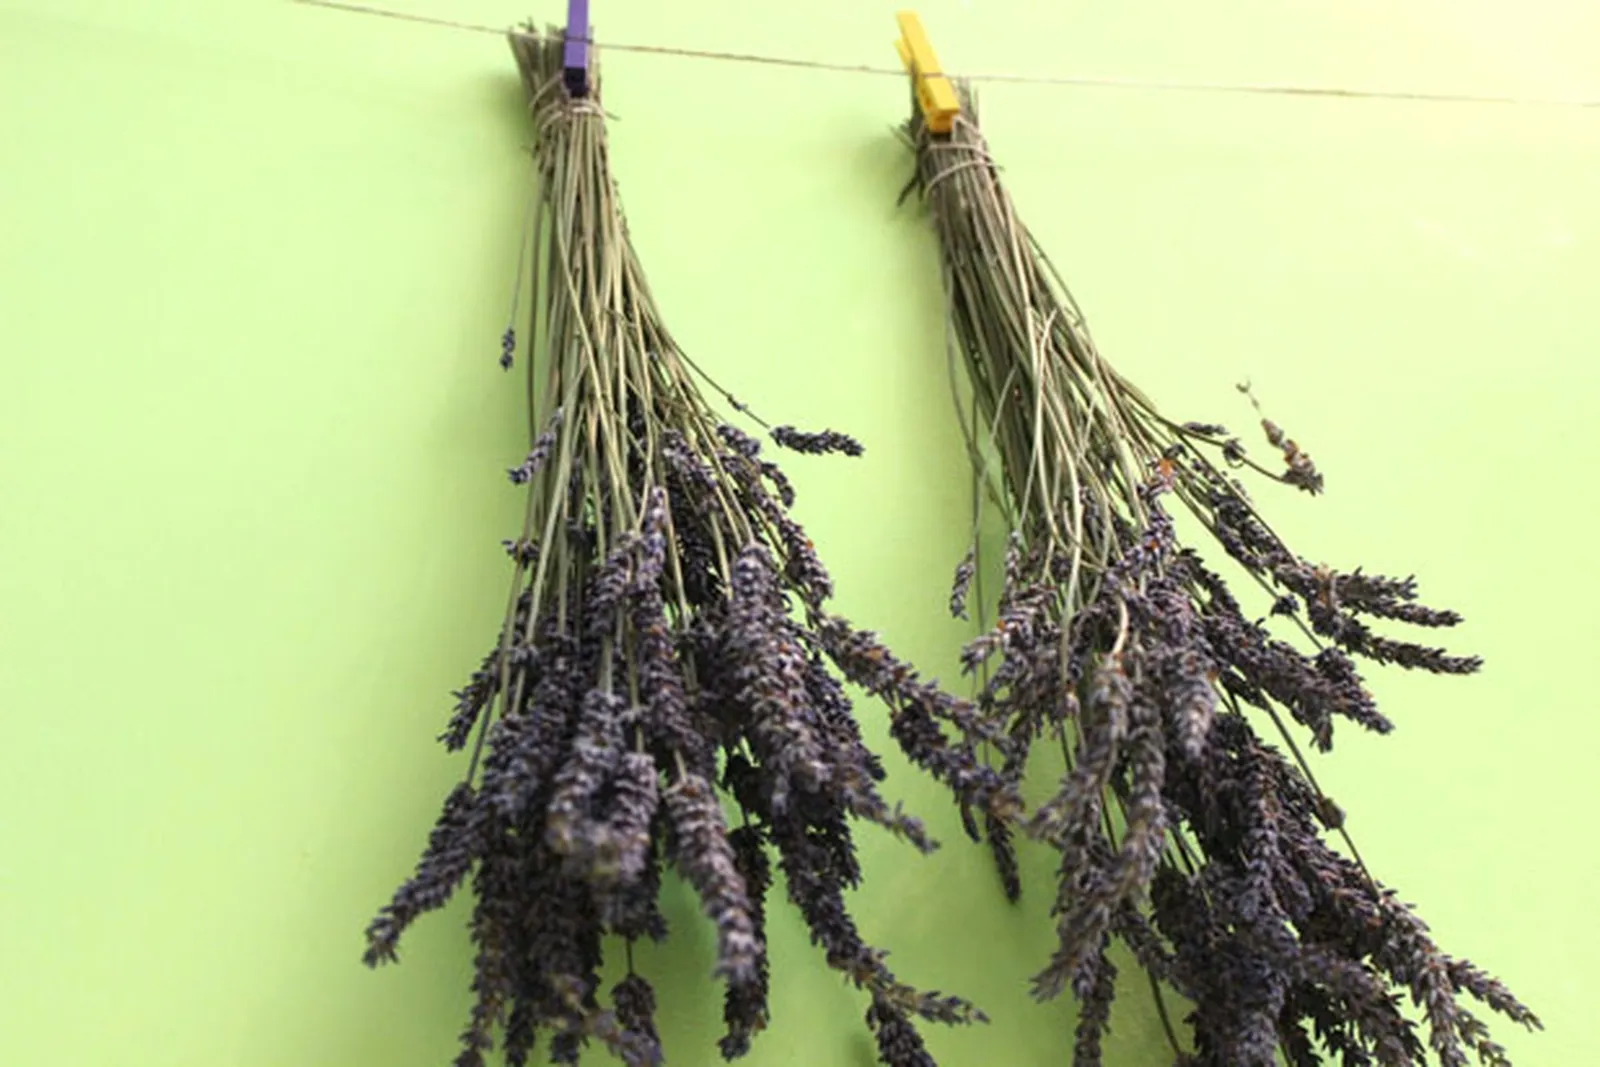
Dry the lavender upside down.
If you have fresh lavender from your garden, dry it by hanging small bundles upside down for roughly two weeks. Alternatively, you can buy dried lavender online from farms that specialize in it.
Step 3
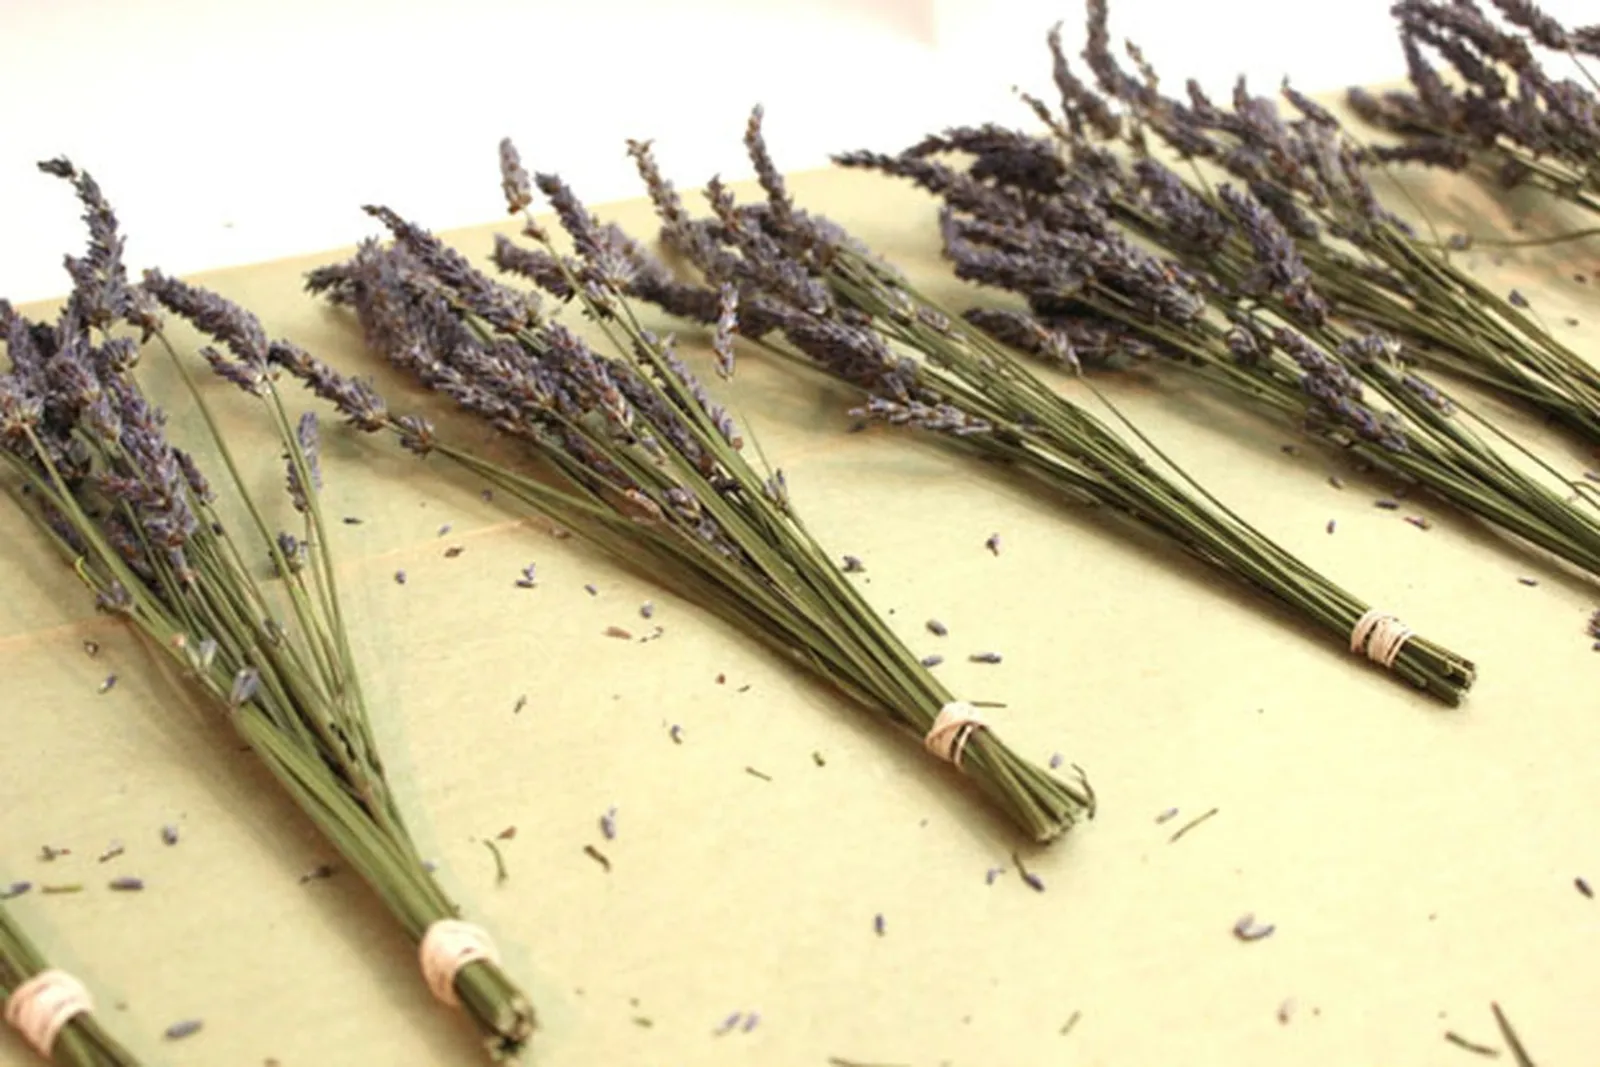
Gather the lavender into bunches.
Create bundles of about 20 lavender stems each. Spread the flower heads so they are not all at the same level; this will make the wreath look fuller and hide more of the stems. Trim each bundle to around 10 inches and secure it with a rubber band. You will need approximately 12 to 14 bundles for the entire wreath.
Step 4
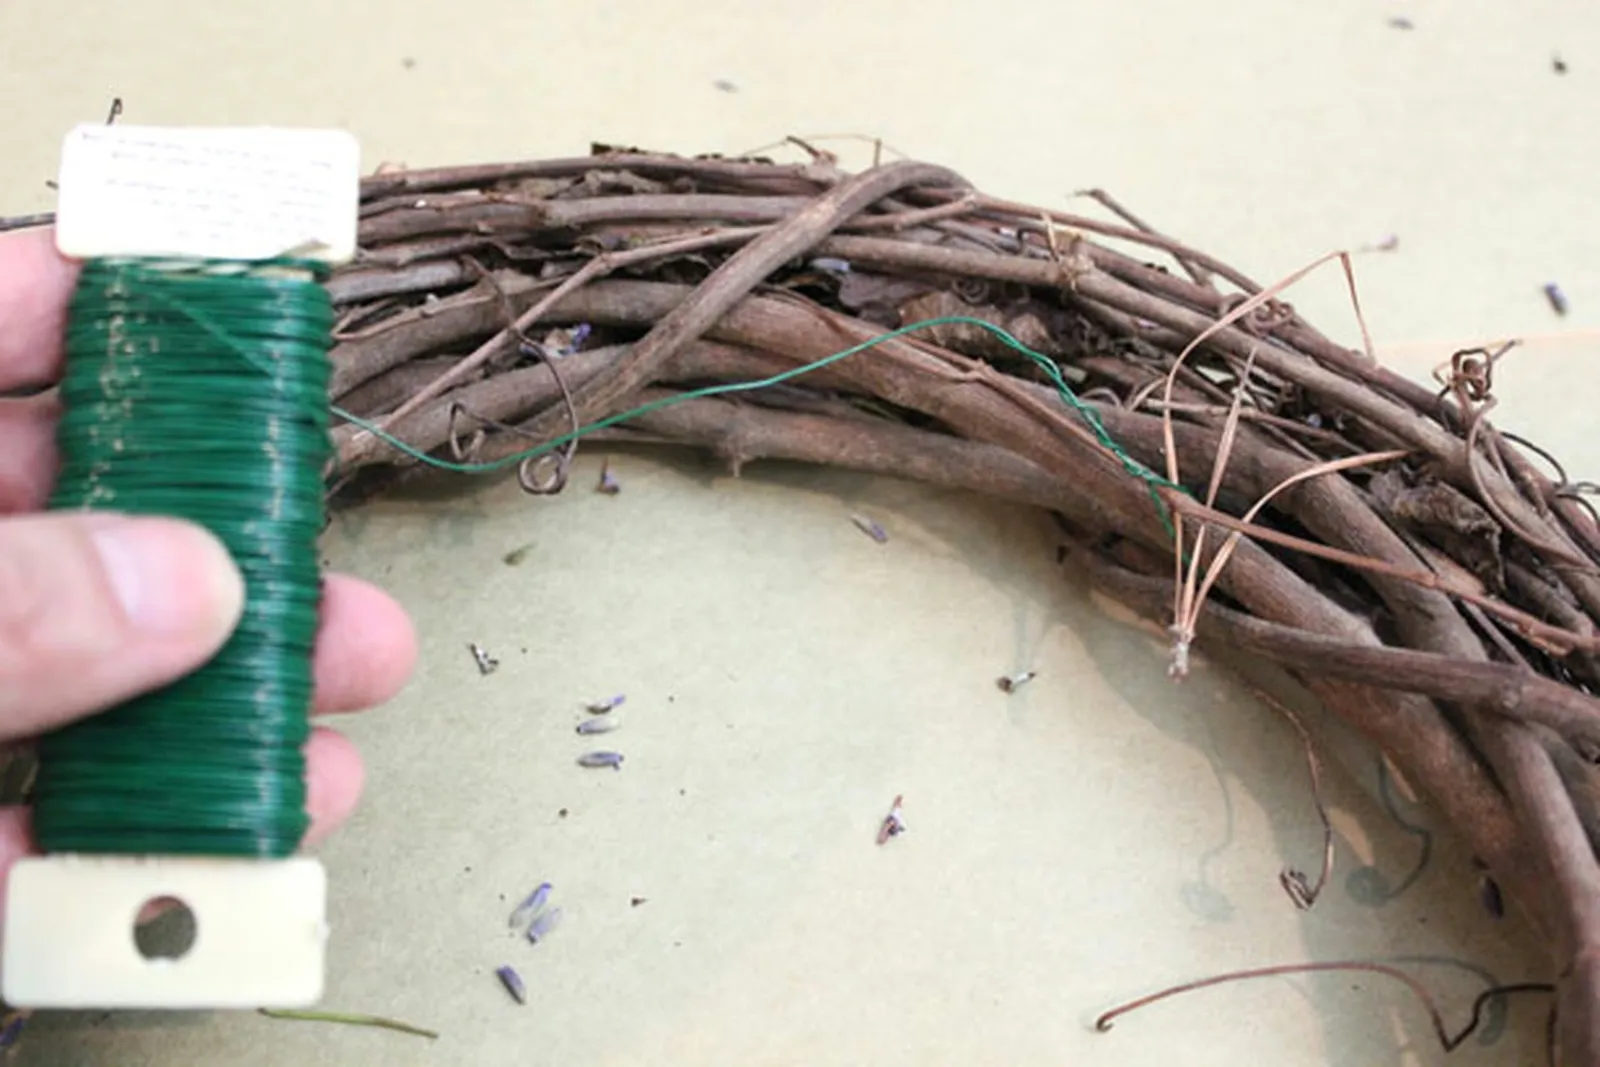
Tie paddle wire to the wreath form.
Attach one end of the paddle wire to the grapevine form. Paddle wire, which is florist wire wound around a paddle, comes in different gauges. The 24-gauge is thin and easy to handle.
Step 5
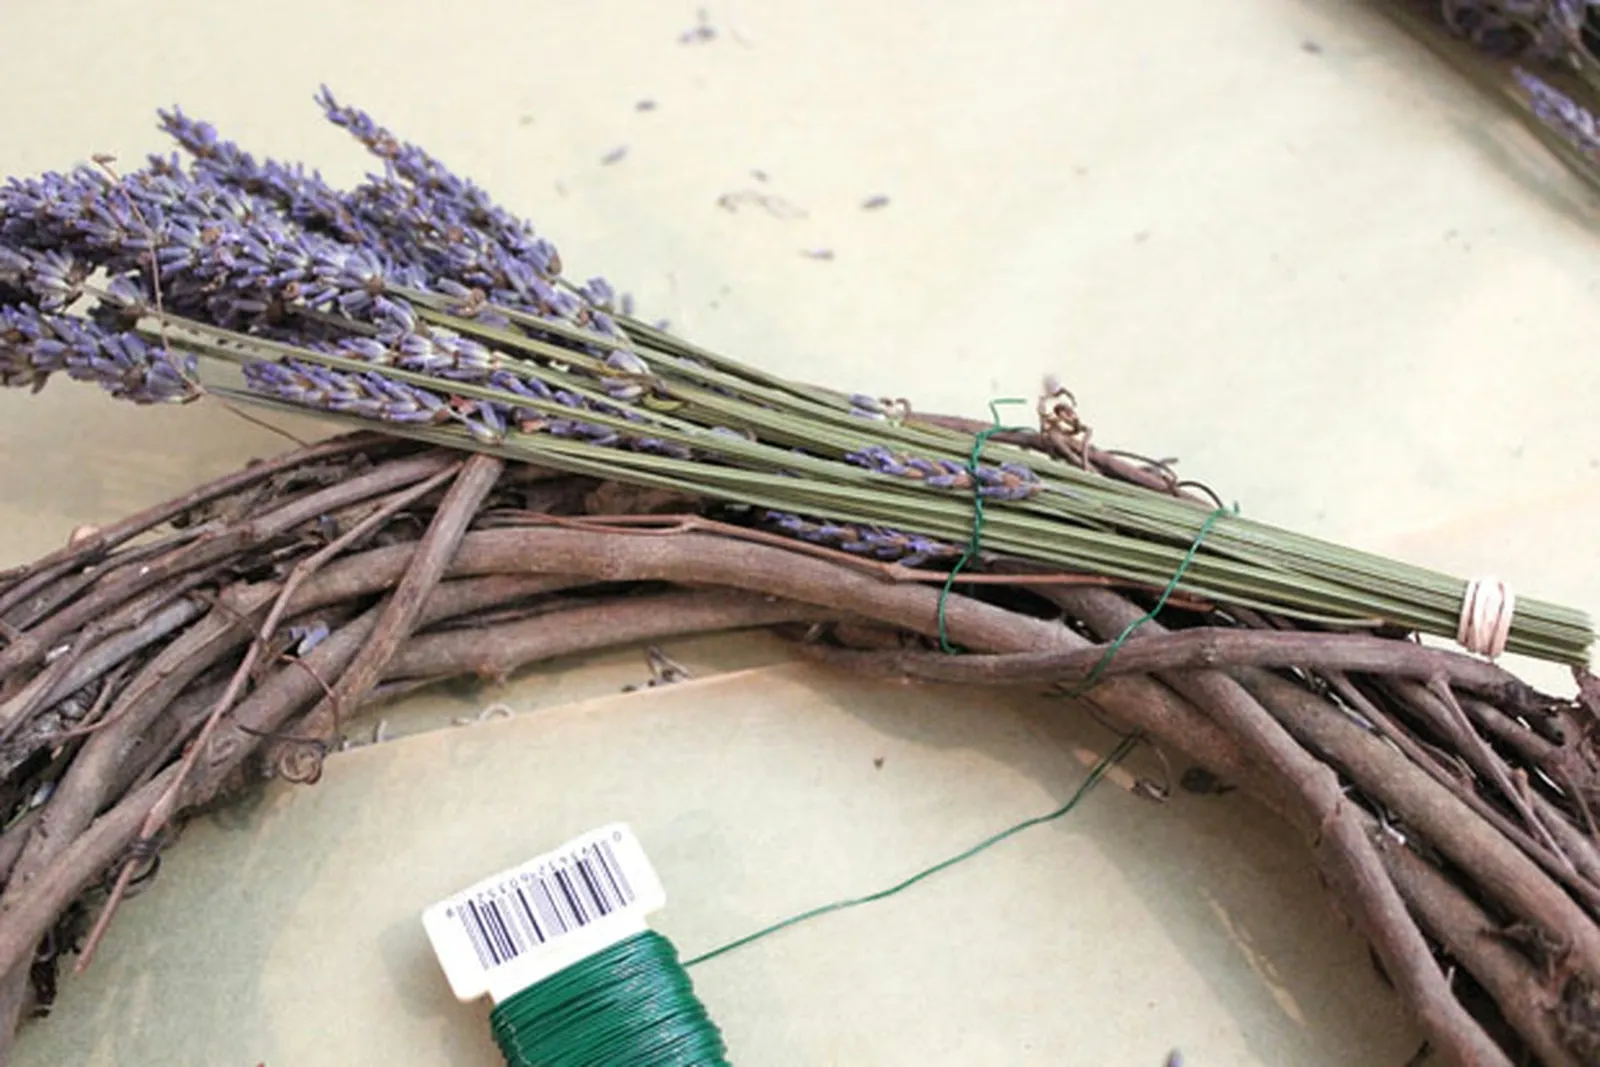
Wrap the first lavender bunch around the wreath.
Place the first lavender bundle on the wreath form at a slant. The blossoms should stick out beyond the outer edge of the grapevine. Wrap the paddle wire around the bottom of the bundle twice to hold it. Leave the wire attached to the paddle; you will continue using it as you go around.
Step 6
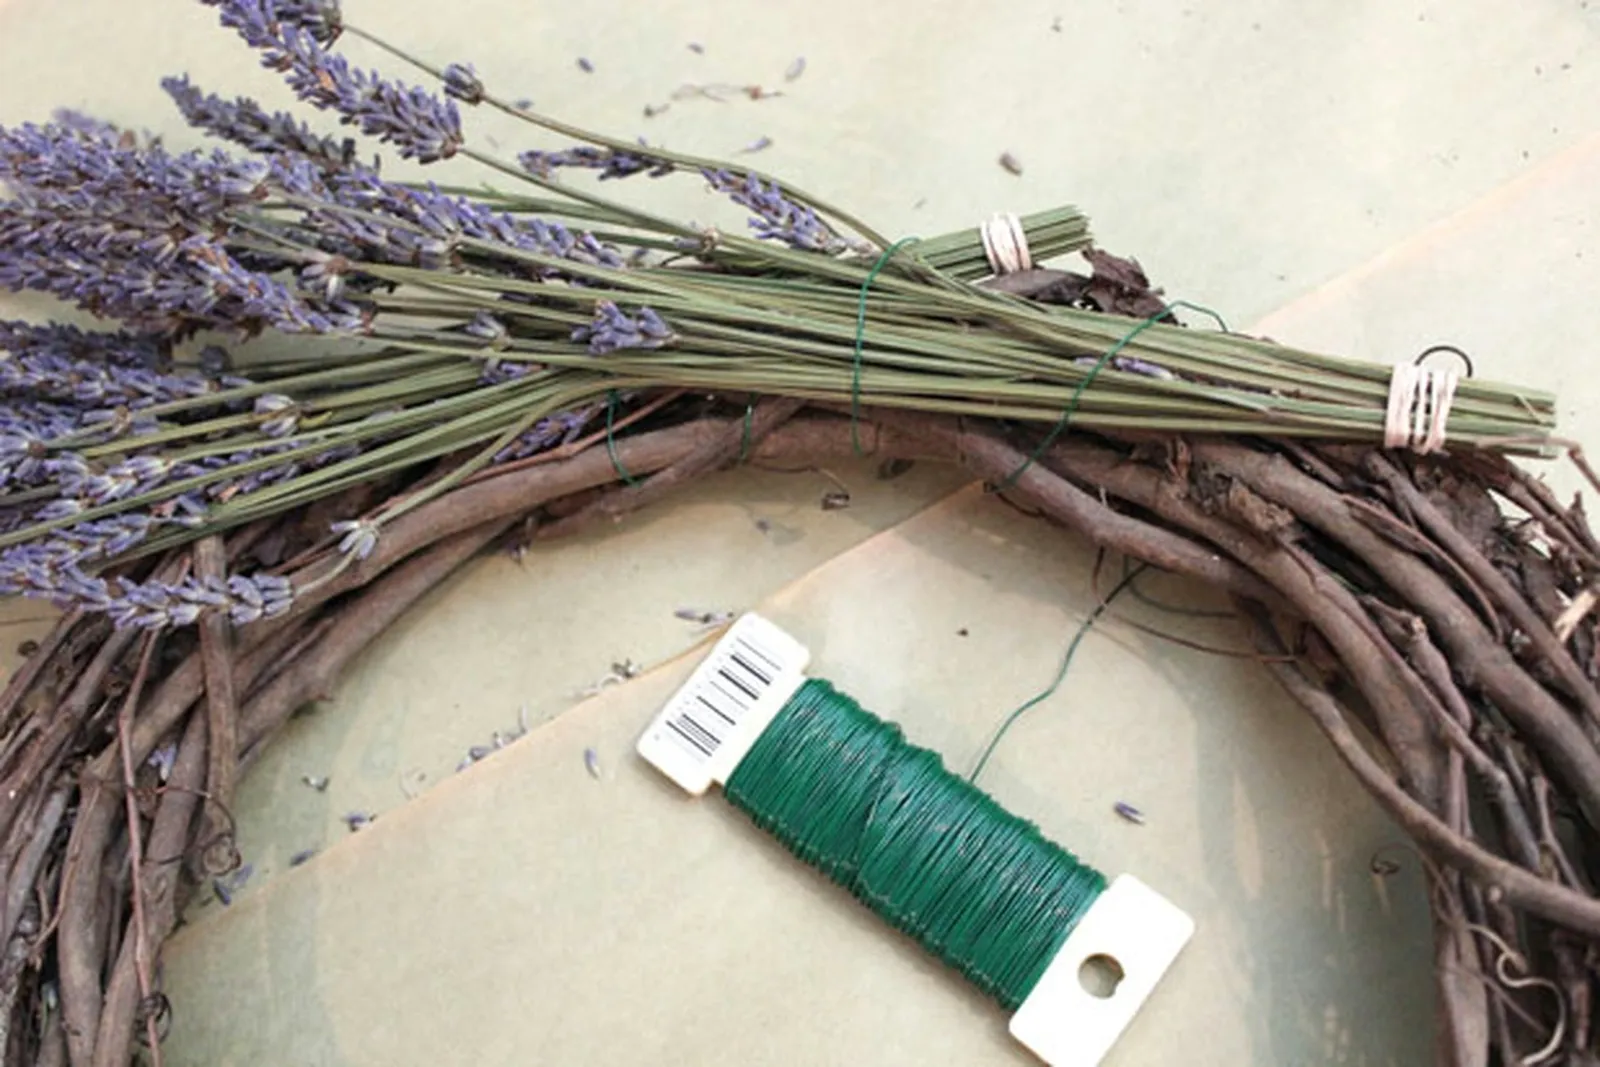
Wrap the second lavender bunch around the wreath.
Put the next bundle on top of the first, also at an angle, so its blossoms sit next to the first bundle's blossoms and extend past the grapevine's outer edge. Wrap the wire twice around this bundle. The rubber bands may still show, but they will be covered by later bundles.
Step 7
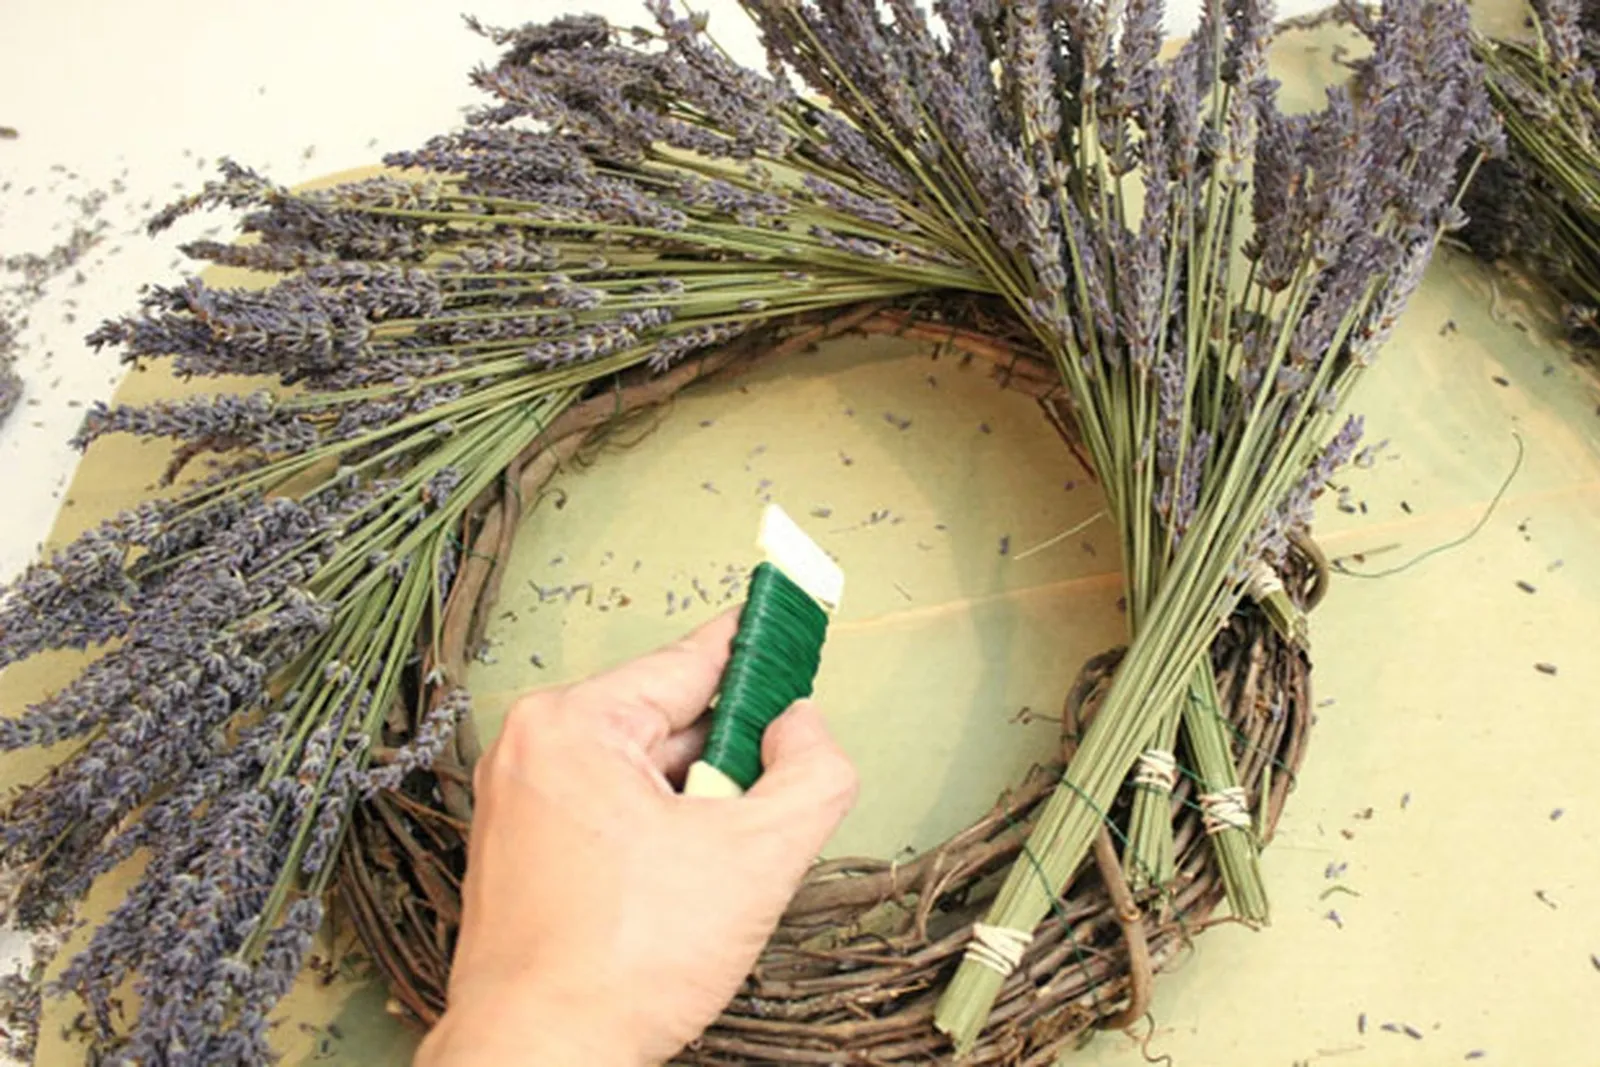
Keep wrapping bunches around the grapevine.
Keep adding bundles around the form. Because they are attached at an angle, the bundles will spiral outward from the grapevine like a pinwheel.
Step 8
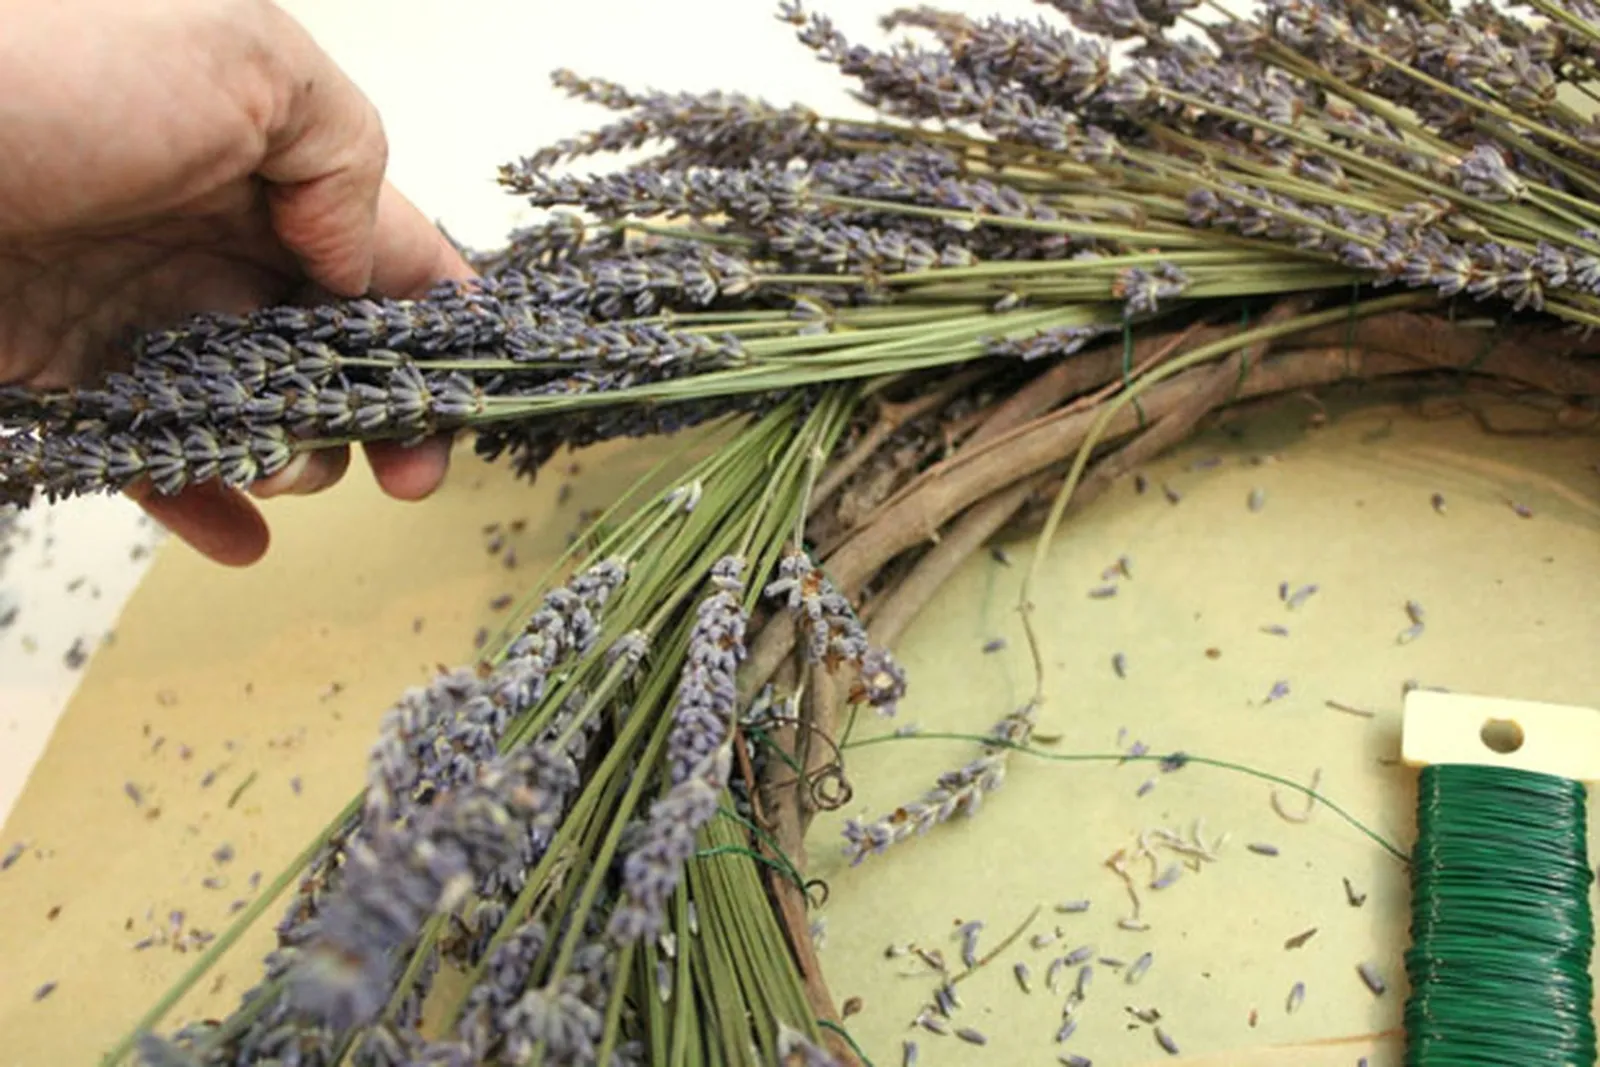
Tuck the last bunch underneath the first.
After you have gone all the way around, tuck the end of the last bundle under the first one to hide the rubber band. Wrap the last bundle with wire, then cut the wire and tie it to the back of the grapevine form.
Step 9
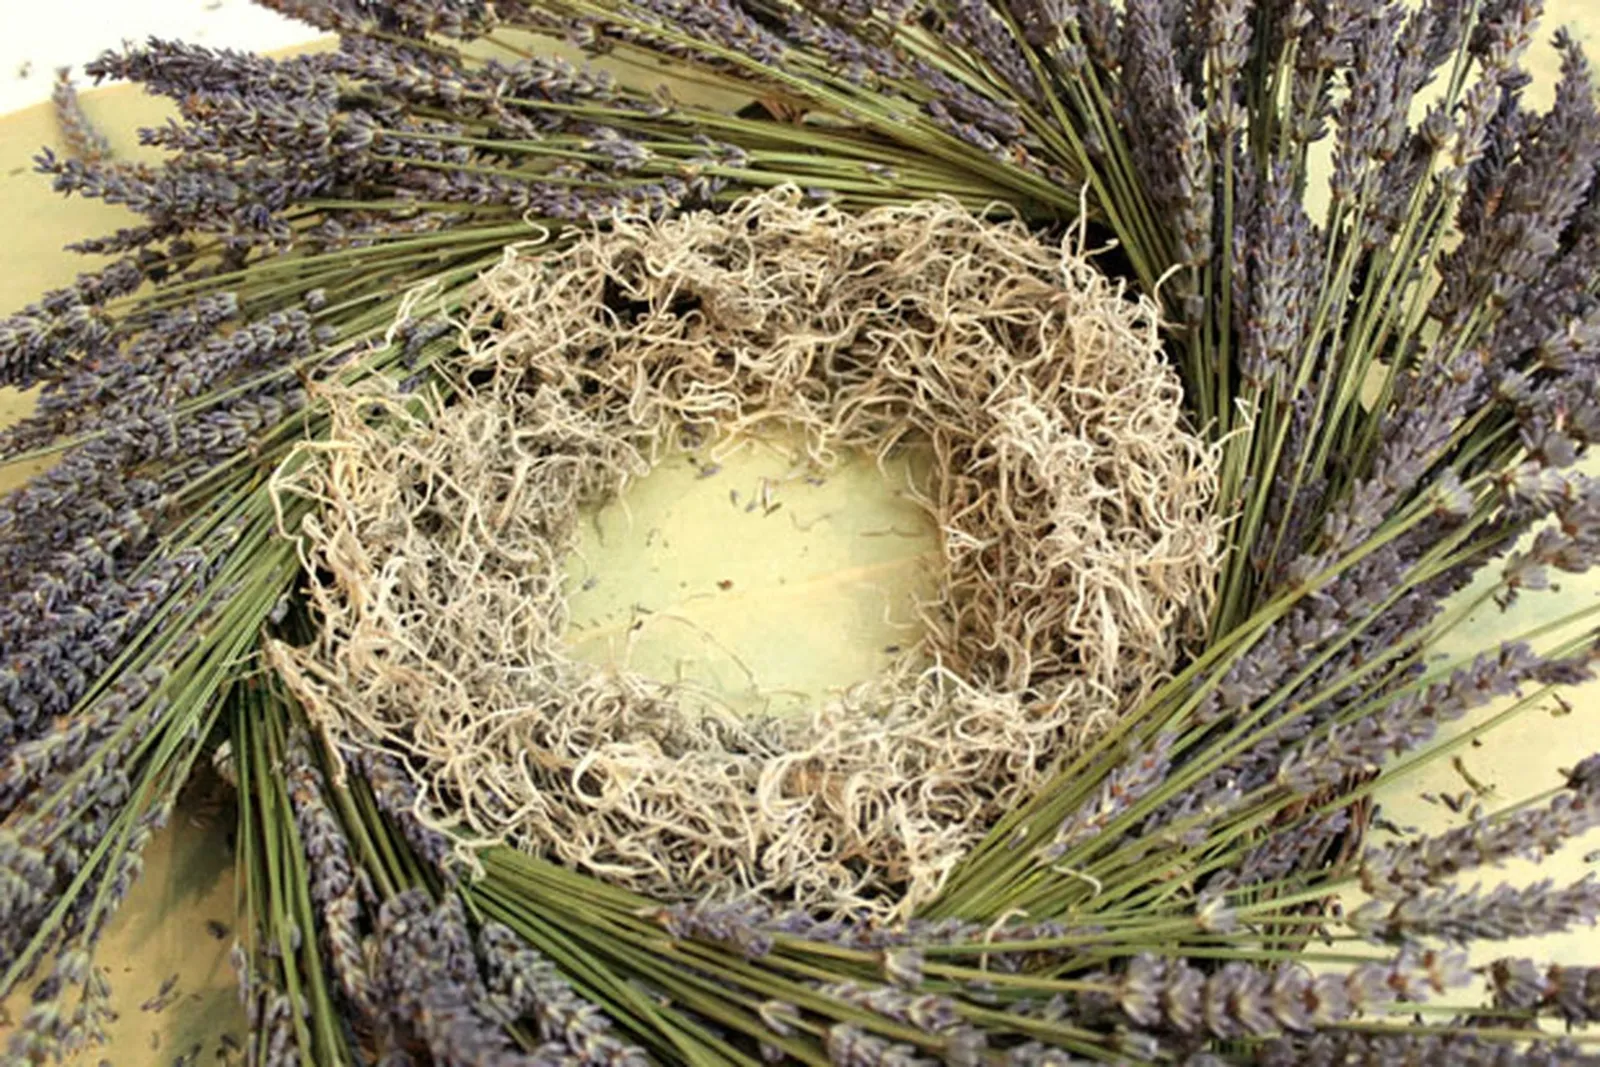
Cover the inside edge with Spanish moss.
Due to the arrangement, some wires may be visible on the inner edge of the wreath. Cover this area with Spanish moss, using hot glue to attach it to the grapevine. Since Spanish moss sticks to itself, a little hot glue on the grapevine's edges is enough. The wires should now be completely concealed.
Step 10
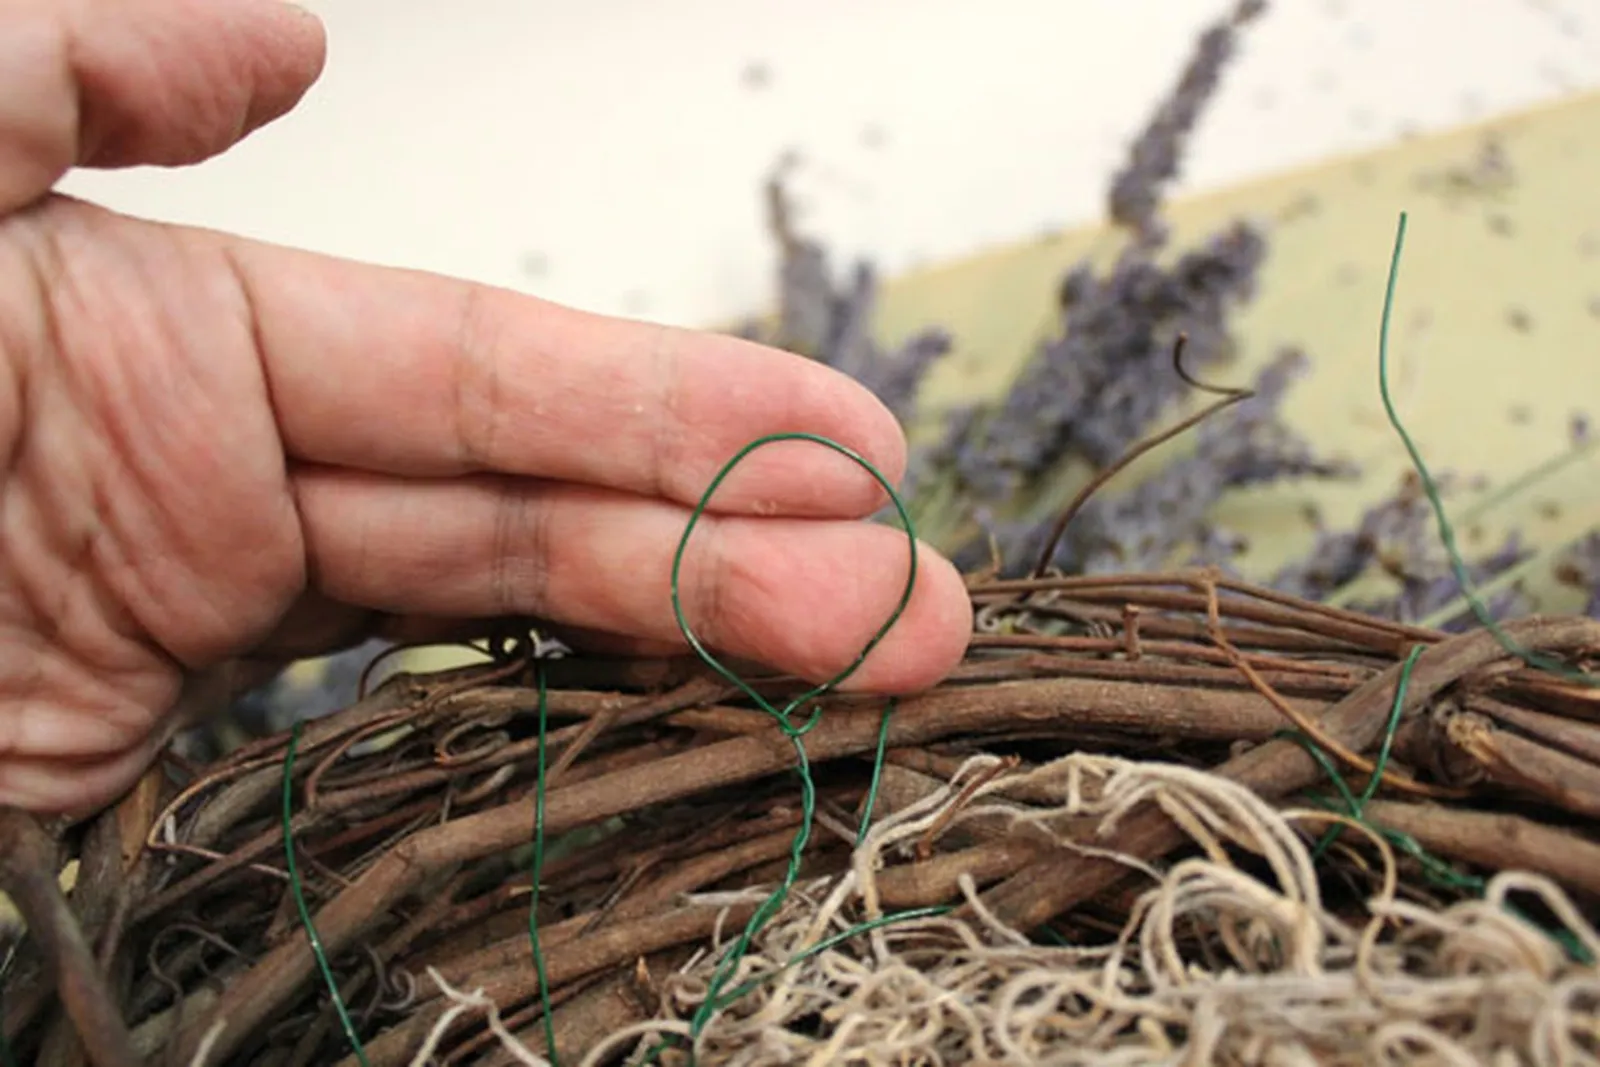
Tie a loop for hanging the wreath.
Choose the top of your wreath, and on the opposite side, tie a wire loop for hanging.



