Crafting a Faux Milkshake for Retro Decor
Assemble a decorative milkshake that evokes a 1950s diner or rock-'n'-roll setting using minimal materials. The process is straightforward and quick aside from drying periods, allowing you to produce multiple pieces if you like.
By Robin Young5 steps
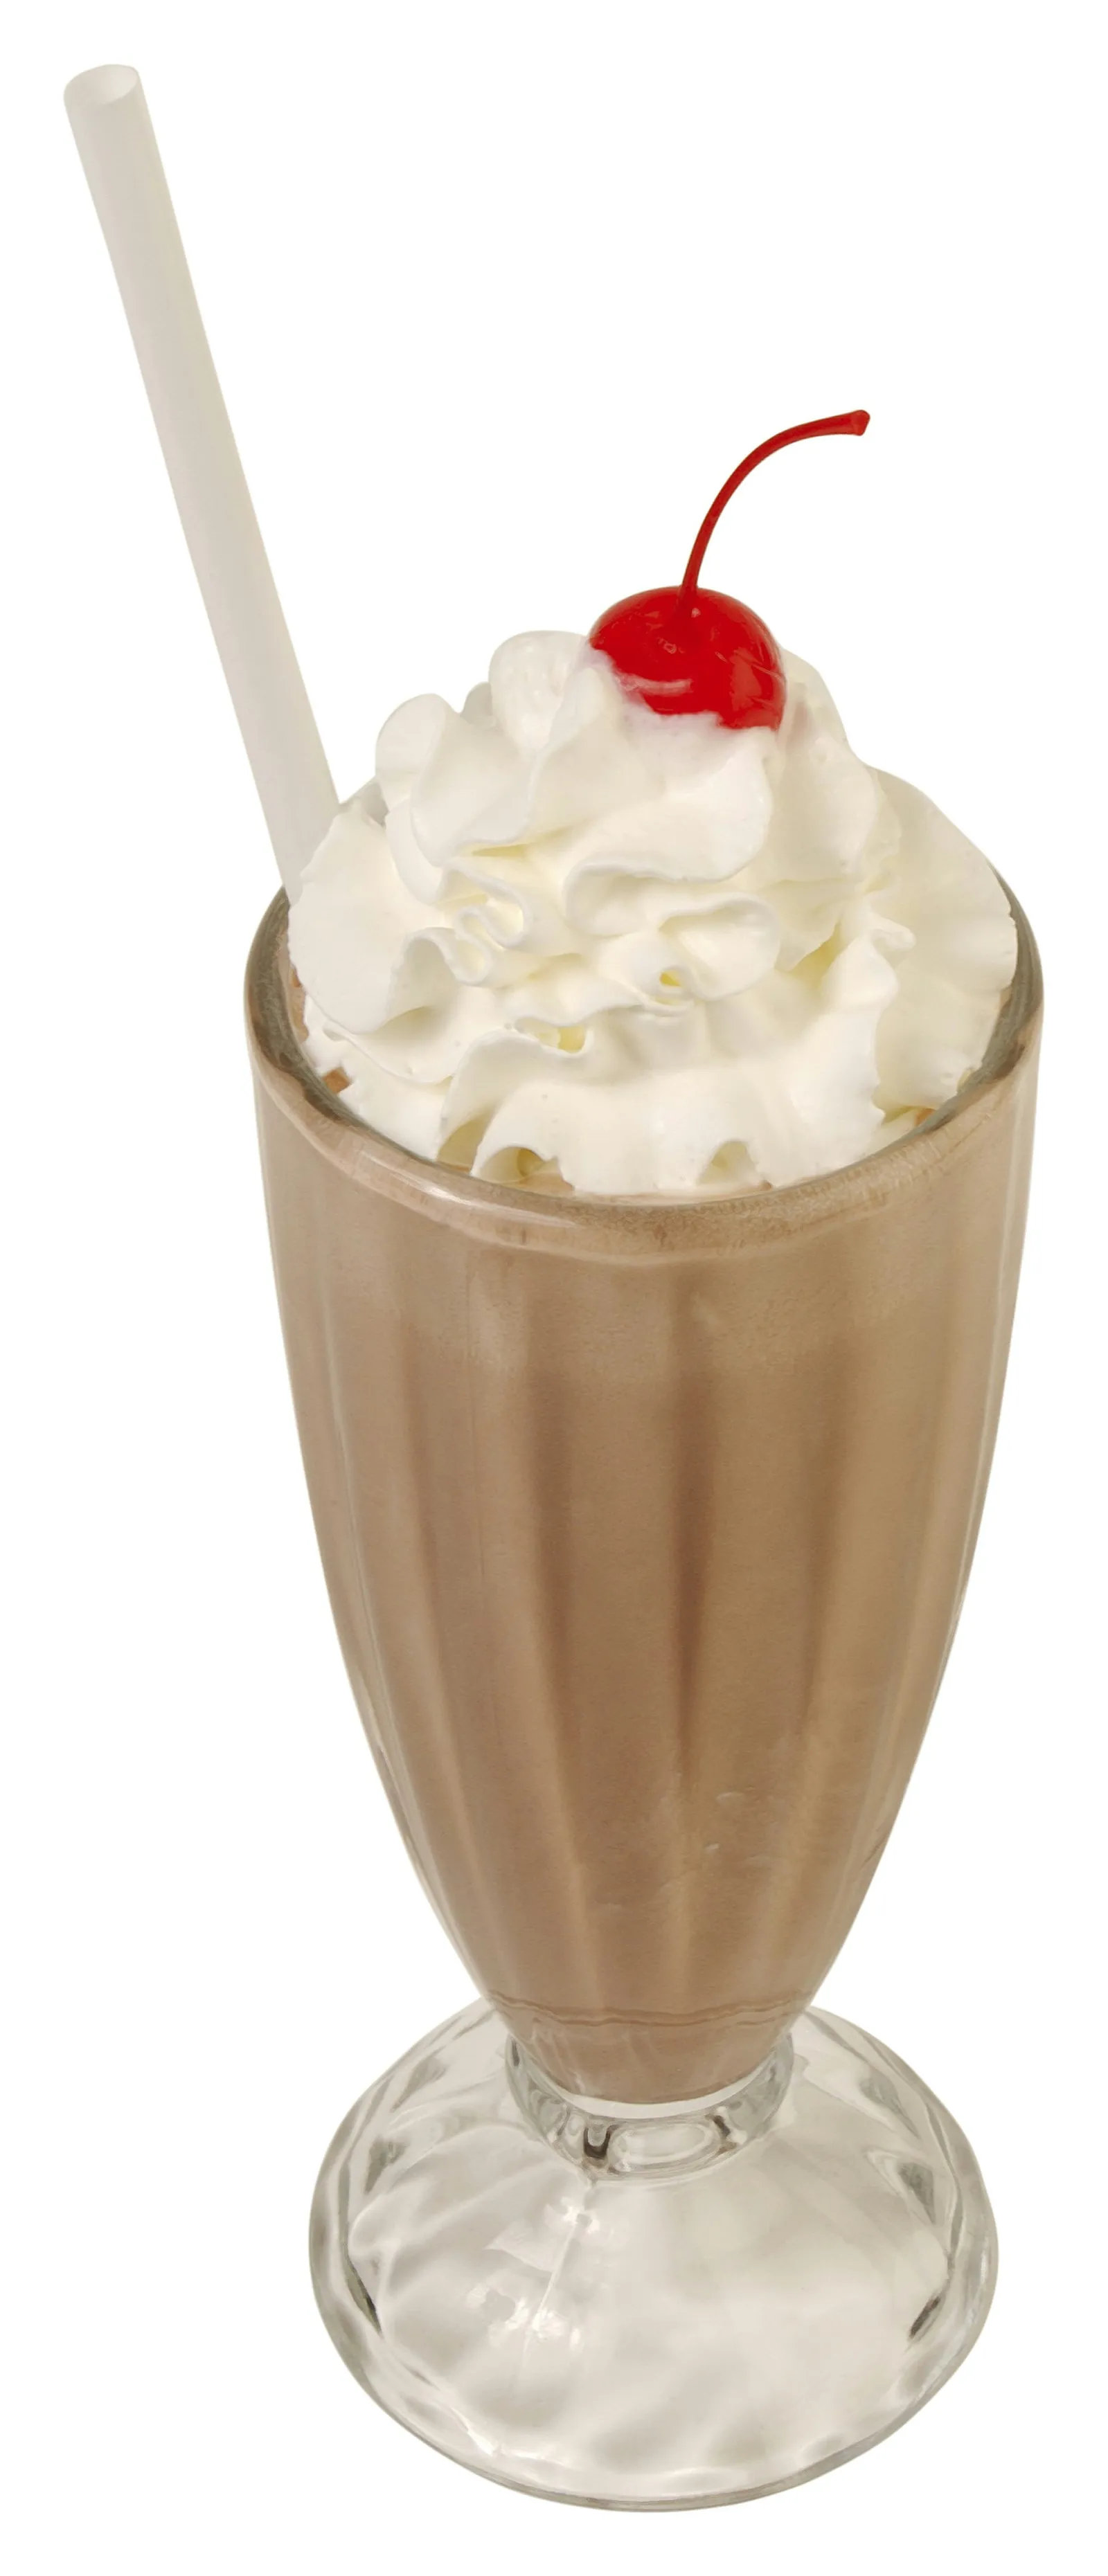
Fake milkshake displays require only a few supplies.
Putting together a decorative milkshake requires just a handful of items. Such faux treats work well as a focal point for parties with a 1950s, rock-'n'-roll, or diner motif. The project itself is quick to do, with the main wait being for drying, so you can create as many as you like.
Step 1
Wash the milkshake glass inside and out, then let it dry completely.
Step 2
Apply paint to the interior of the glass: white for a vanilla look, pink for strawberry, or brown for chocolate. Keep the top 1 1/2 inches clear of paint. Let the paint dry.
Step 3
Put on plastic gloves and, following the instructions on the package, combine plaster of Paris with water in a bowl using a stirrer.
Step 4
Pour the plaster into the glass until it reaches the unpainted line. Transfer some plaster into a small paper bag. Secure the open end with a rubber band. Cut off one bottom corner of the bag. Treat it like a piping bag: squeeze the plaster out through the hole to create large circular loops atop the plaster in the glass, mimicking whipped cream.
Step 5
Place a straw into the glass and let the plaster of Paris set fully. If you want, top with a faux cherry.



