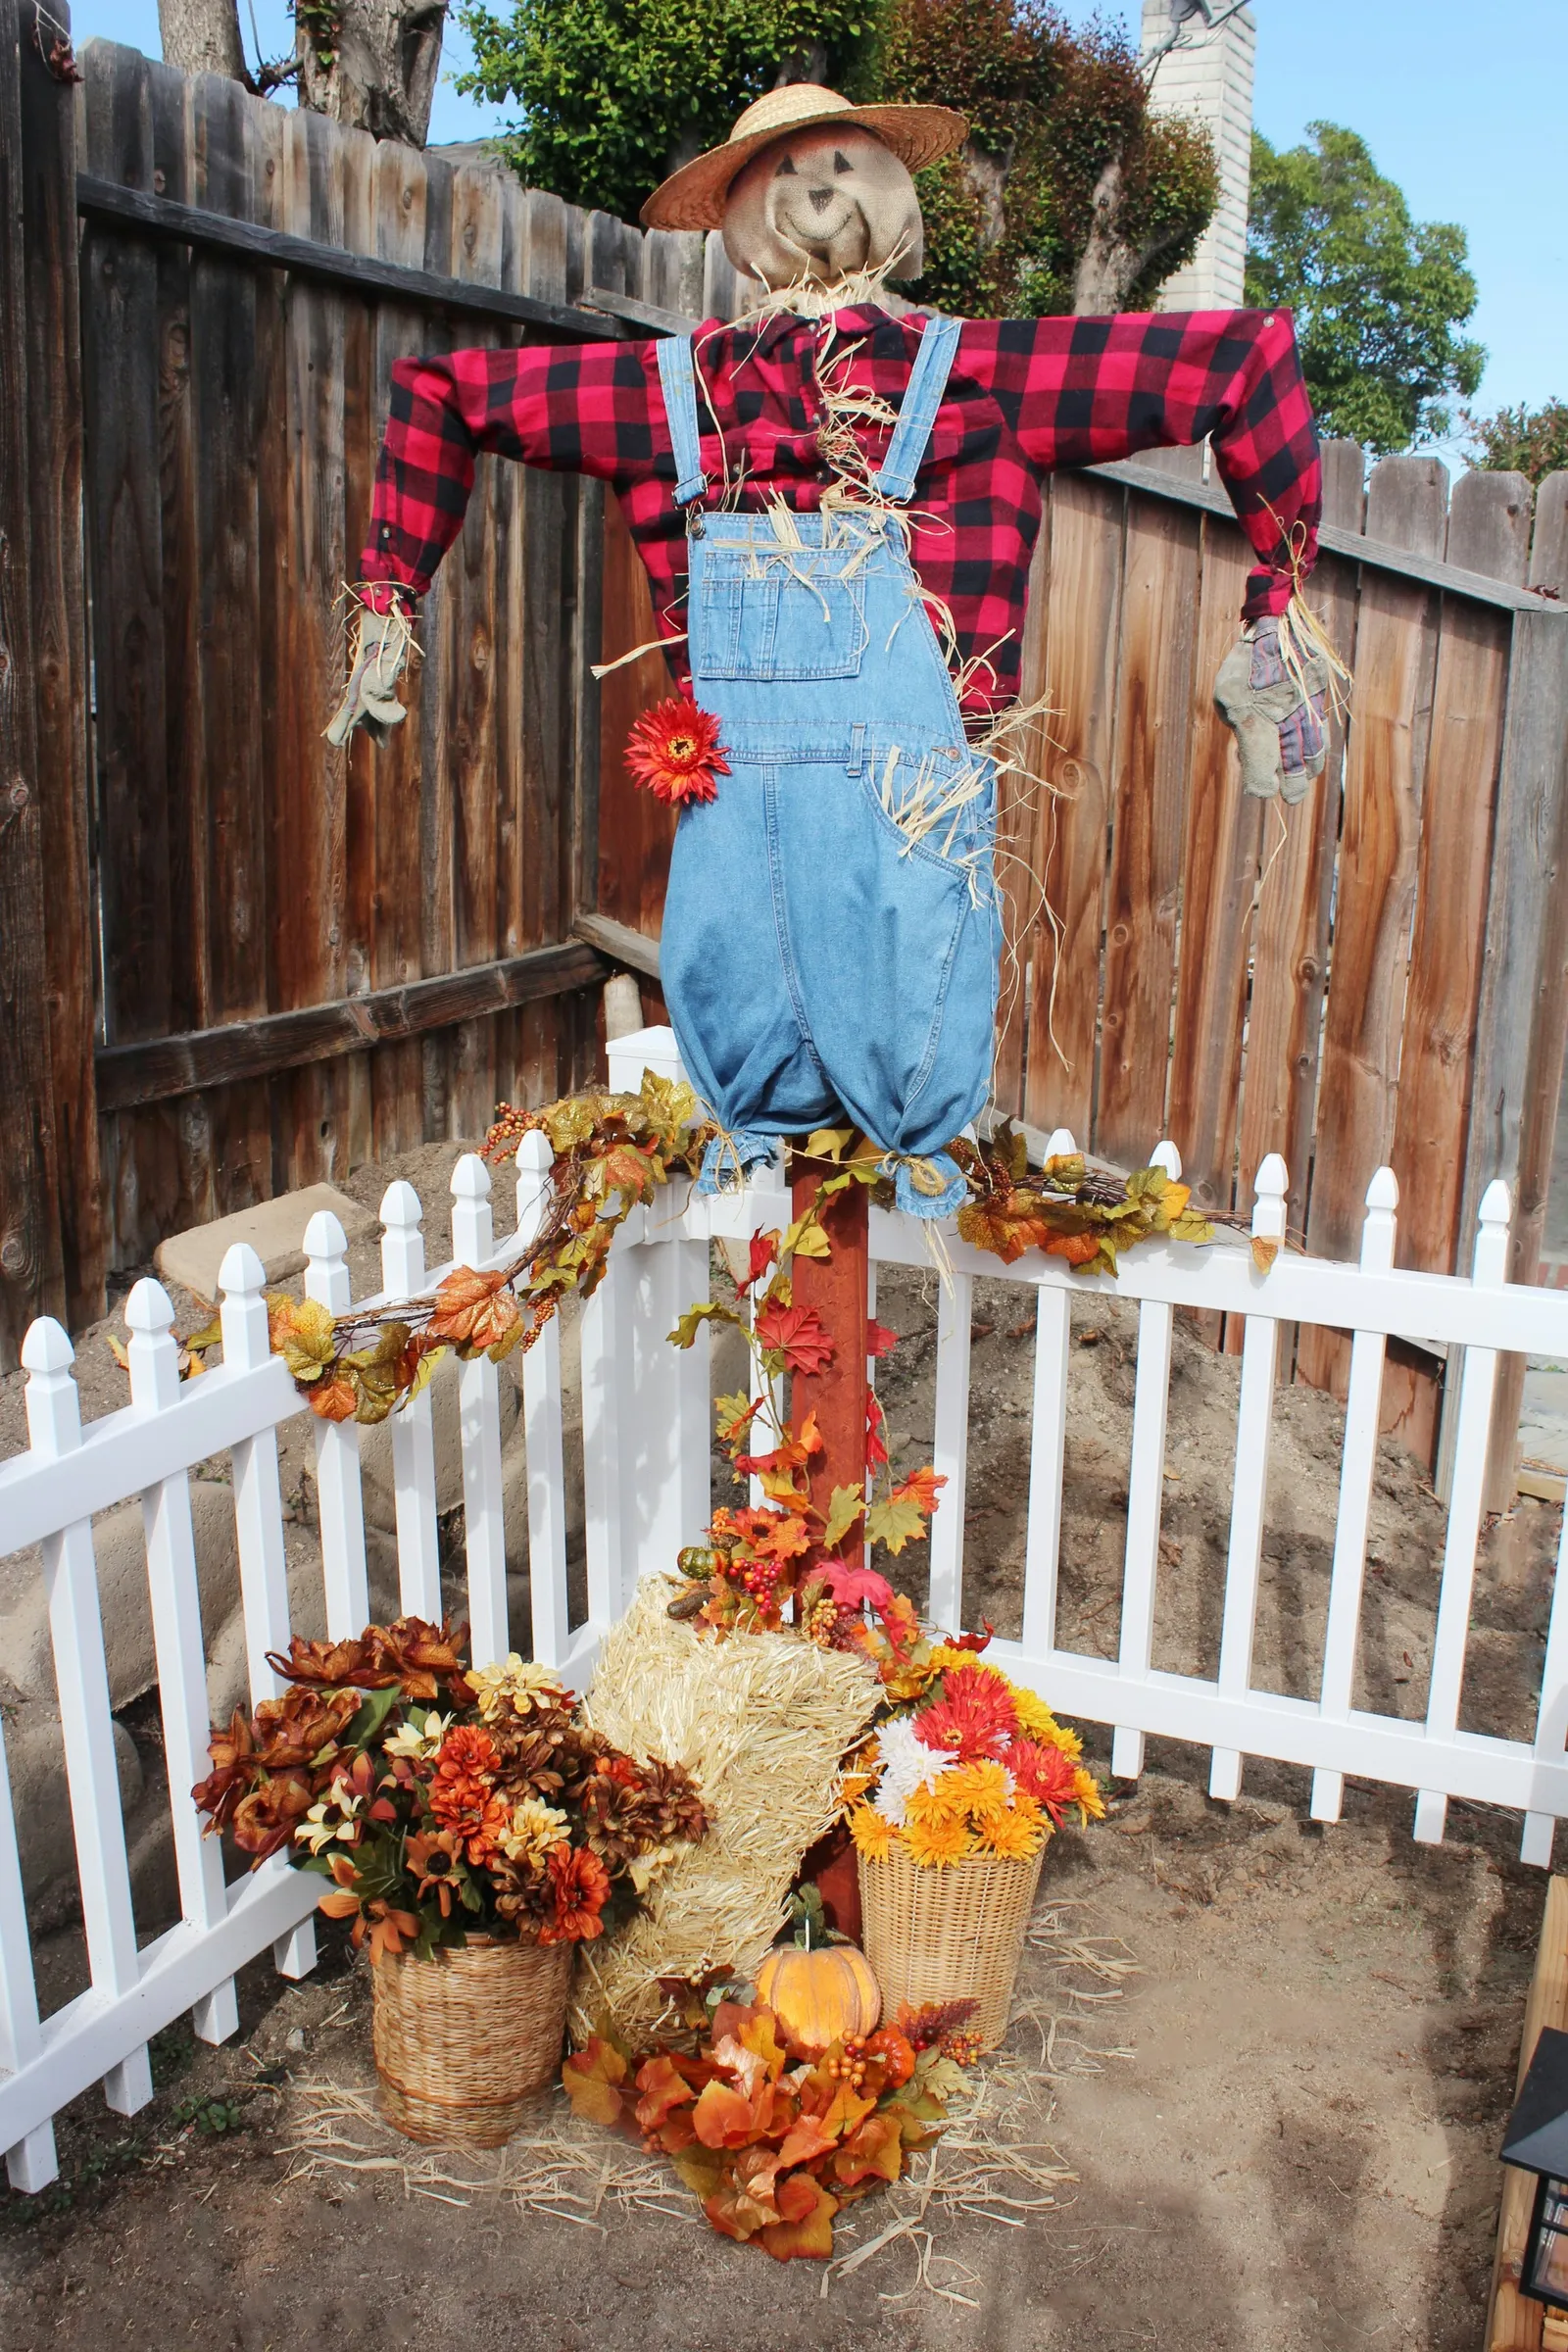
A Step-by-Step Guide to Building Your Own Scarecrow
Crafting a scarecrow is a straightforward project that serves a dual purpose: it keeps birds and animals away from your garden and adds a seasonal touch to your yard, especially for autumn or Halloween.
By Toby Rivera
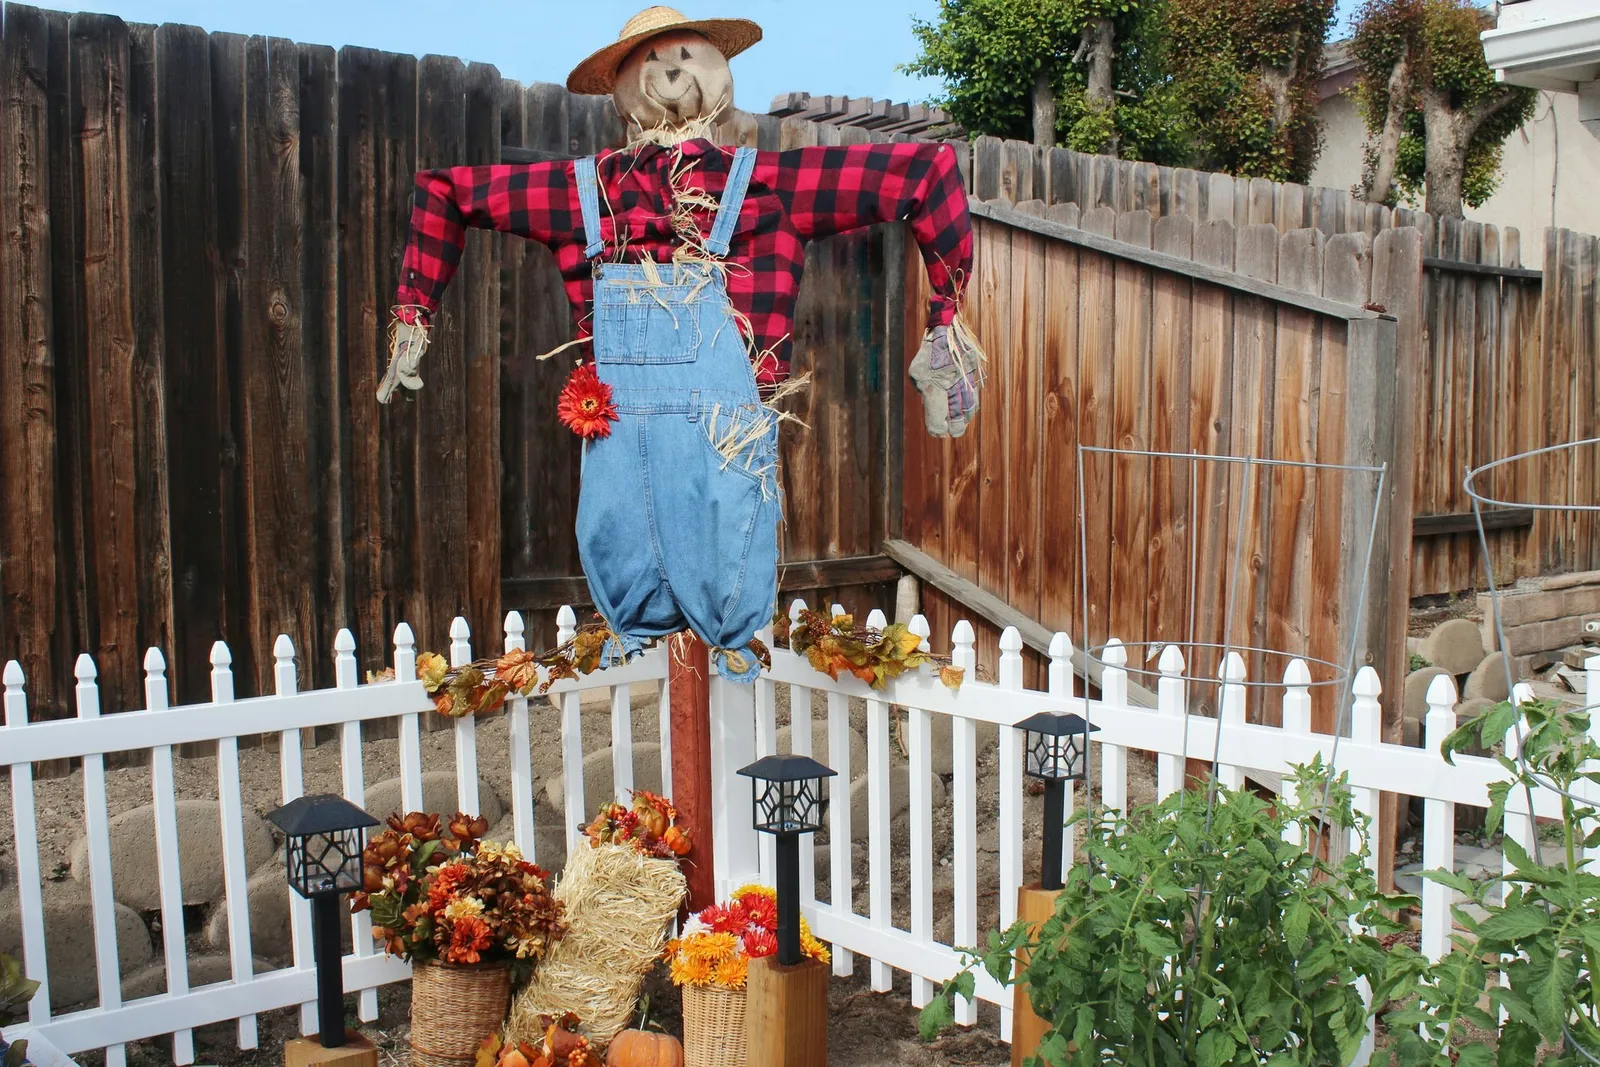
Scarecrows have a long history, and their purpose remains practical: these human-shaped figures help safeguard your garden from birds and animals while also serving as seasonal decor. When Halloween approaches, they can make your yard look more festive and spooky. Building a custom scarecrow yourself is both enjoyable and simple.
1. Prepare the hole for the post
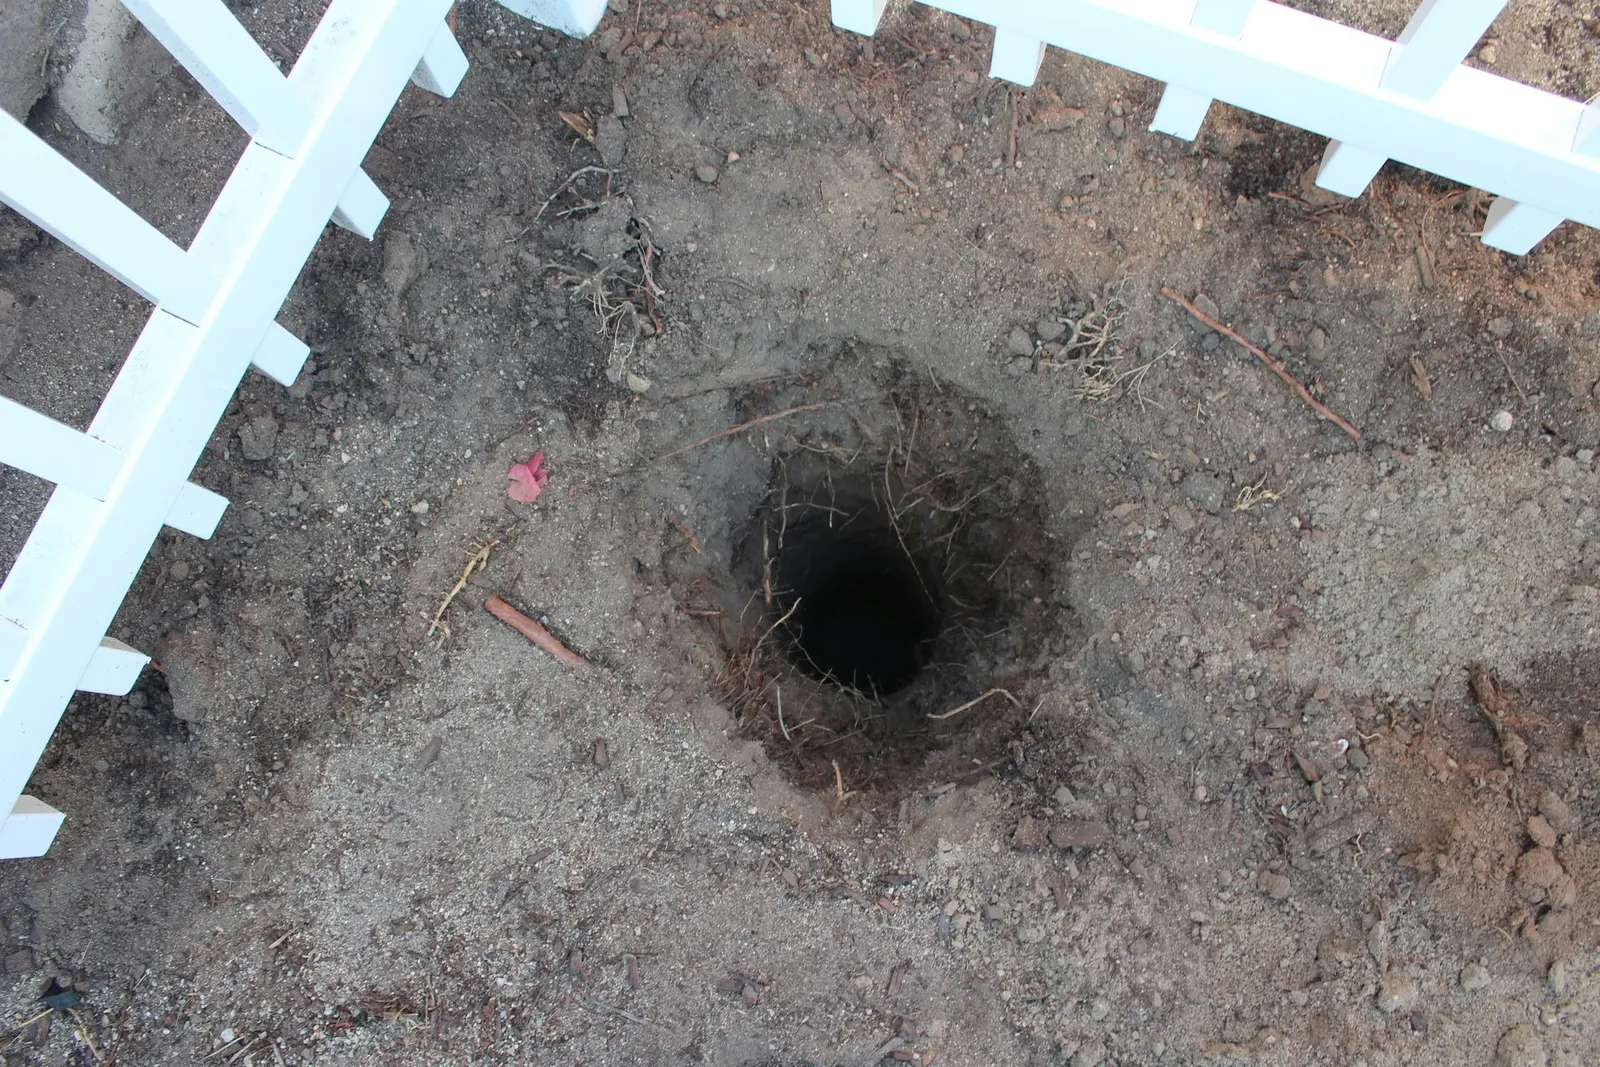
Using the post hole digger, dig a hole roughly 18 inches deep and wide enough to accommodate the post.
2. Position and stabilize the post
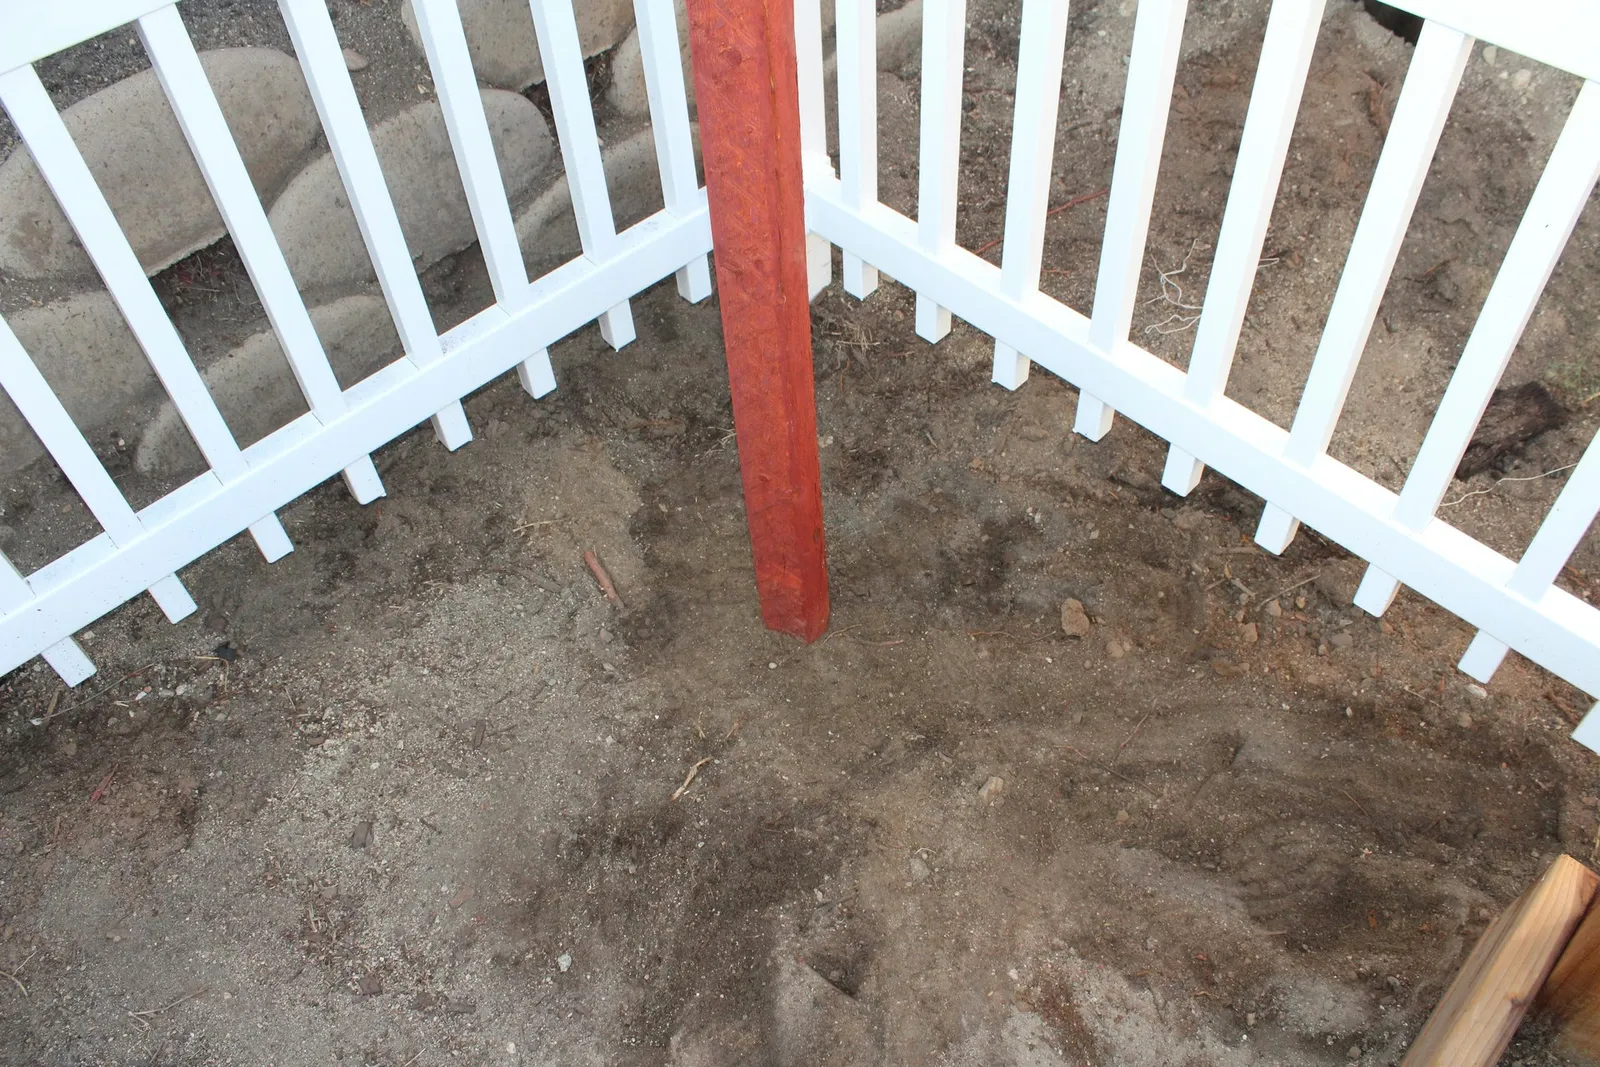
Insert the post into the hole and keep it upright as you fill the hole back with dirt. Once the dirt level is nearly even with the surrounding ground, press it down firmly with your feet to pack it around the post. You might need to add more dirt and repeat the stomping to ensure the ground stays level.
3. Form the arms
Slide the two-by-two piece of wood into the plaid shirt, positioning the ends of the wood at the elbow area within the sleeves.
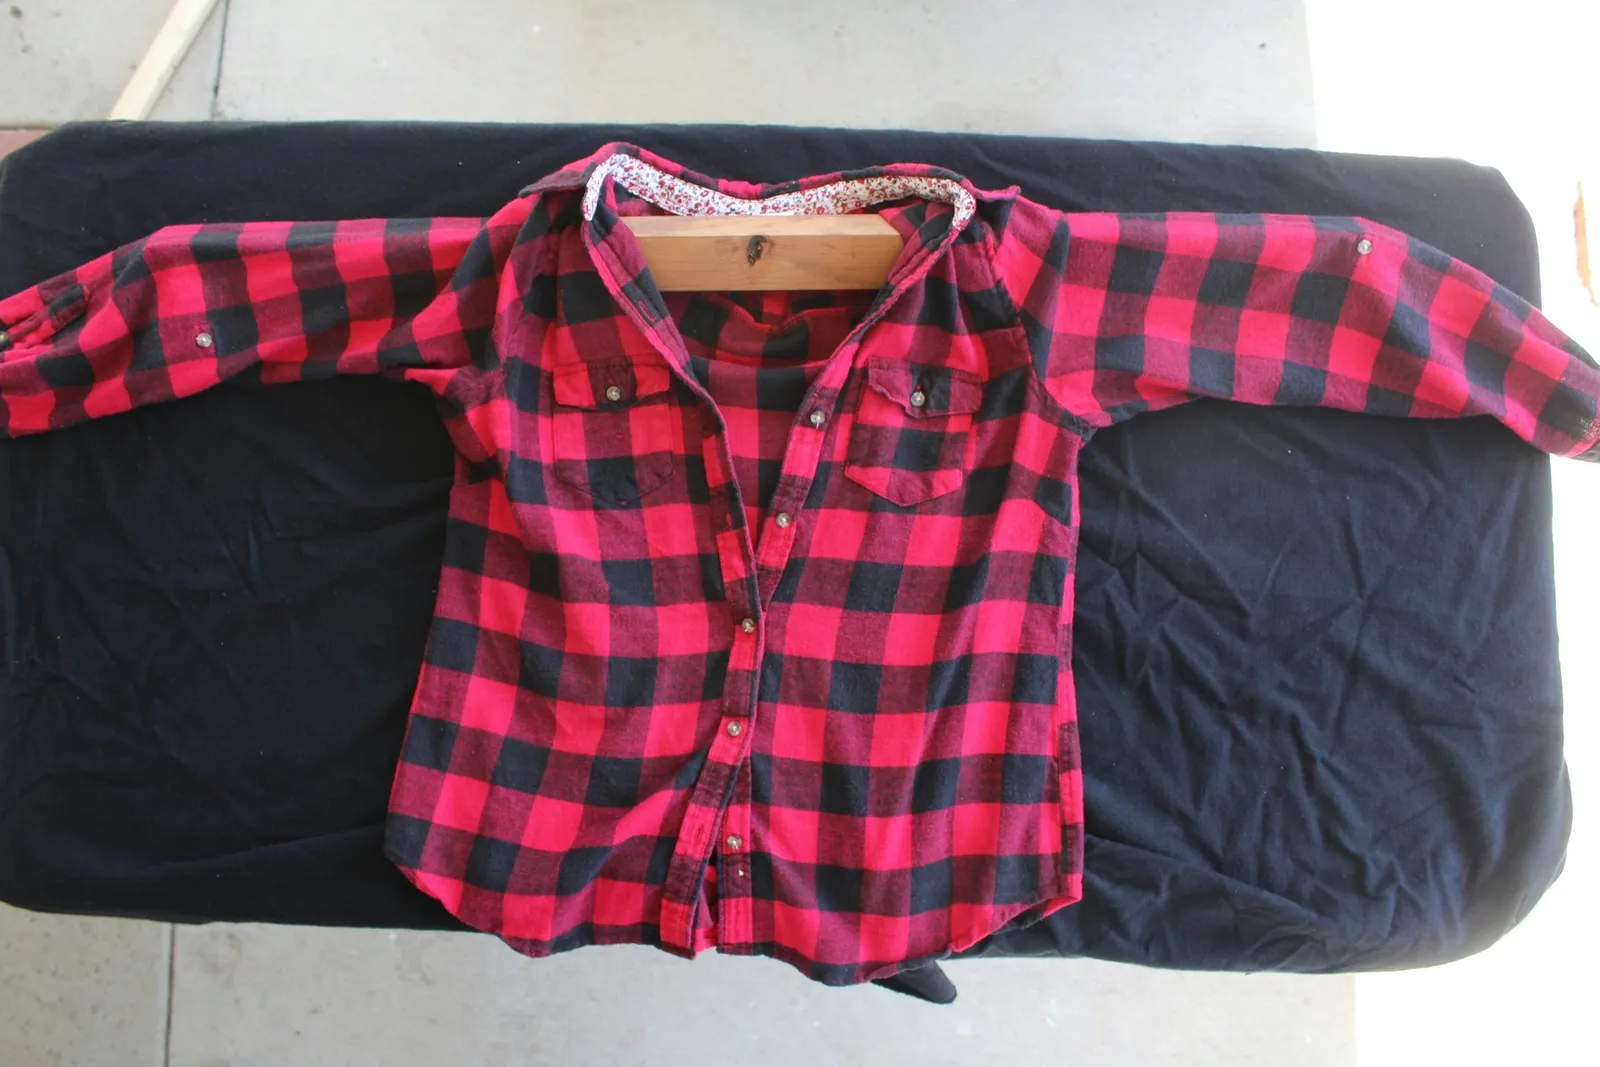
4. Fasten the shirt to the post
Hold the wood against the post, leaving about 5 inches of the post exposed at the top for the scarecrow's head. Ensure the shirt collar is not caught between the wood and the post. Use the drill to drive two screws through the two-by-two and into the post, securing the wood in place.
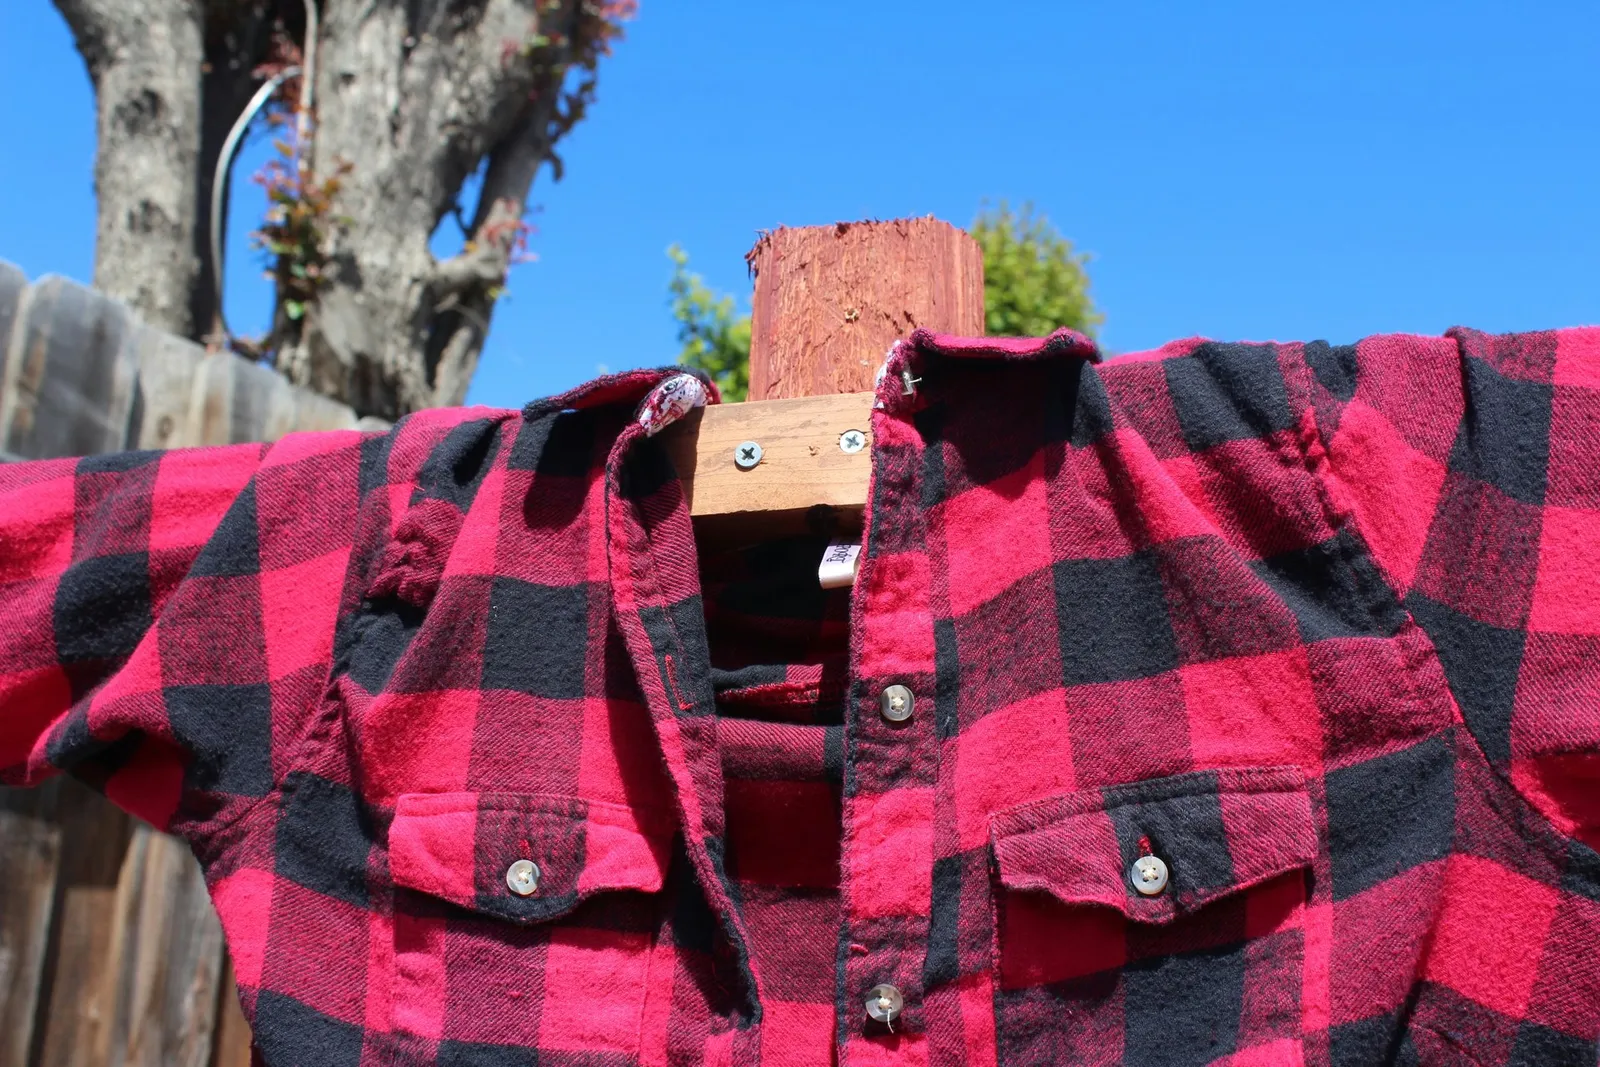
5. Put on the overalls
Leaving the overalls unfastened, bring the straps over the shoulders of the shirt from behind and attach them to the overalls so they appear as if worn by the shirt. Tuck the shirt into the overalls.
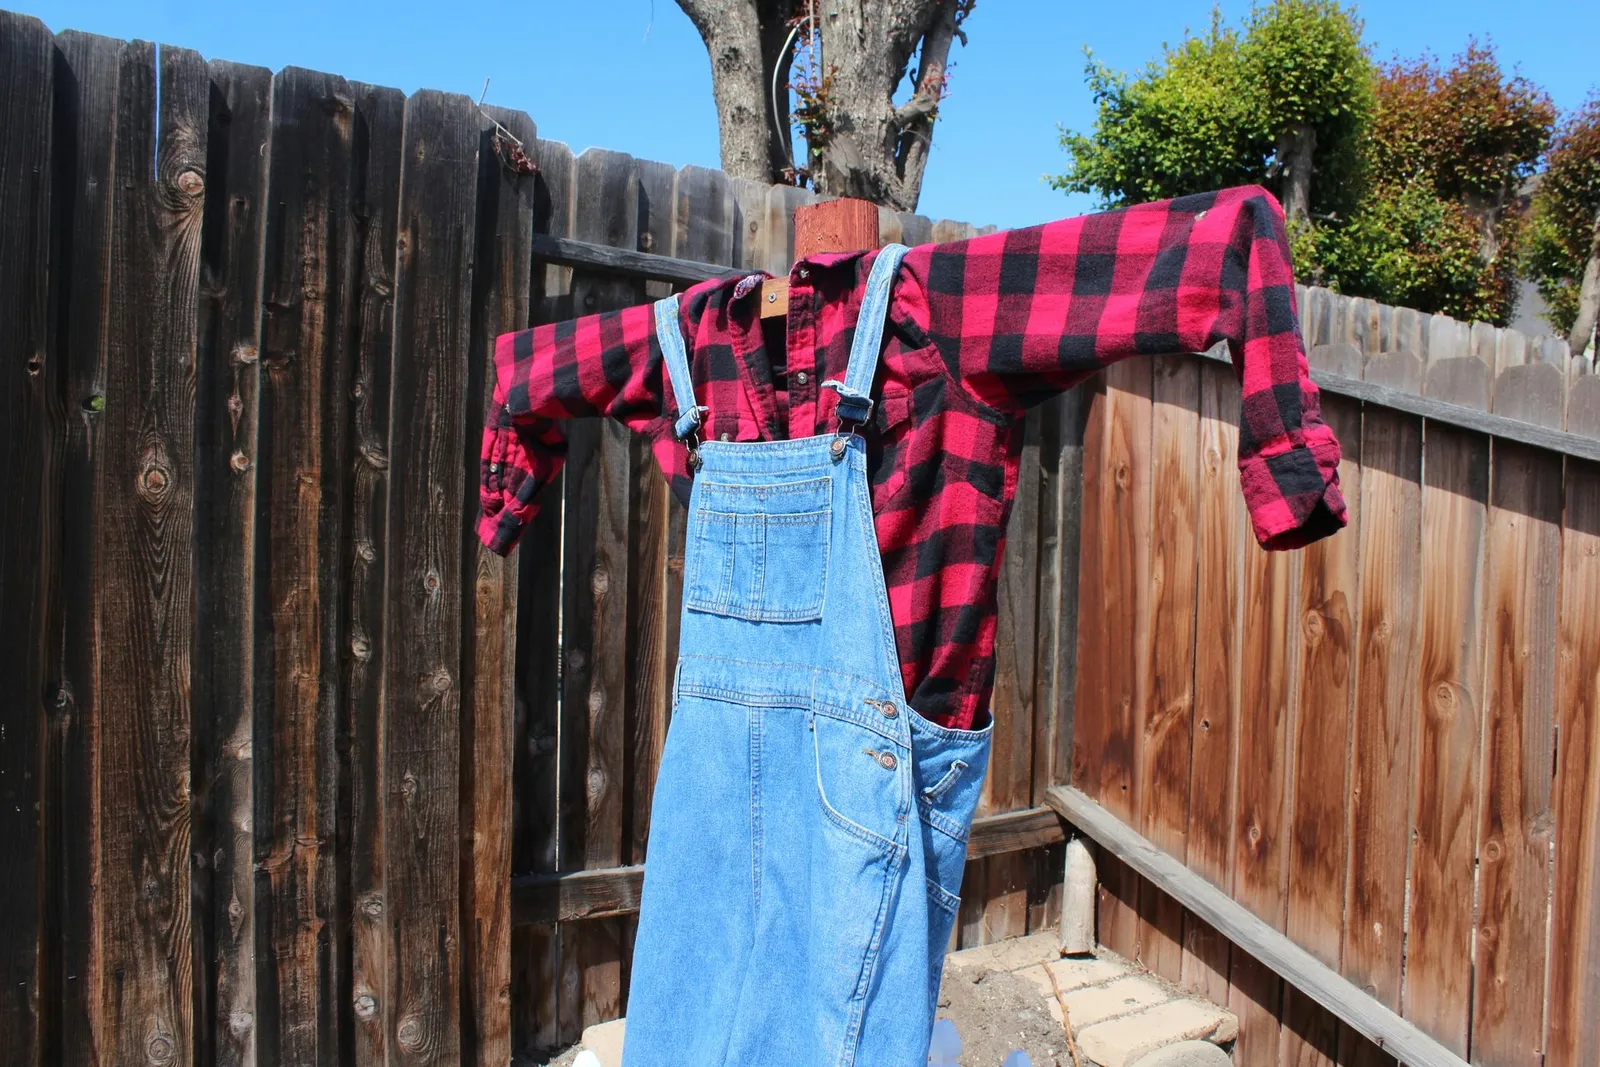
6. Seal the pant legs
Use twine to tie the ends of both pant legs tightly, preventing straw from escaping once you stuff the pants.
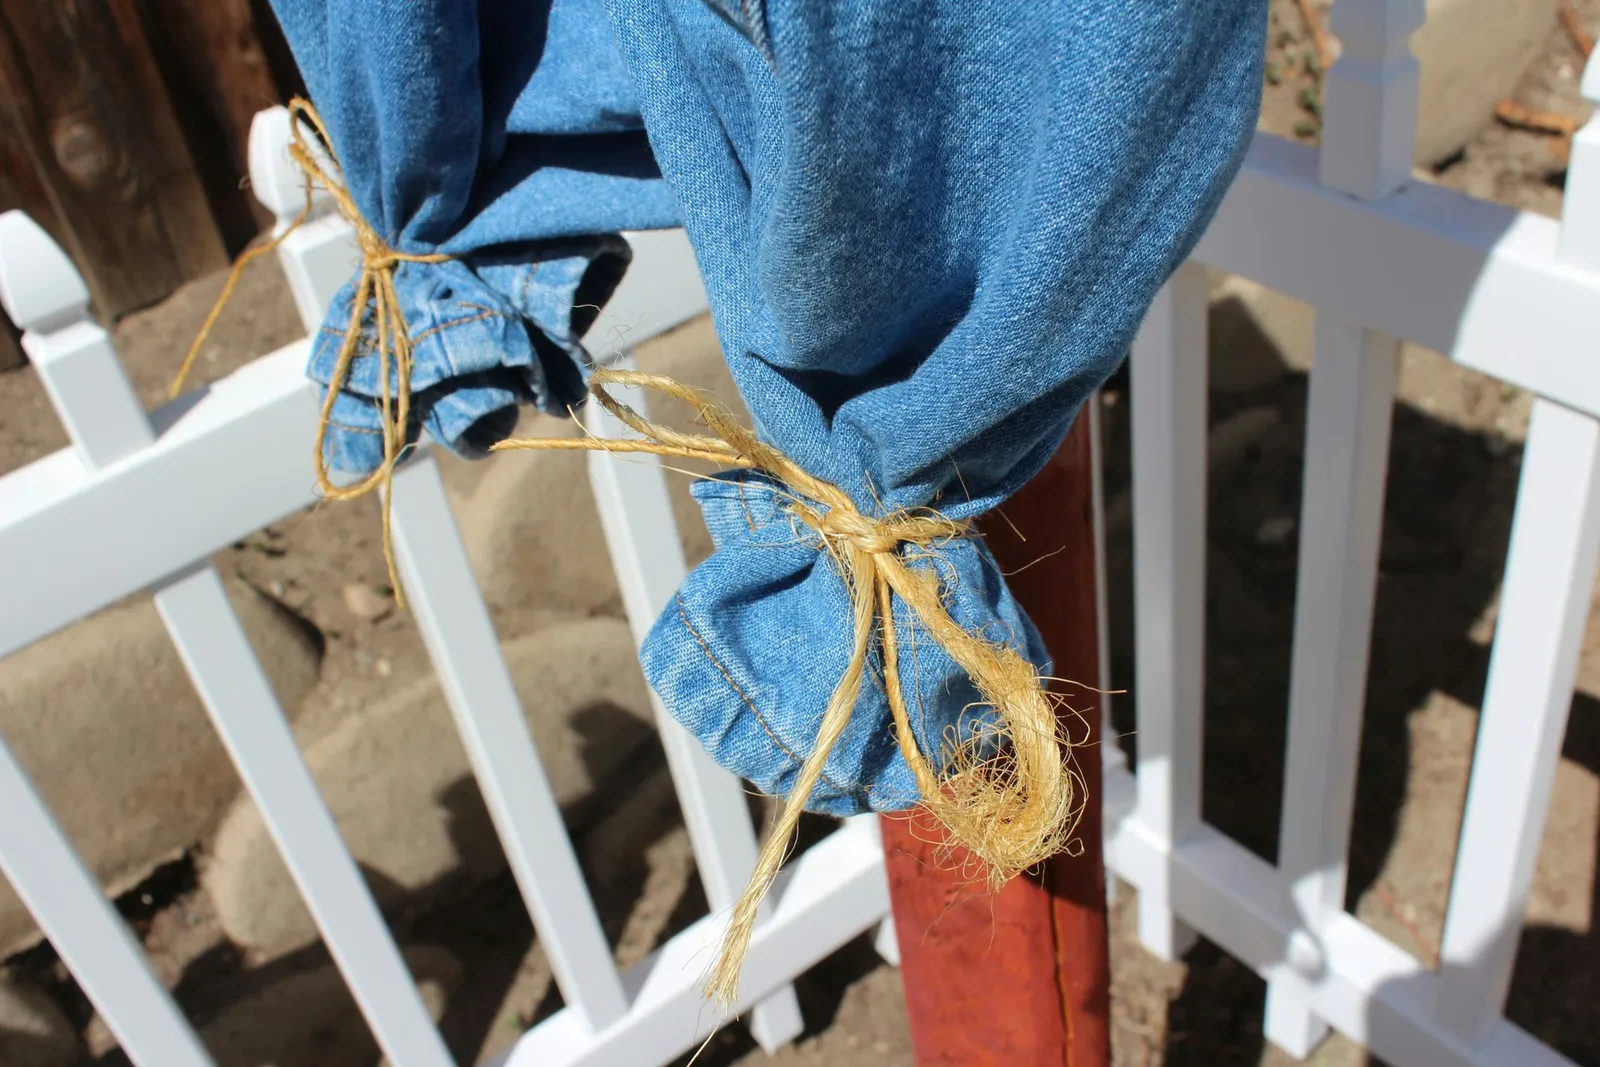
7. Insert the gloves
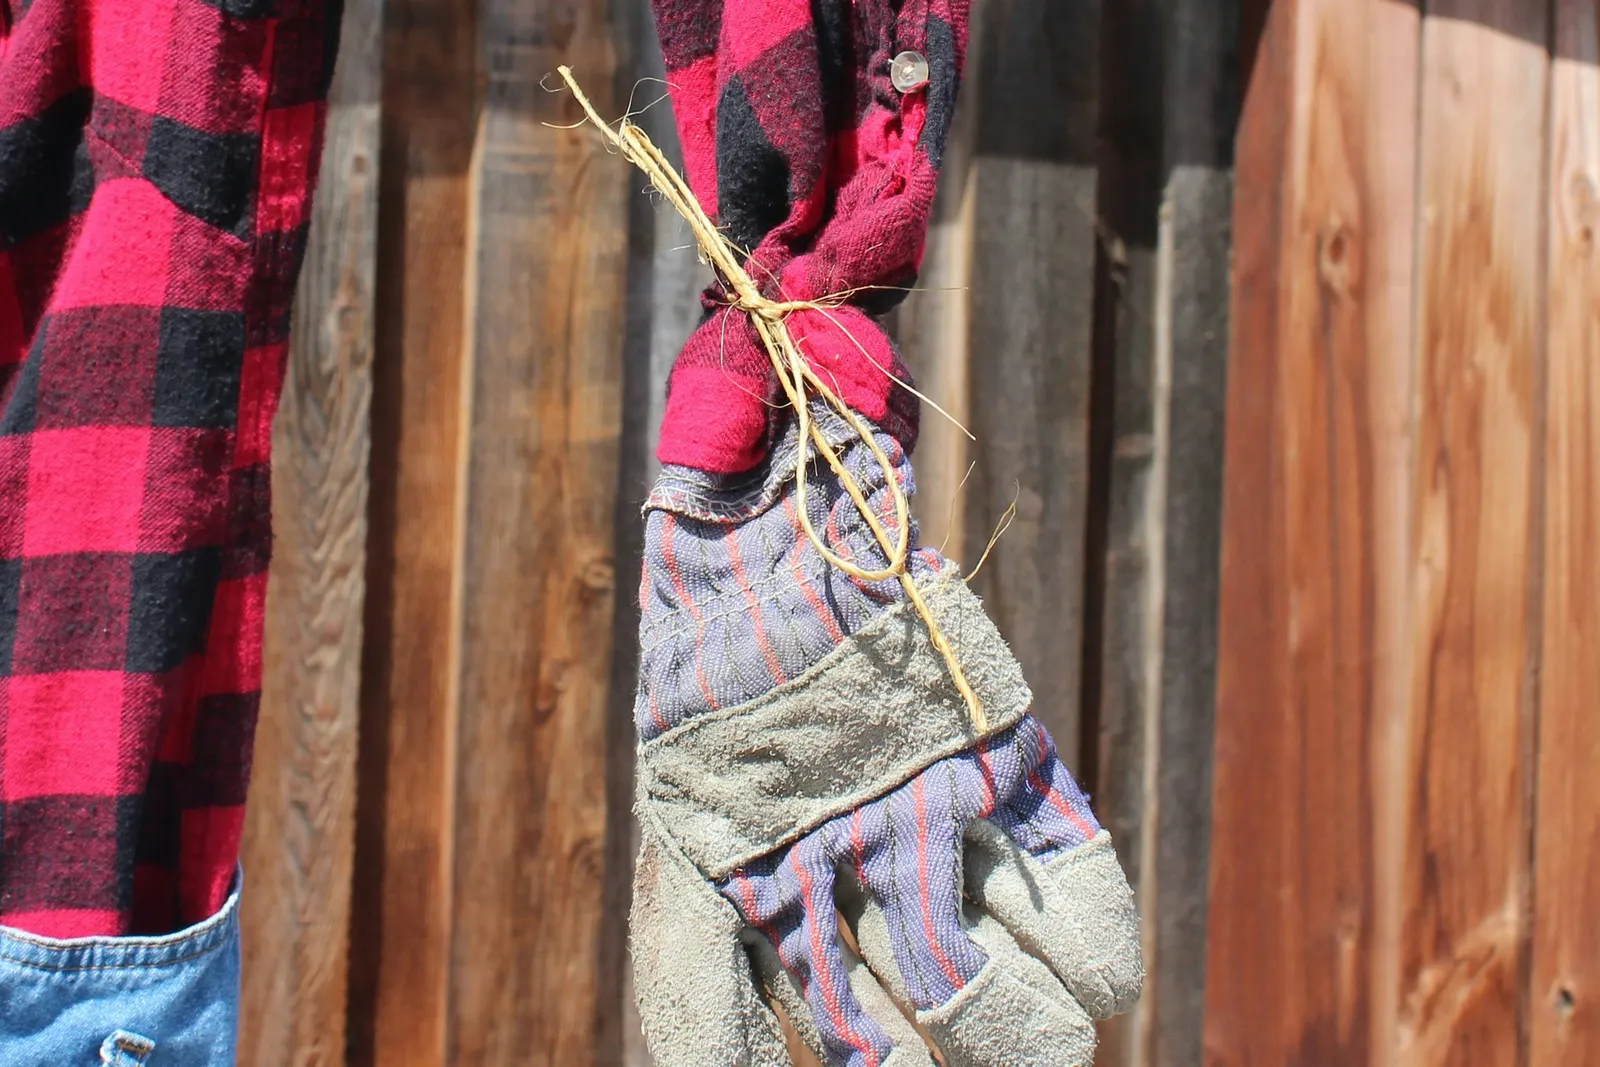
Push the gloves into the shirt sleeves. Then, tie twine tightly around the wrists of the sleeves to close them and hold the gloves in place.
8. Make the head
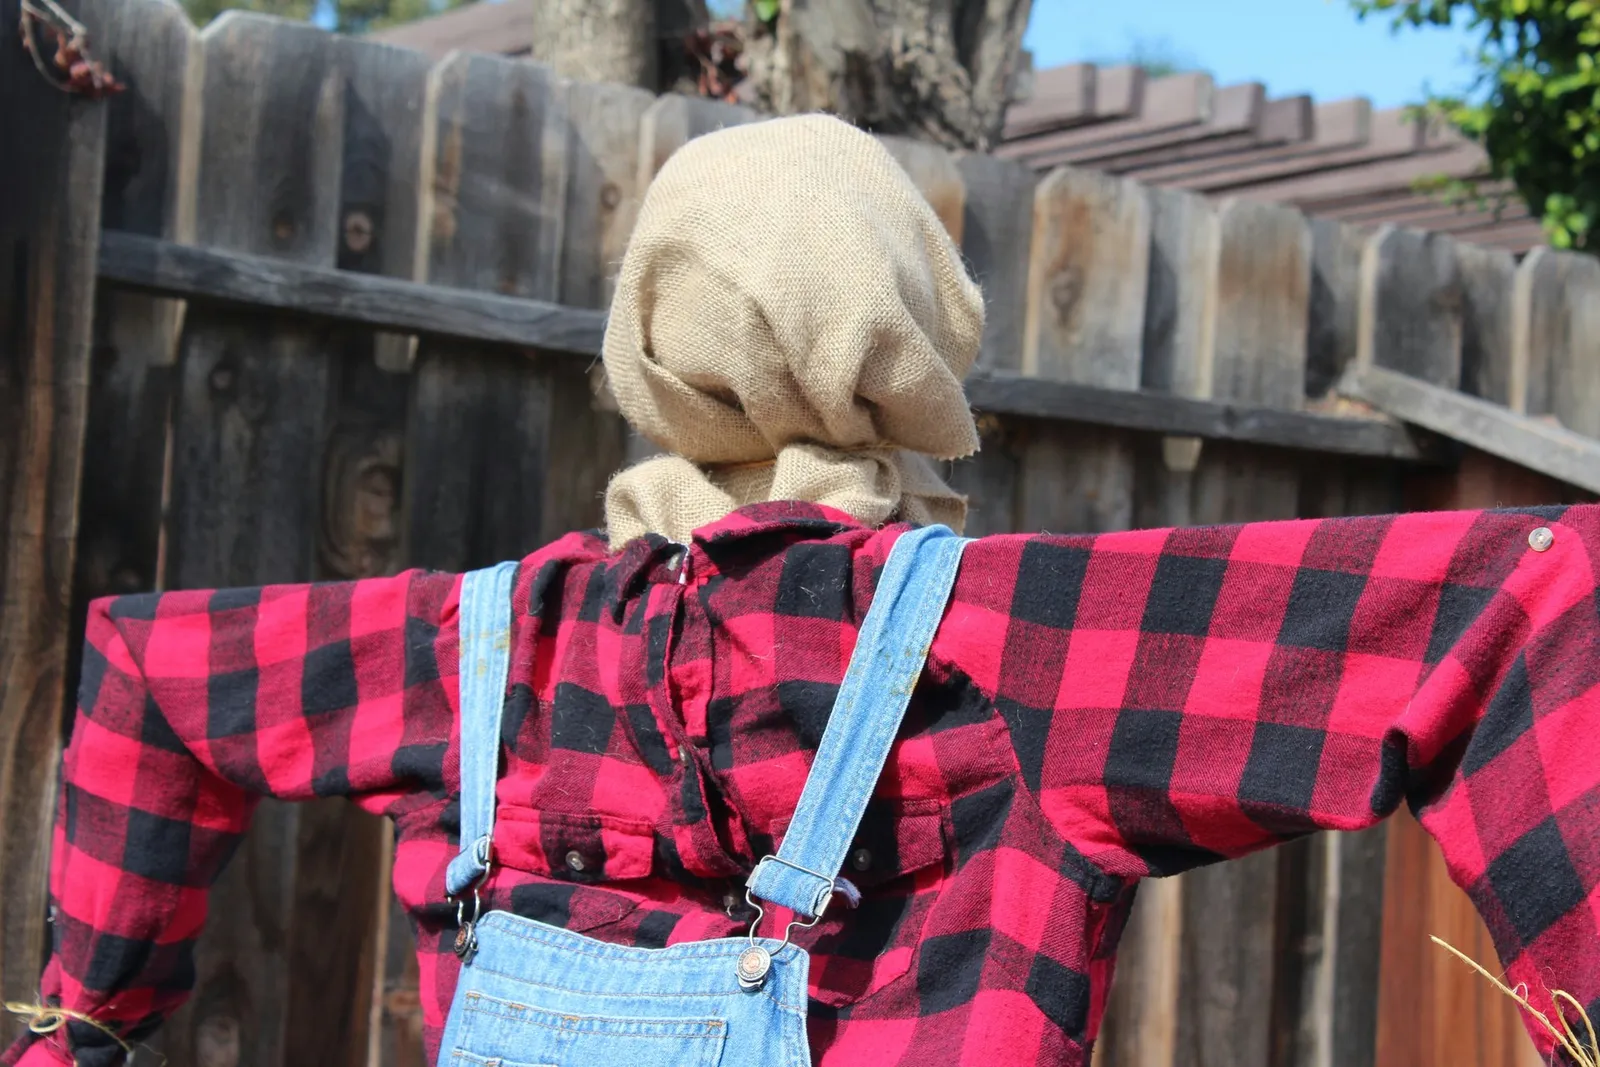
Cut a piece of burlap to measure 2 feet by 2 1/2 feet. Put some straw in the center and fold the burlap over to form a head shape. If it's not round or large enough, add more straw. Leave a little extra burlap at the bottom to tie the head to the post.
Once the size is right, attach the head by wrapping the extra burlap around the post and securing it with twine. Tuck any remaining burlap into the shirt collar.
9. Put on the hat
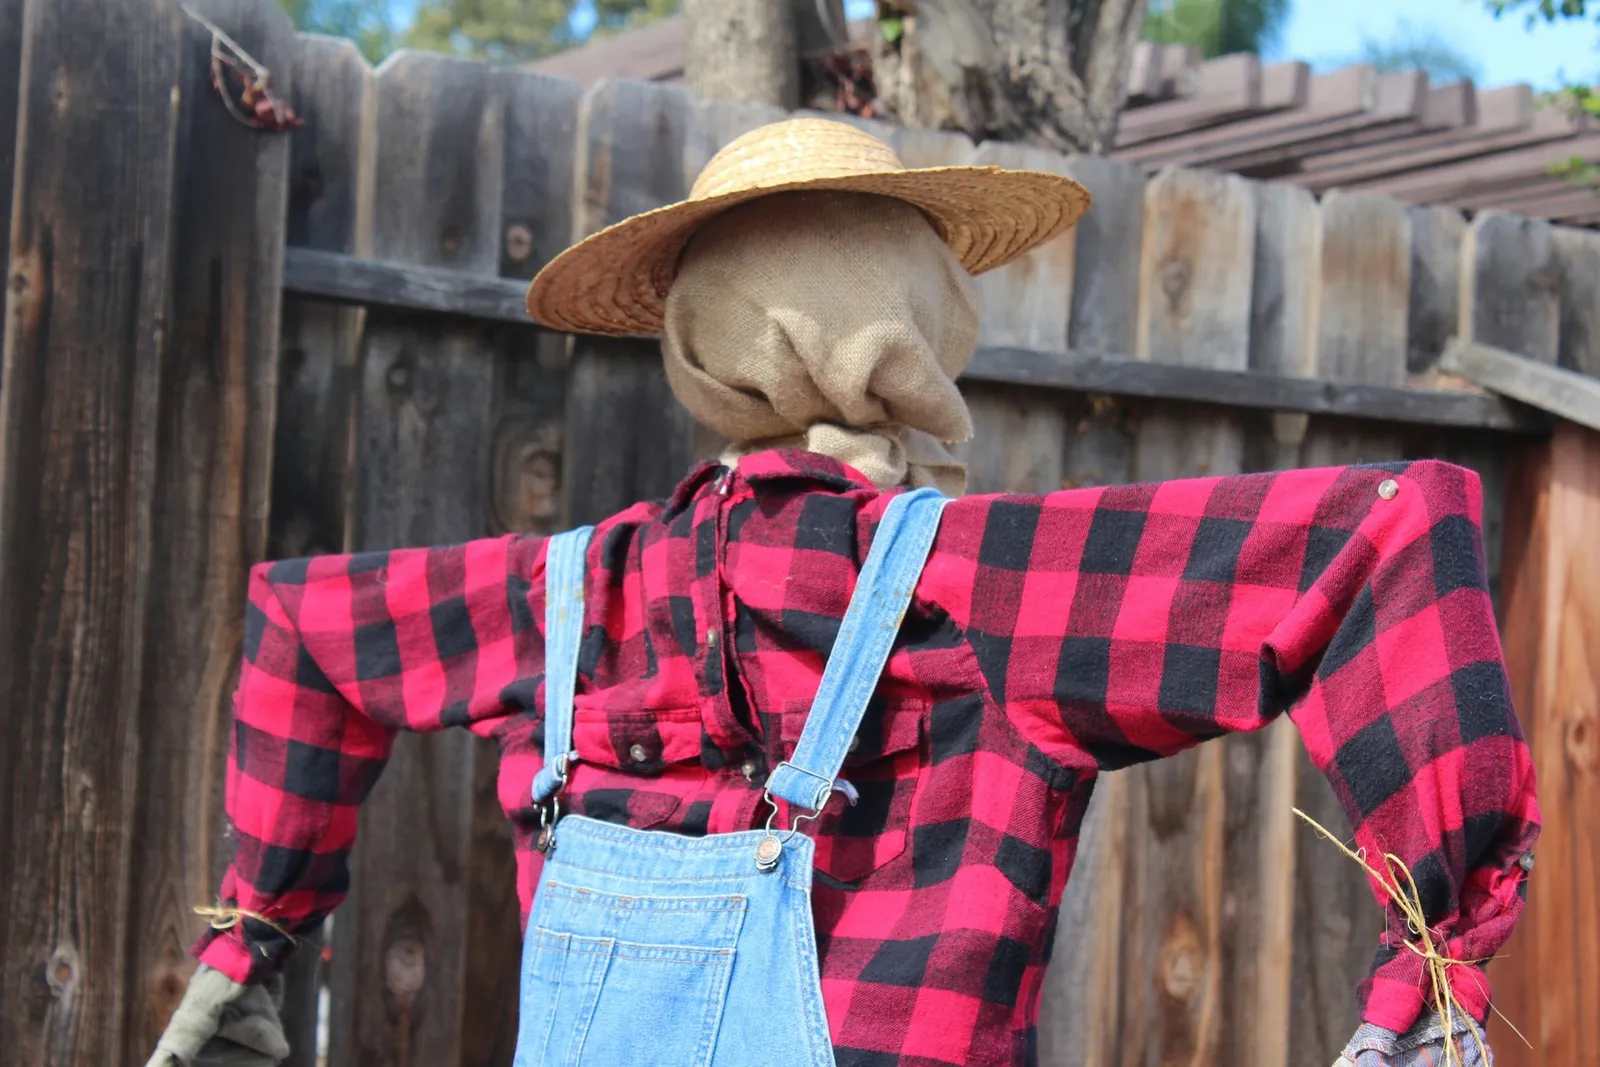
Set the hat on the scarecrow's head. Use safety pins to keep it in place.
10. Fill the scarecrow with straw
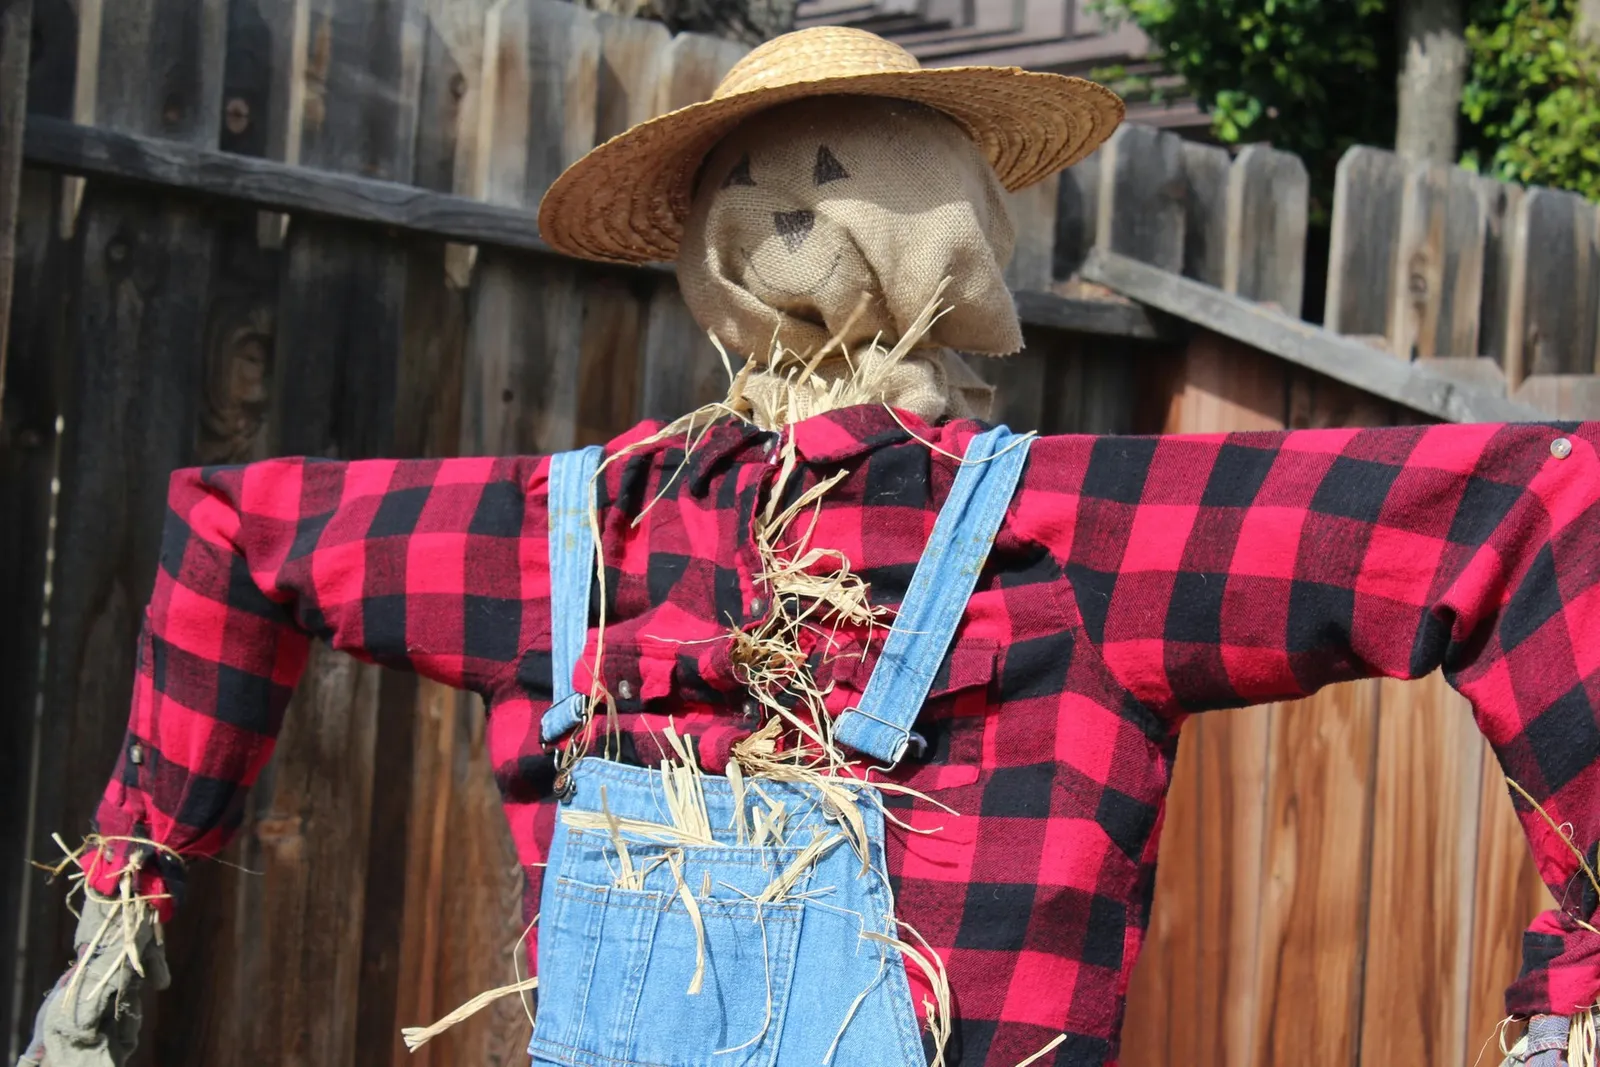
Stuff as much straw as you like into the shirt and overalls, filling out the chest, arms, and legs as fully as possible. Let some straw poke out from between the buttons and around the neck.
11. Draw the face
With a permanent marker, draw a face on the scarecrow. A classic design includes two triangles for eyes, an inverted triangle for the nose, and a half-circle for the smile.
12. Add decorative touches
If your scarecrow is primarily for decoration rather than function, place decorative items around the post, such as a hay bale, pumpkins, or autumn-colored flowers.