Build a Midcentury-Style Stand for Your Houseplant in Under a Day
Turn an ordinary plastic pot into a retro-inspired piece by adding tapered wooden legs and a touch of gold — a project you can complete in a single afternoon.
By Drew Ross4 steps
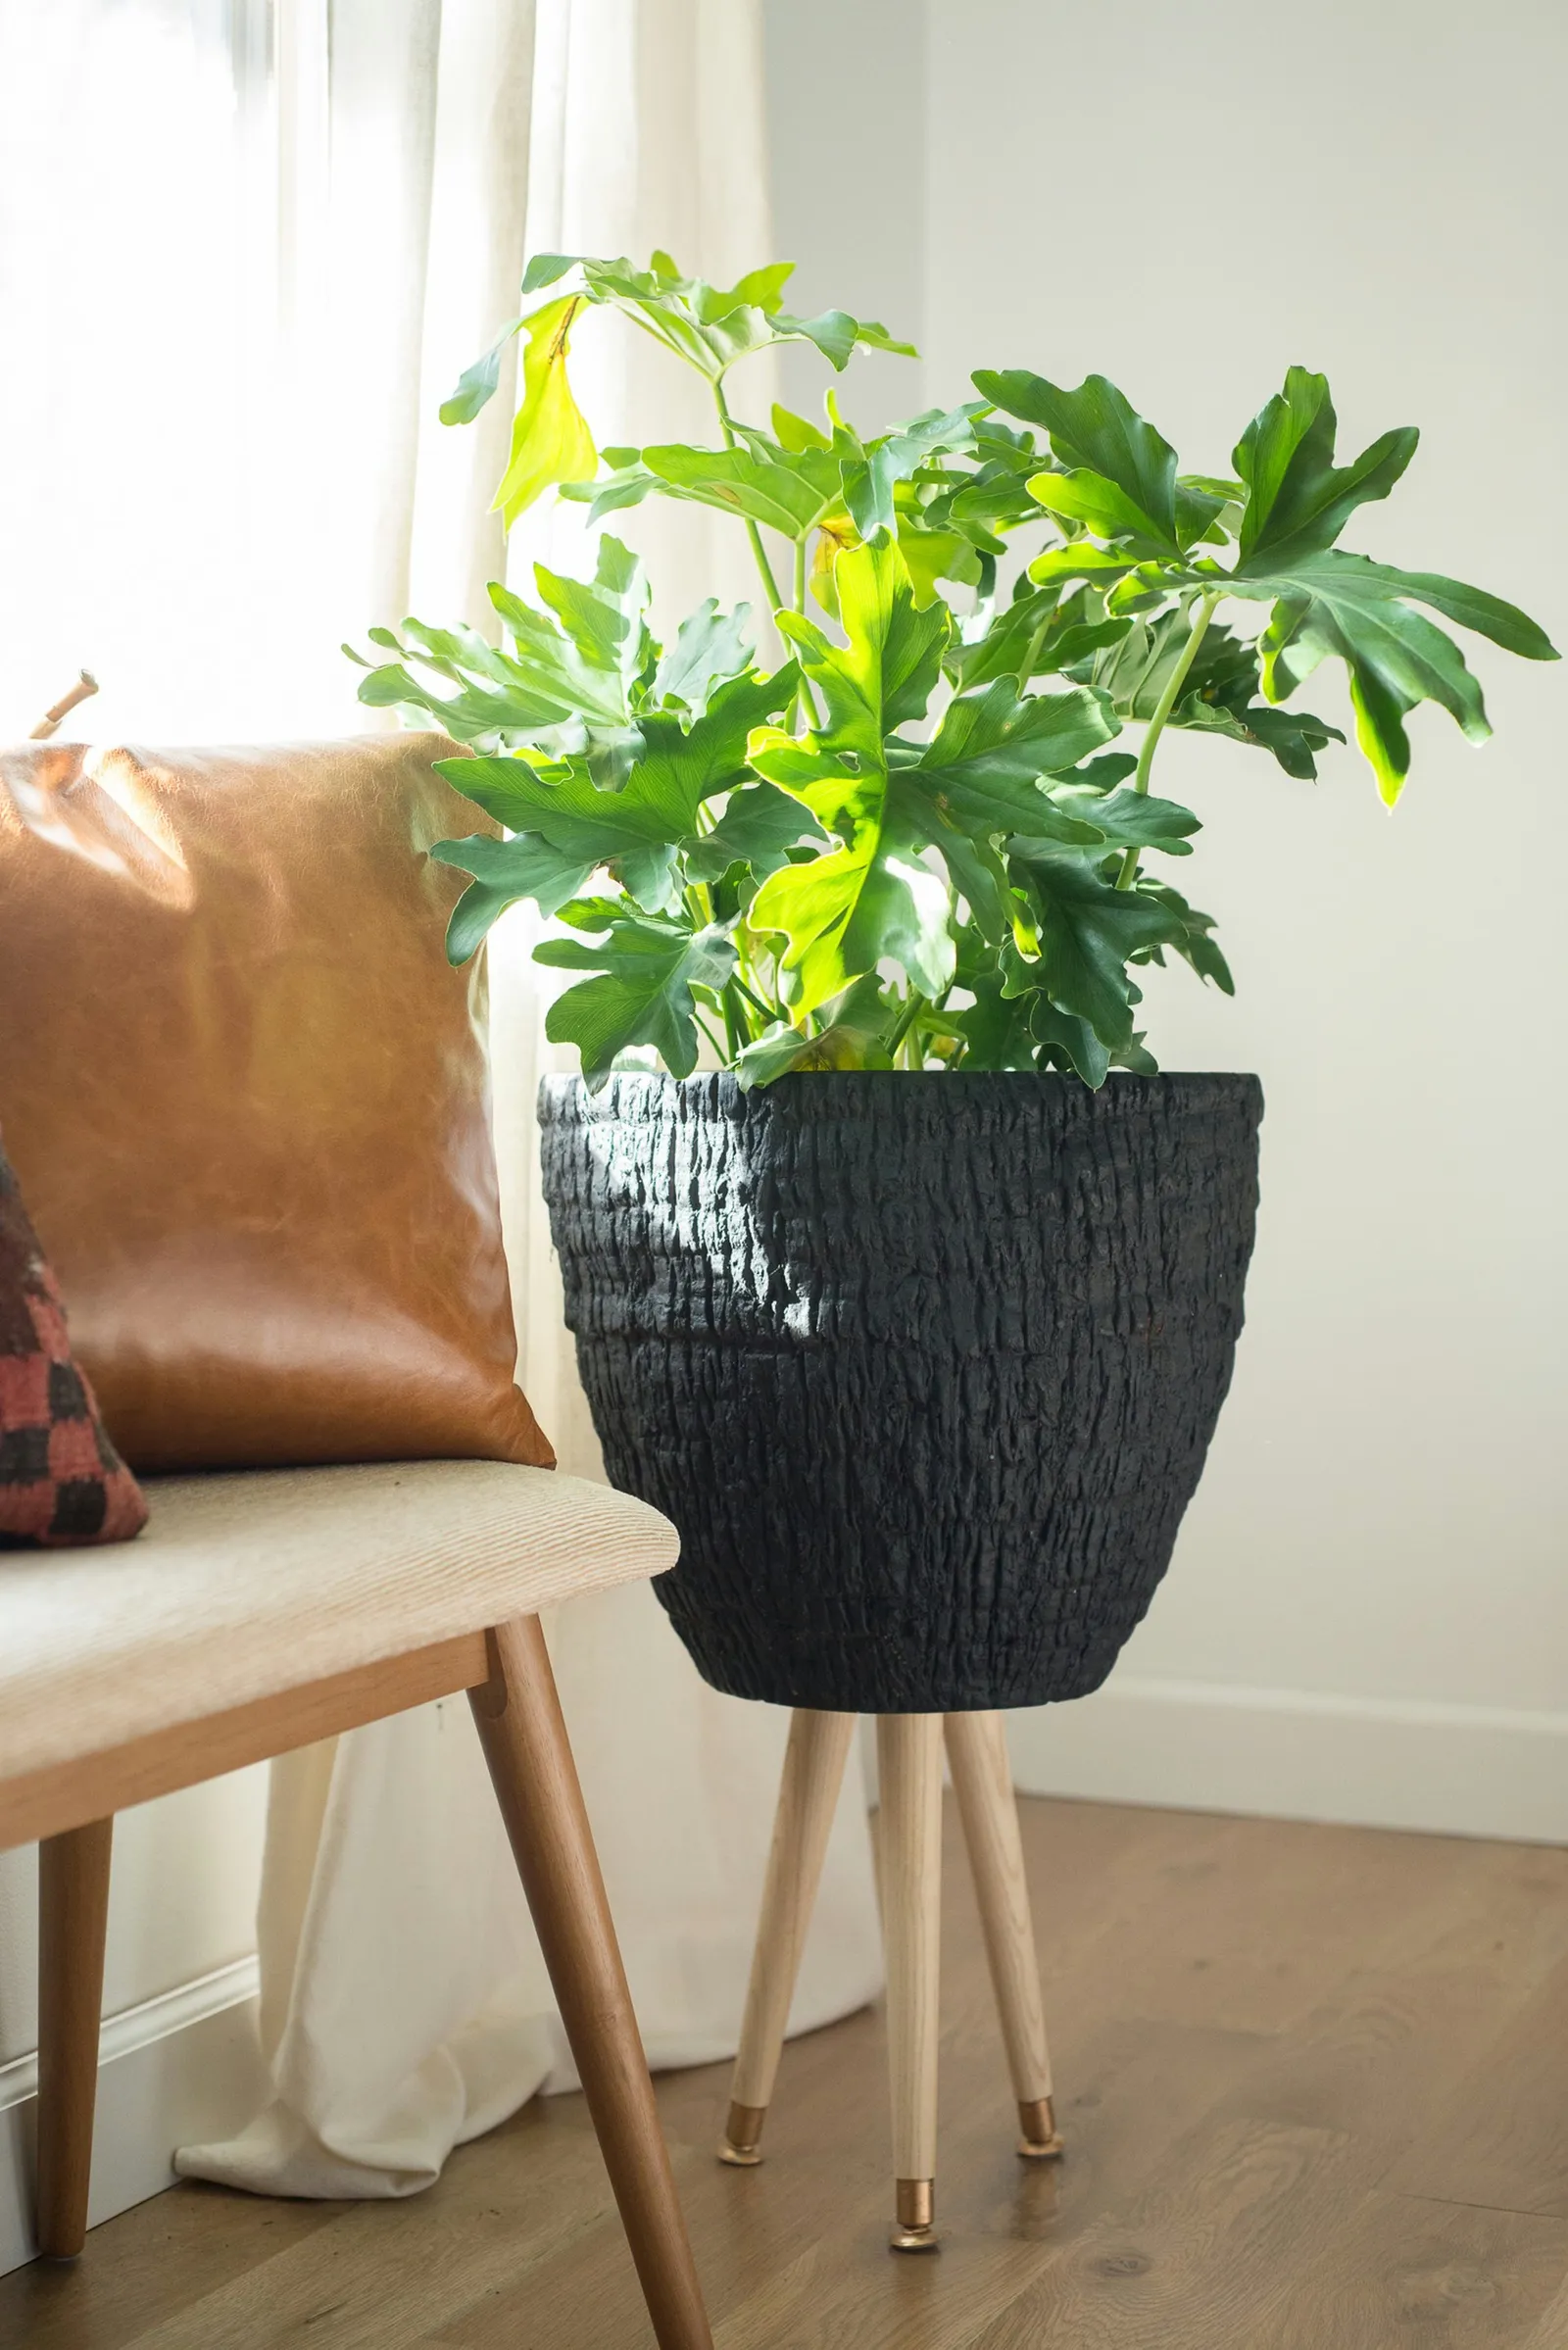
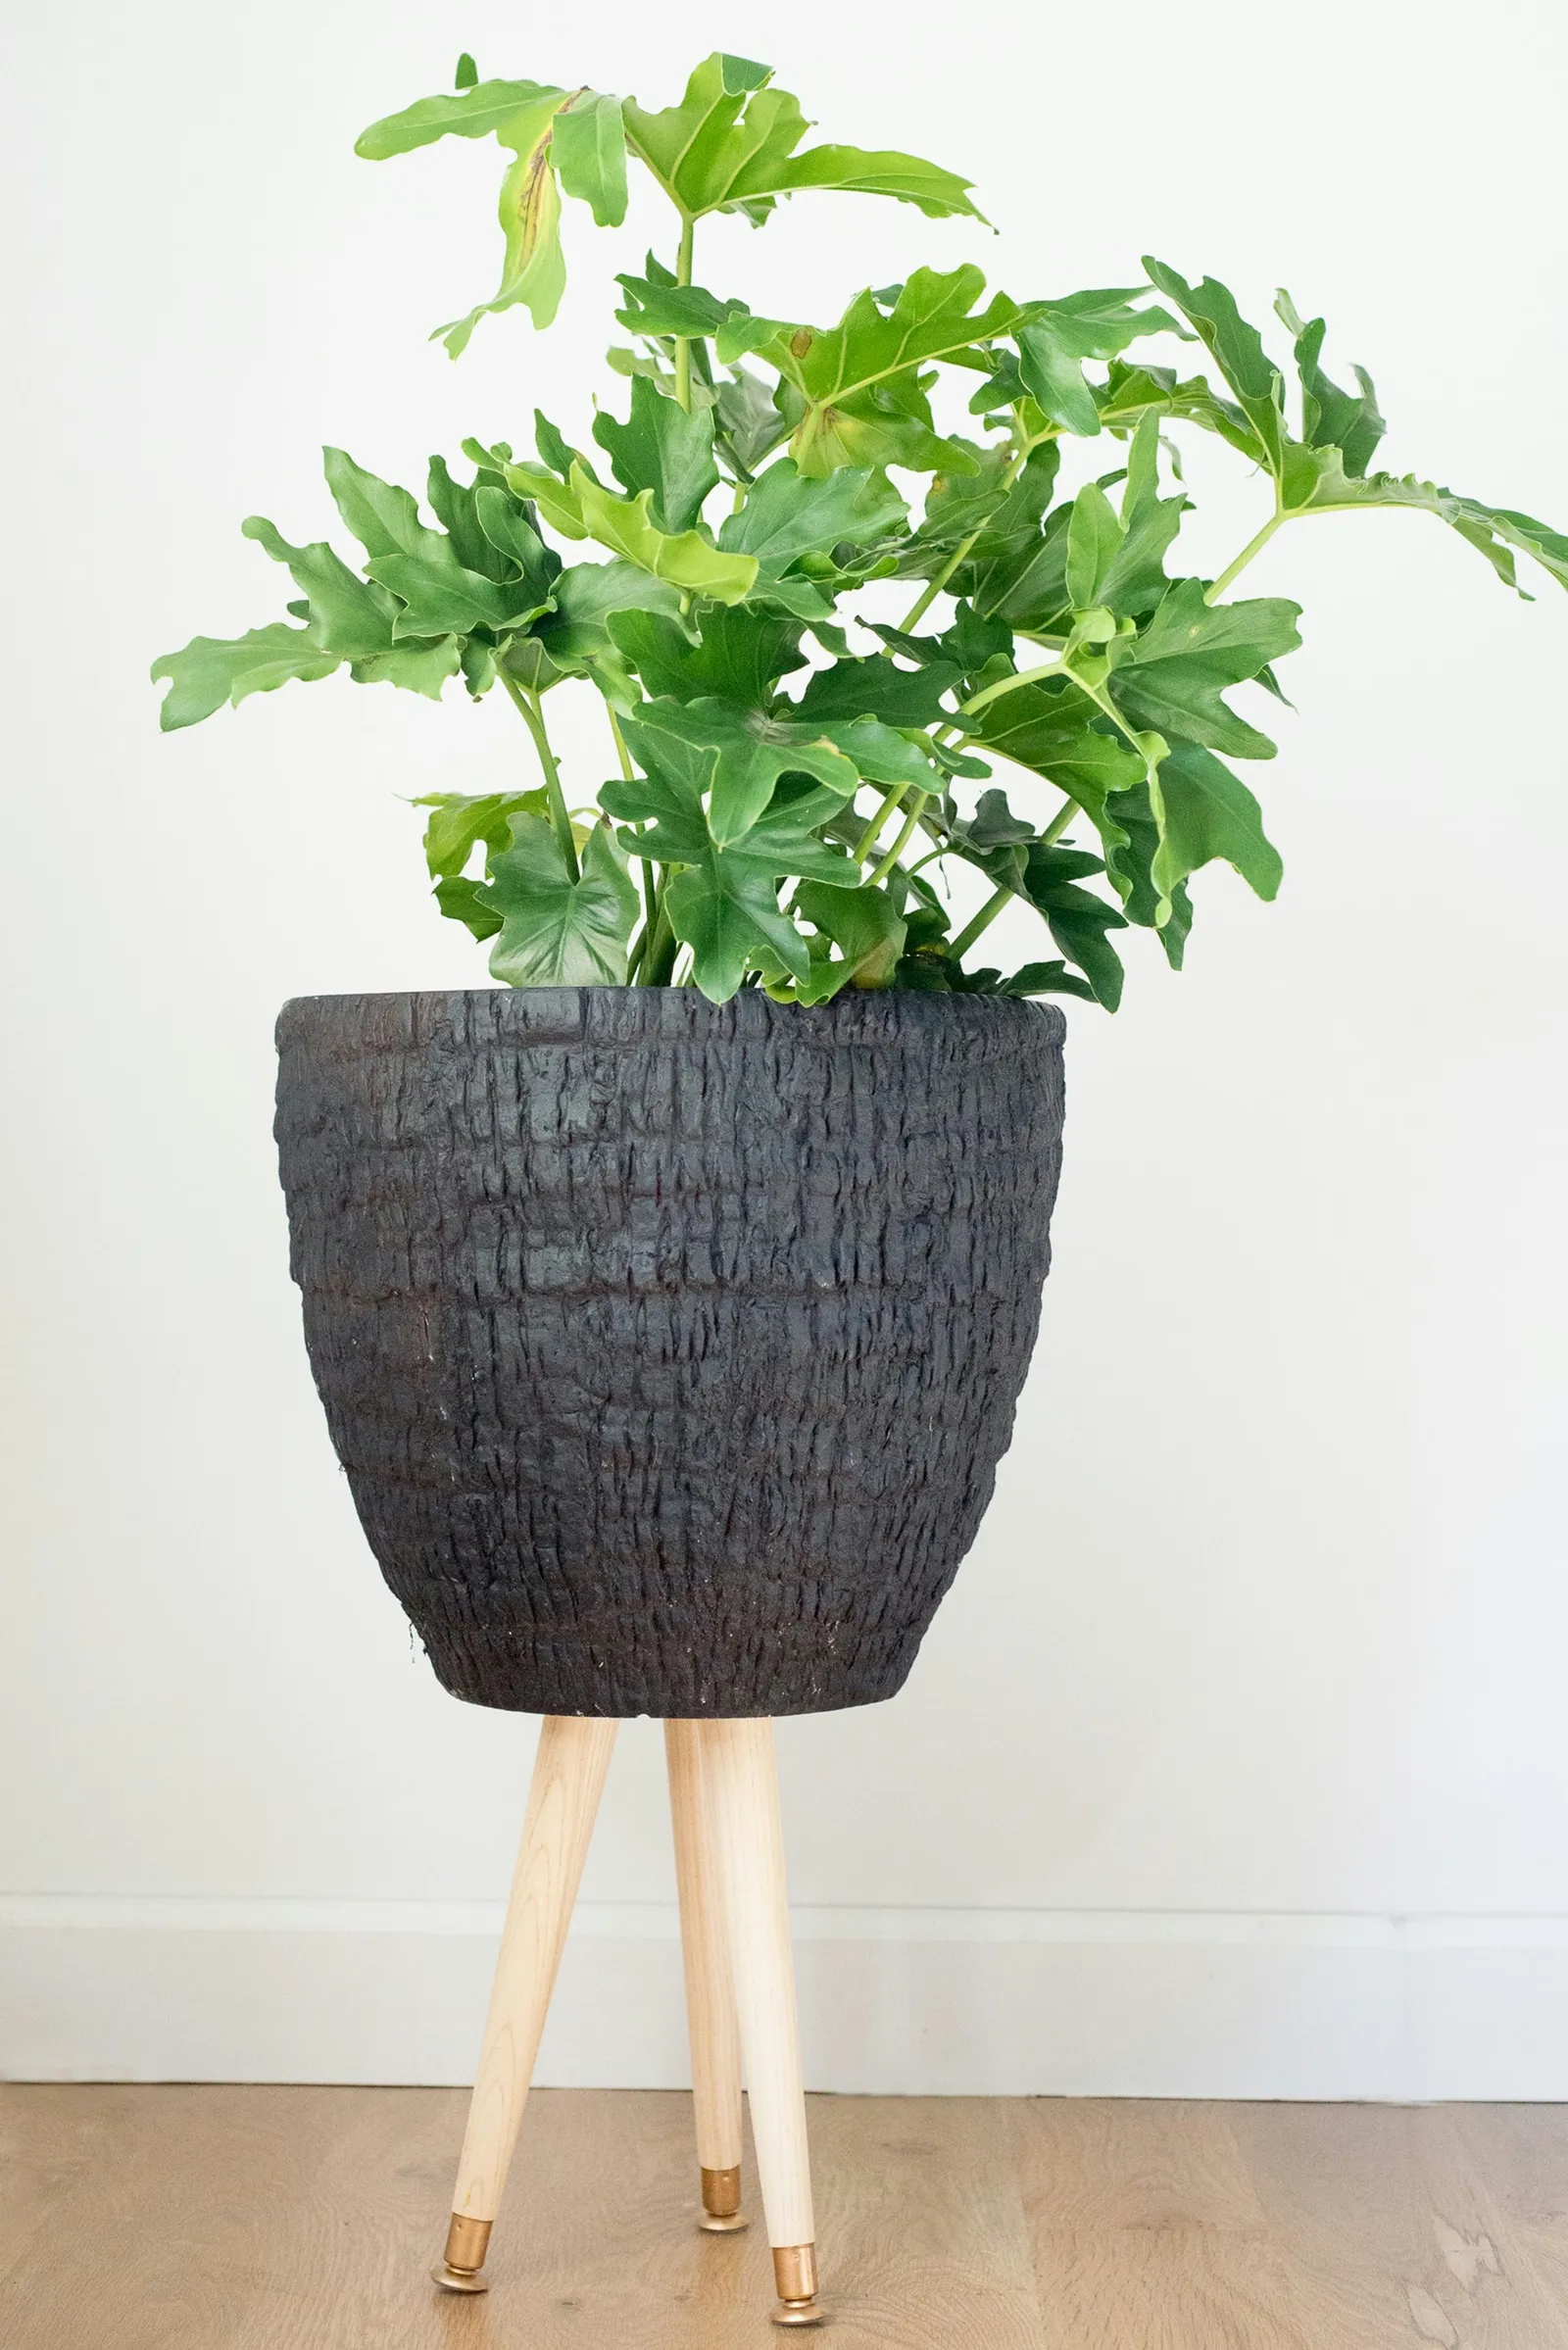
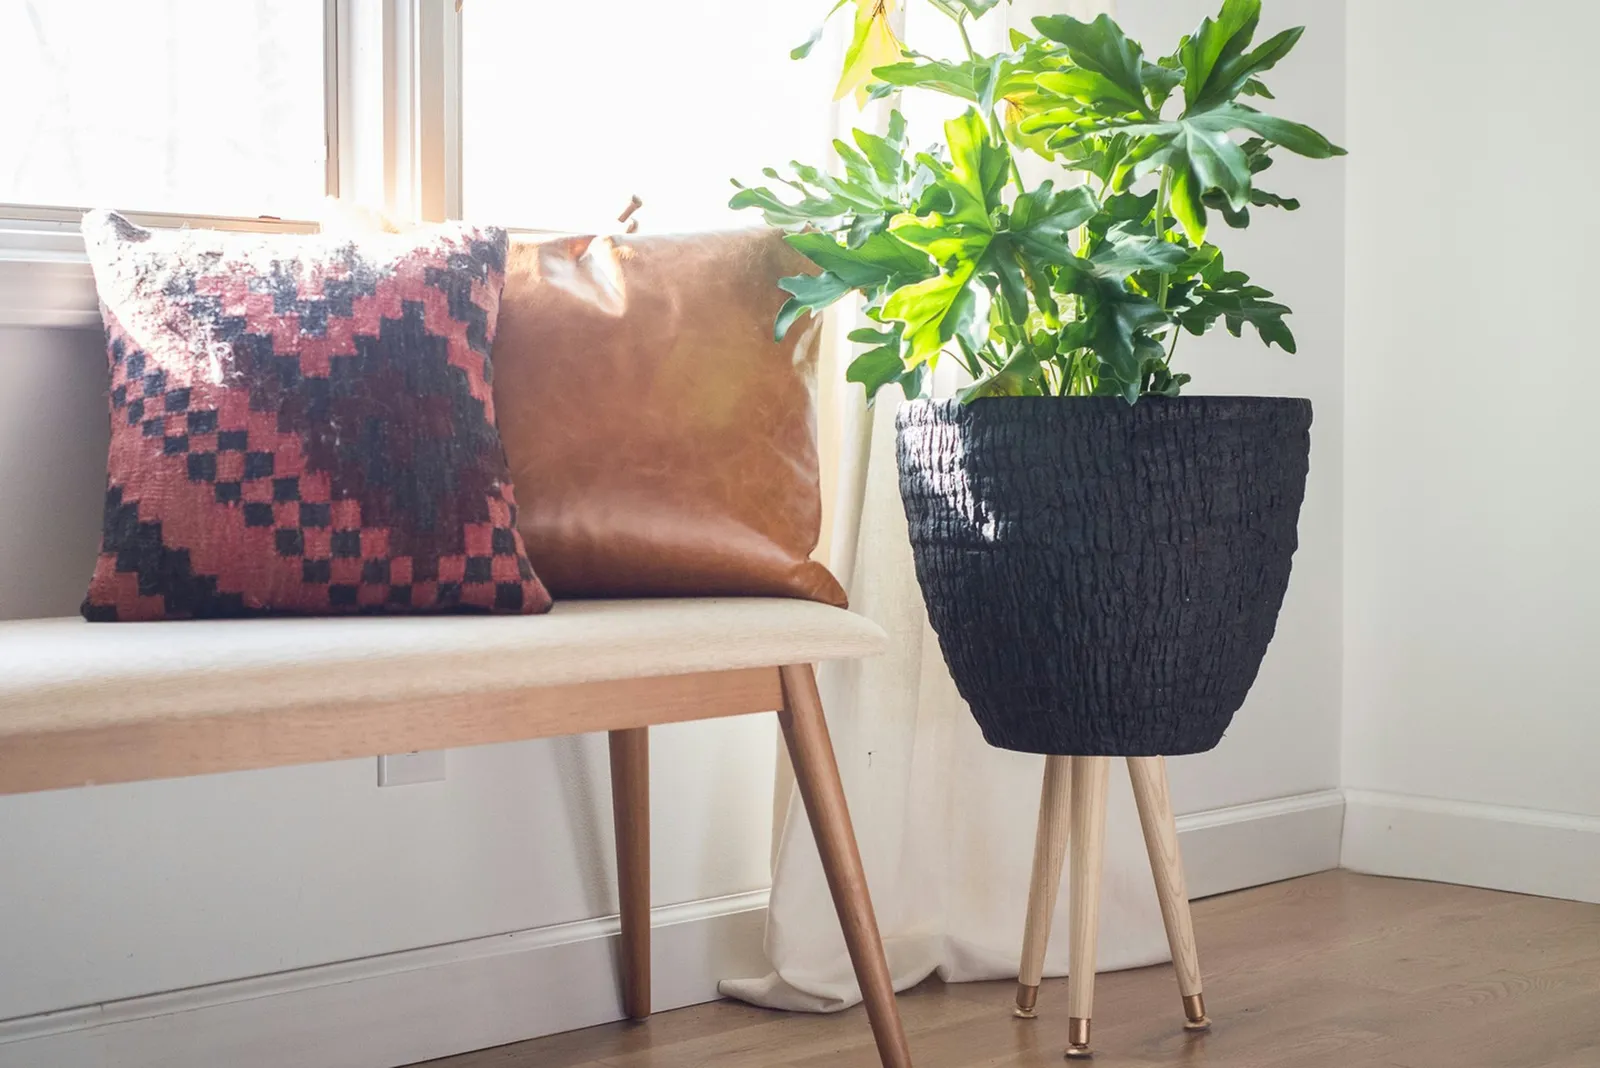
Midcentury design has a way of fitting in almost anywhere while still looking polished and timeless. If that style appeals to you, you can give a houseplant a retro upgrade by building a custom stand in just one afternoon. The leg height and arrangement can be adjusted to suit the size and shape of your particular plant, and the whole build comes together in as few as three main steps. Finishing the tips with a gold accent adds a playful midcentury touch, resulting in one more piece for your collection.
Step 1: Work Out Where the Legs Go
Start by threading the legs into the angle top plates to check how they will sit. Turn the planter upside down so its base is facing upward. Set each leg against the bottom of the pot, spreading them out at equal distances from one another. Mark every hole so you know exactly where to drill.
Step 2: Mount the Angle Plates
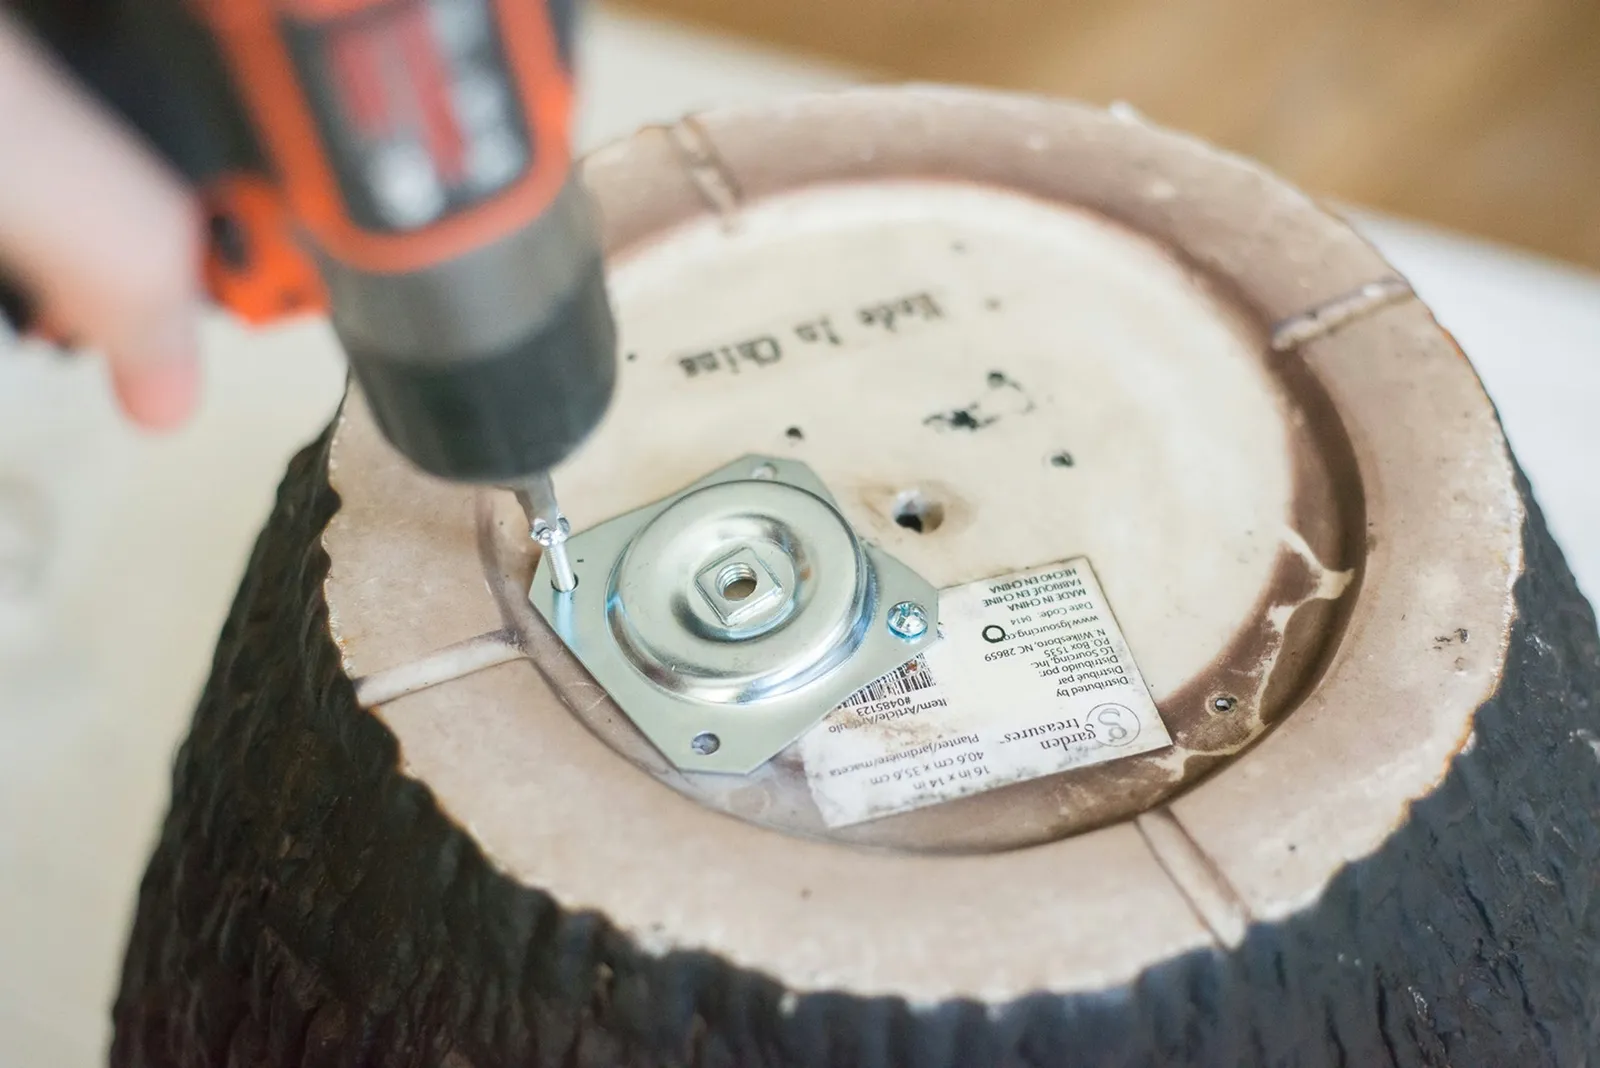
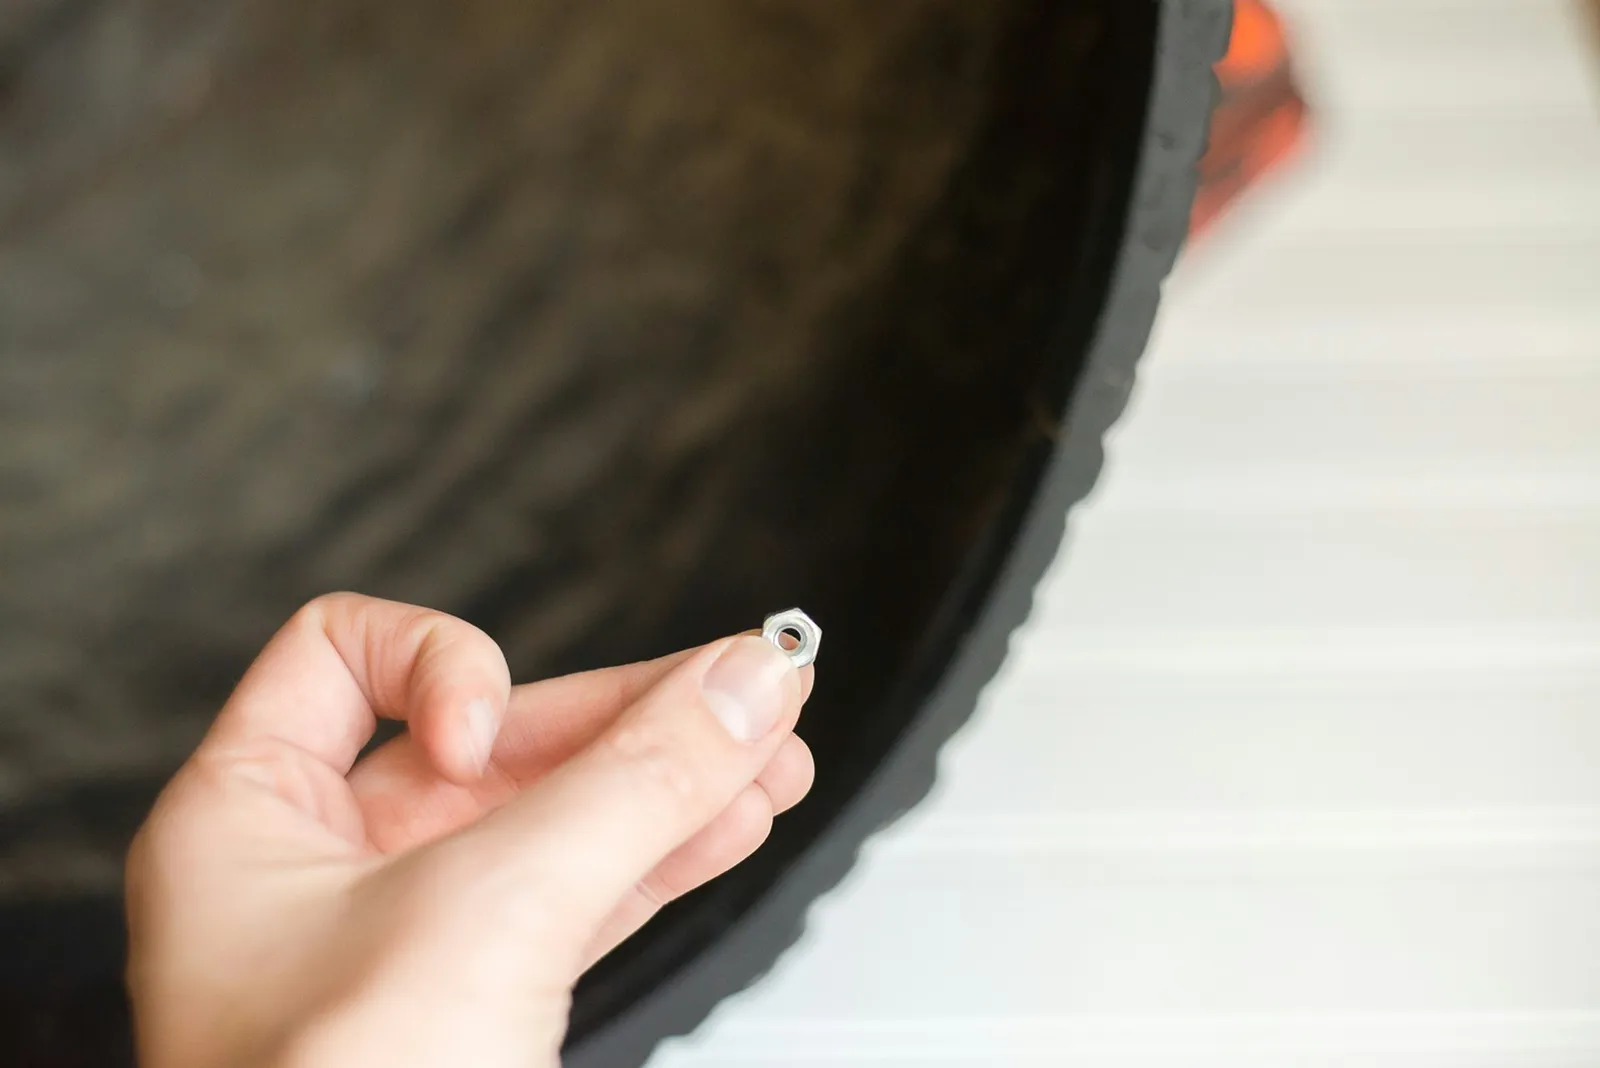
With a small drill bit, make pilot holes at each spot you marked. Once those are done, drive screws through the top plate into the planter. Turn the planter right side up and secure a nut onto each screw from inside. Check that every angle plate is held tightly against the planter.
Step 3: Finish the Feet
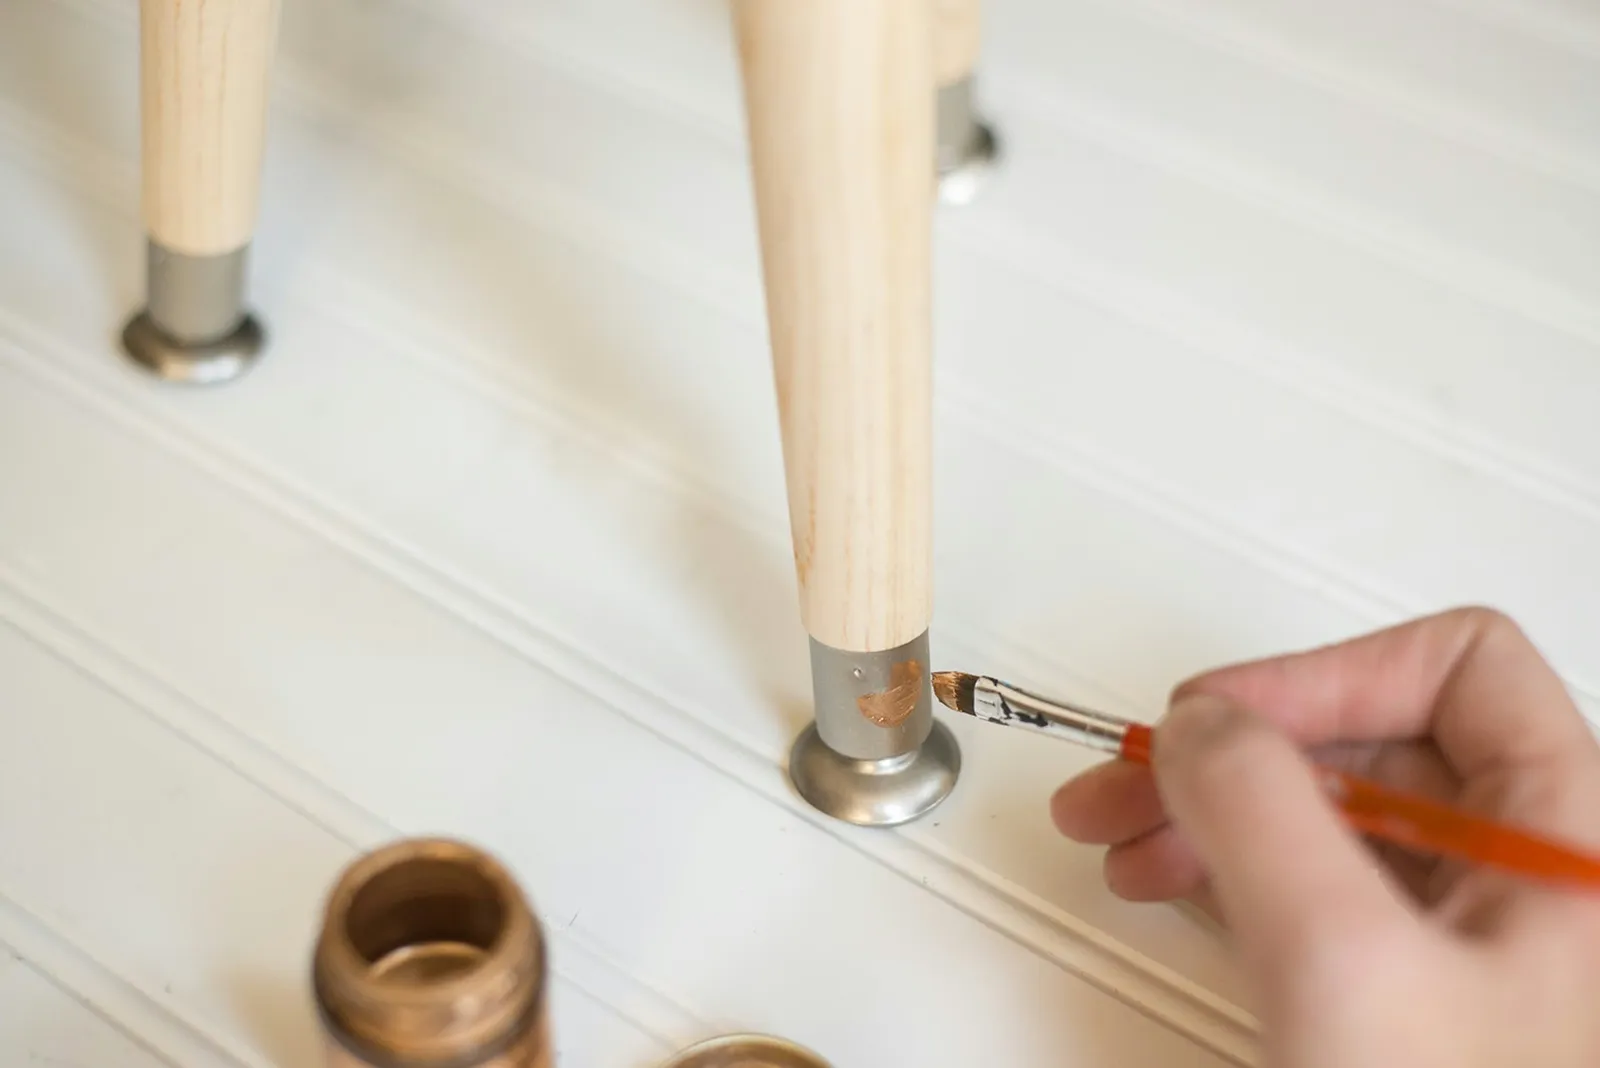
Apply gold leaf to the chrome portion of each foot so it takes on a brass-like appearance. Allow the feet to dry. If you prefer, you can instead stain or paint the legs and keep the feet in their original chrome finish.
Step 4: Pot the Plant
Put rocks in the bottom of the planter to aid with water drainage. Then place your plant inside and enjoy.