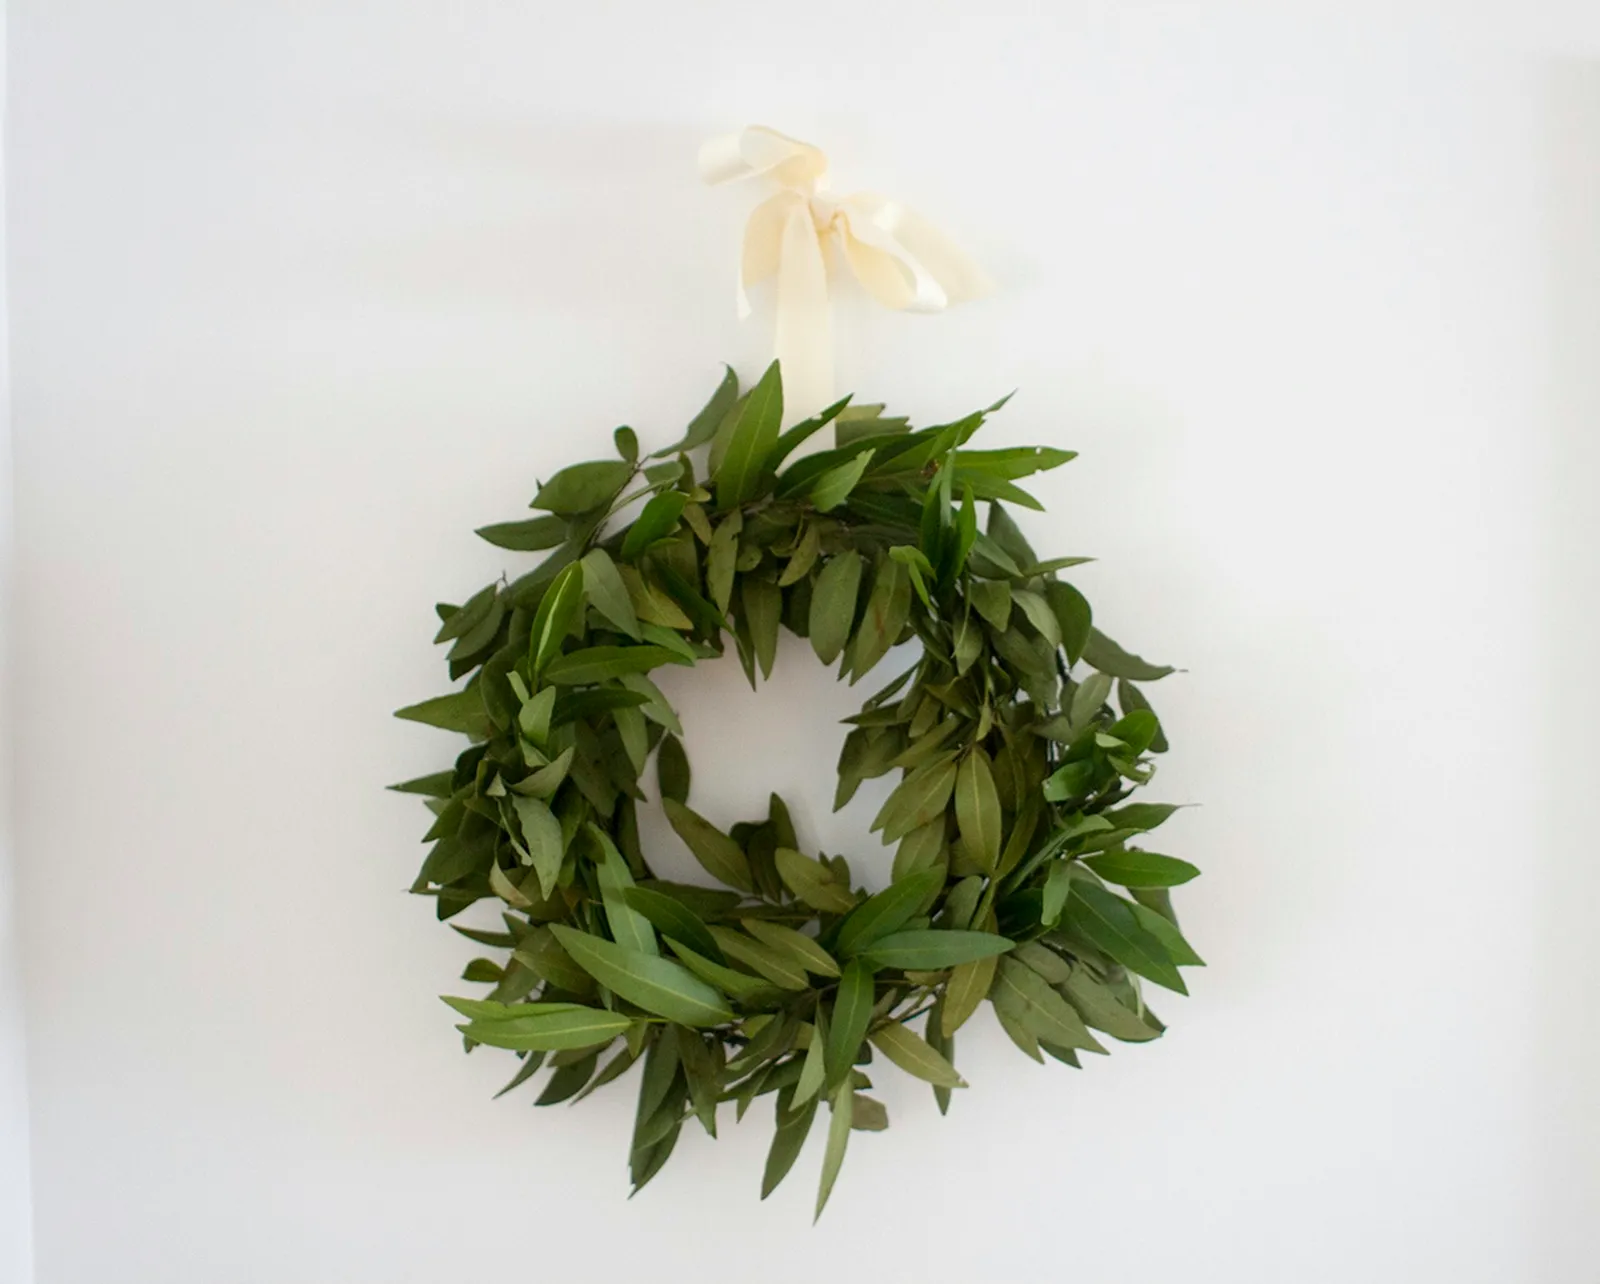
Crafting a Fresh Olive Branch Wreath: A Step-by-Step Guide
Learn how to create a natural olive wreath using simple materials. This guide walks you through separating branches, securing them to a form, and adding finishing touches for a lovely spring decoration.
By Reese Rivera6 steps

Olive branches, which are frequently linked to peace and purity, can be gathered and bound together into a wreath that highlights their natural allure. This wreath works well as a decoration at any point in the year. What's more, putting it together involves just a few straightforward steps.
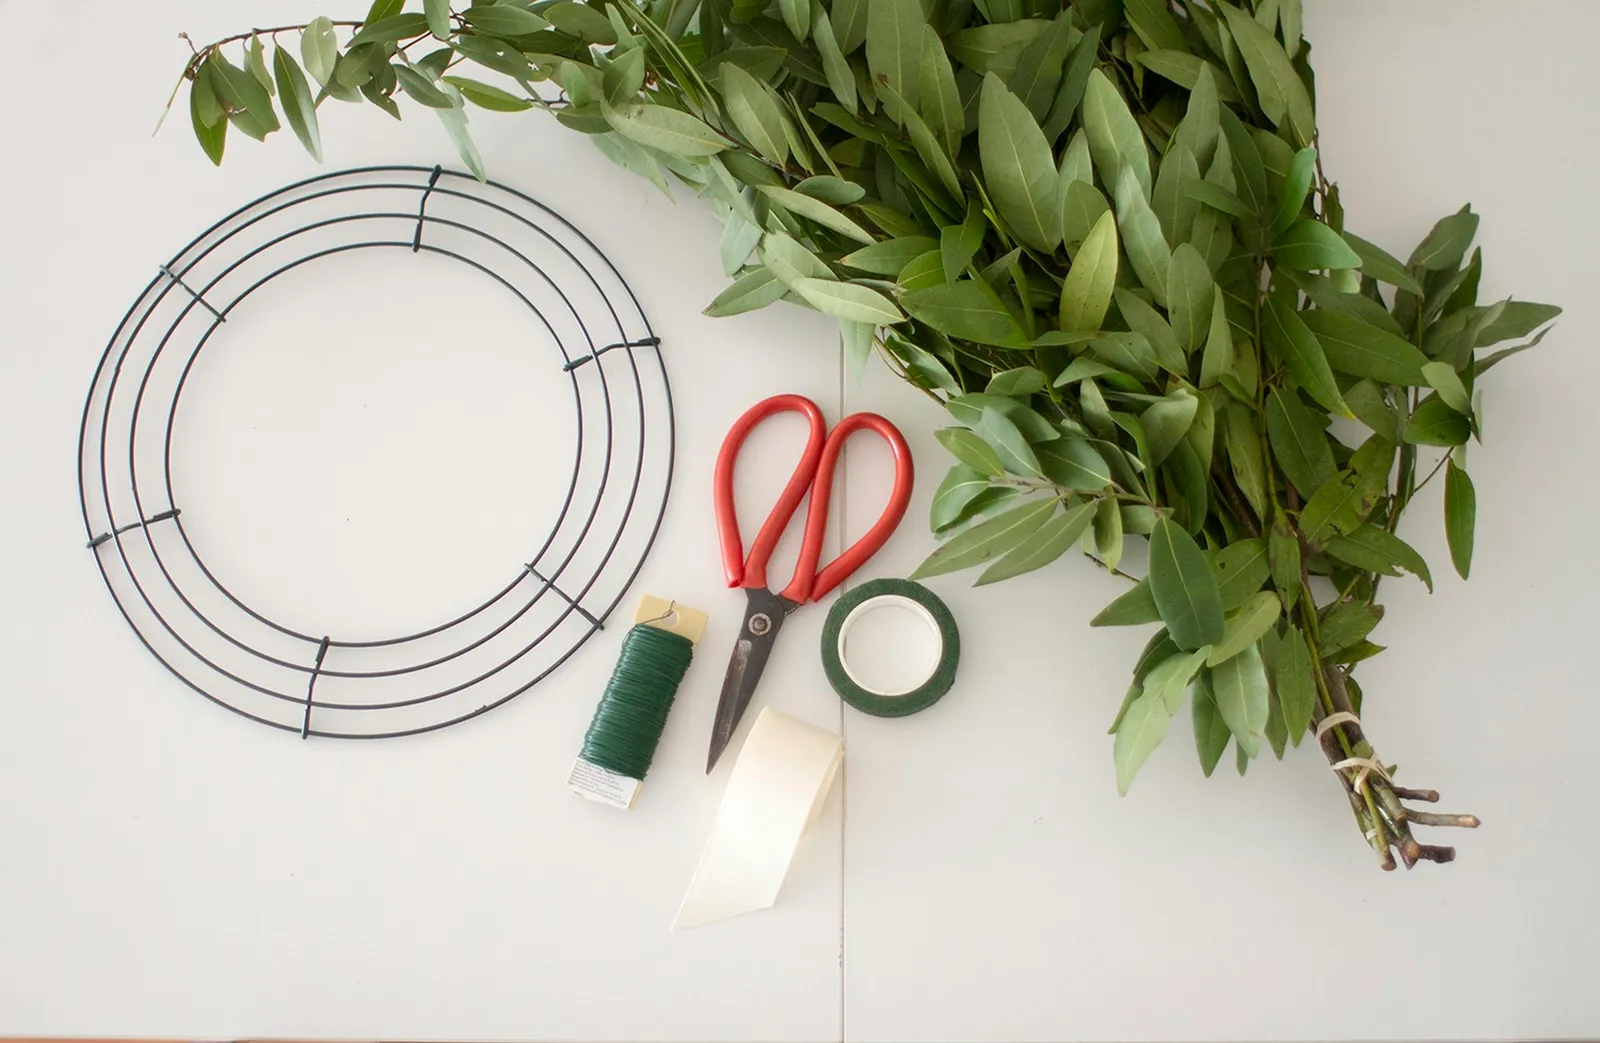
Step 1: Divide the Branches
Begin by taking the olive foliage and pulling apart the individual branches from the bunch. Determine which branches will work best for your wreath. These usually arrive as sizable bundles held together with rubber bands. They can be bought from nearby flower markets or ordered specially through a local florist.
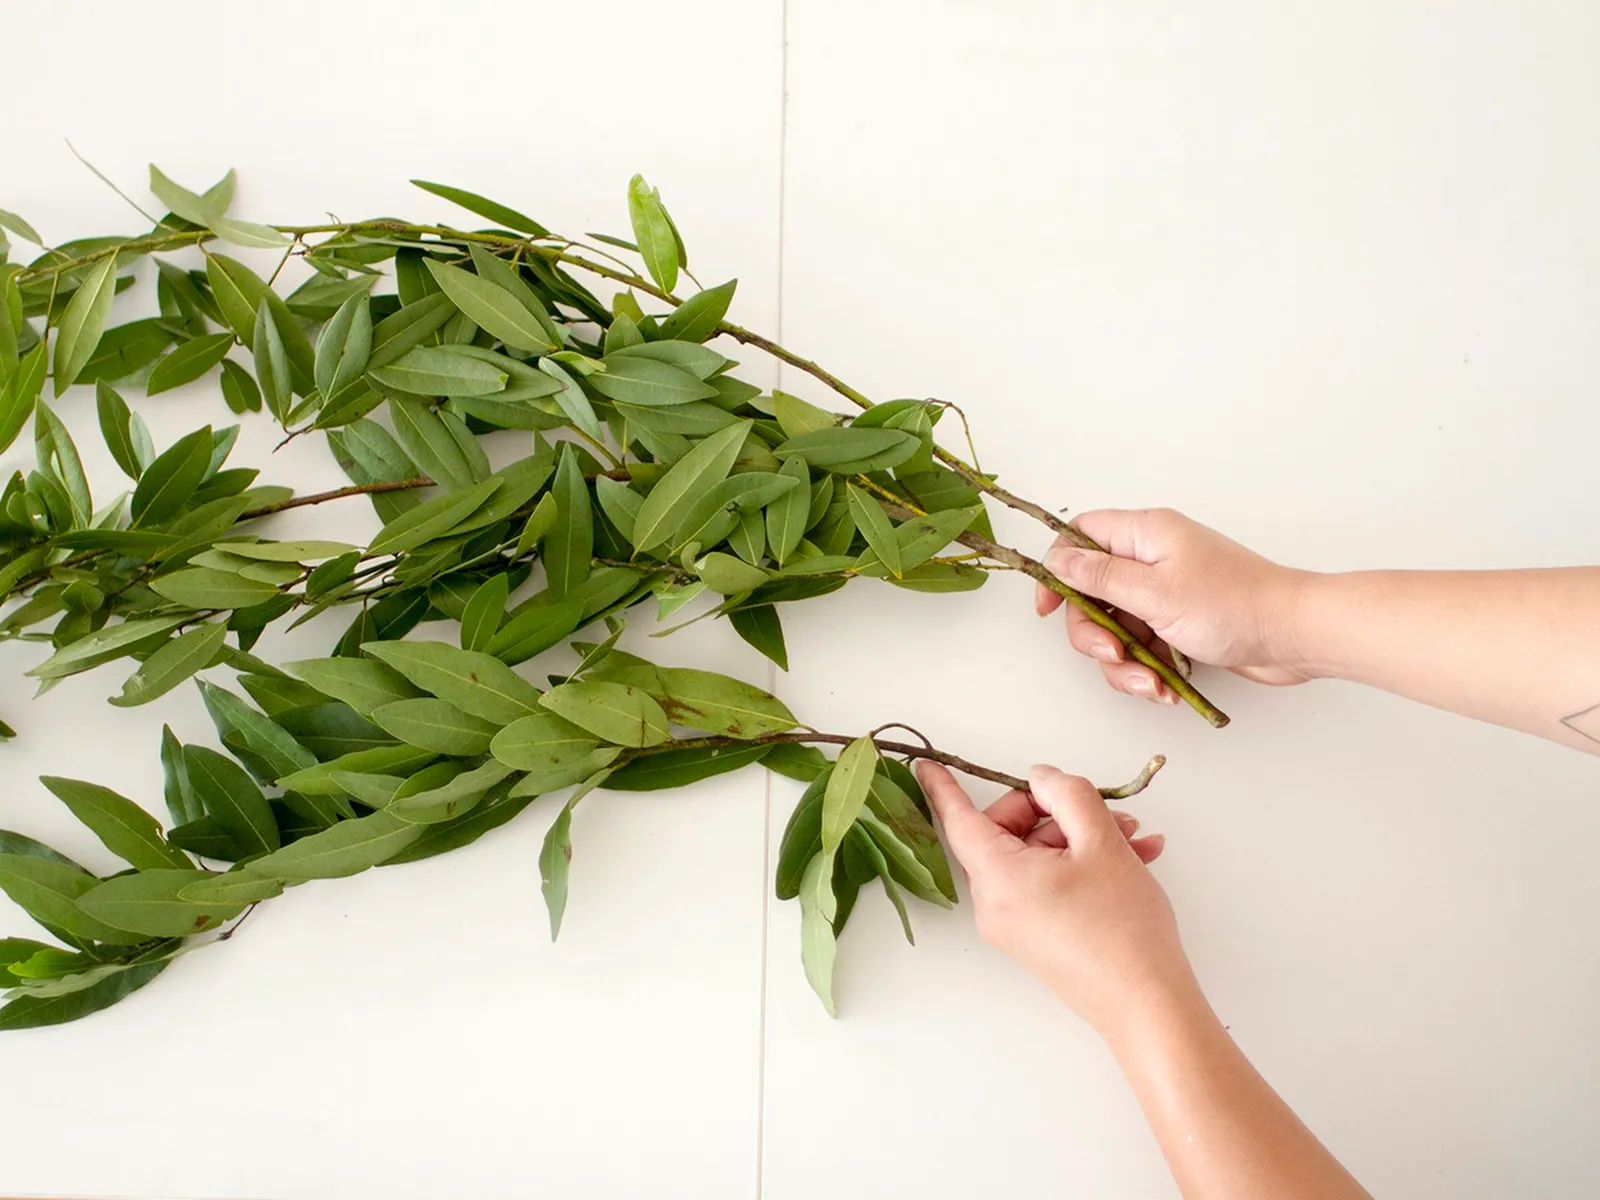
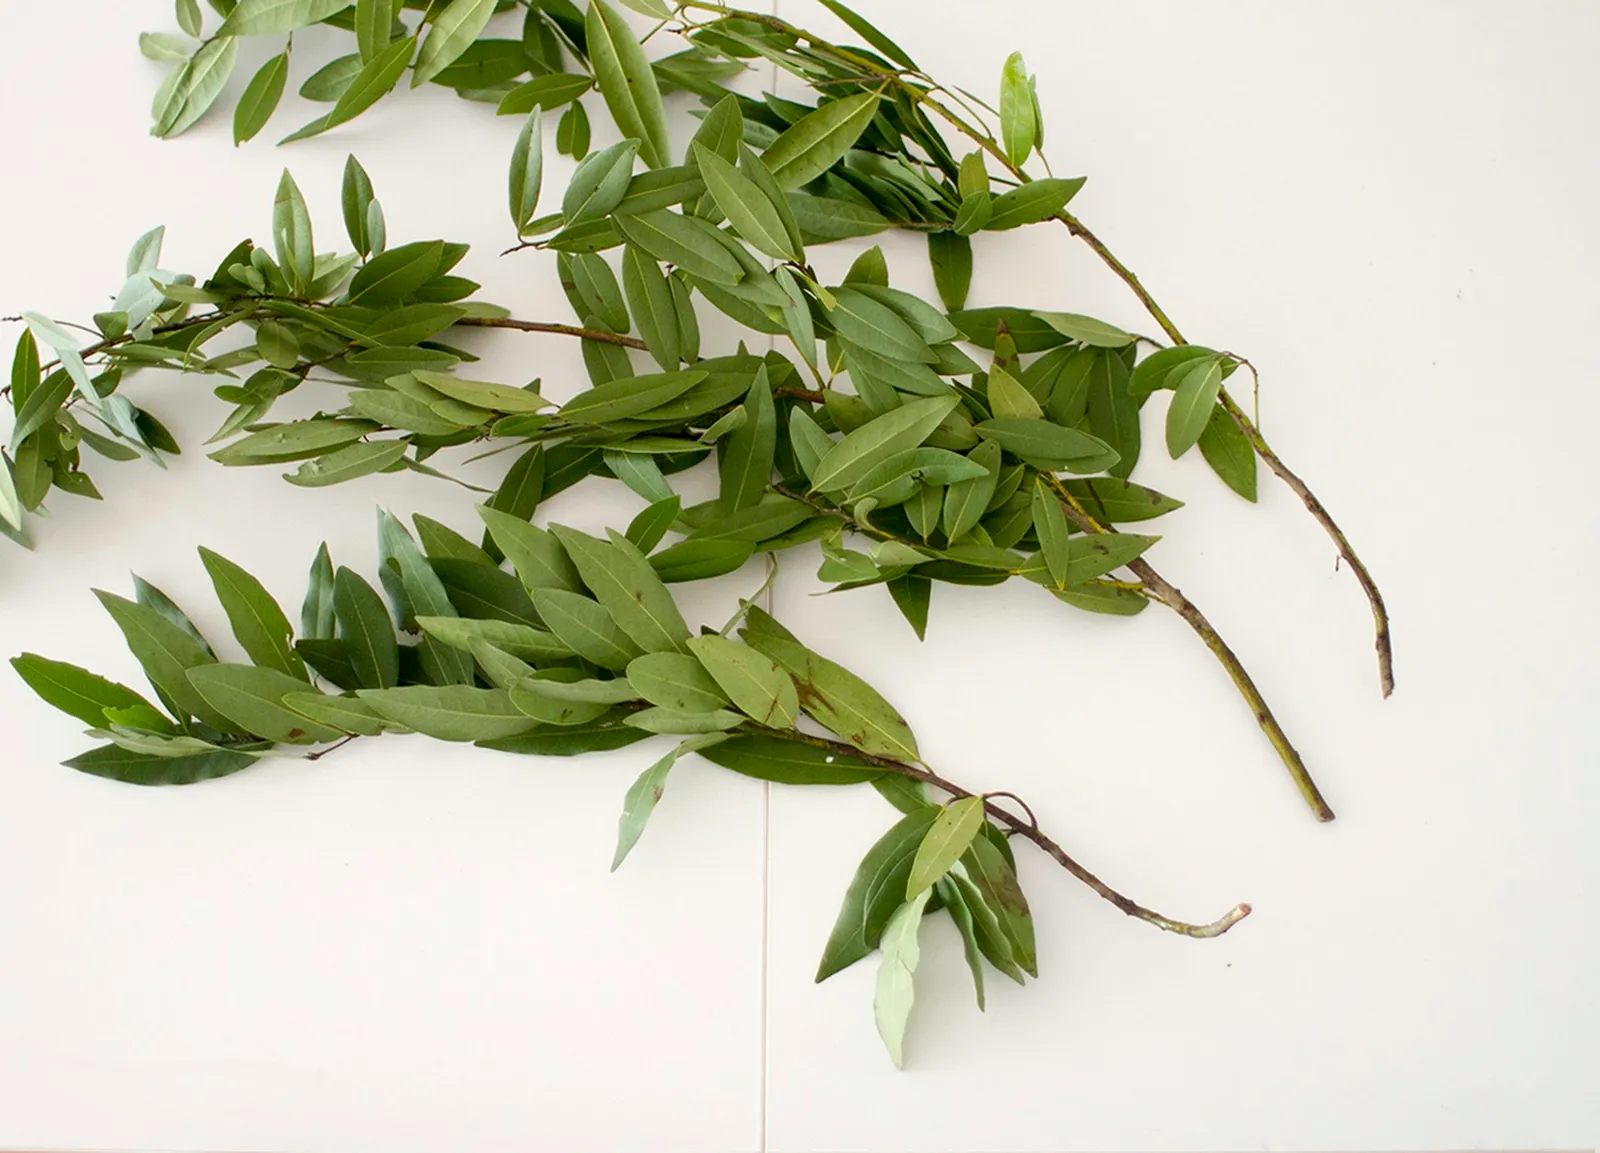
Step 2: Trim the Stem Ends
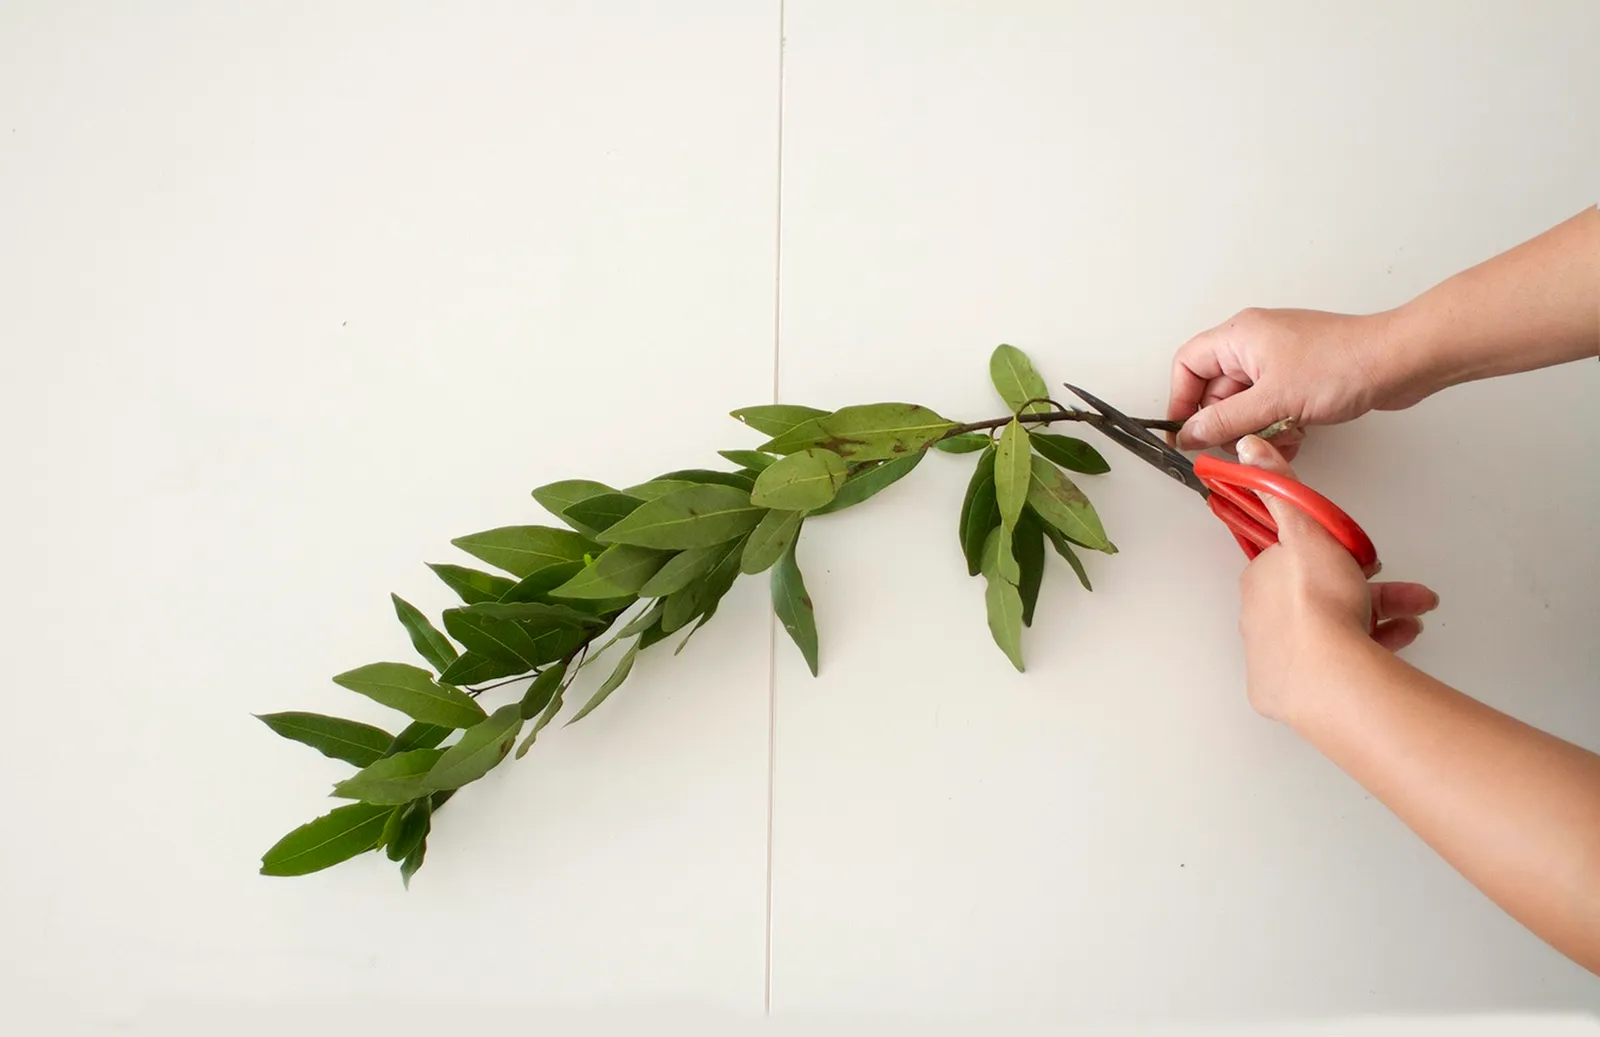
Use your clippers to cut the ends of the olive stems. Keep roughly 1 to 2 inches of stem so you can fasten it to the wire wreath frame.
Step 3: Fasten the Wire and Attach Greens
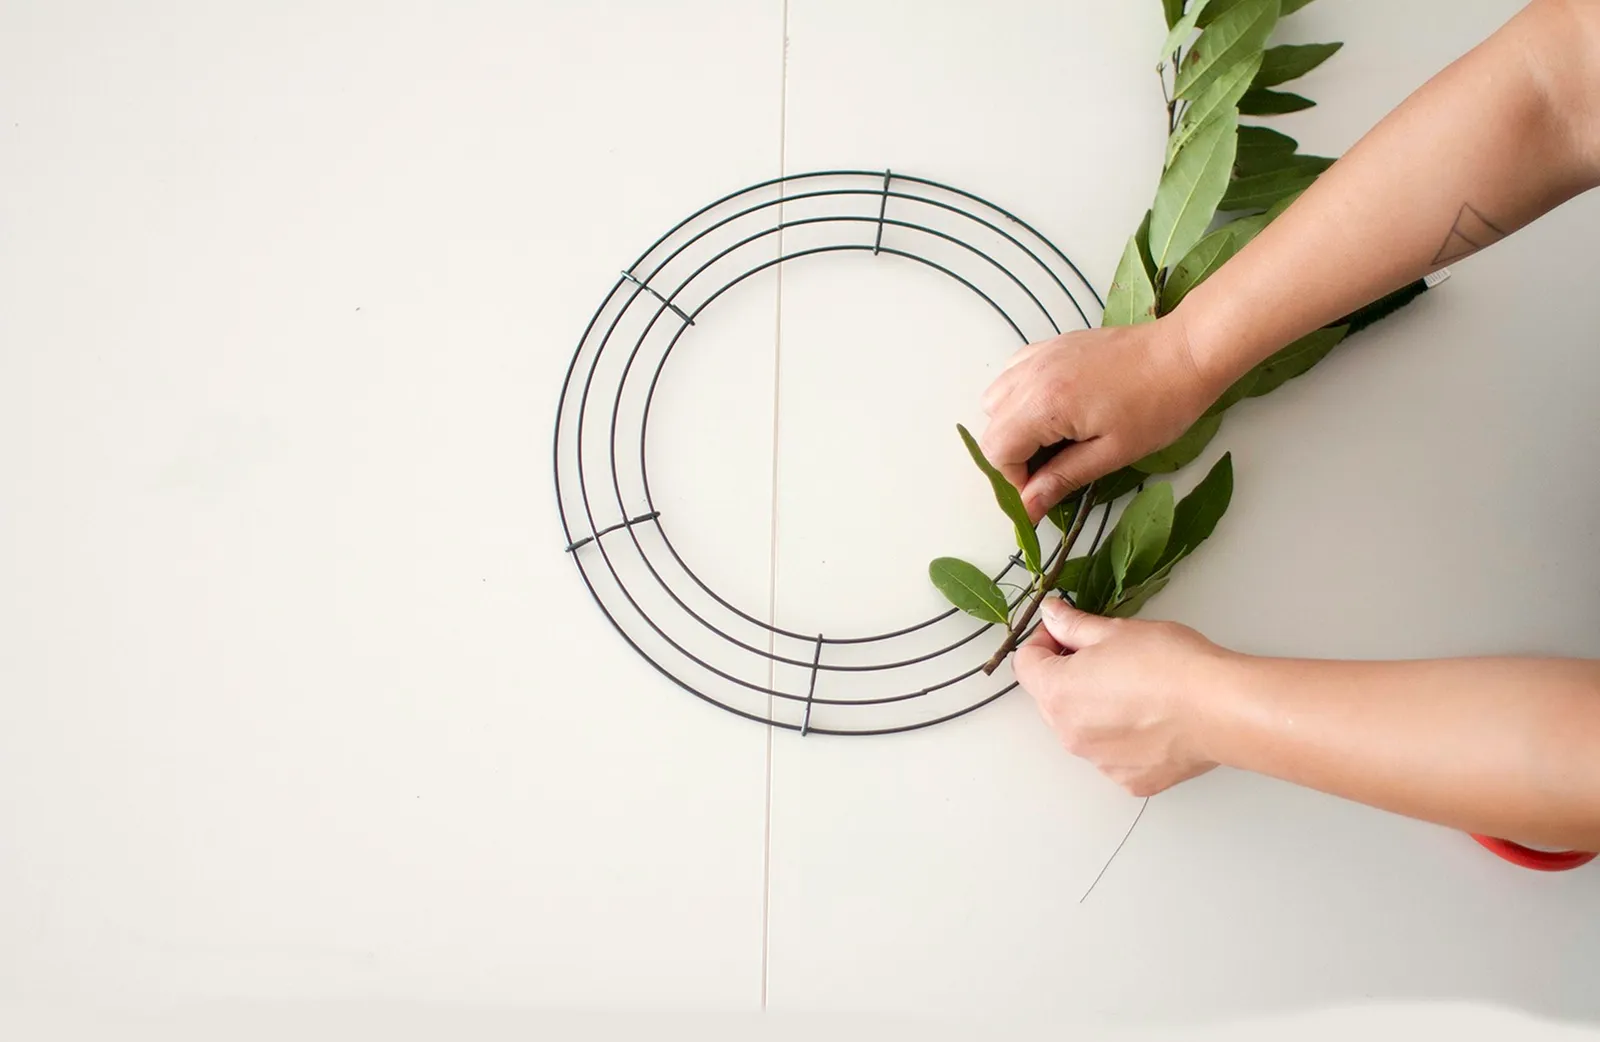
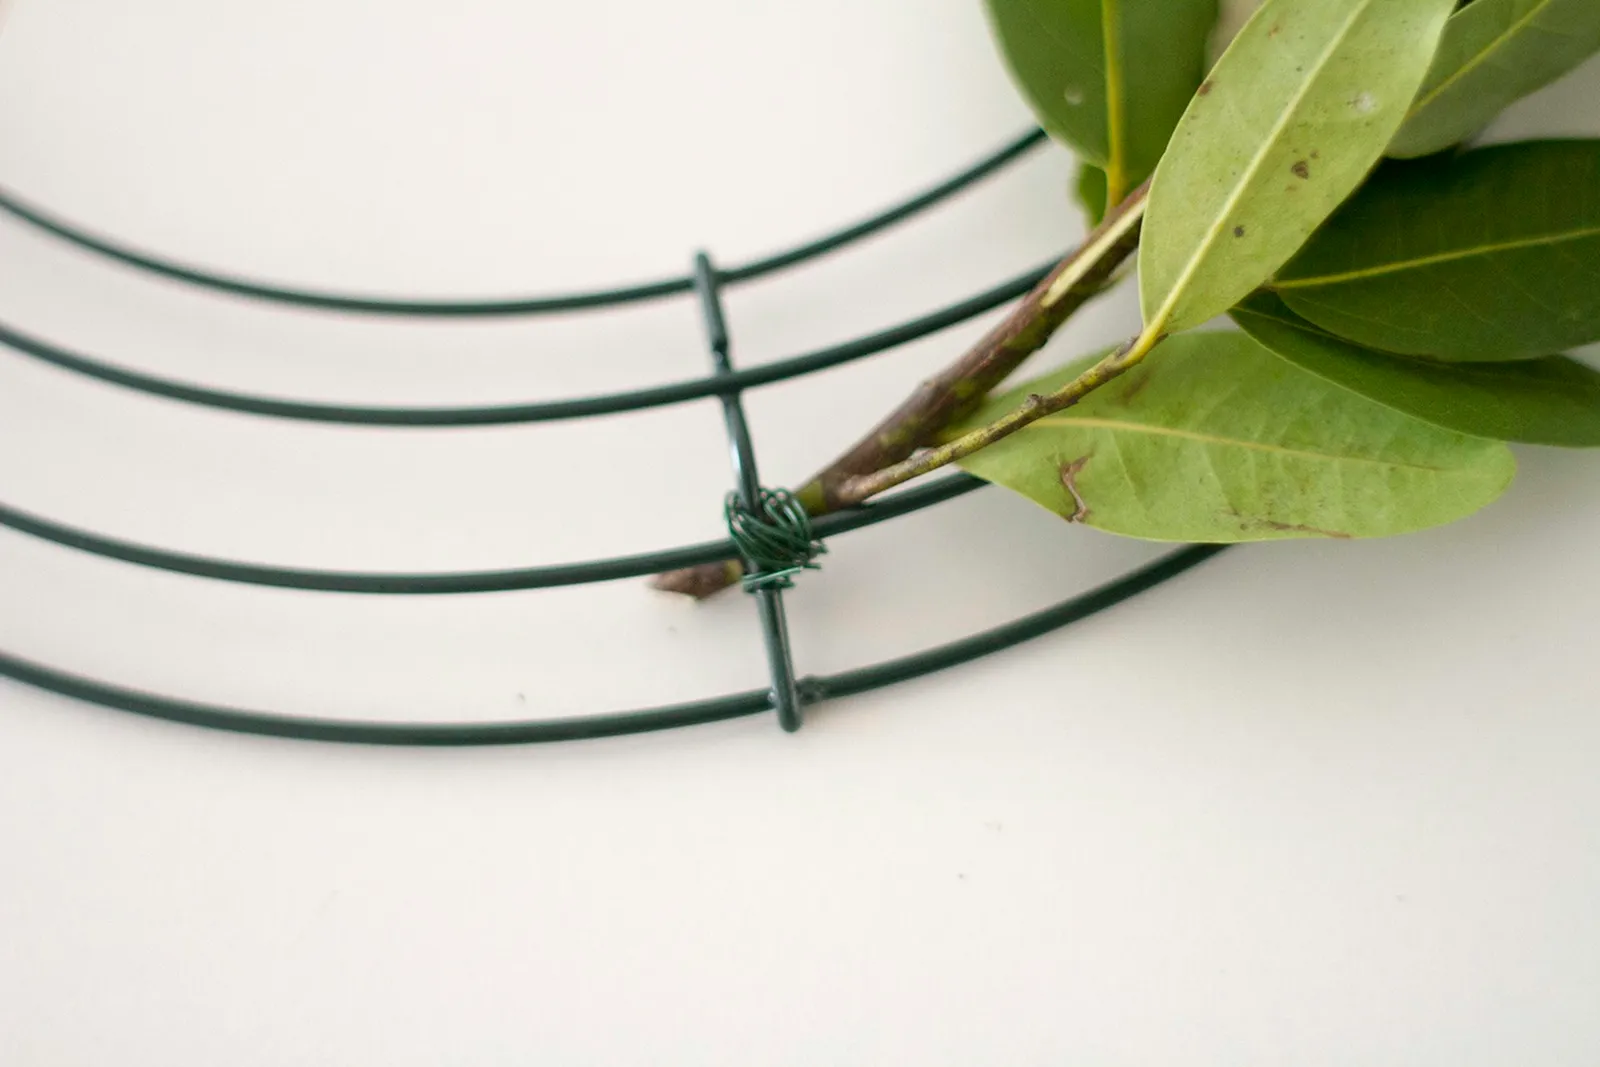
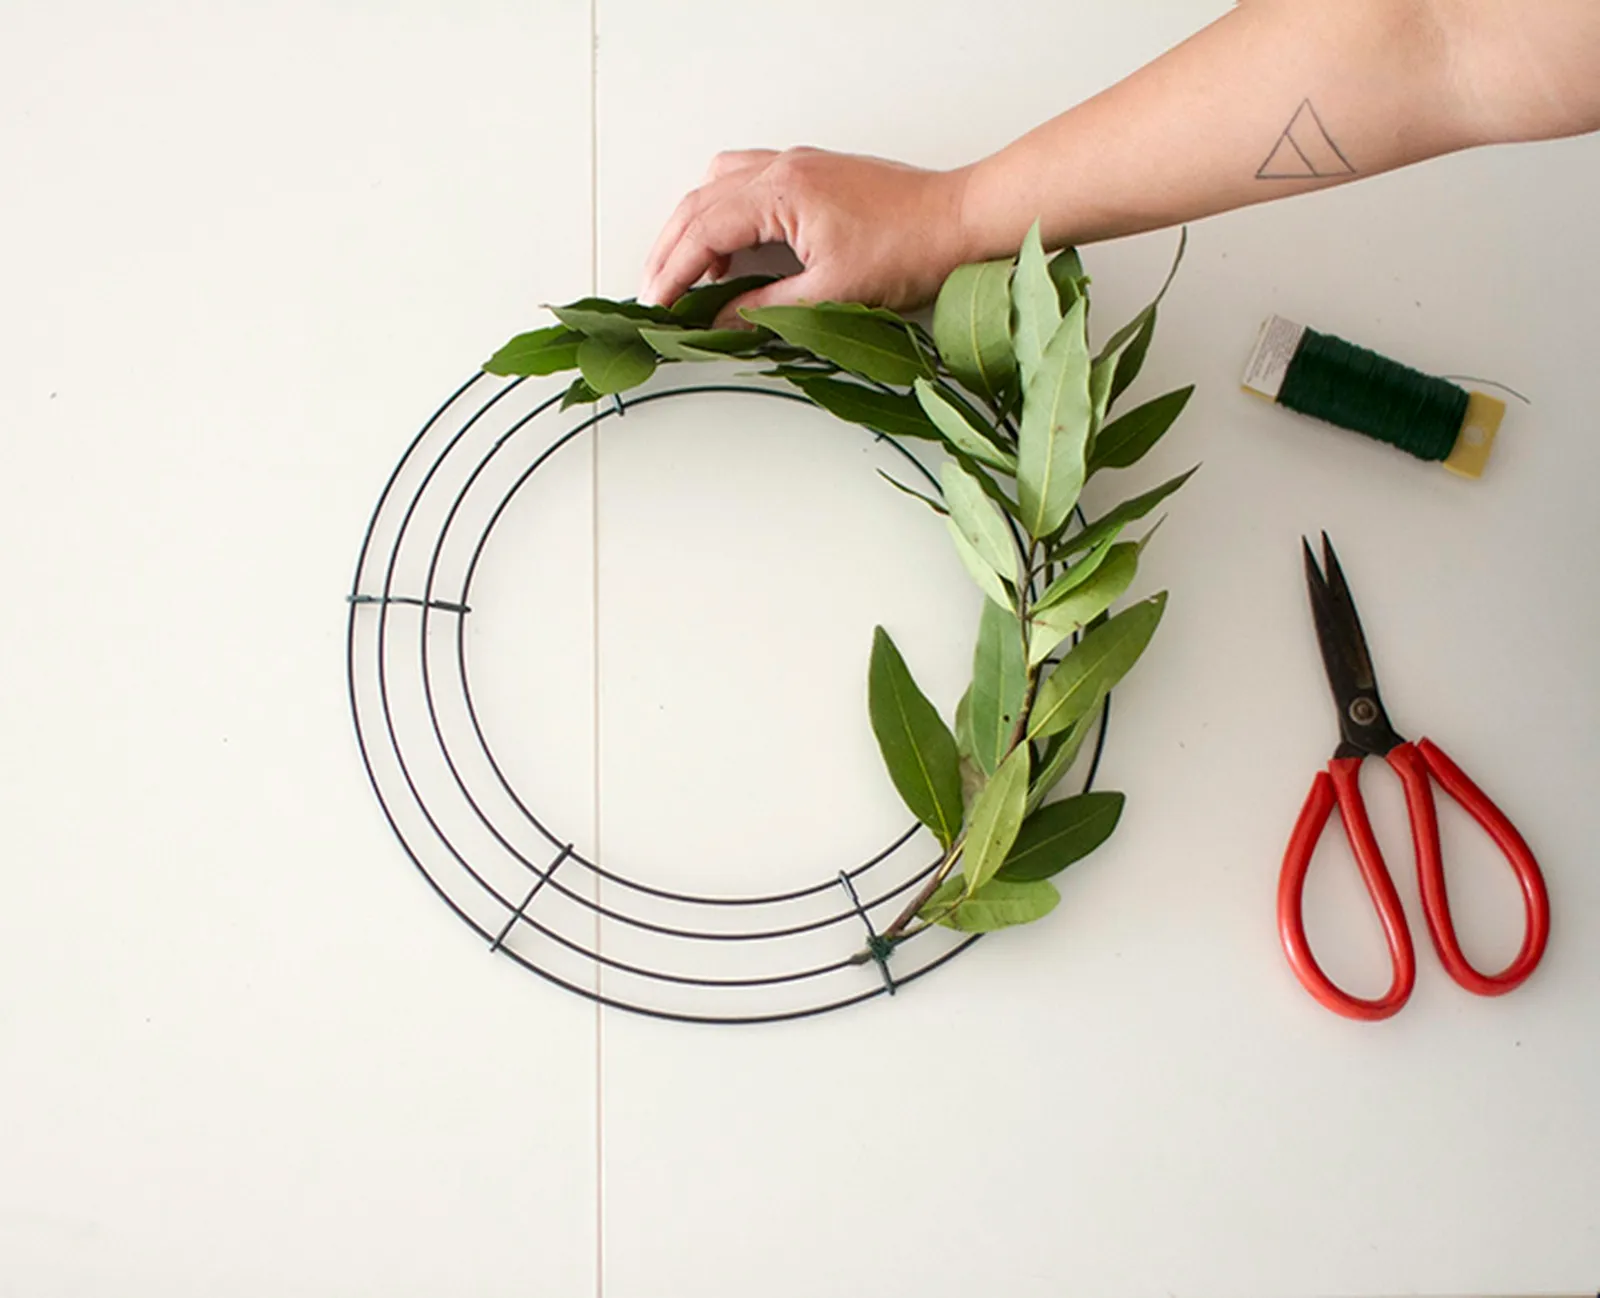
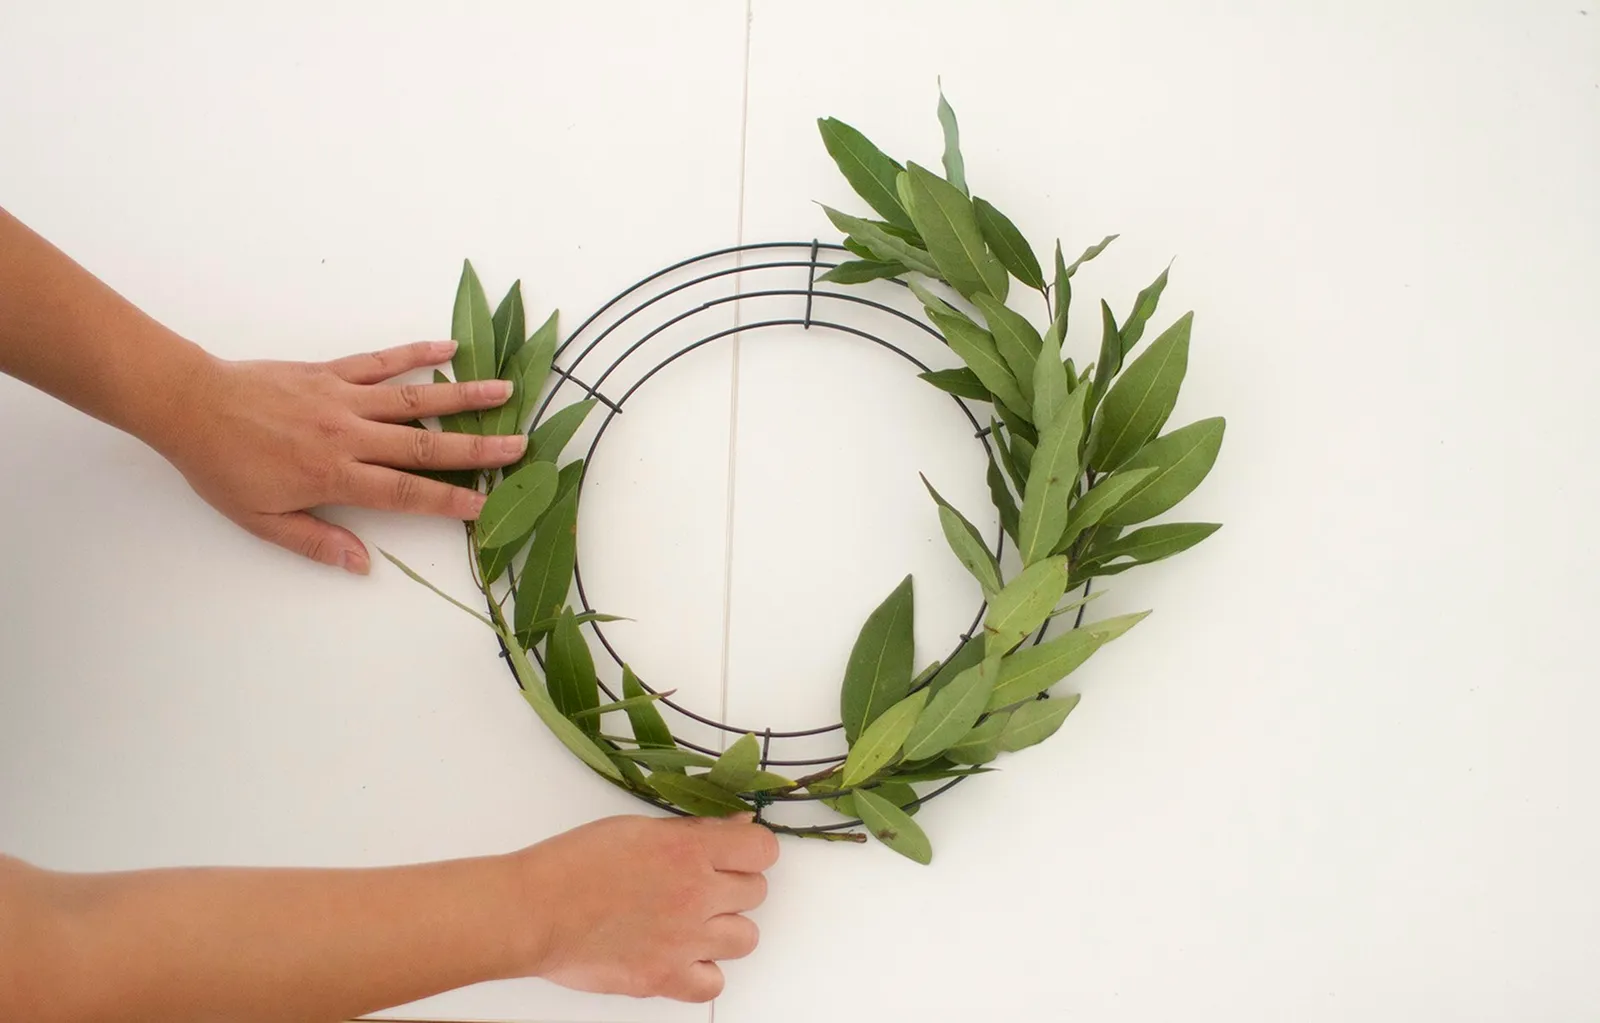
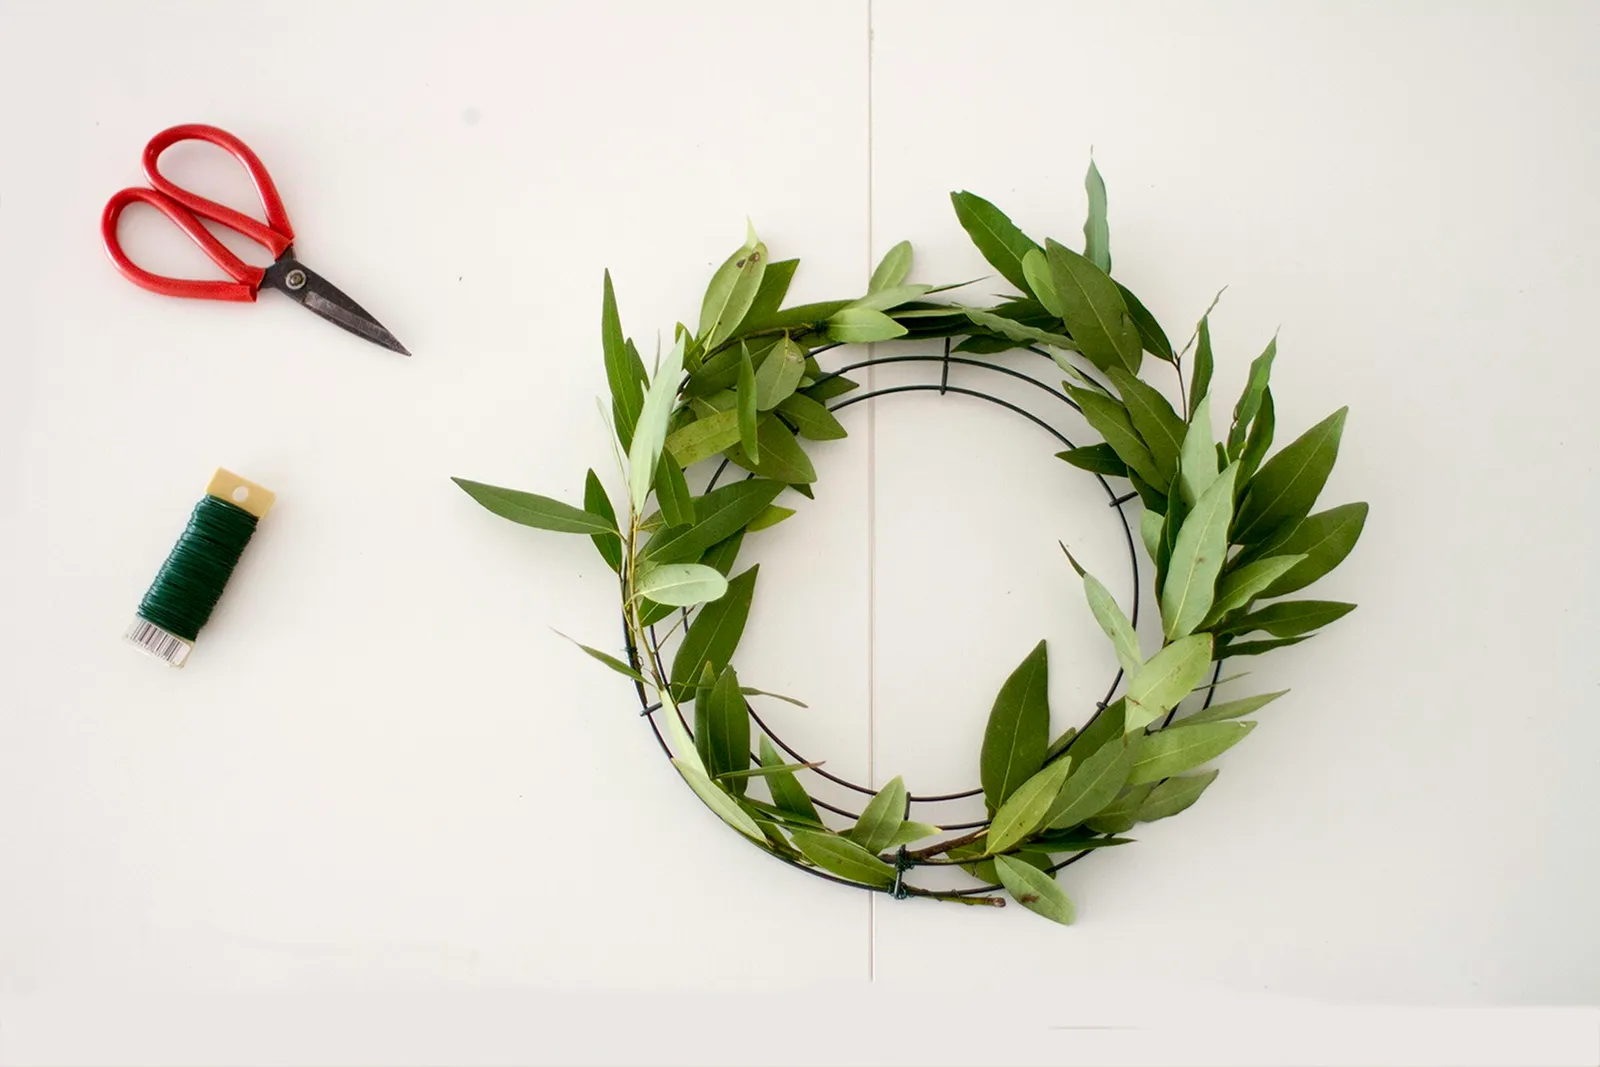
Take your floral wire and bind the olive foliage onto the 12-inch wire wreath. Begin at the middle center and move clockwise, wrapping the wire around the greens several times to hold them. Trim any excess wire with your clippers. You may choose to cover the wire with floral tape, though this step is optional. Keep wrapping the greens softly around the wire wreath. Then do the same process again, this time starting at the middle center and going counterclockwise.
Step 4: Incorporate Additional Greens
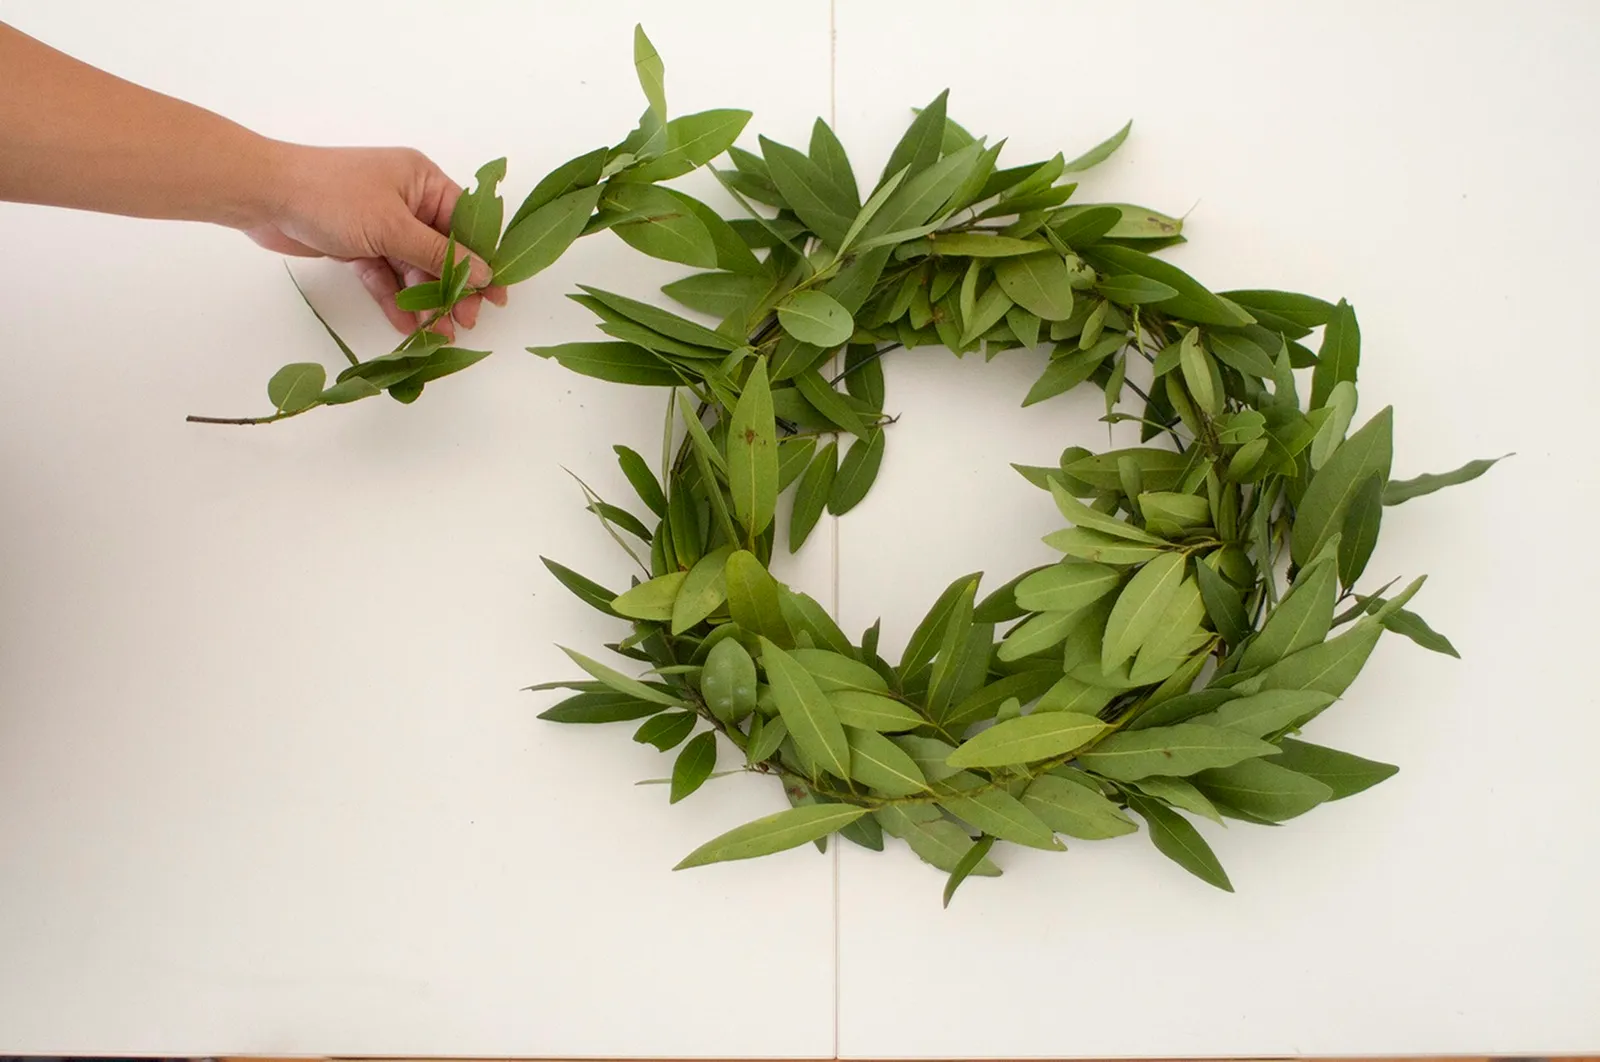
Keep adding more olive foliage to the wreath by following the same method as in step 3. This will give your wreath a thicker, fuller appearance.

Step 5: Add a Ribbon for Hanging
Take your ribbon and cut a piece that is 48 inches long, then thread it through the wreath frame to create a hanger. After you have tied and secured it to the wreath, form a bow at the top and trim the ends so they are even.



Step 6: Mist with Water
Occasionally spray your lovely olive wreath with water to help it stay looking fresh. Place it on your door or wall and take pleasure in it!