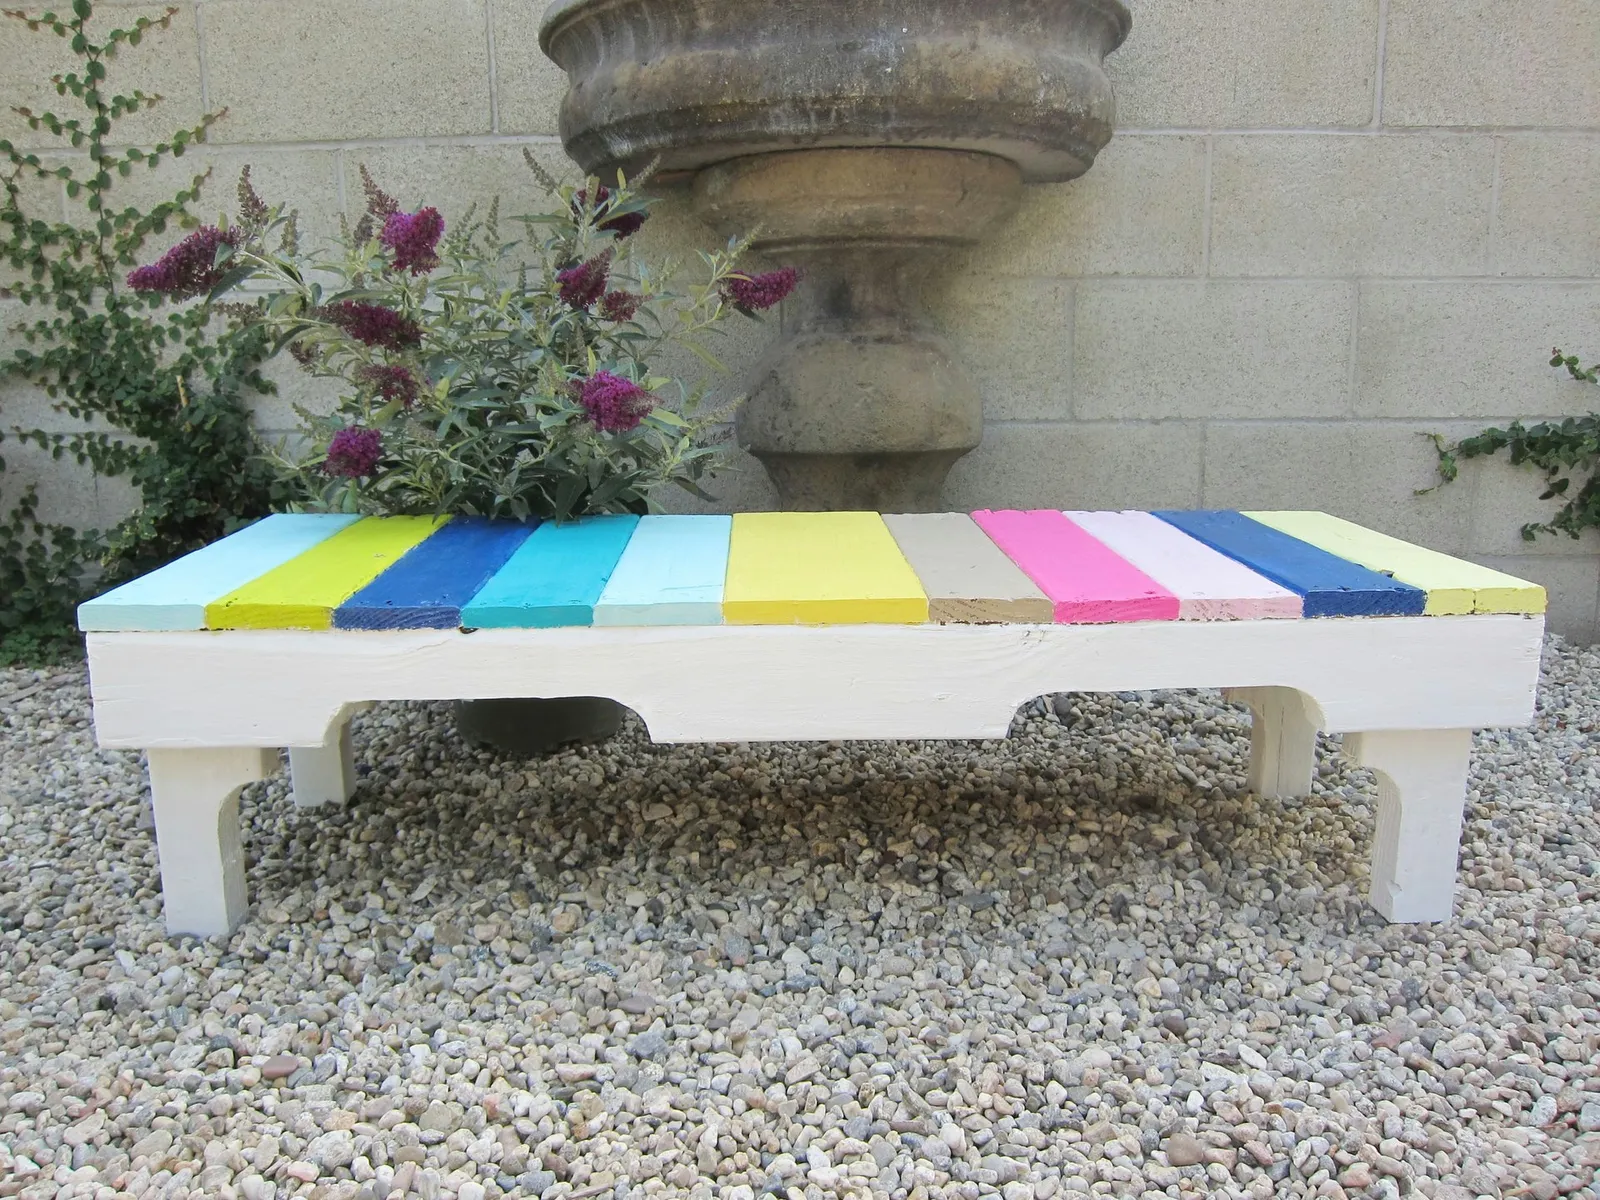
Turning a Wooden Pallet into a Colorful Bench: A Step-by-Step Guide
A comprehensive walkthrough on repurposing a wooden pallet into a bench, utilizing fundamental tools and moderate woodworking skills.
By Jamie Scott14 steps
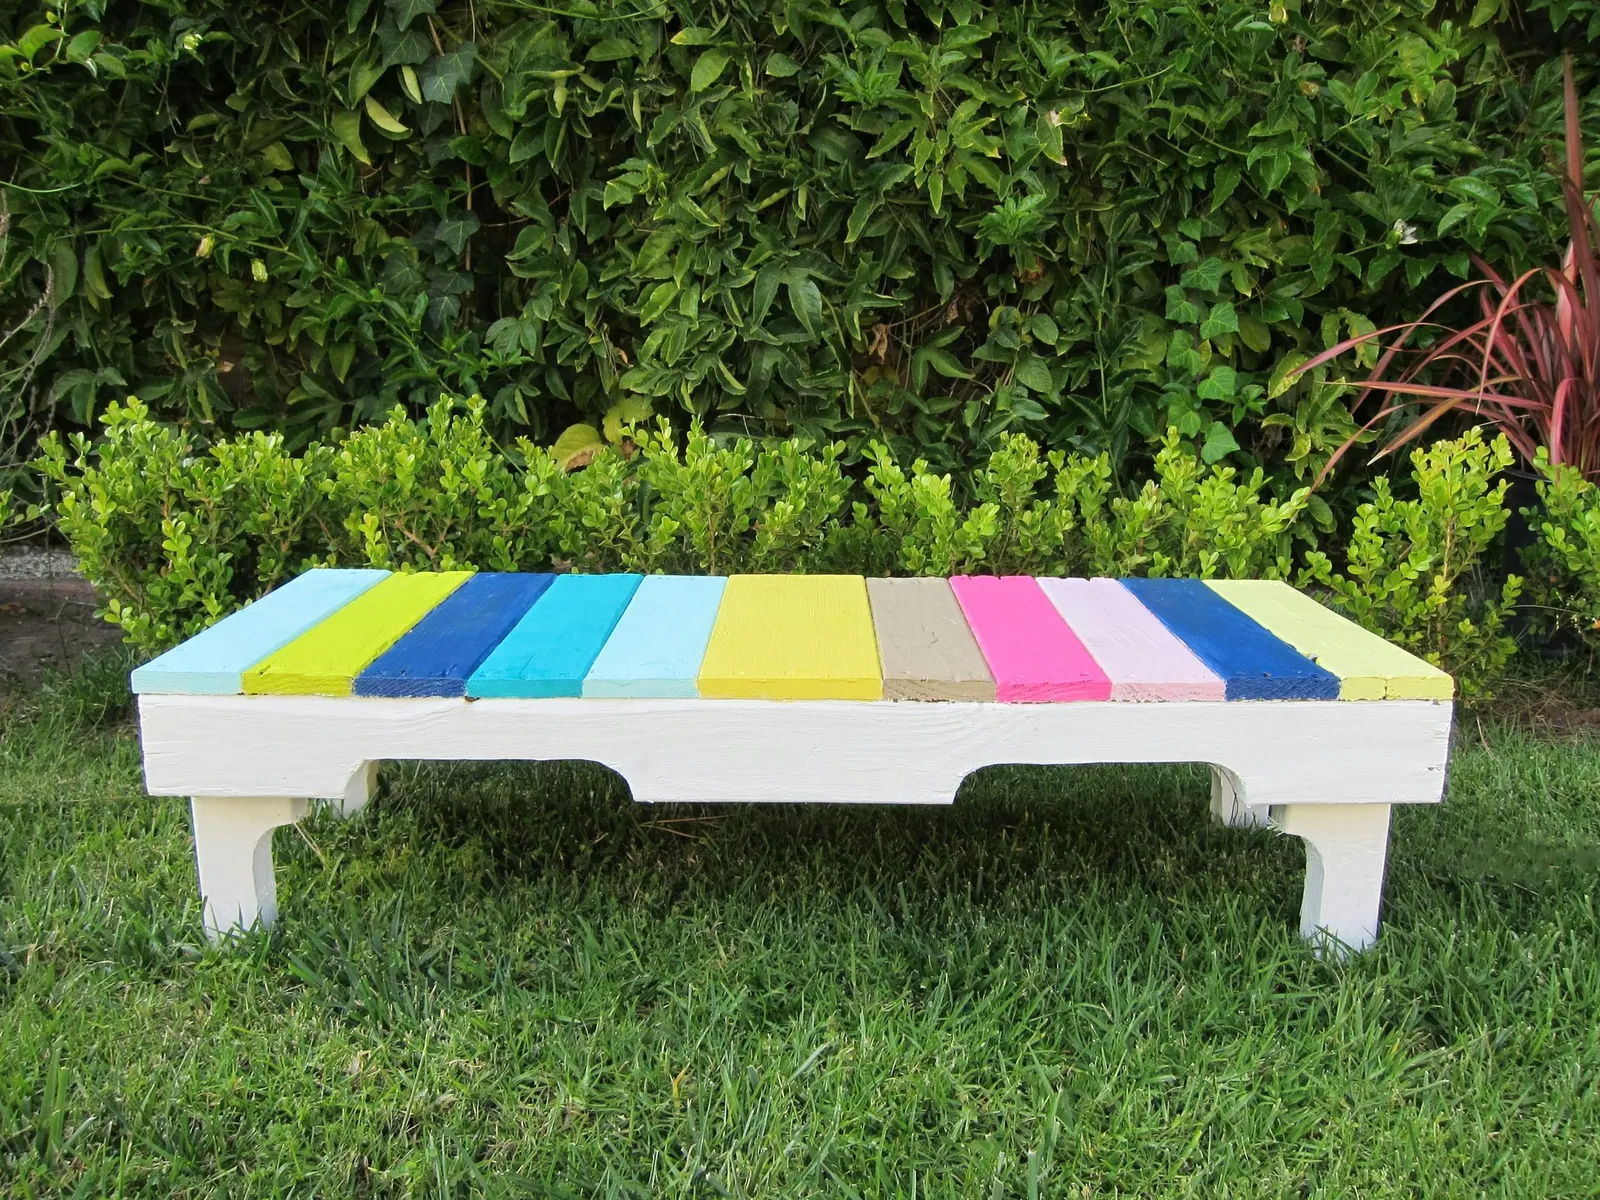
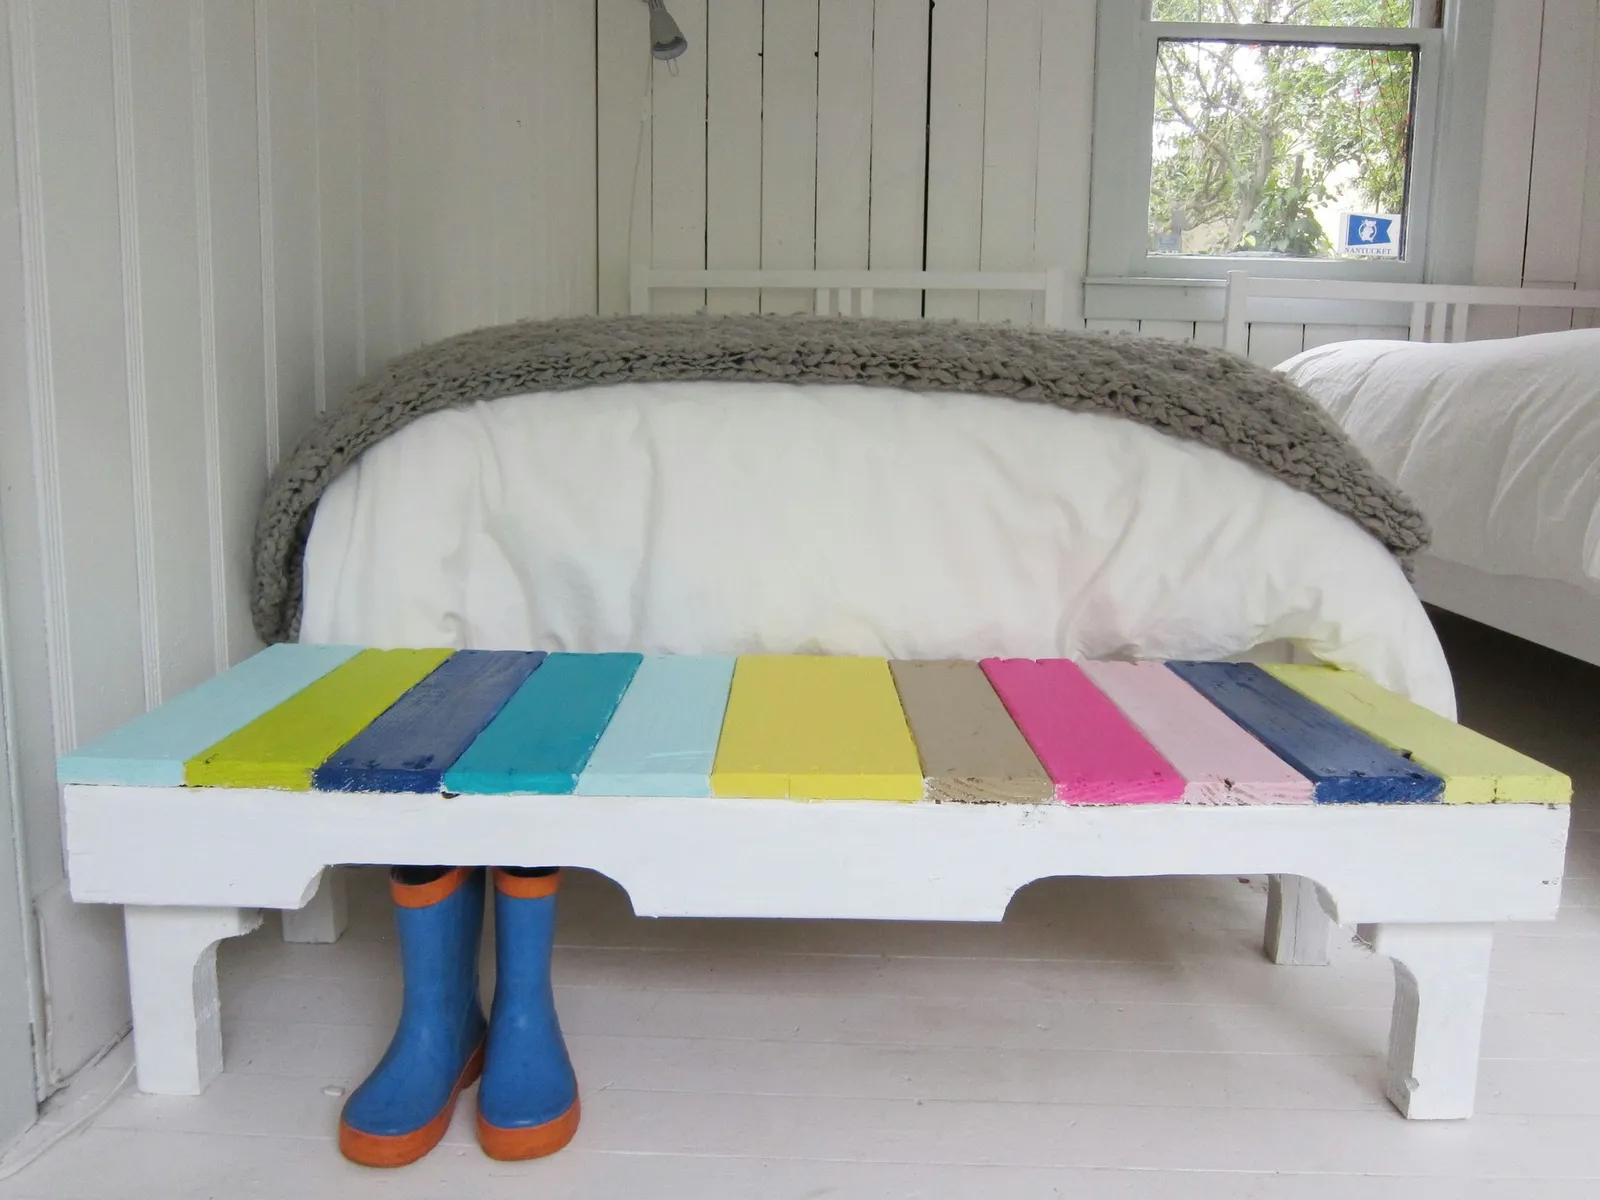
Simple wooden pallets are often ignored, underused, and undervalued, yet they offer a wealth of possibilities for the creative crafter who wants to transform something ordinary into something special. With some basic handiwork, an average pallet can become an attractive bench that is both visually appealing and comfortable to sit on.
Step 1:
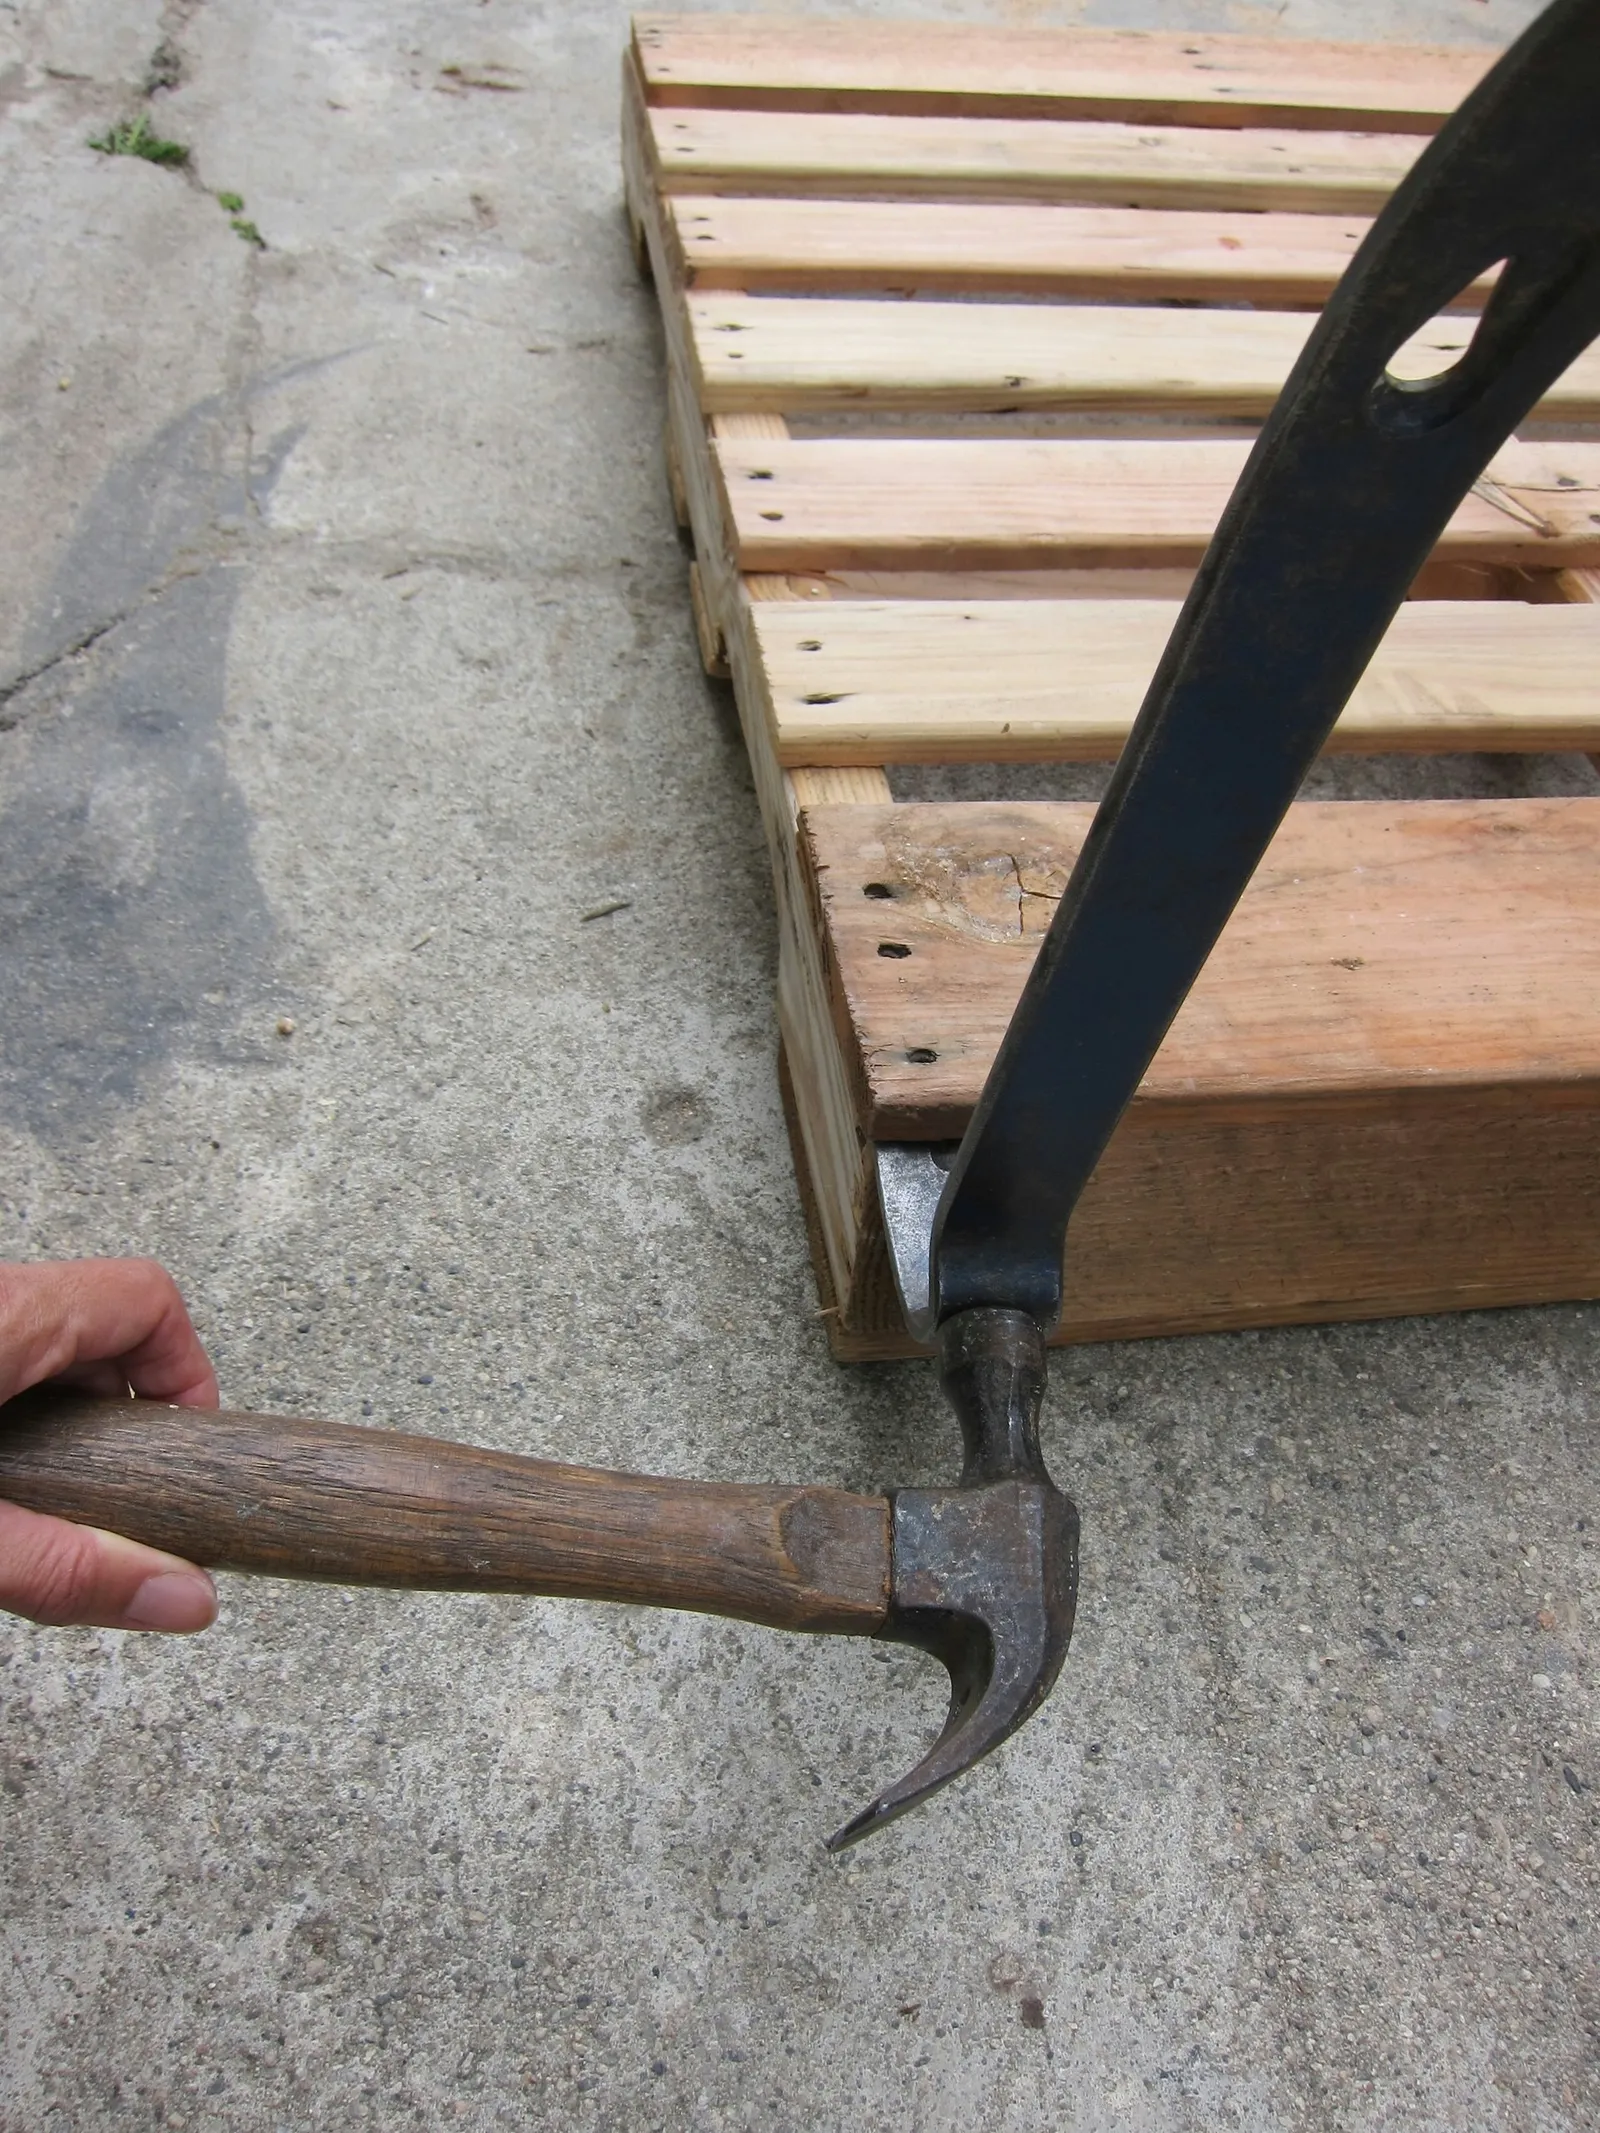
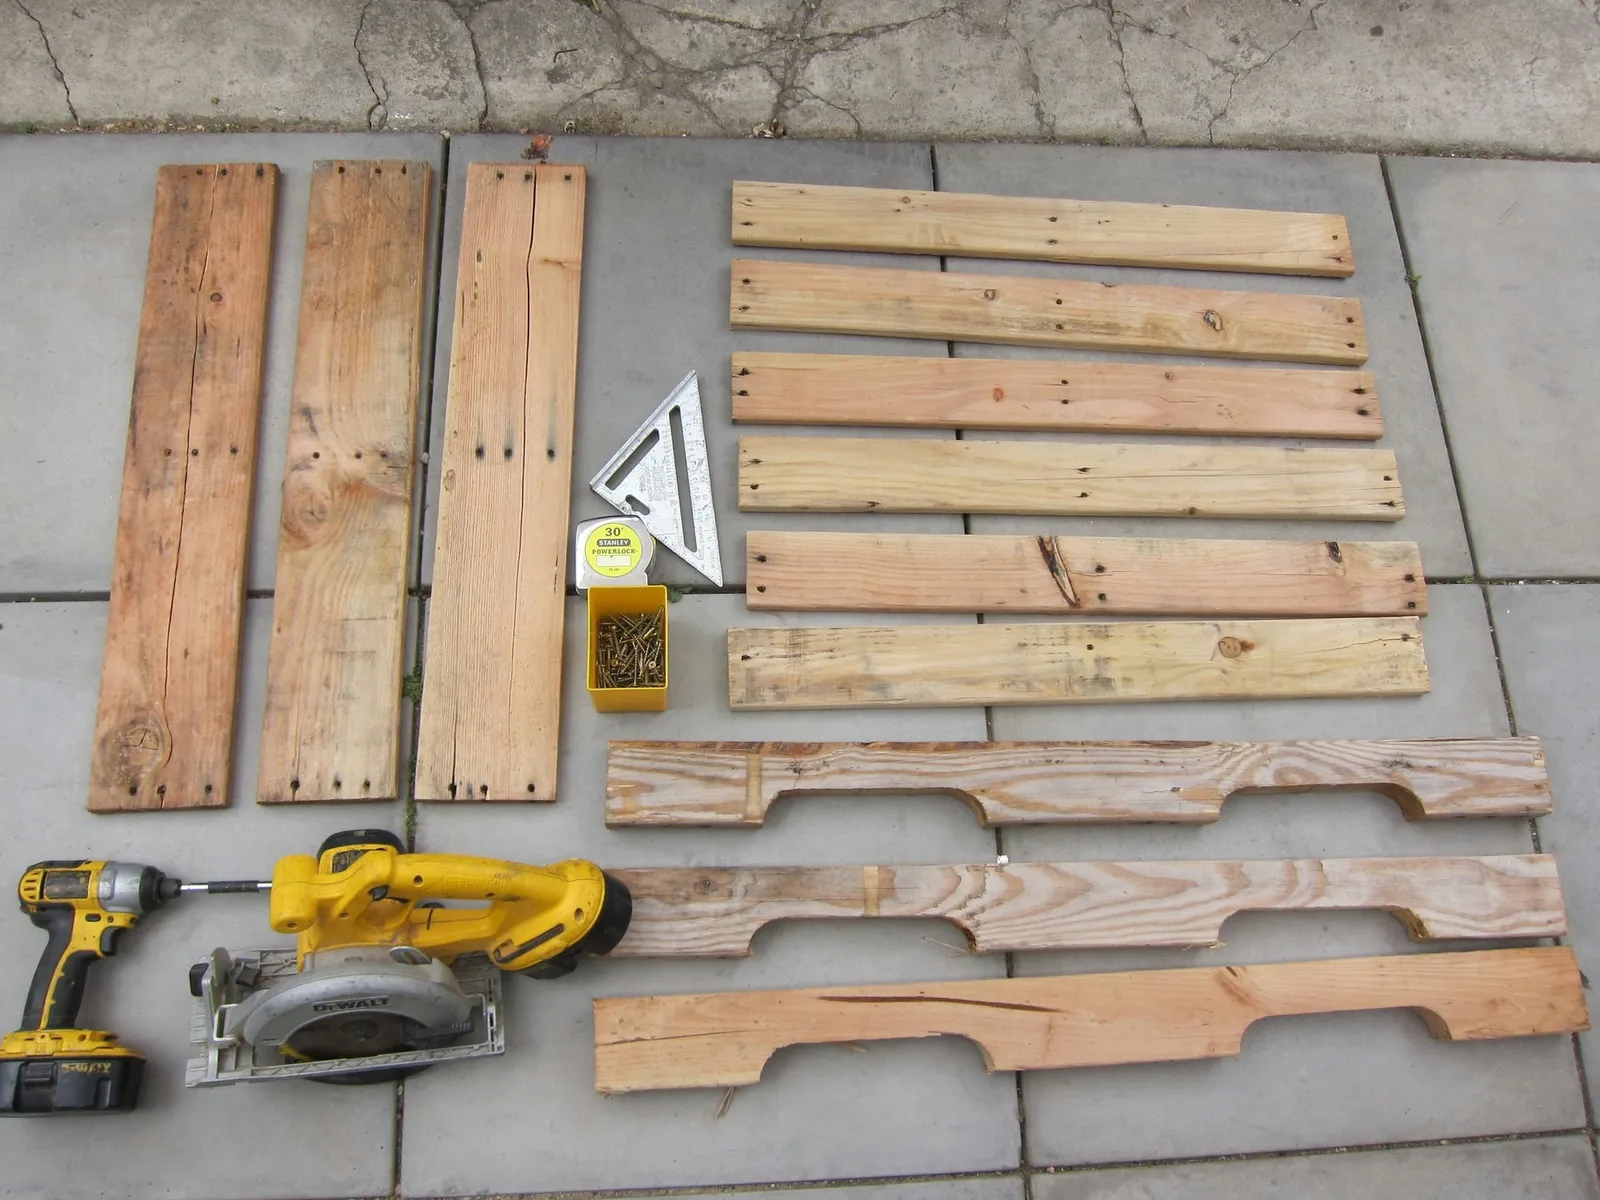
Begin at the bottom of the pallet and use a hammer and crowbar to pry it apart. Some boards might split; this is acceptable for the bottom boards since they won't be used. As you work, remove any loose nails.
Step 2:
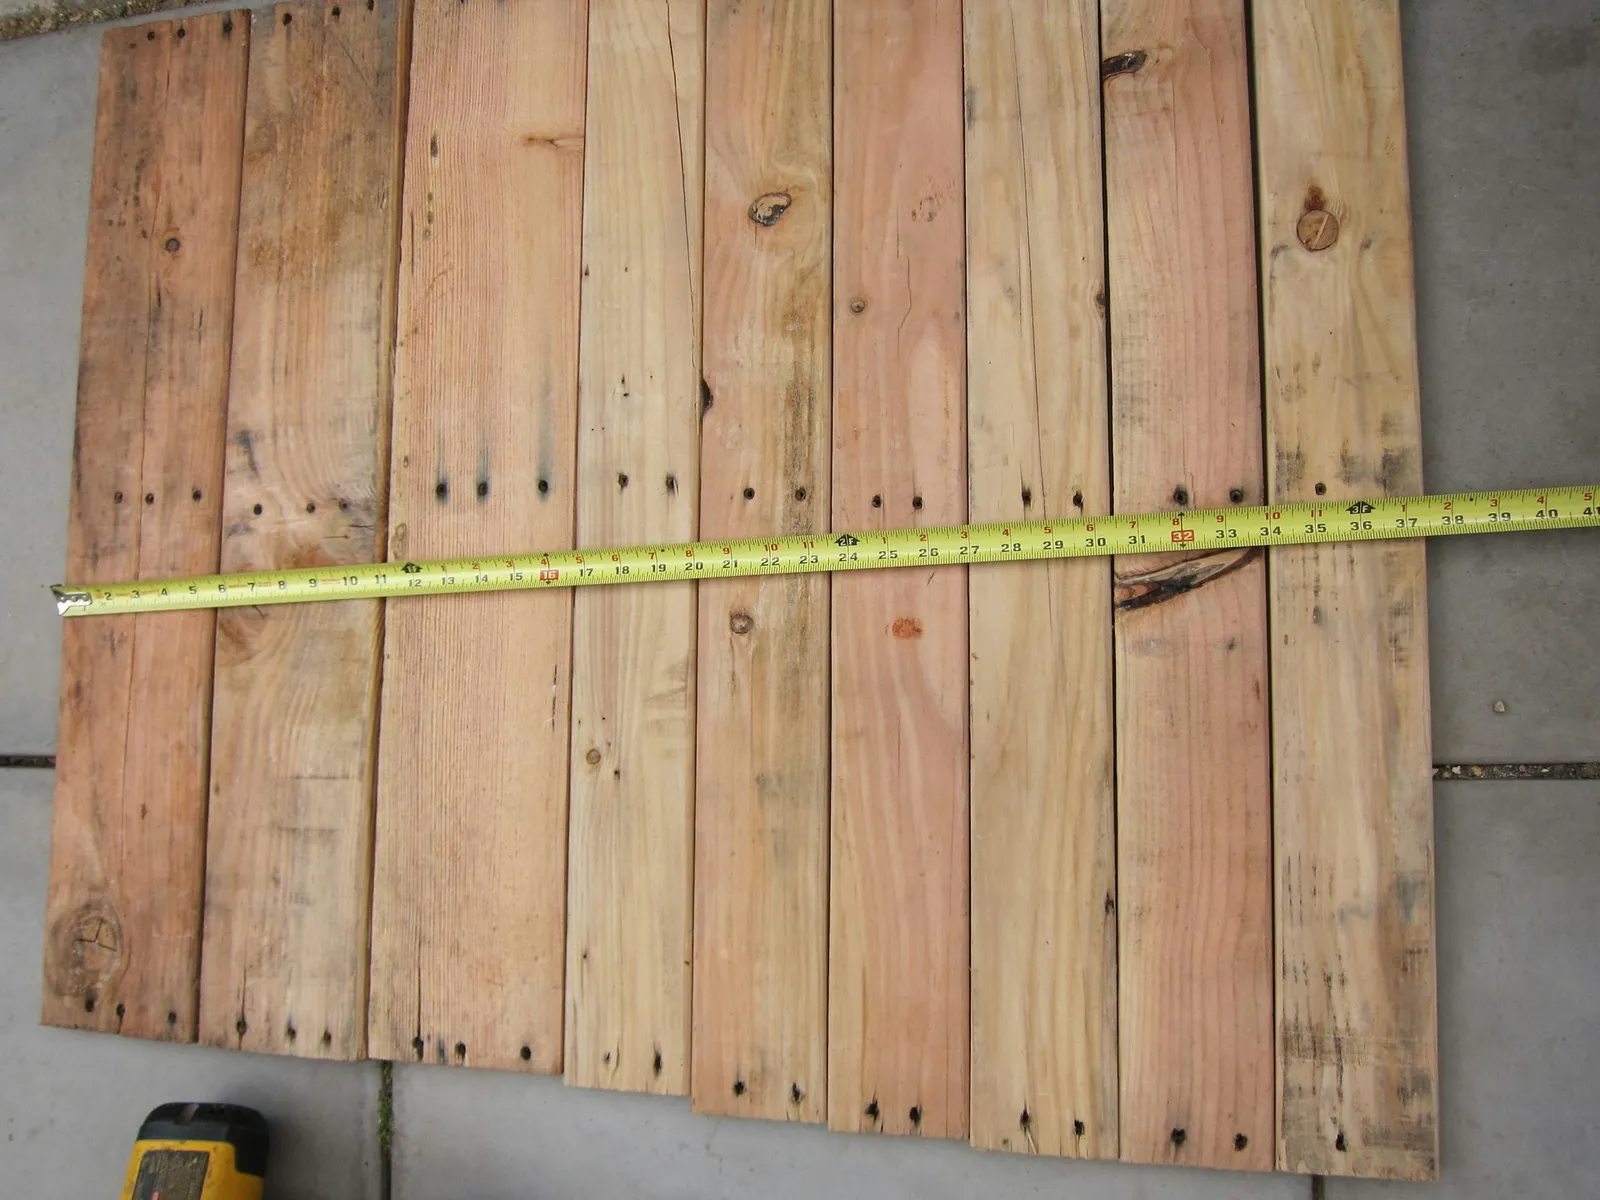
Arrange all the top boards (one-by-fours) from the pallet to determine how many are needed to cover the length of one pallet support (the scalloped two-by-fours). In this example, the pallet supports measured 40 inches long.
Step 3:
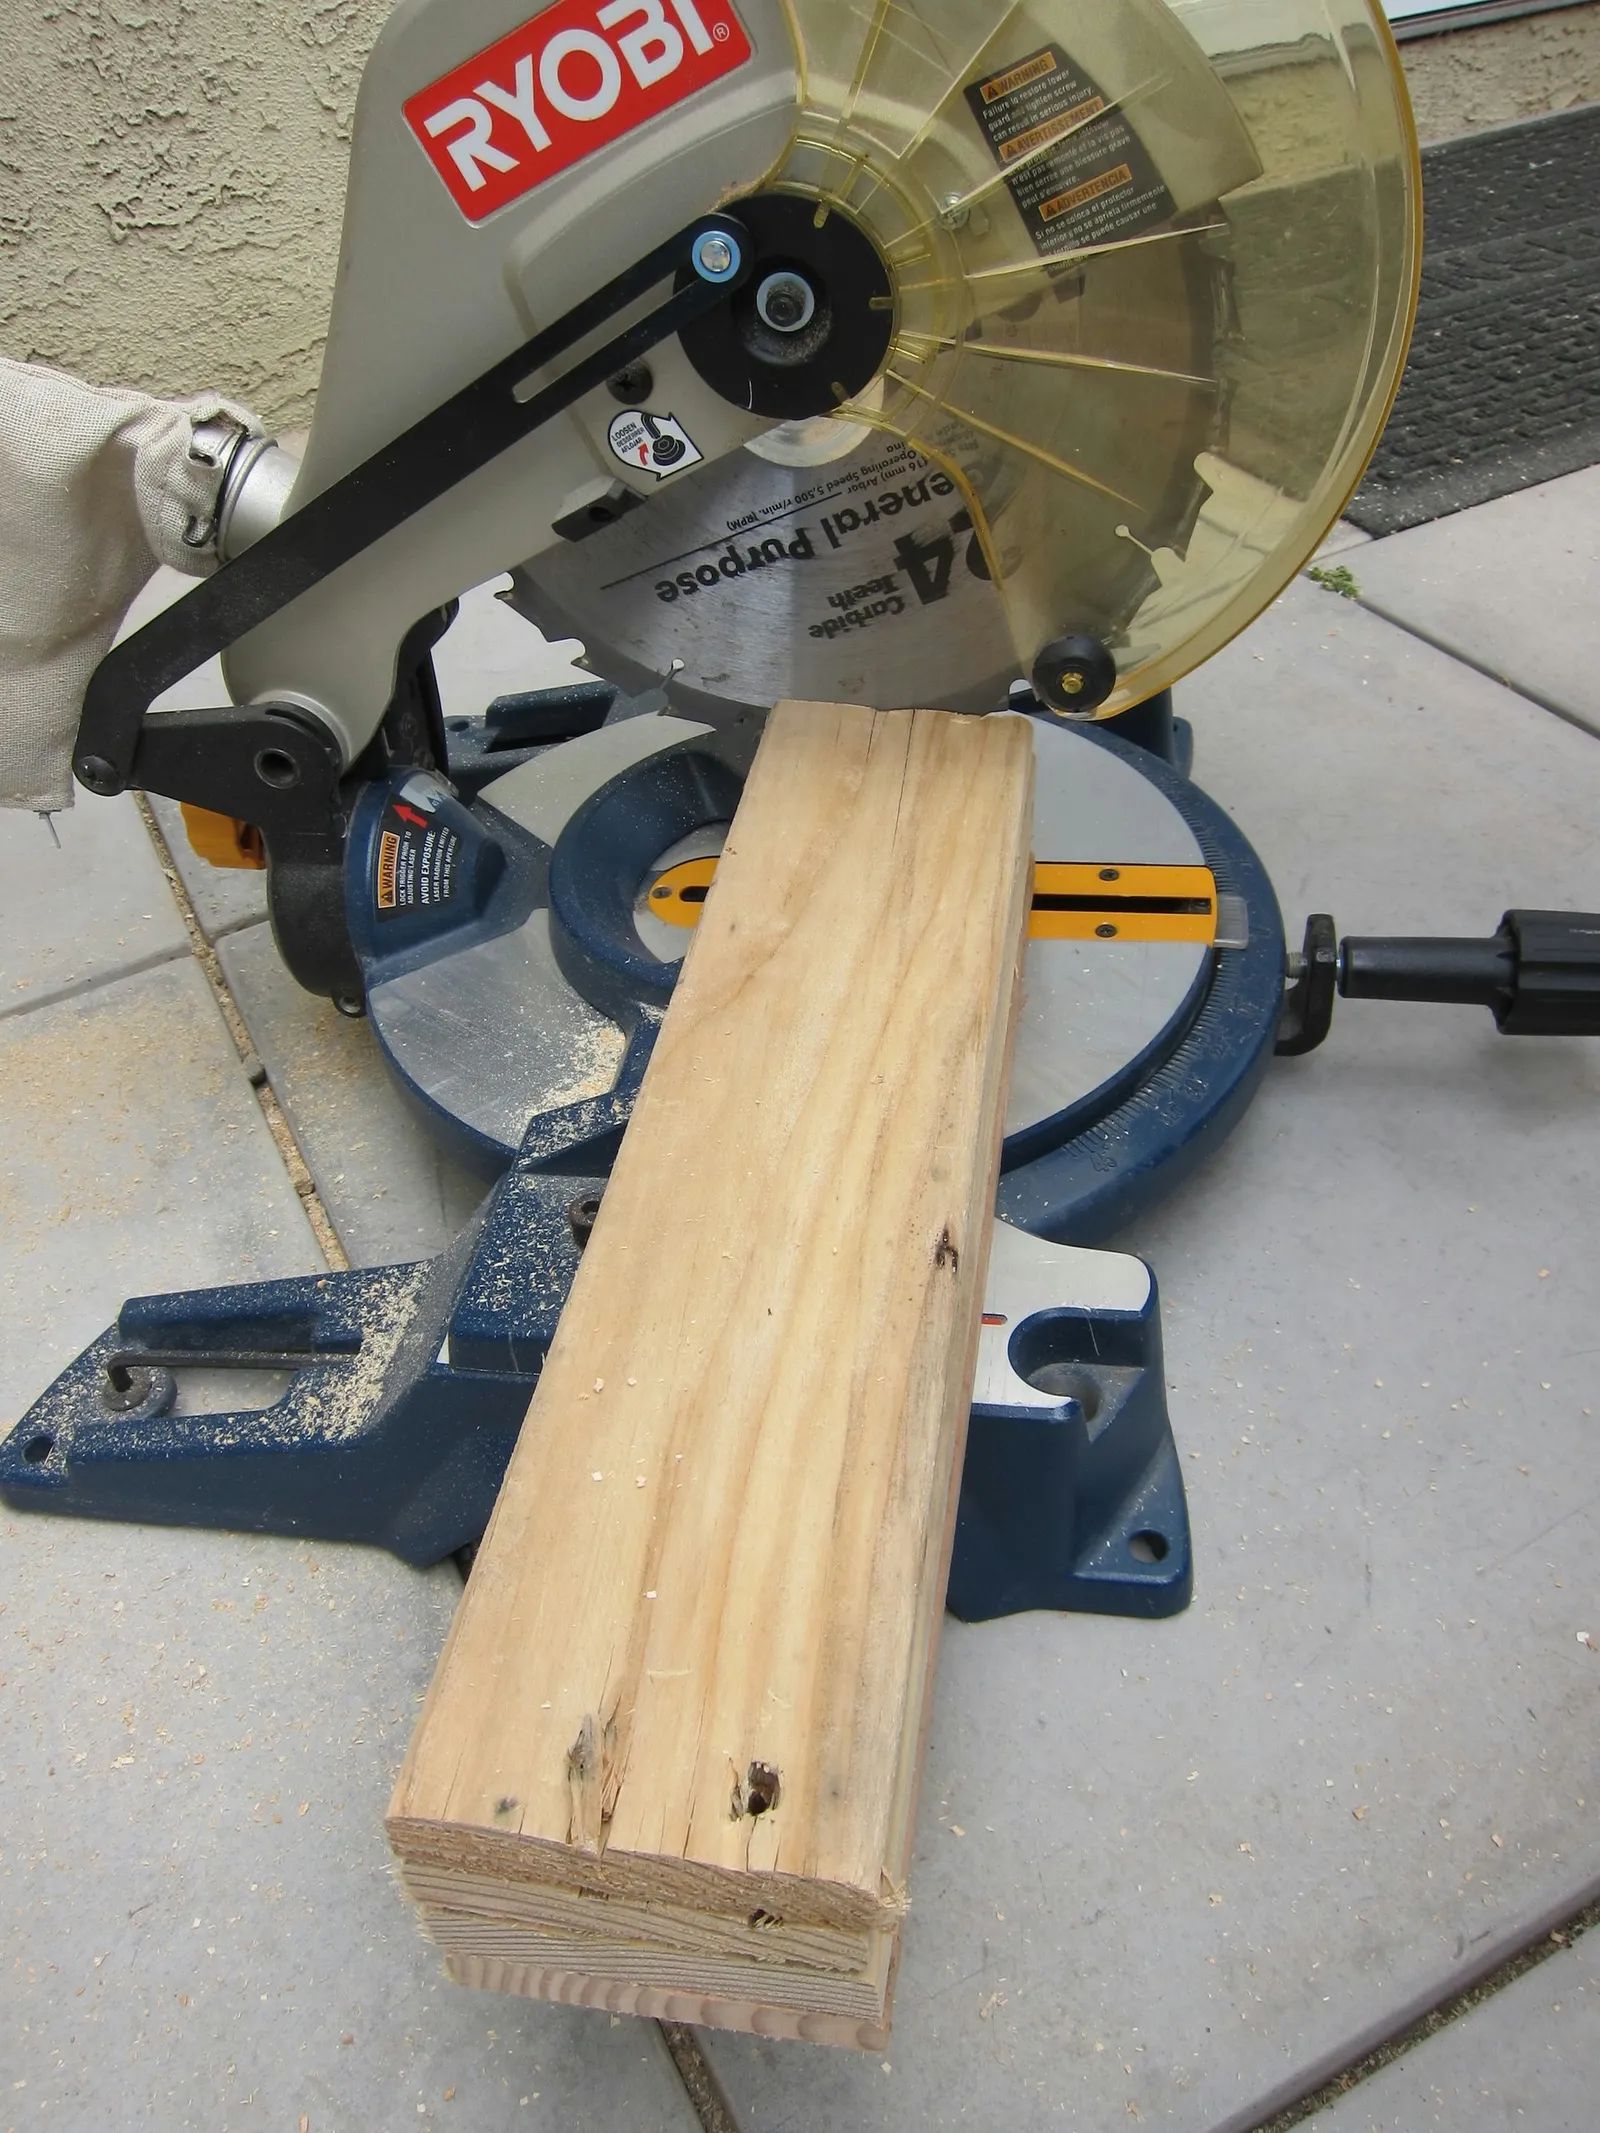
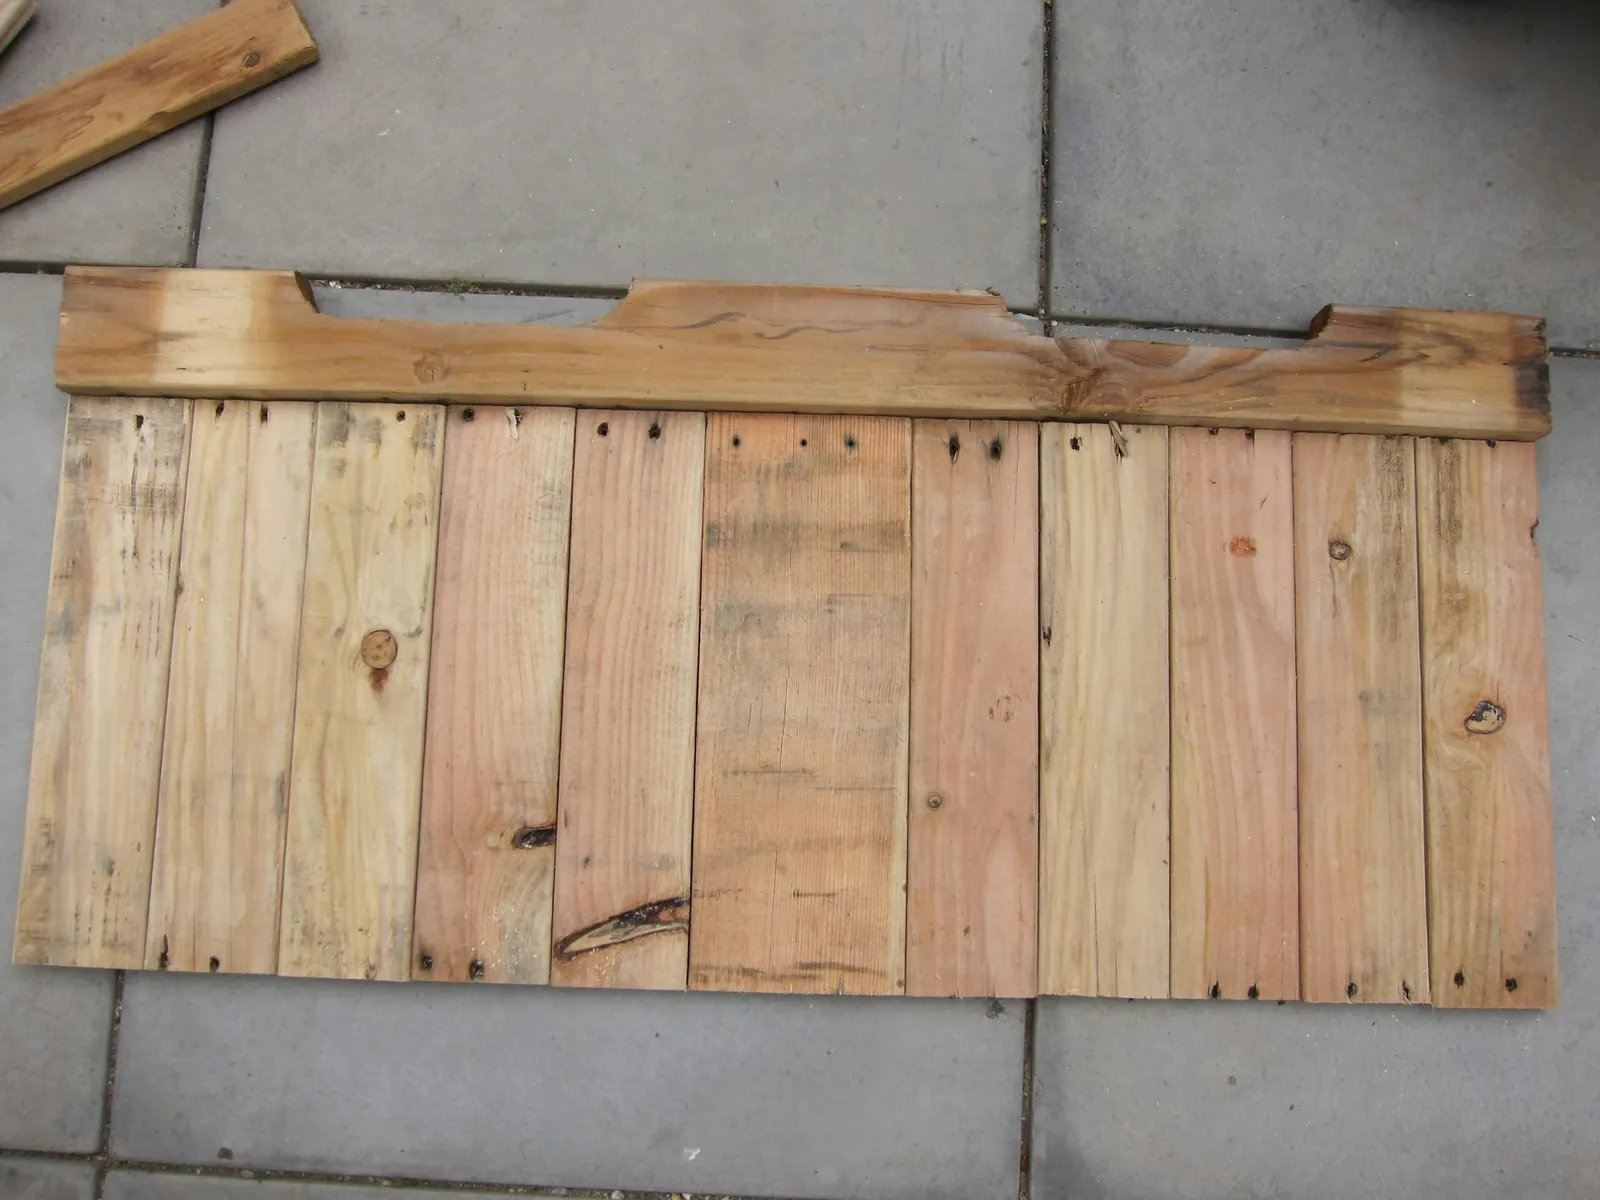
Using the chop saw, cut all the top one-by-four boards in half to produce enough pieces for the bench top. For instance, in this project, the top boards were originally six 30-inch pieces and were cut down to create 12 pieces of 15 inches each. Out of these, 10 were used for the bench top and two for the side skirts. Additionally, to fill a gap in the bench top, one of the one-by-sixes (also from the pallet top) was cut to 15 inches and placed in the middle of the one-by-fours as shown.
Step 4:
Place two pallet supports (scalloped two-by-fours) parallel to each other with the notched sides facing down and the flat sides up. At one end, join the two supports by drilling one of the top one-by-four boards into them. Use two screws on each side of the board. Repeat this at the other end.
Step 5:
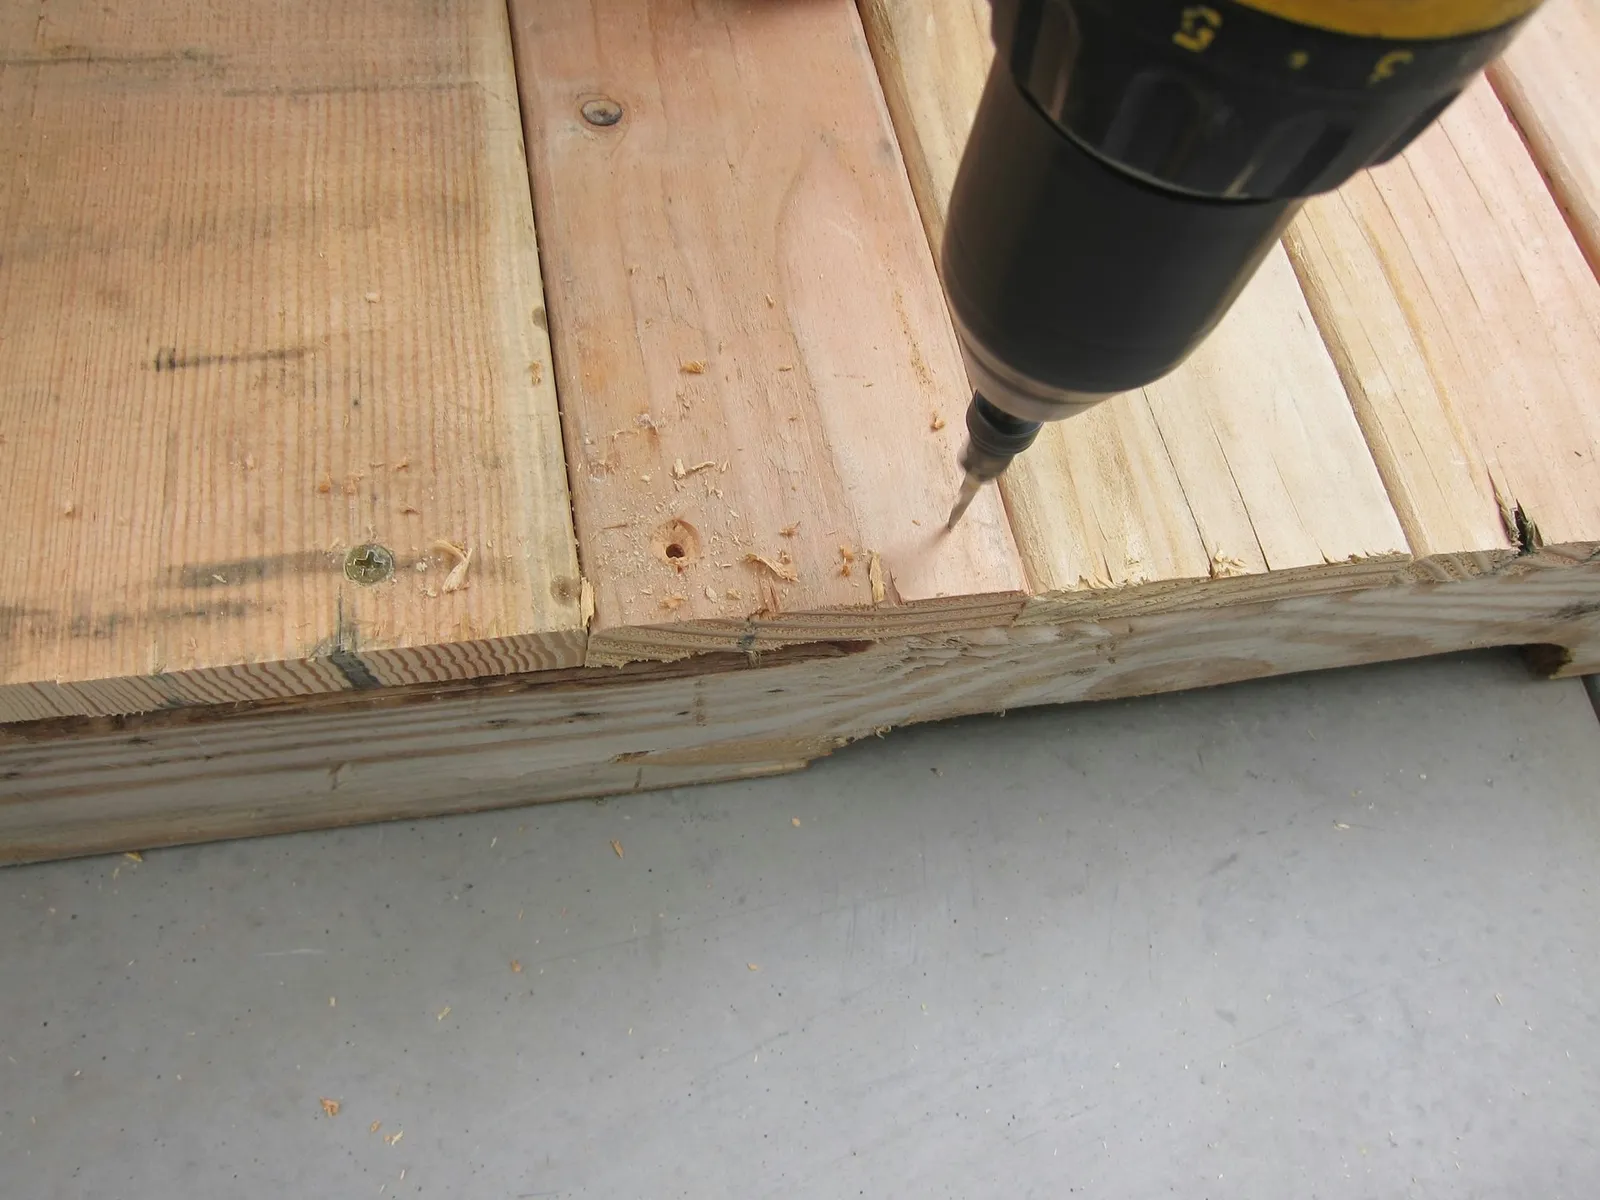
Attach the remaining one-by-fours to fill the space between the pallet supports. Secure each side of the boards with two screws, spacing them evenly from the edges of the slats. In this project, screws were placed about 5/8 inches from each side of the slat.
Step 6:
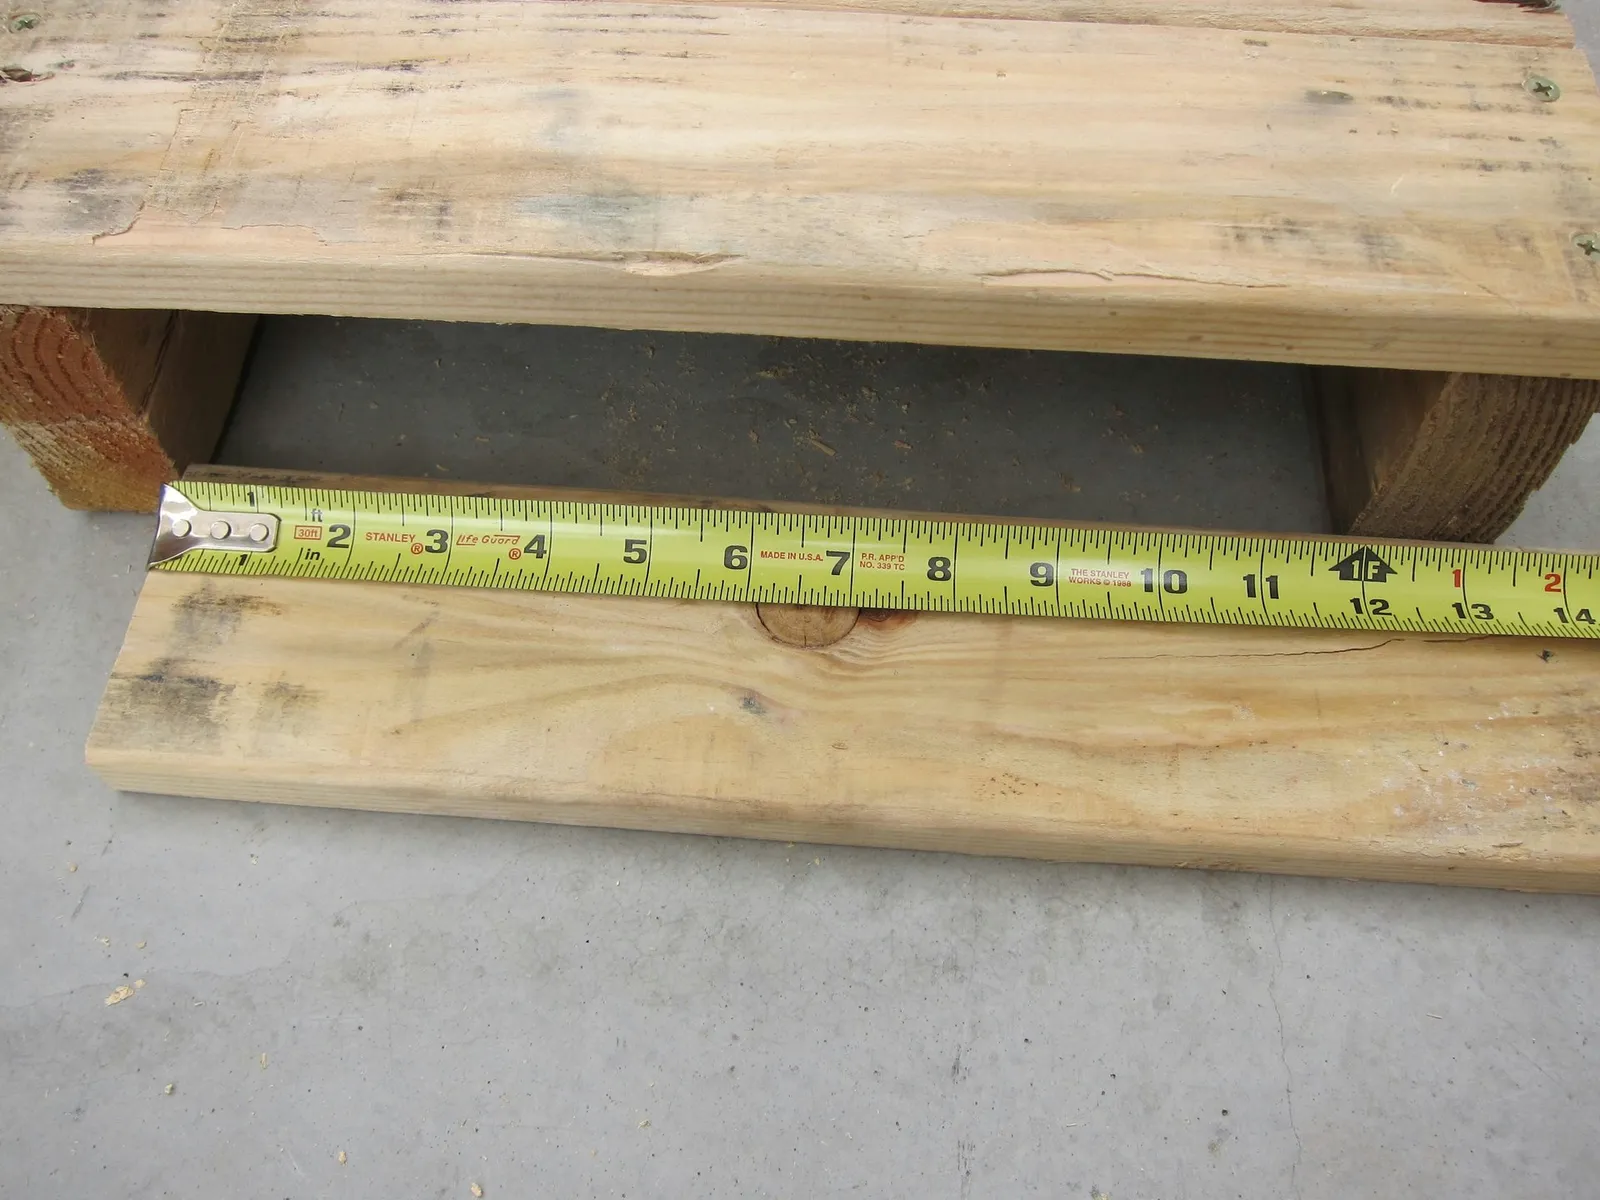
Measure the gap between the pallet supports and cut the last pieces of one-by-fours to create a skirt for each side of the bench.
Step 7:
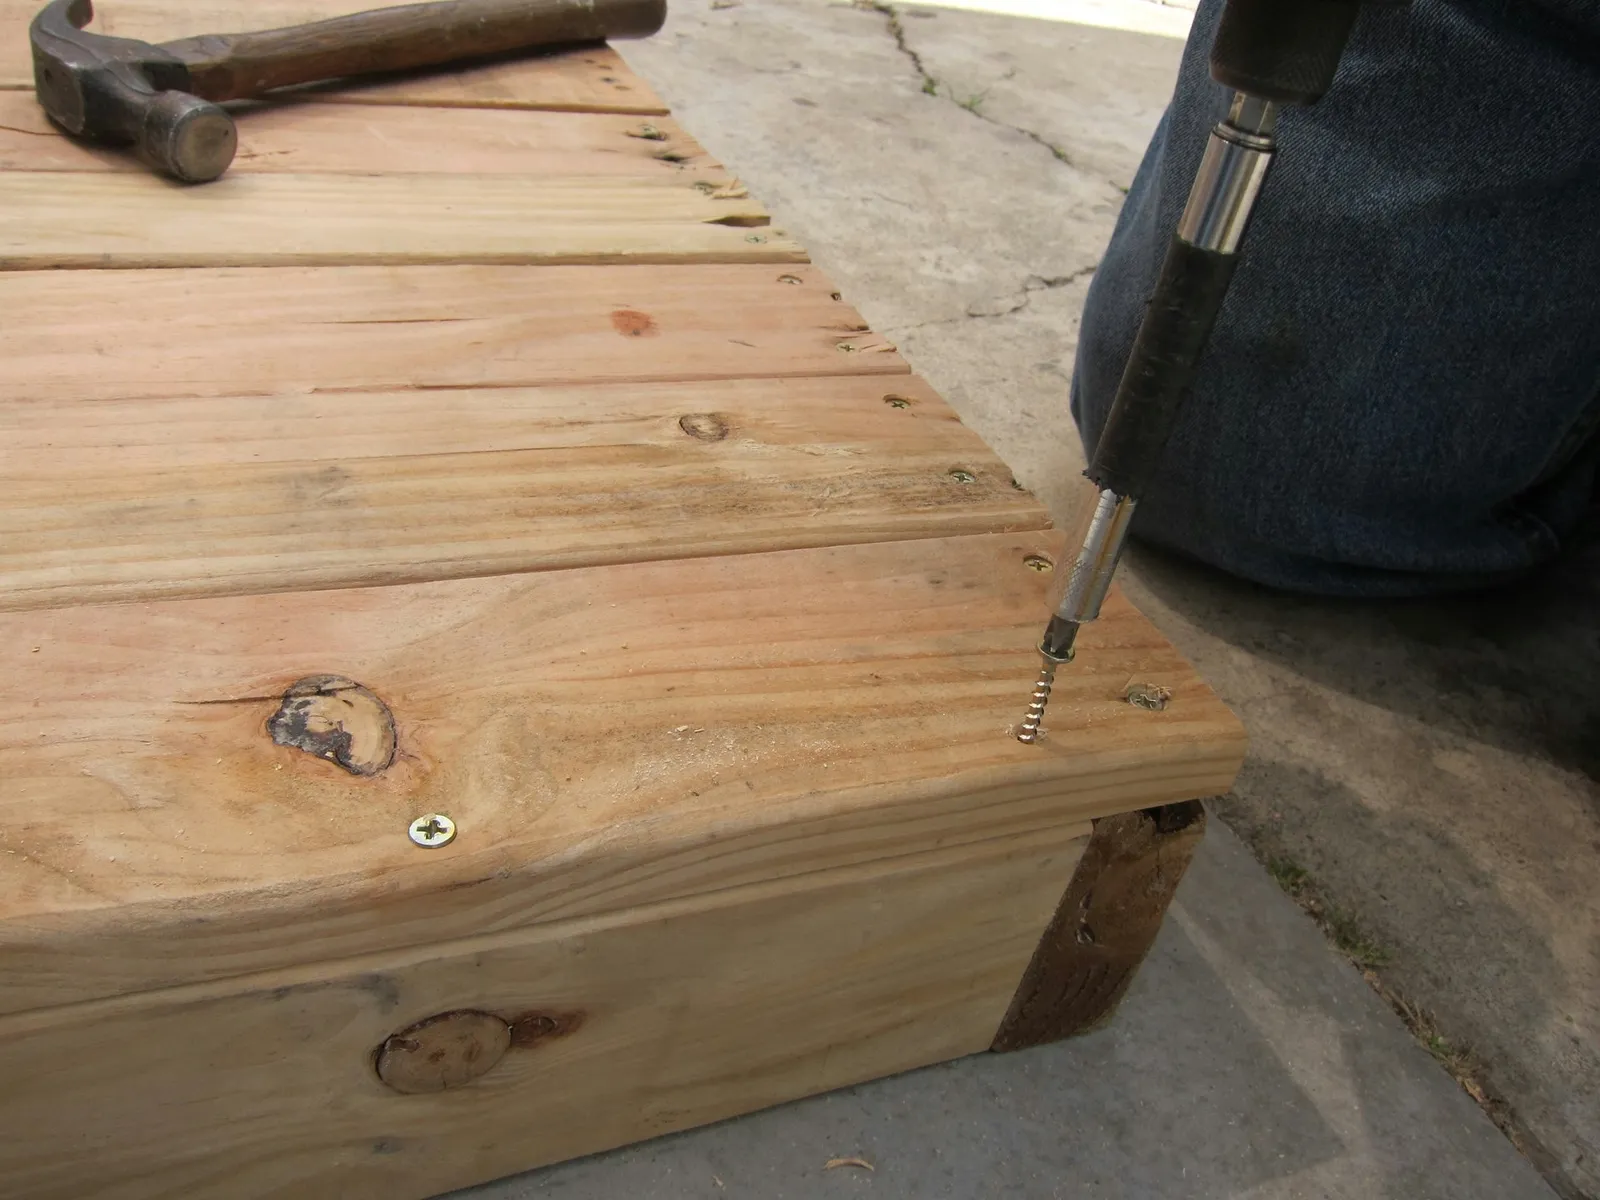
Insert one side skirt into the gap between the pallet supports and drive three screws from the top of the bench into the skirt—one at each end and one in the center. Repeat for the other side.
Step 8:
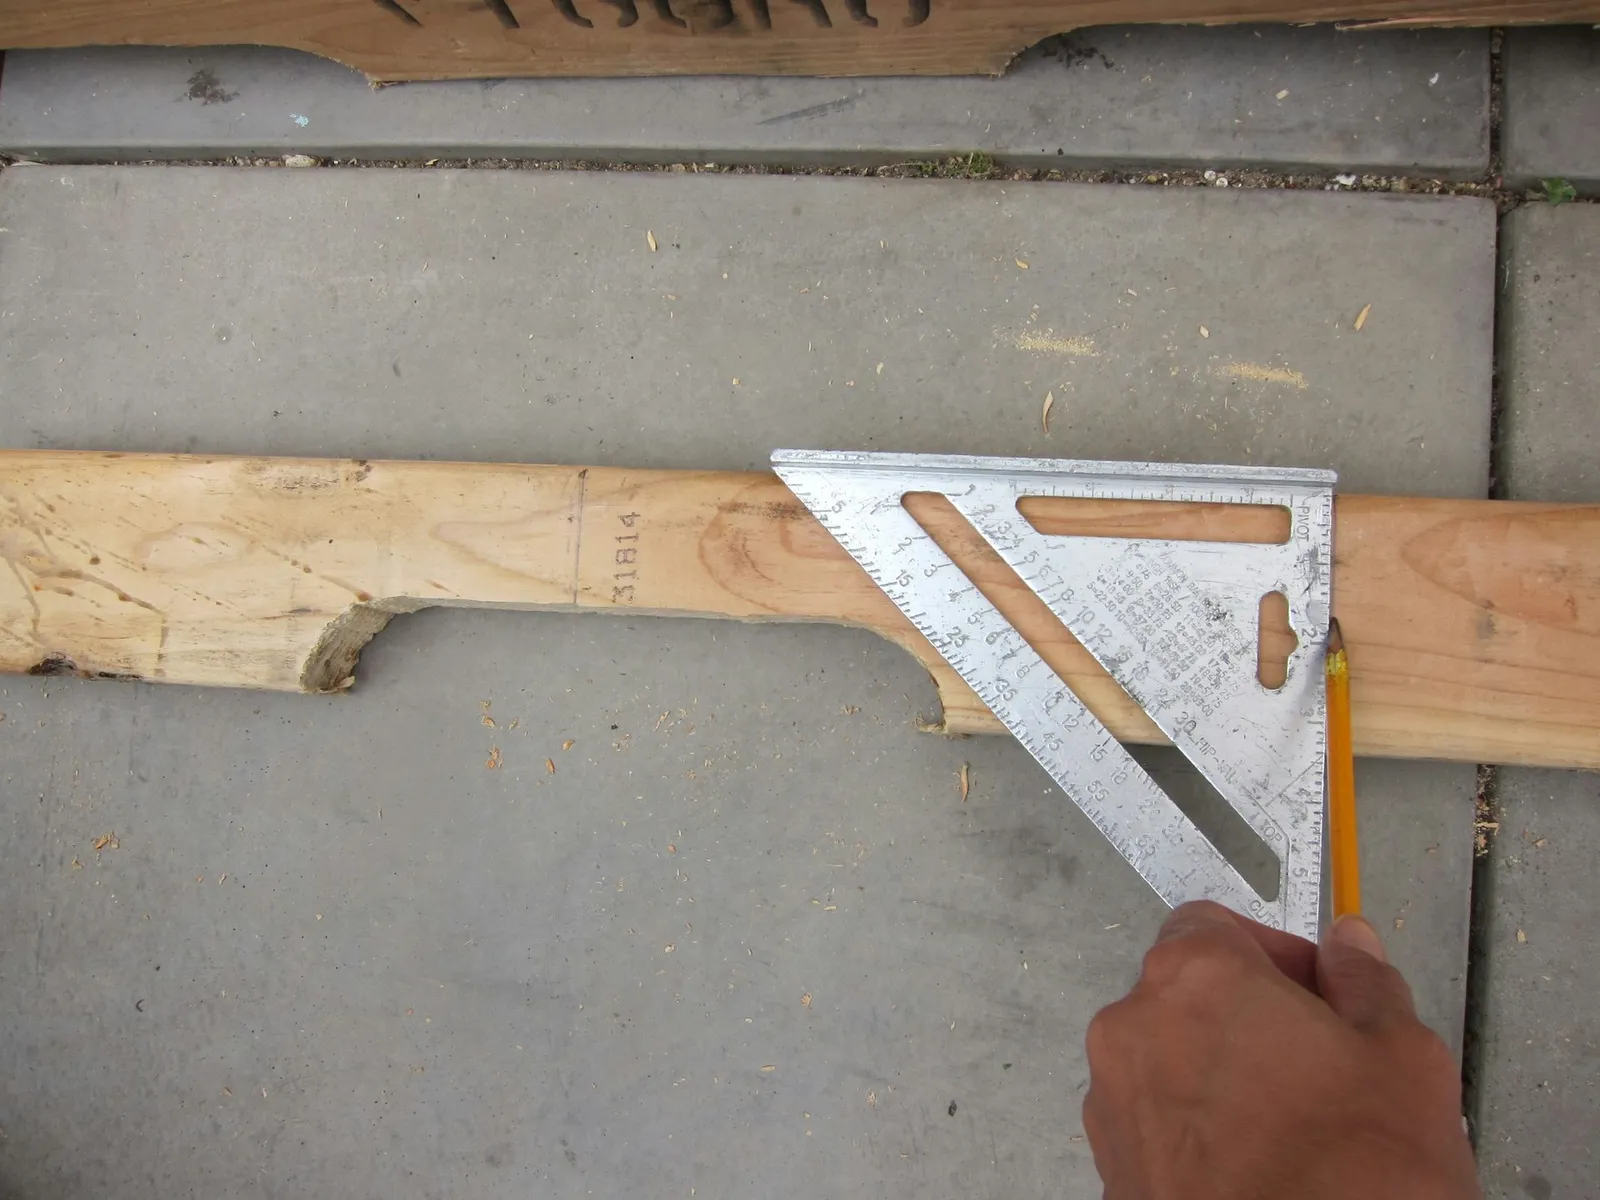
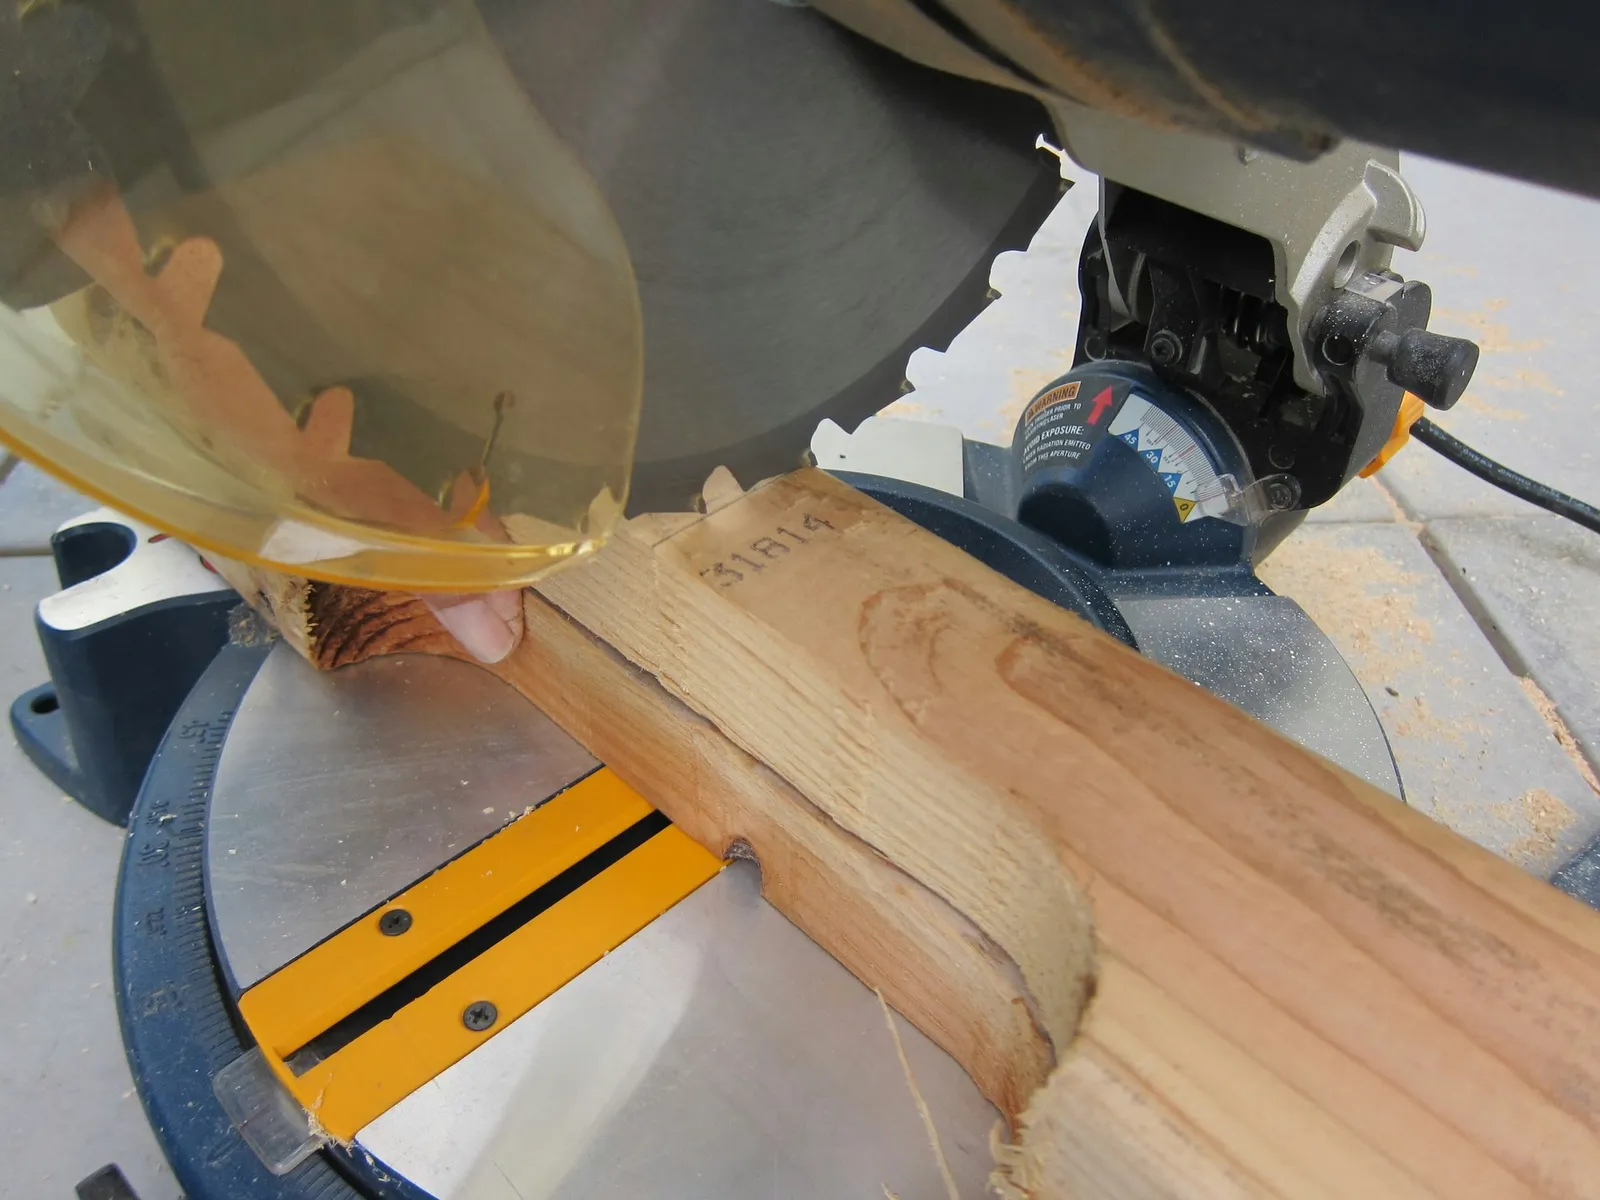
Take the last pallet support (a scalloped two-by-four from the middle of the pallet) and cut it into four 10-inch pieces. Measure and mark it with a pencil before cutting.
Step 9:
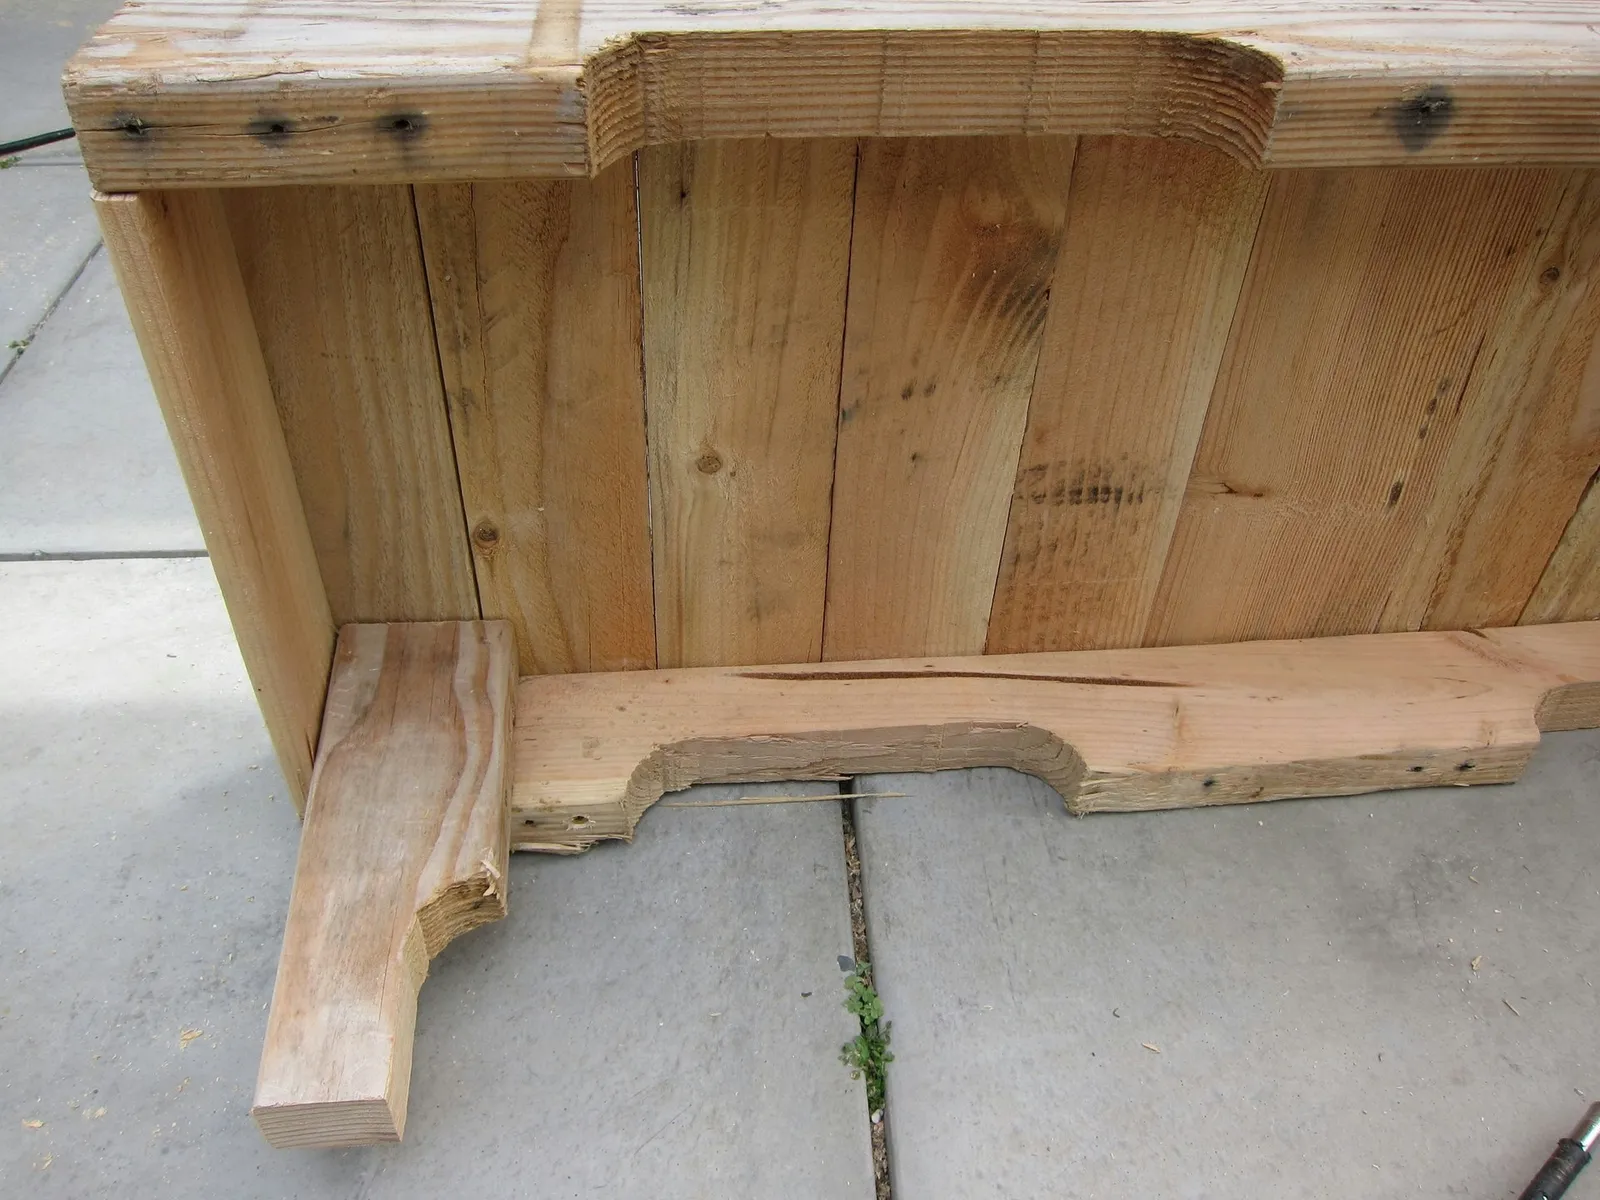
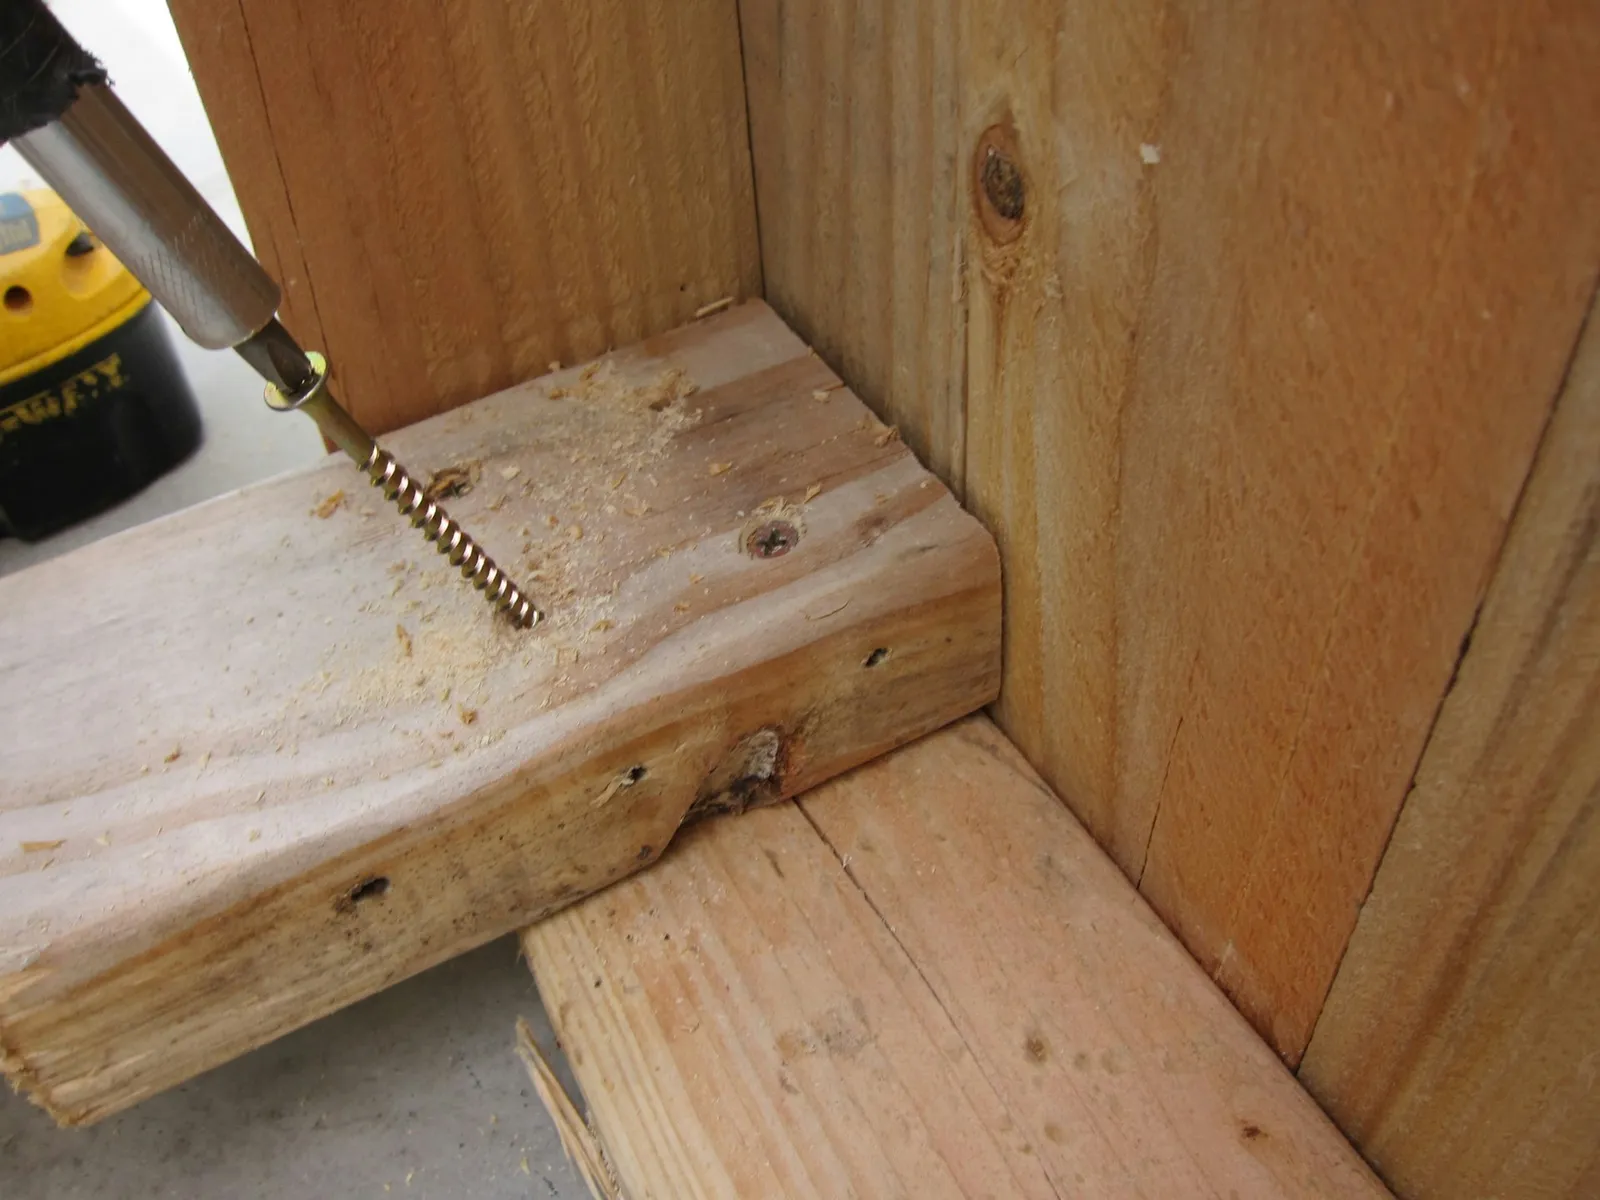
Position the first leg under one corner of the bench top as shown. Secure it with 2 1/2-inch screws in four places, pre-drilling the holes first.
Step 10:
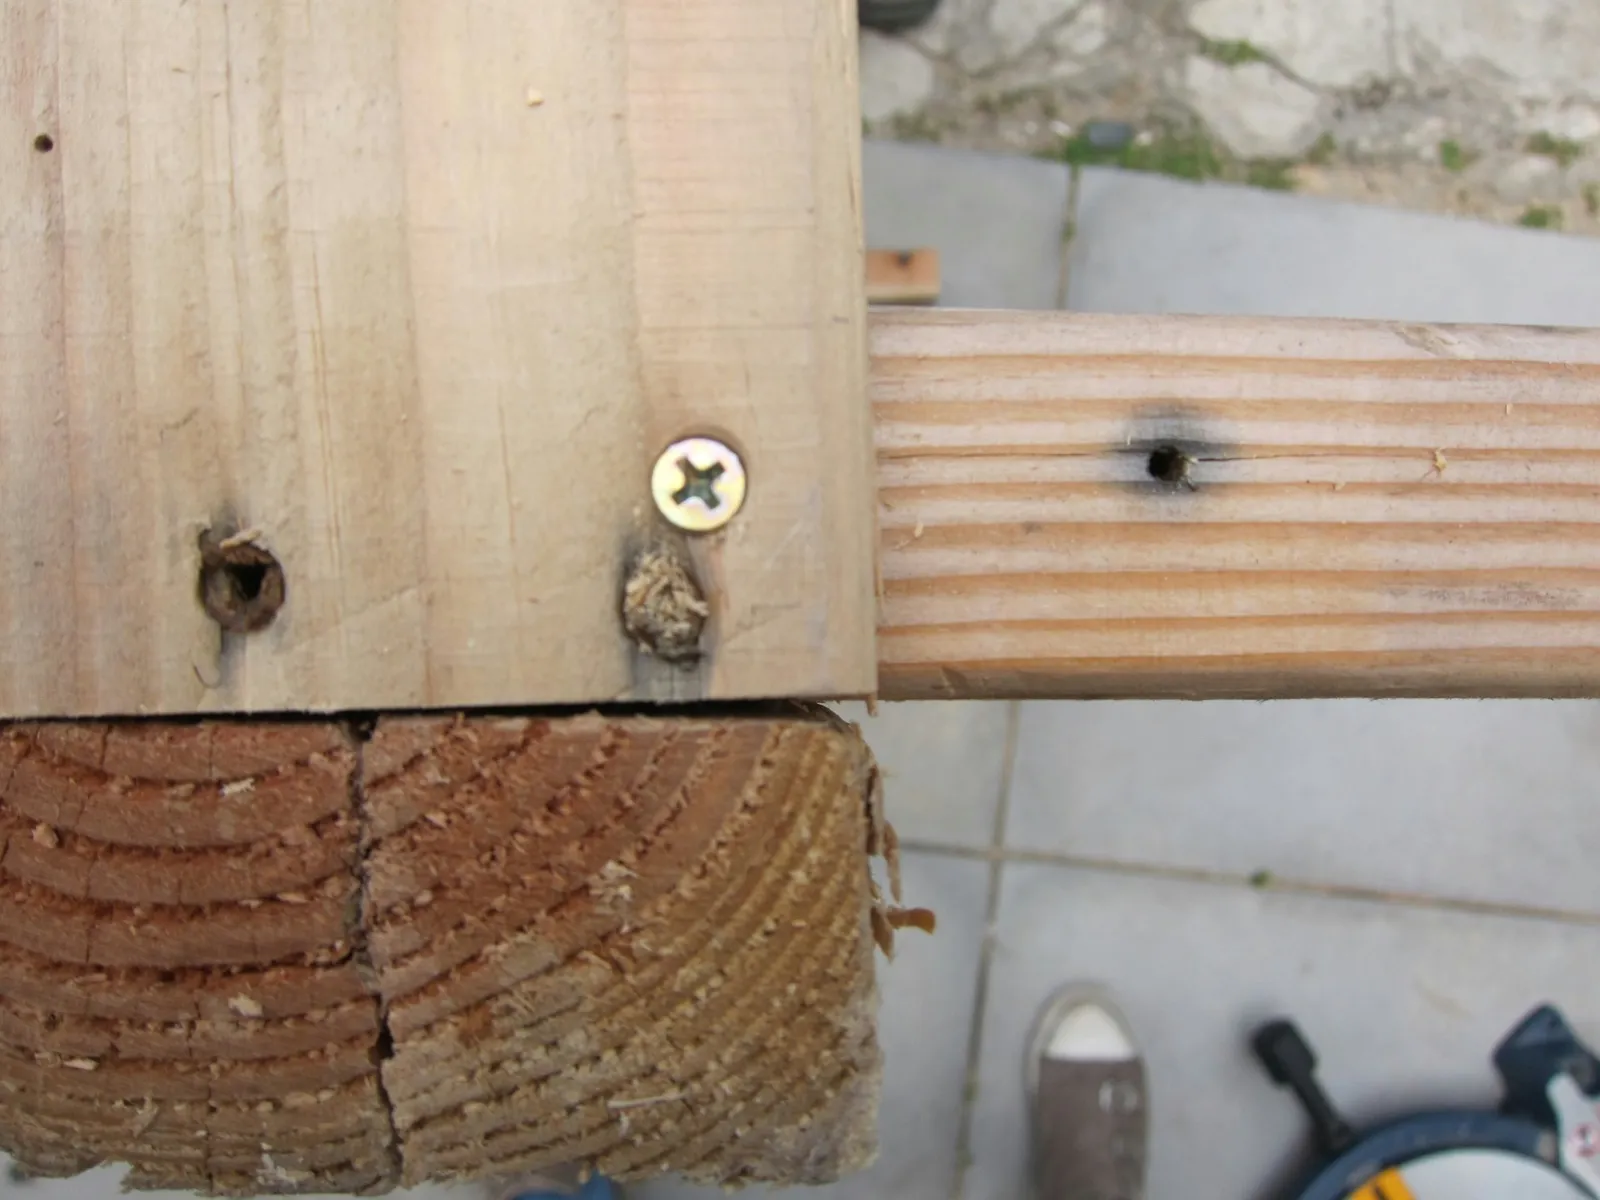
Drive a 1 1/2-inch screw through each side of the side skirts into each leg.
Step 11:
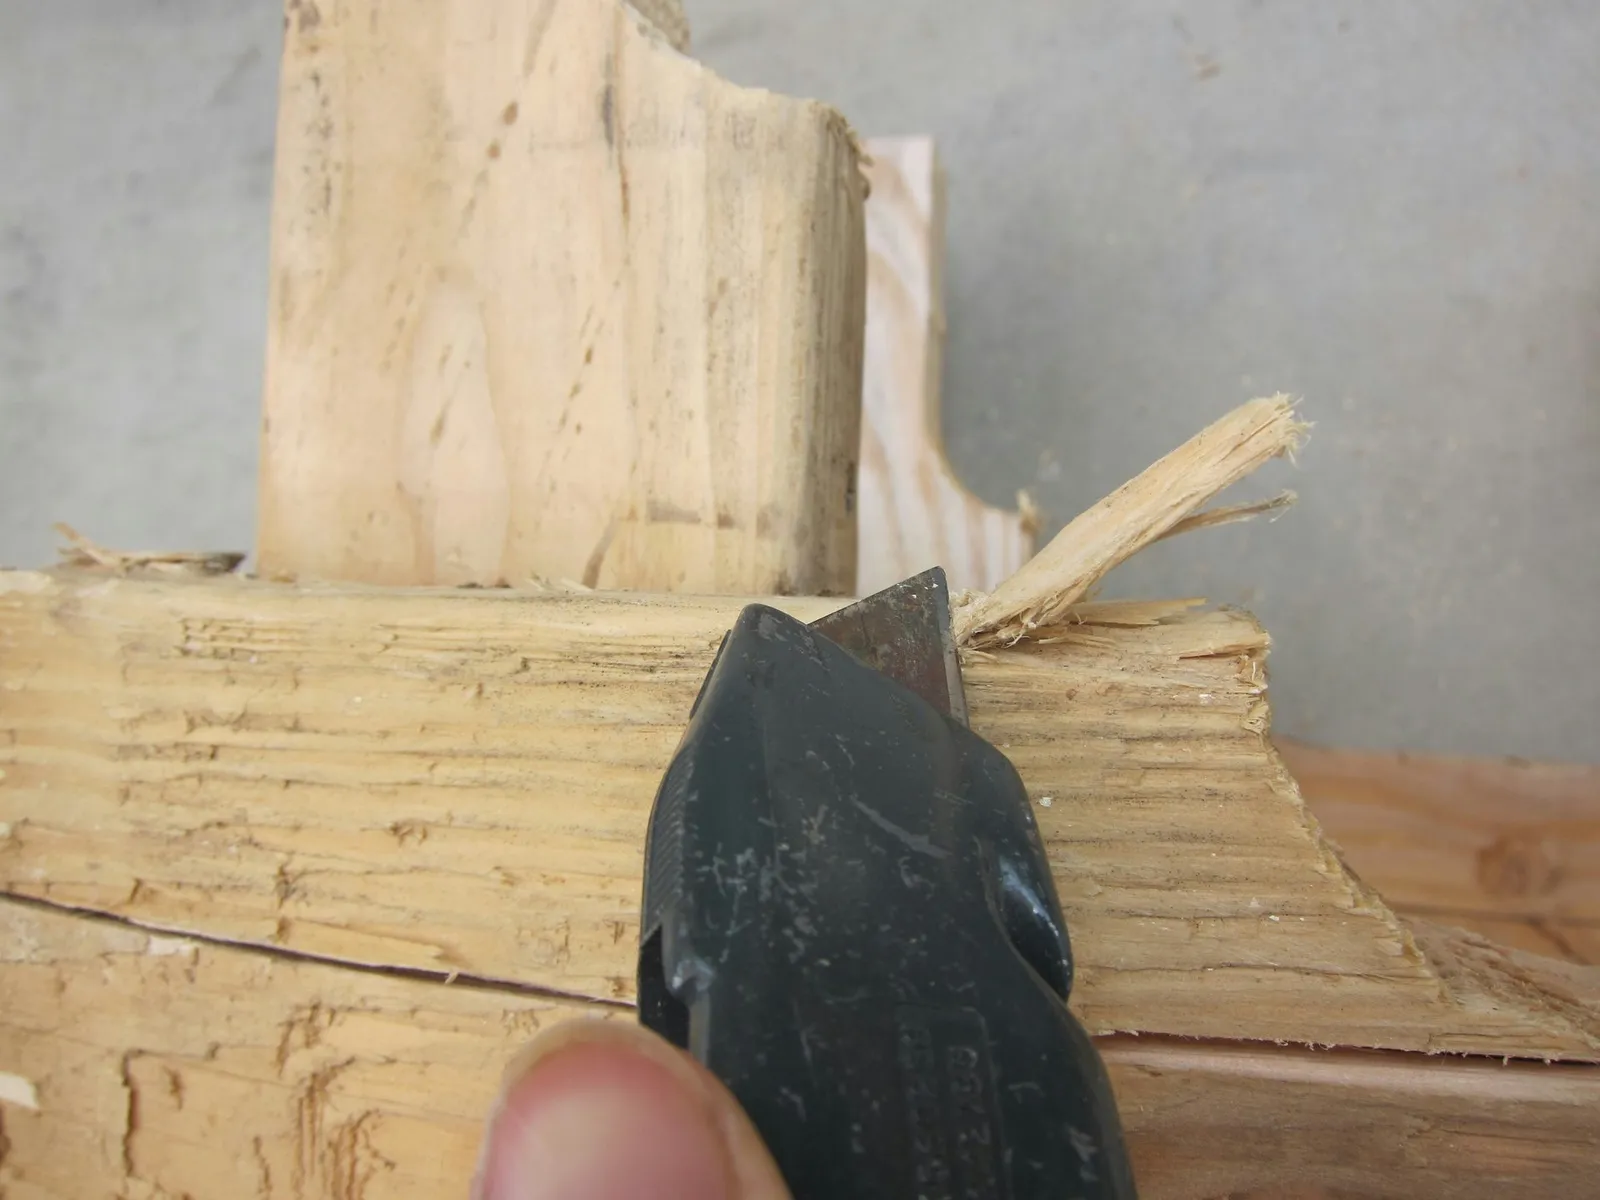
Carefully use a utility knife to remove any large splinters or stray wood pieces.
Step 12:
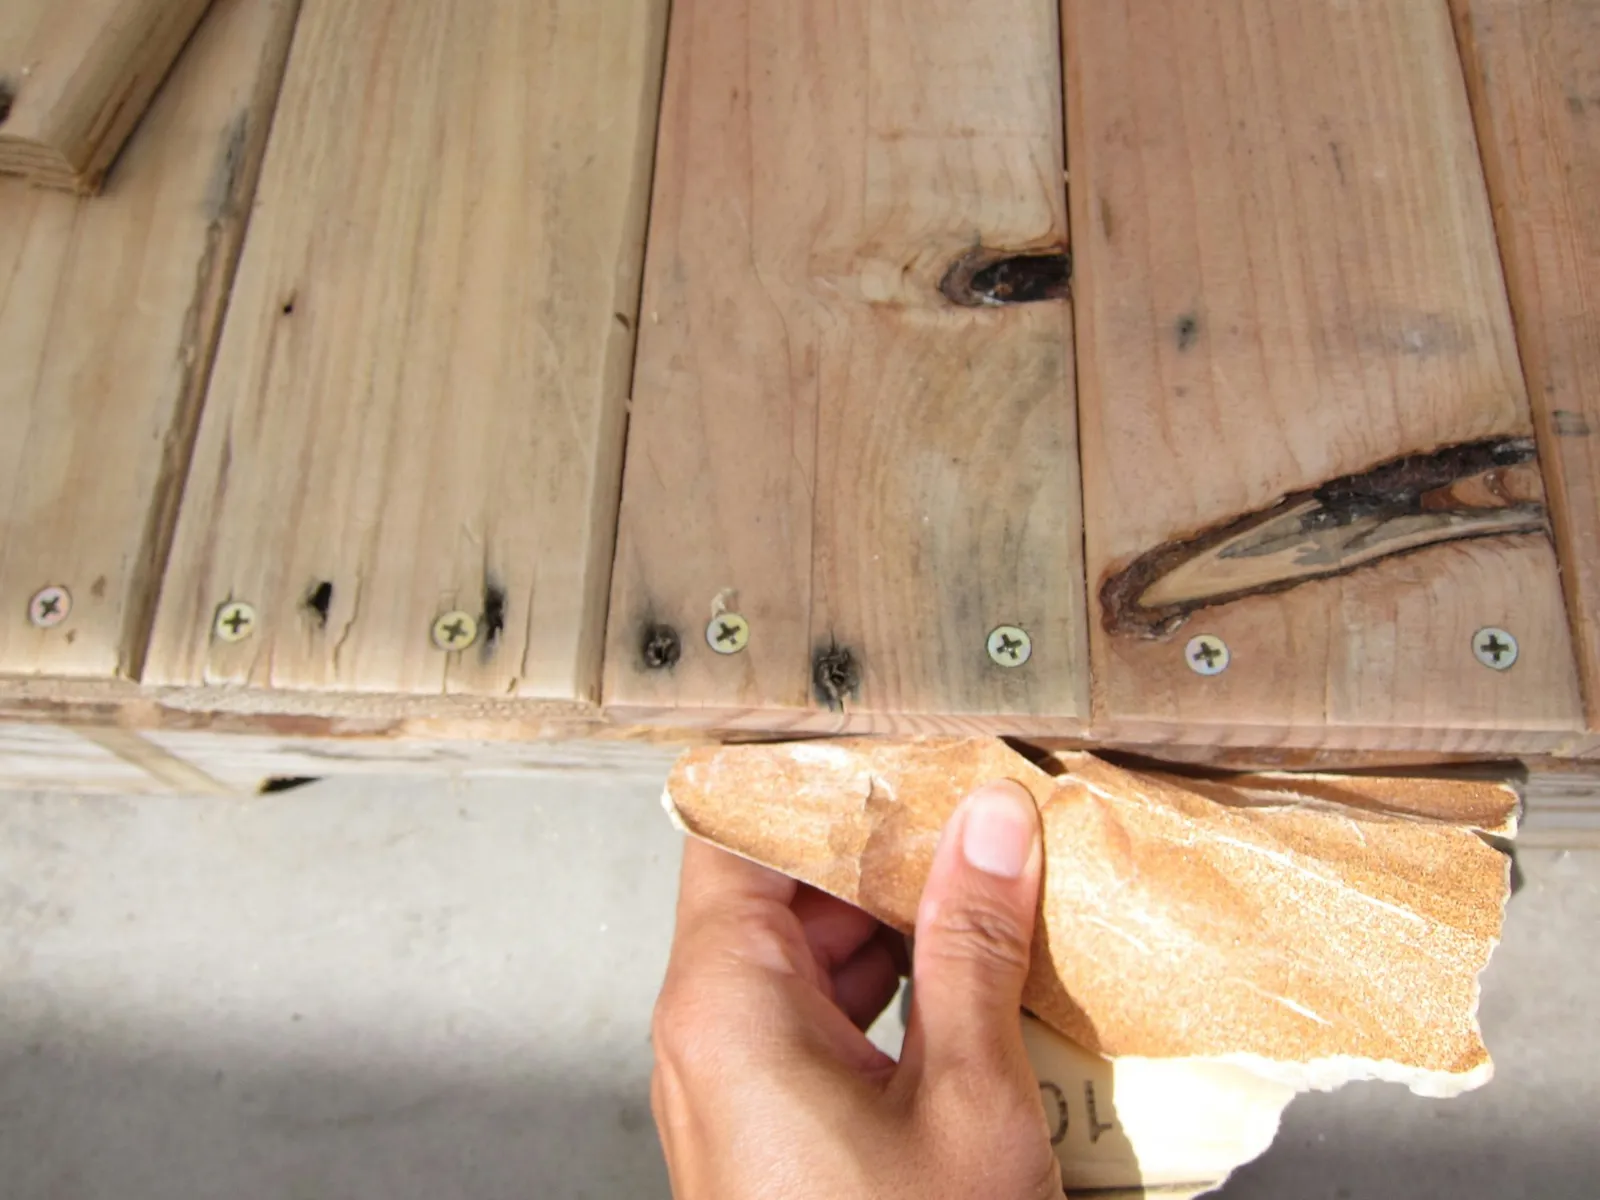
Sand the bench with sandpaper to smooth out any splinters.
Step 13:
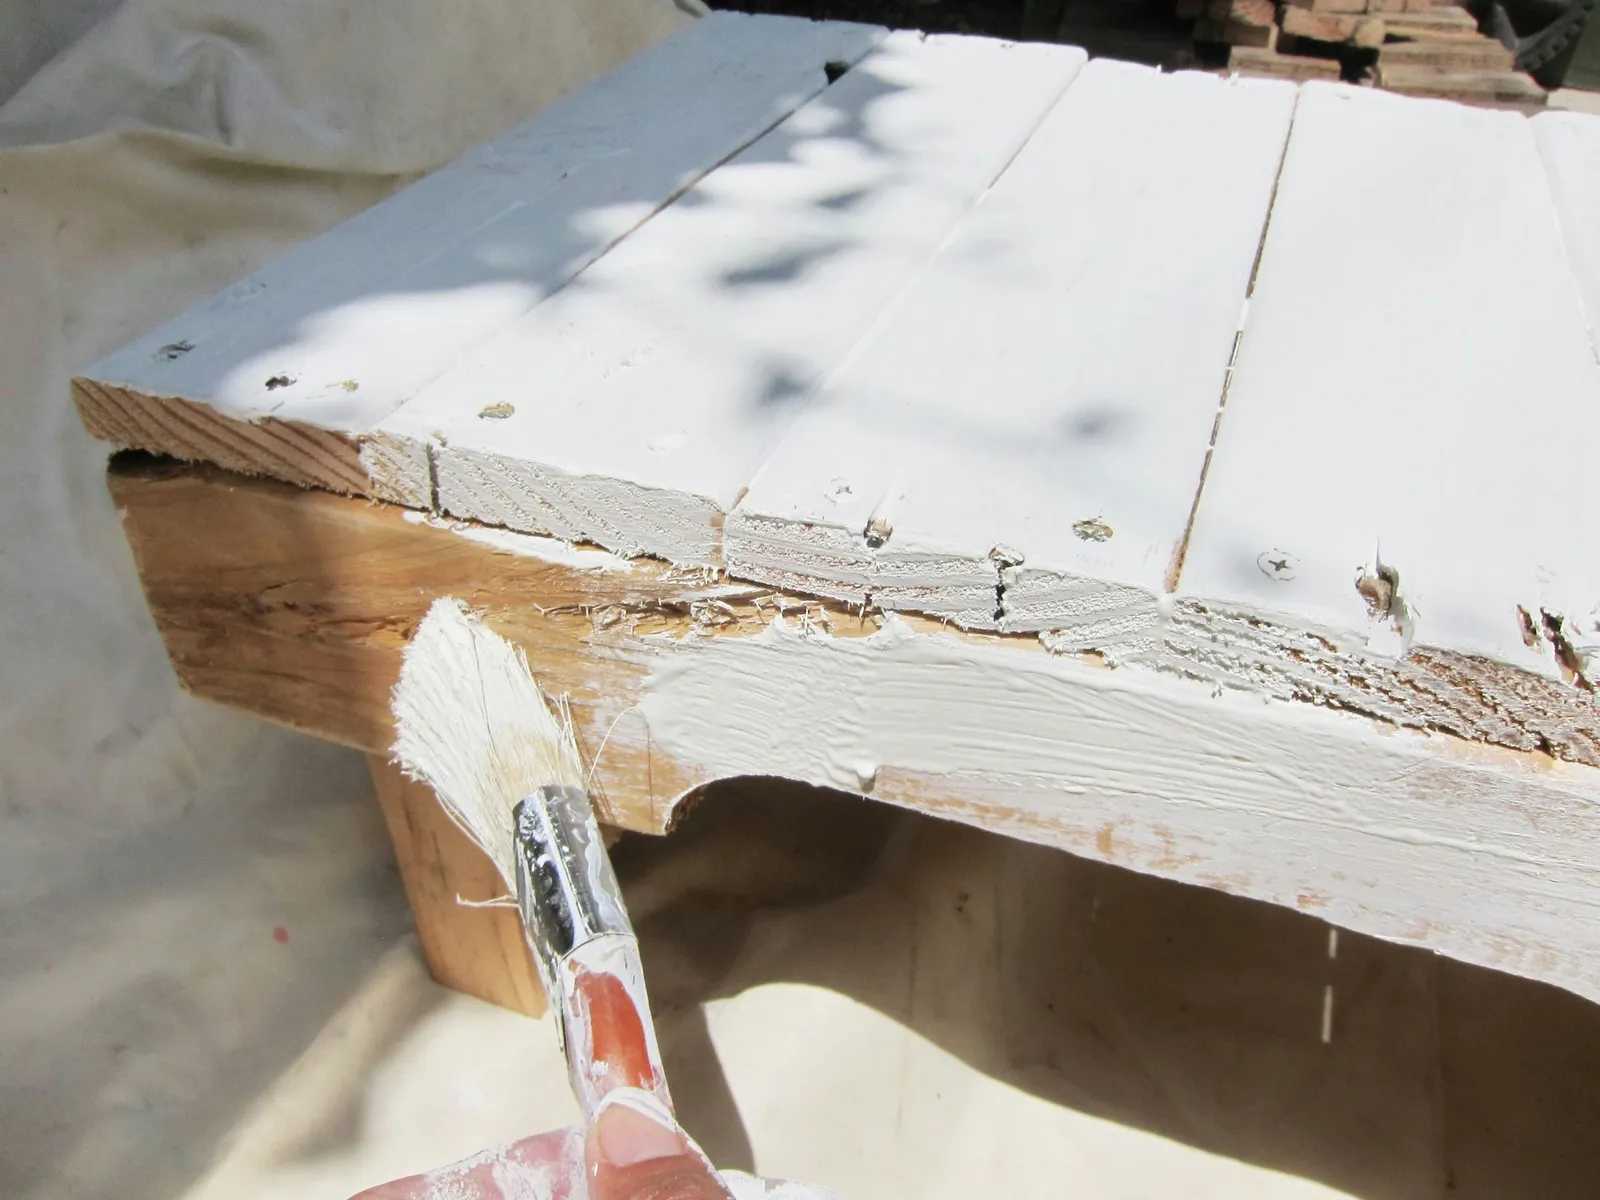
Apply two coats of primer to the bench, allowing it to dry between coats.
Step 14:
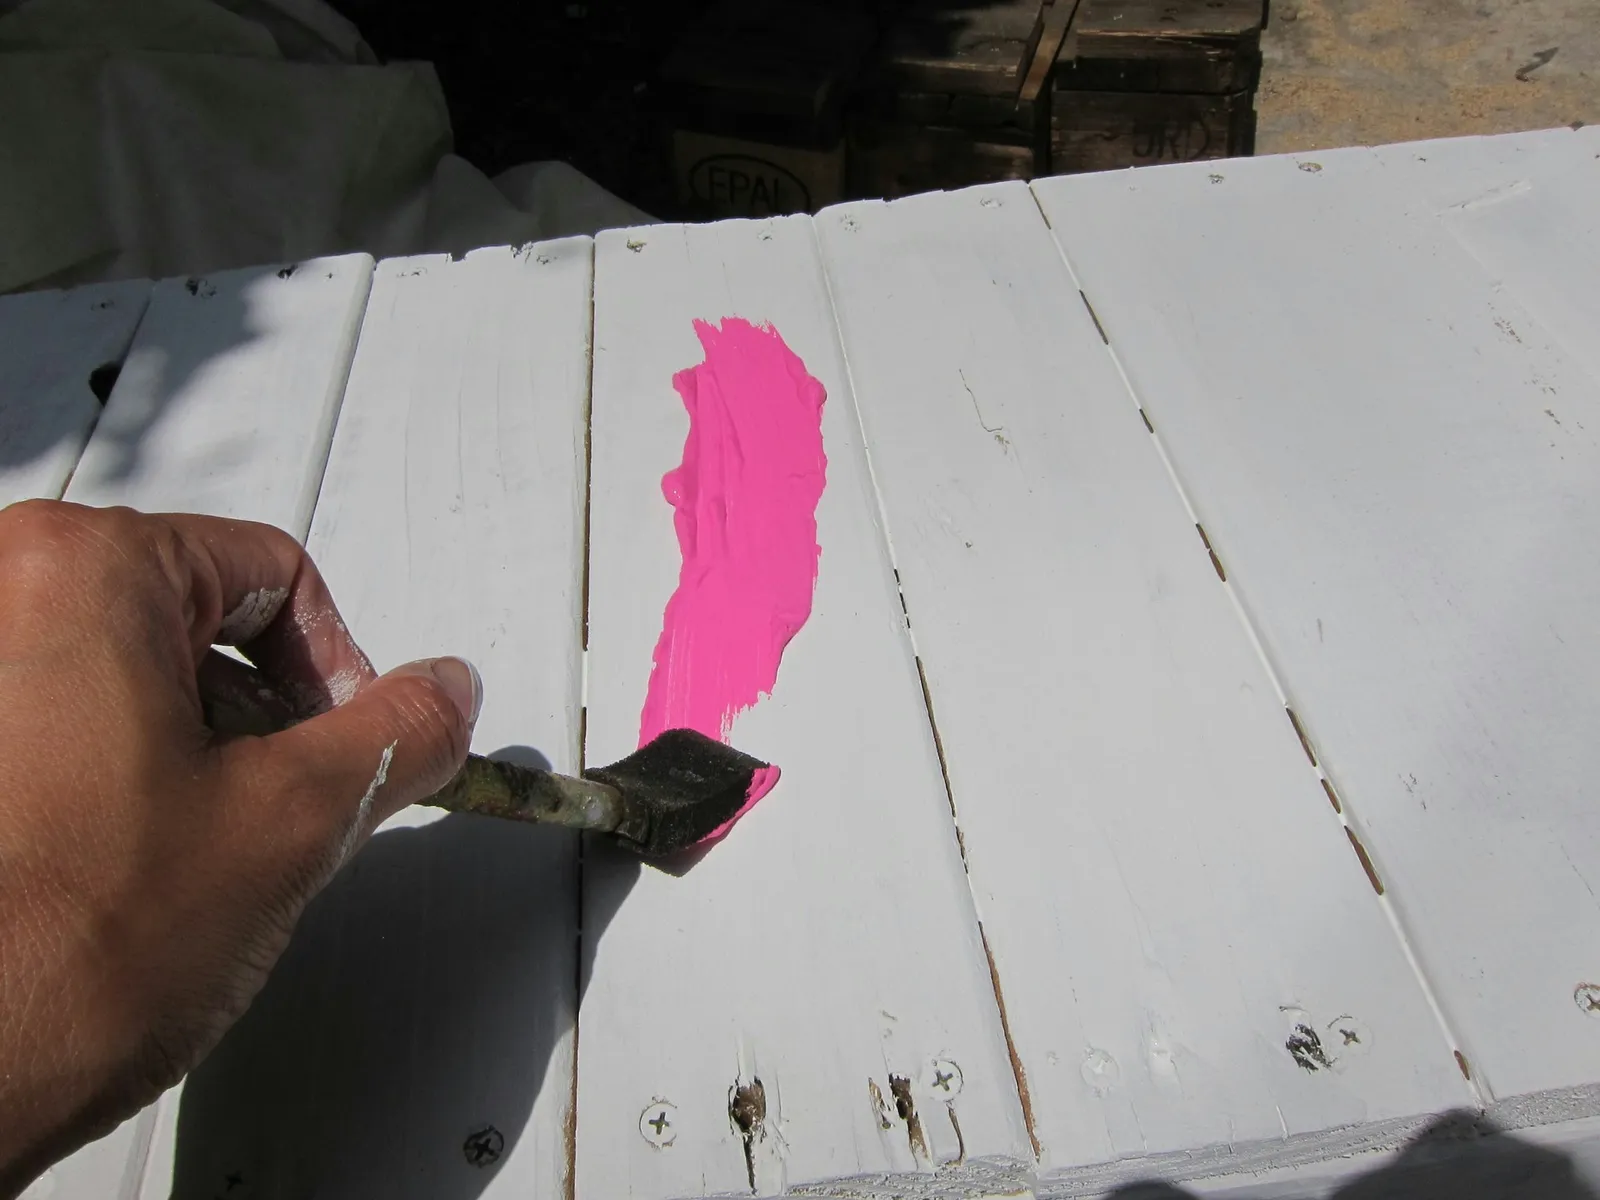
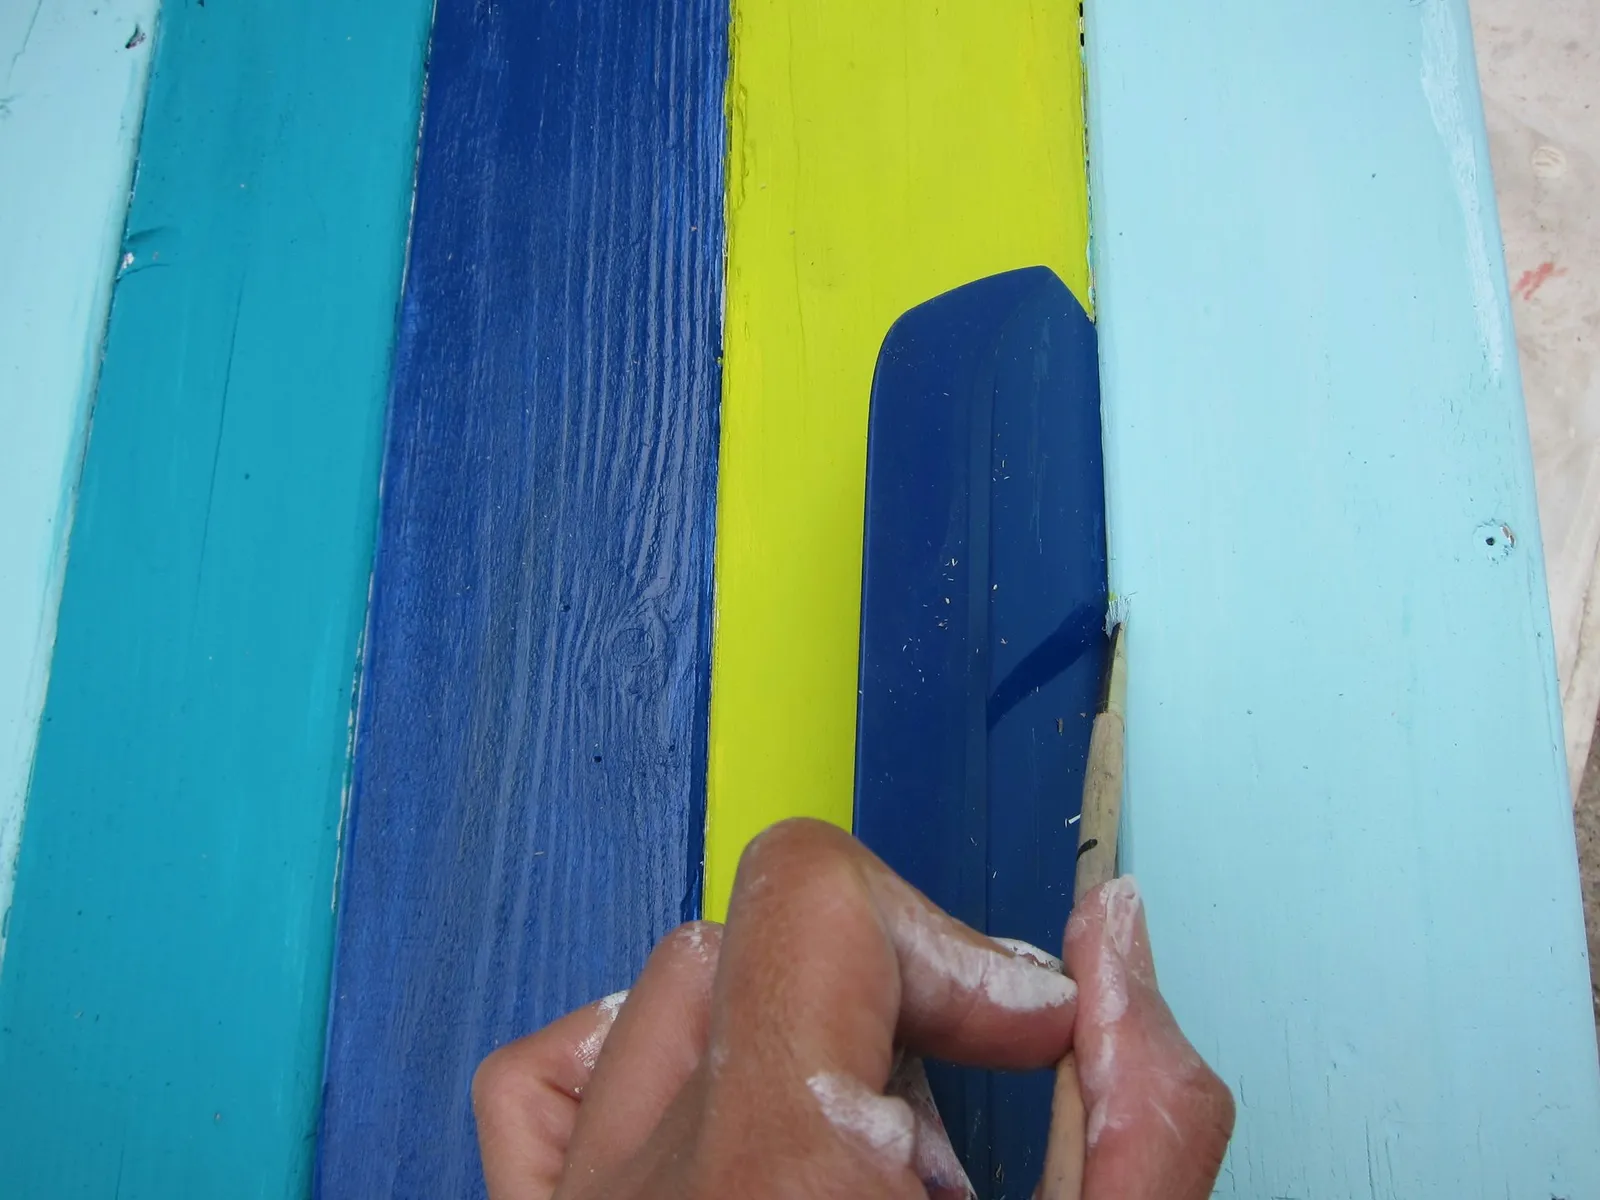
Paint each plank on the bench top a different color using acrylic paint. Keep a plastic scraper between the planks while painting to maintain clean lines. Fix any mistakes with fine-tipped paintbrushes. Paint the bench base with glossy white paint and let it dry.
This colorful pallet bench would look equally lovely outdoors or indoors.