A Step-by-Step Guide to Refinishing Recessed Lighting Fixtures
Recessed lights serve multiple purposes, from setting a room's mood to brightening a corridor or a dedicated theater space. When these fixtures look worn or no longer coordinate with a fresh paint job, their trim and housing can be renewed using heat-resistant spray products.
By Morgan Foster8 steps
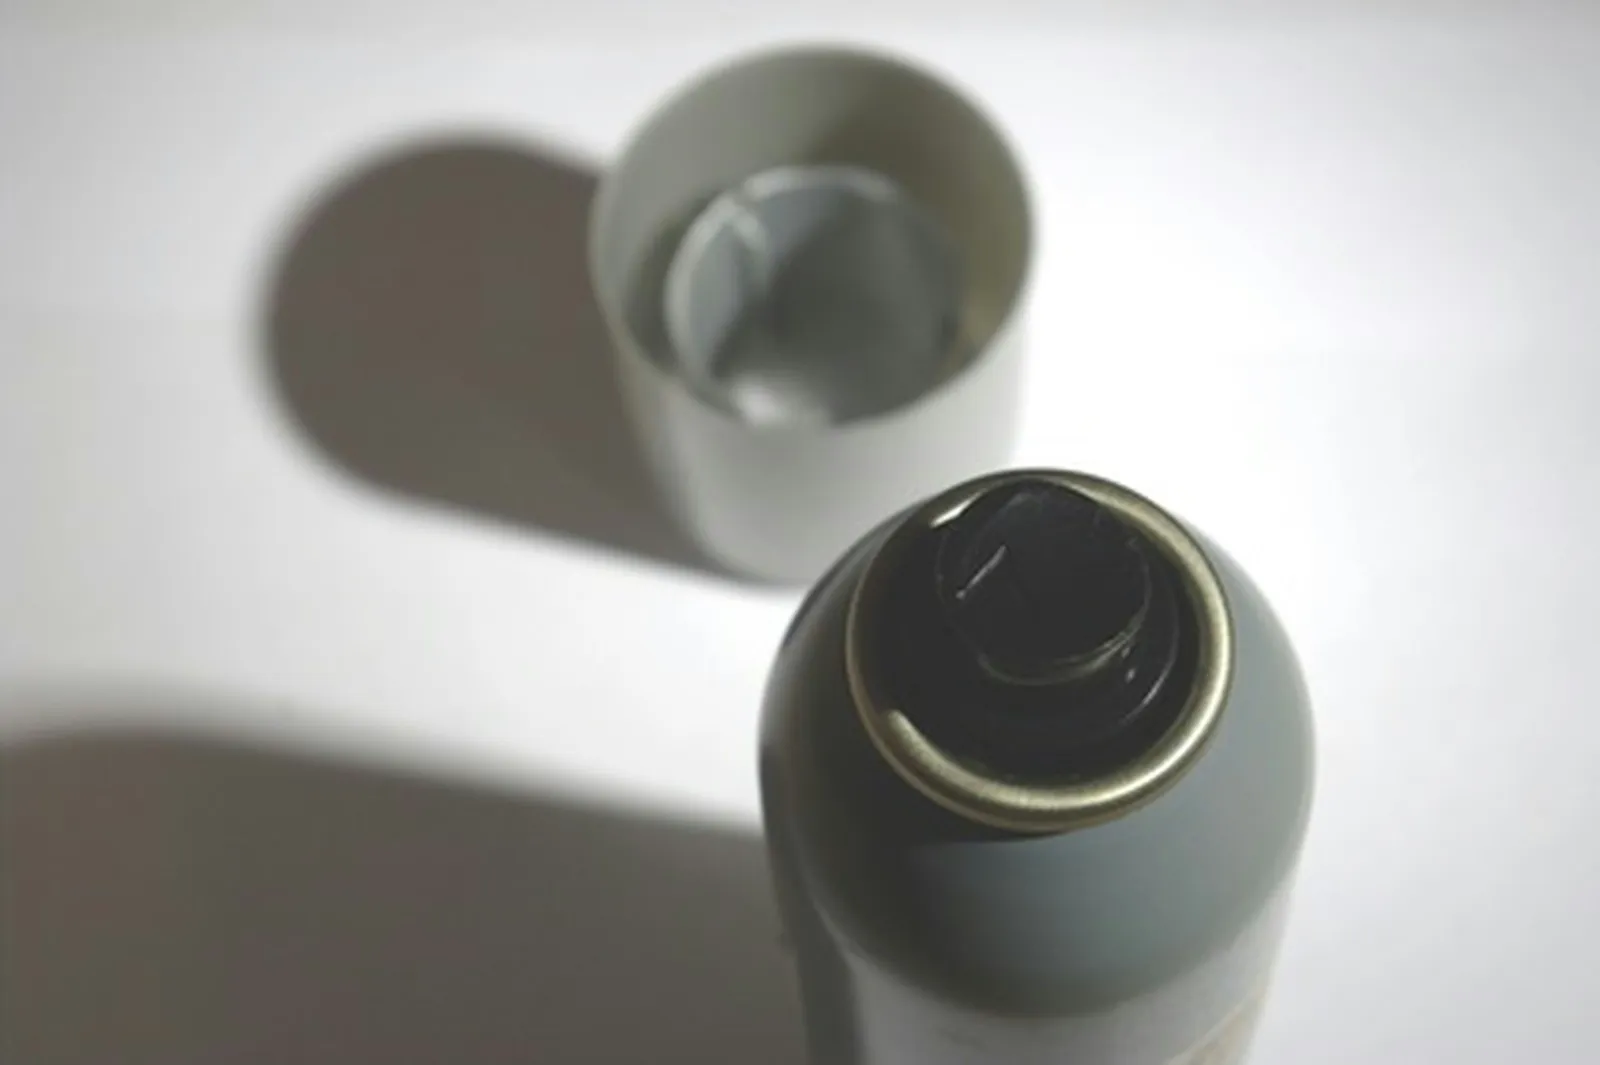
Trasform your recessed lighting easily with spray paint.
Recessed lighting fixtures can be found in roles ranging from general ambient illumination to lighting a hallway or a home theater. Should the recessed lights in your home appear dated or show scratches, or if you are repainting walls and ceiling and want the fixtures to harmonize with the new hues, you can refinish the trim and the bulb housing using heat-resistant spray paint. These spray paints come in a broad range of colors and are also offered in faux-metal finishes.
Step 1
Shut off the main electrical circuit at the breaker box that supplies power to the fixtures you plan to work on. Take out the light bulbs, then detach the light housing trim. Typically, trim is held in place by springs or clips and can be pried away from the ceiling without much effort. Unscrew the screws in the housing with a screwdriver and pull it slightly away from the ceiling so you can disconnect the fixture wires from the wires inside the junction box.
Step 2
Set the trim and housings on a work surface in a well-ventilated area, covering the surface with newspaper if needed.
Step 3
Lightly abrade the parts with 400-grit sandpaper to promote primer adhesion. Remove sanding dust by wiping with a tack cloth.
Step 4
Apply a thin coat of heat-resistant spray primer. Use sweeping passes and keep the nozzle at least 12 inches away from the surface. Avoid letting the primer pool or drip. Let the first coat dry, then apply one or two more light coats as needed for uniform coverage. Let the final coat dry.
Step 5
Lightly sand with 800-grit wet sandpaper to promote paint adhesion. Wipe the parts with a tack cloth to remove sanding dust.
Step 6
Apply a thin coat of heat-resistant spray paint. Use sweeping passes and keep the nozzle at least 12 inches away from the surface. Avoid letting the paint pool or drip. Let the first coat dry, then add one to three more light coats as needed for even coverage. Let the final coat dry.
Step 7
Apply one to two thin coats of heat-resistant clearcoat to give the paint a protective and glossy finish. Let the clearcoat dry.
Step 8
Reconnect the wiring and reattach the lights to the ceiling. When wiring the lights, be sure to match the correct wires (black to black, white to white, and ground to ground).



