Giving Old Wooden Crates a New Finish and Purpose
Wooden crates bring a rustic feel to any space, and there are multiple finishing methods that let you use them in different rooms and settings. Depending on the technique you choose, these character-rich containers can serve as storage, shelving, or even furniture in and around your home.
By Kai Murphy4 steps
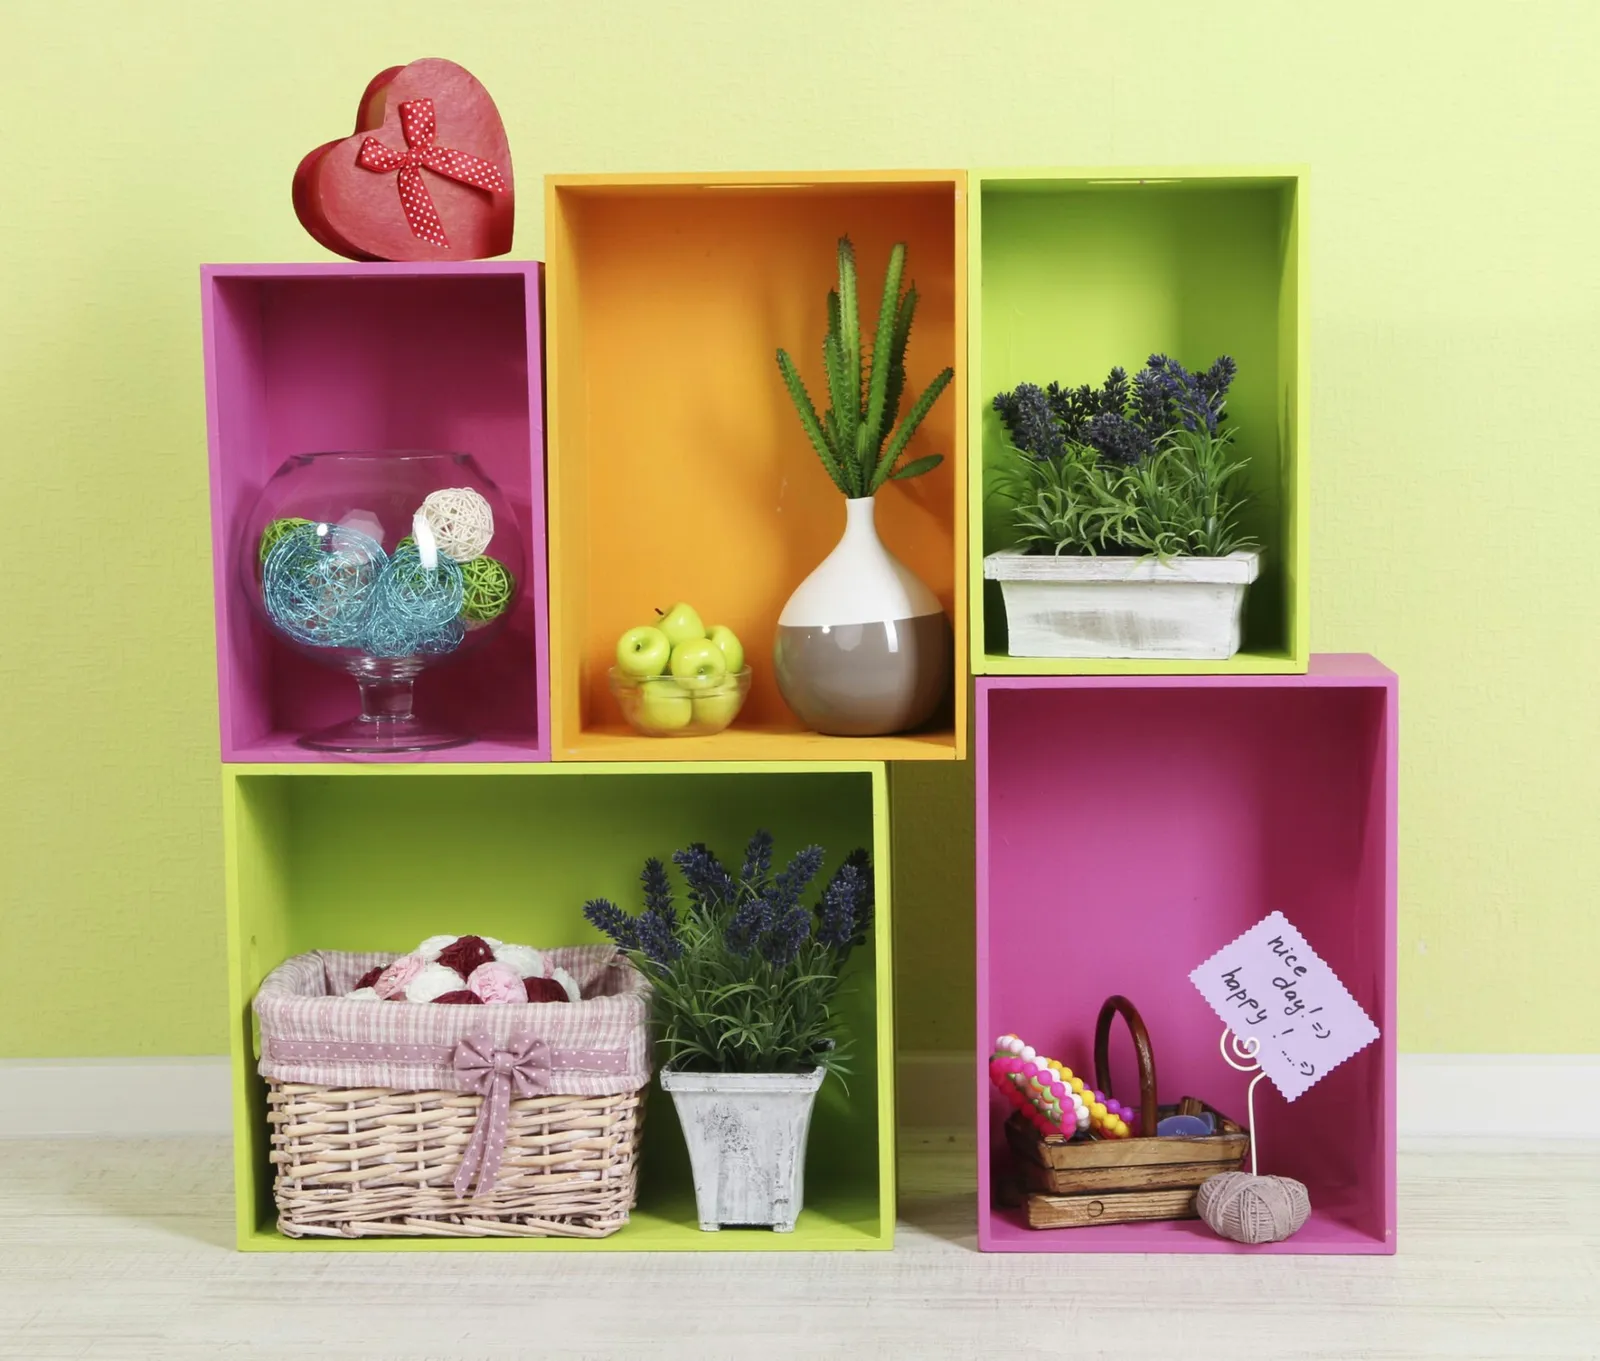
Colorful latex paint turns old crates into happening decor.
Decorating with wooden crates gives a space a rustic character. These authentic, aged finds can help you pull off many different design looks, whether inside your house or out. There are numerous approaches to refinishing and repurposing these wooden containers, which carry plenty of personality. You might sand and paint a crate to use for front porch storage, attach wheels to turn one into a movable nightstand, or hang crates on the wall of a mud room to hold boots and umbrellas. Wooden crates can fit into nearly any decor scheme -- the key is settling on how you want to refinish them.
Step 1
Begin by sanding the wooden crate with medium-grit sandpaper, then go over it again with fine-grit paper. Remove the dust, then apply a wood stain in a shade that complements the trim in your room. After the stain has fully dried, brush on one or two coats of waterproof polyurethane so the finish resists stains. This treatment produces a crate suitable for indoor or outdoor use -- as a plant stand, a rustic magazine rack, or stacked loosely on the porch to show off fall items like pumpkins and gourds.
Step 2
To whitewash a wooden crate, apply a single coat of whitewash stain. Home improvement expert Ron Hazelton notes that this method is effective on pieces made of pine. Brush on the stain, let it sit for a few minutes, then rub it into the wood with a clean, dry cloth. You can use this approach to build primitive cabinets for displaying Depression glass in a shabby-chic kitchen, a romantic shelf for vintage doilies in a Victorian bedroom, or extra storage for paper supplies in a country bathroom.
Step 3
Using a circular saw, cut bead board to fit the bottom interior of your wooden crate. Secure it with wood glue, then mount the crate on a wall to hold cookbooks in the kitchen or a mix of succulents in the entryway. Try attaching other materials to the crate bottoms for different effects: vintage wallpaper on photographic mount board -- also known as mat board -- gathered fabric, or even sheets of punched tin or chicken wire.
Step 4
You can convert wooden crates into furniture by joining them securely with wood screws and glue, then topping them with butcher block or glass. Set the crates on their sides with the open ends facing outward to form shelving. This idea can yield an inexpensive kitchen island for storing pots and pans, or a dining room buffet for holiday china. Before adding the countertop, paint the assembled crate base with interior latex paint that suits your decor.



