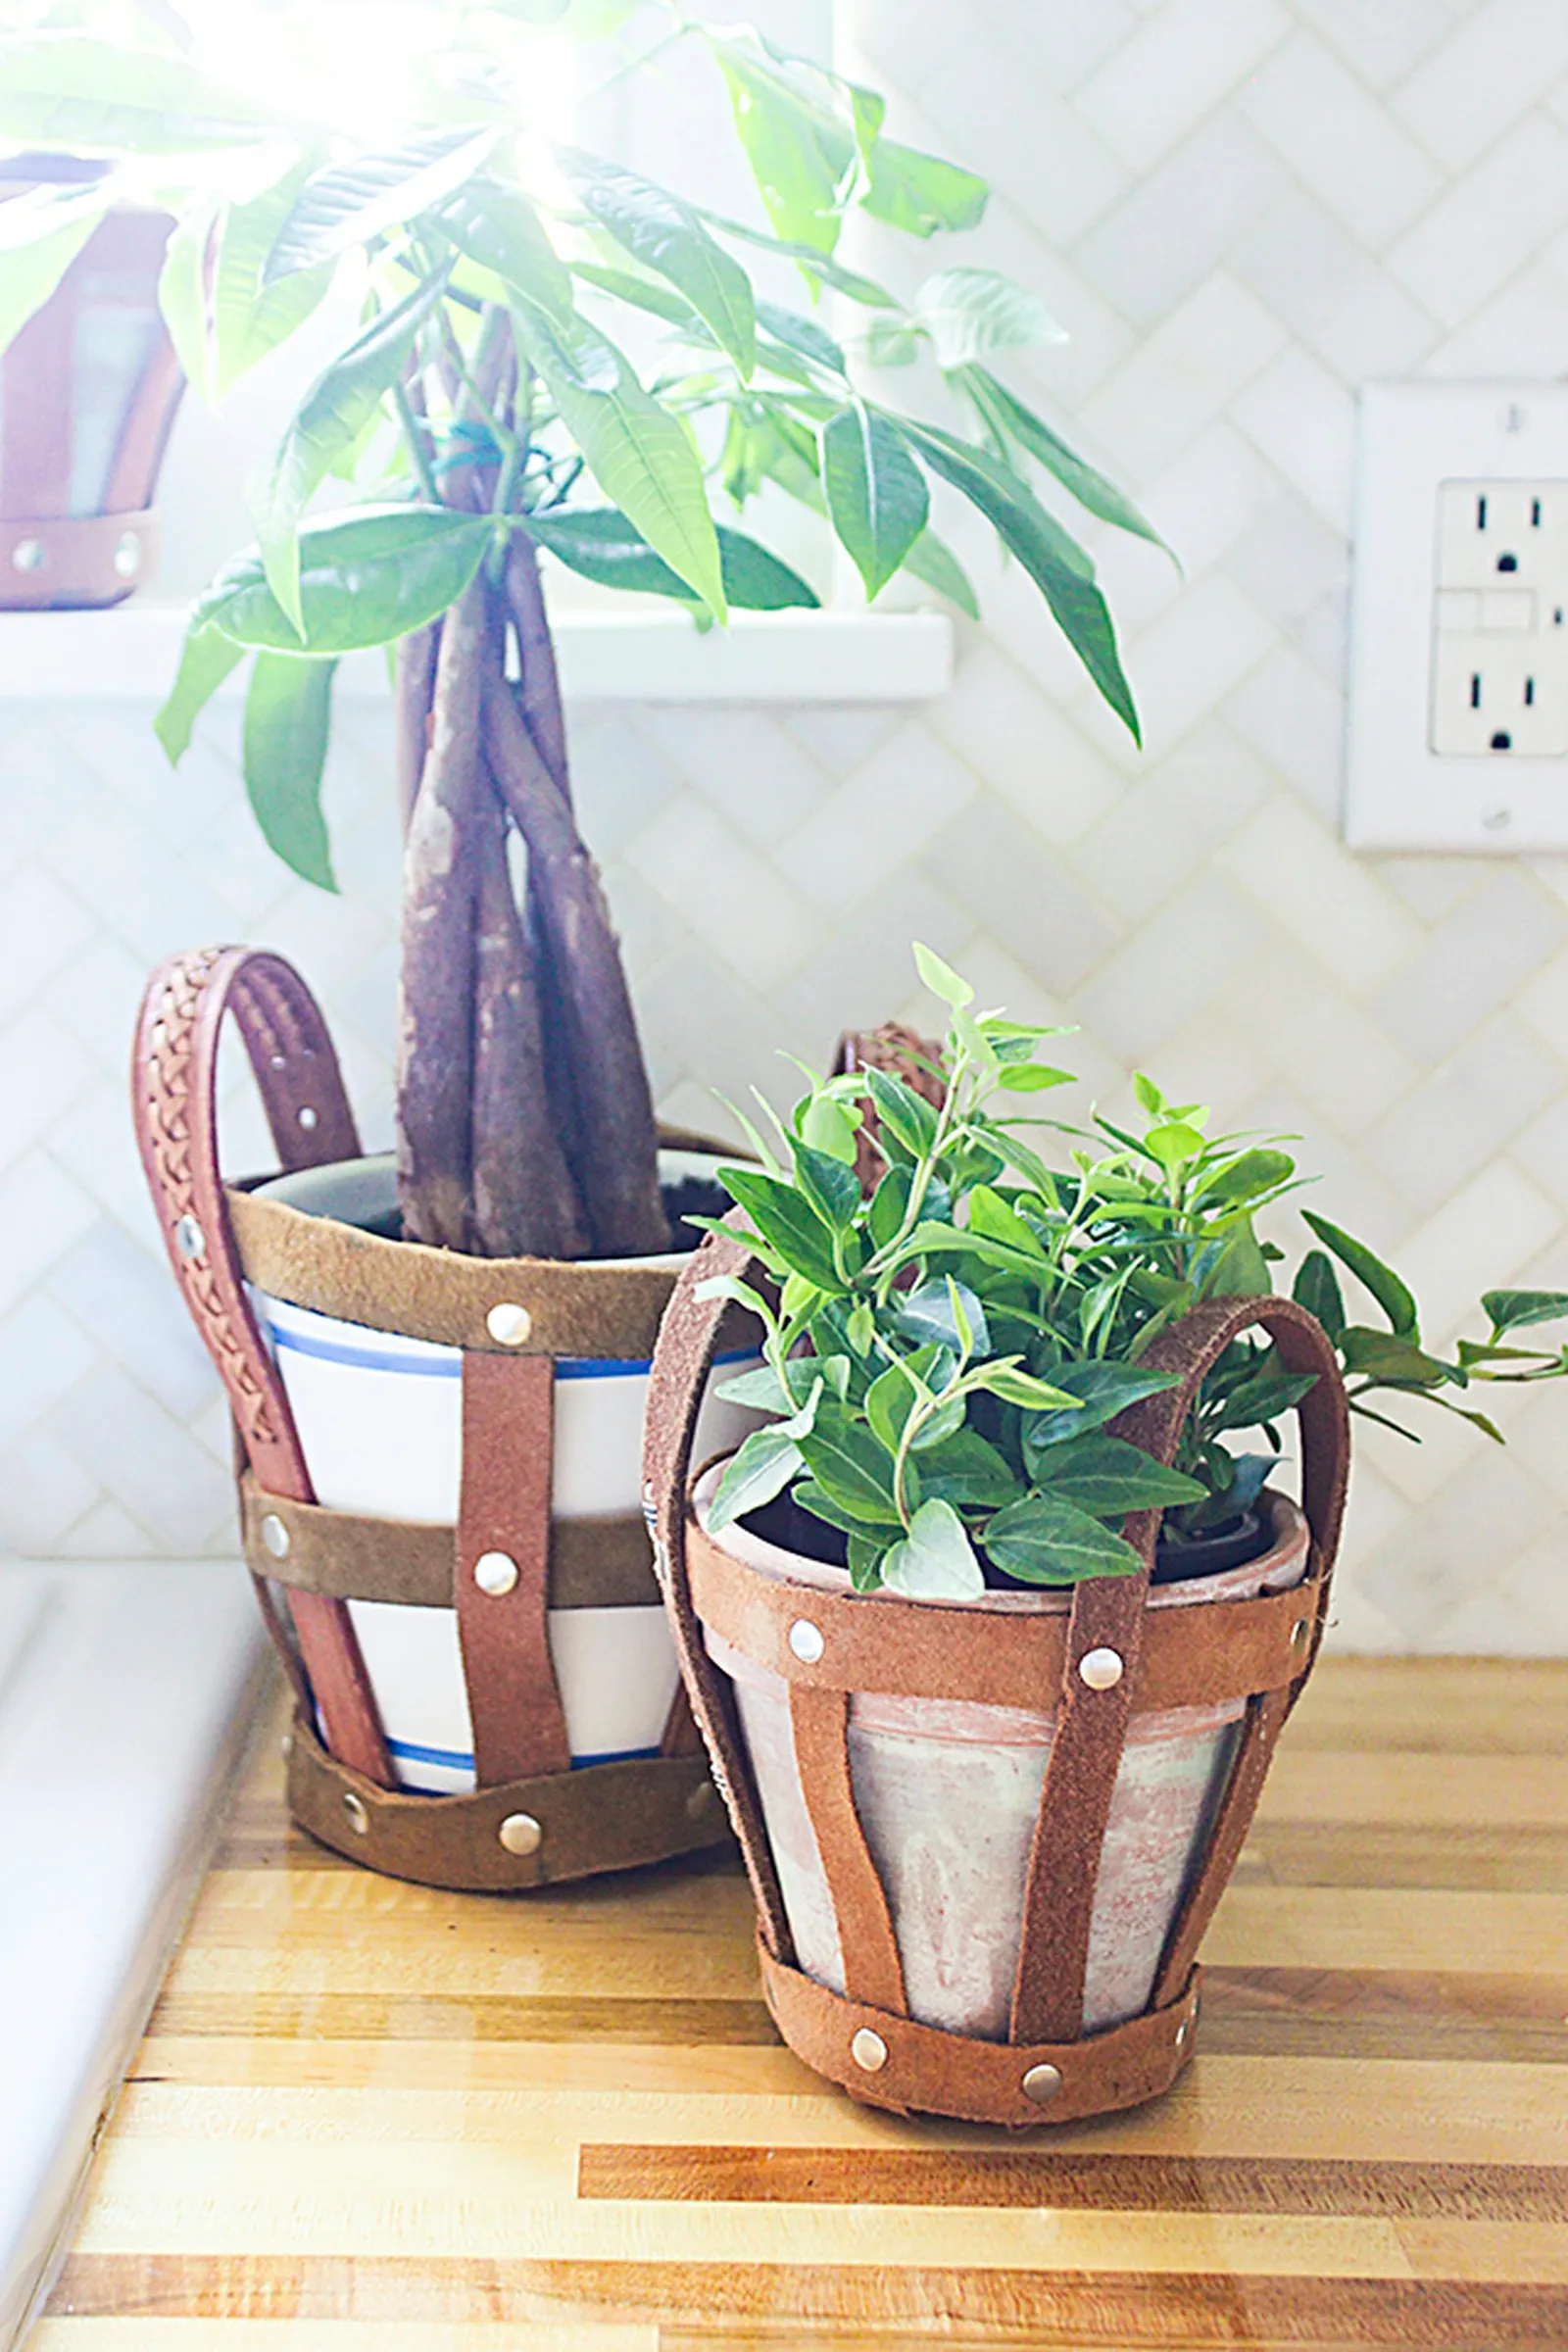
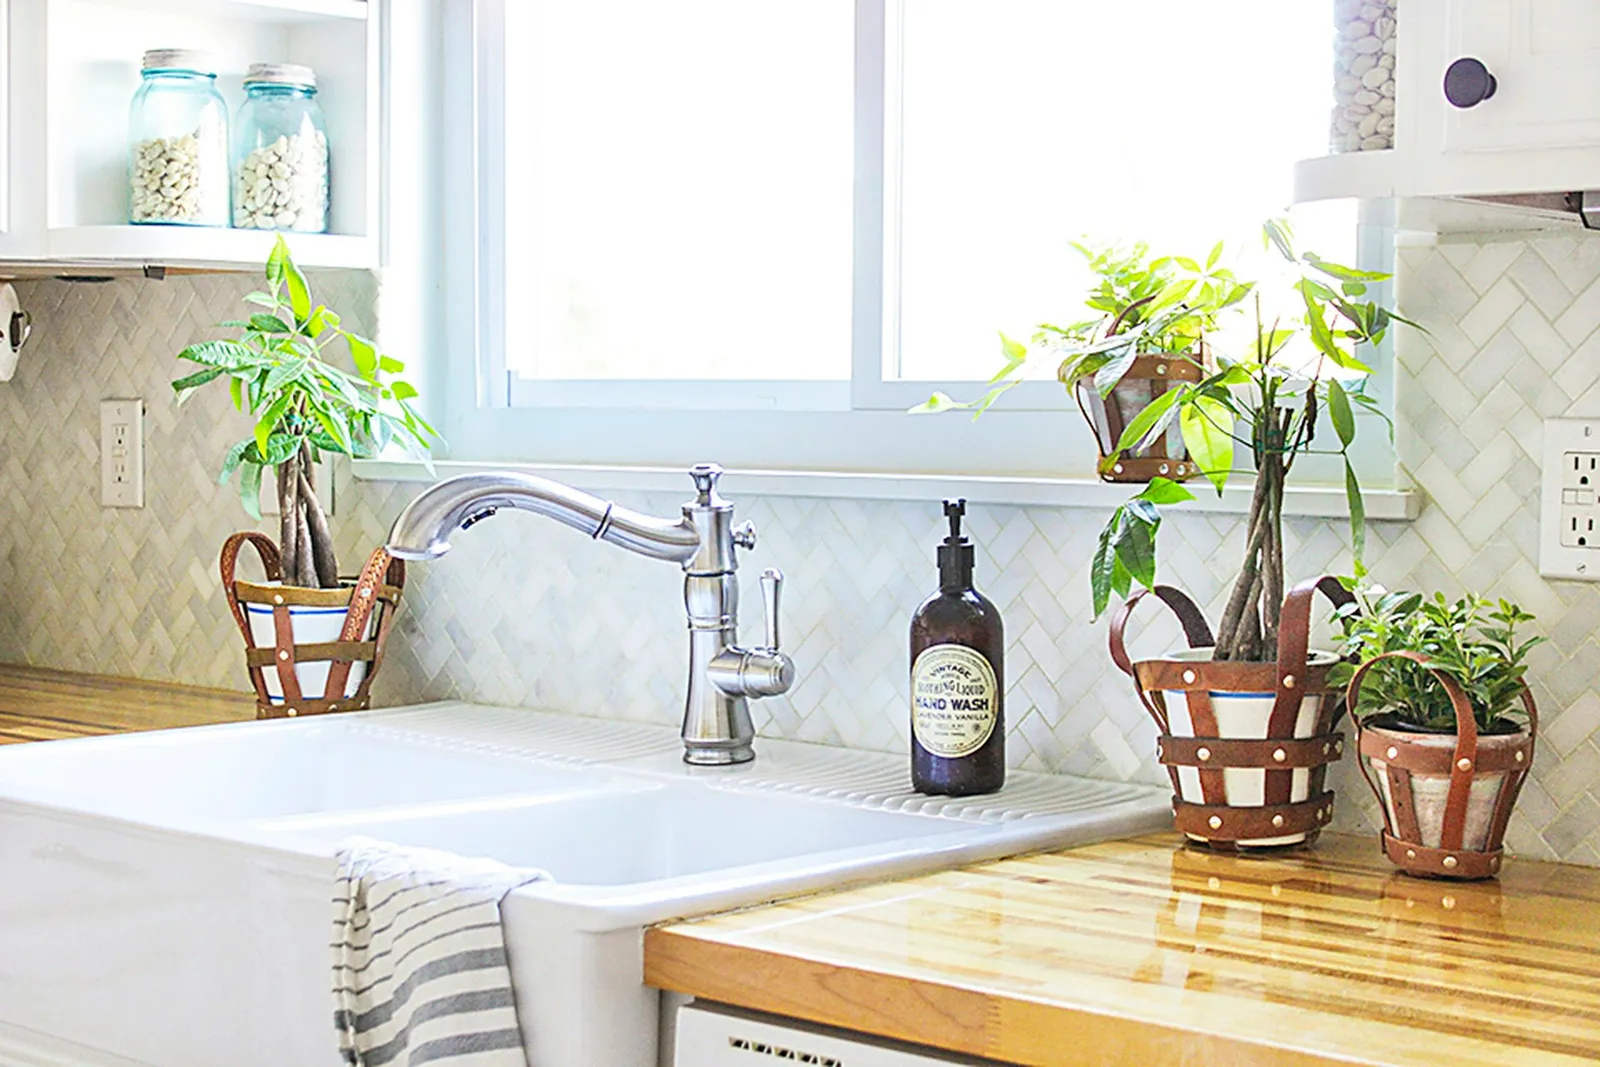
Give Old Leather Belts a New Life as Plant Pot Caddies
Turn worn or broken leather belts into decorative and functional plant pot carriers. This project adds a touch of rustic charm and practical handles to plain pots.
By Jordan Lee4 steps
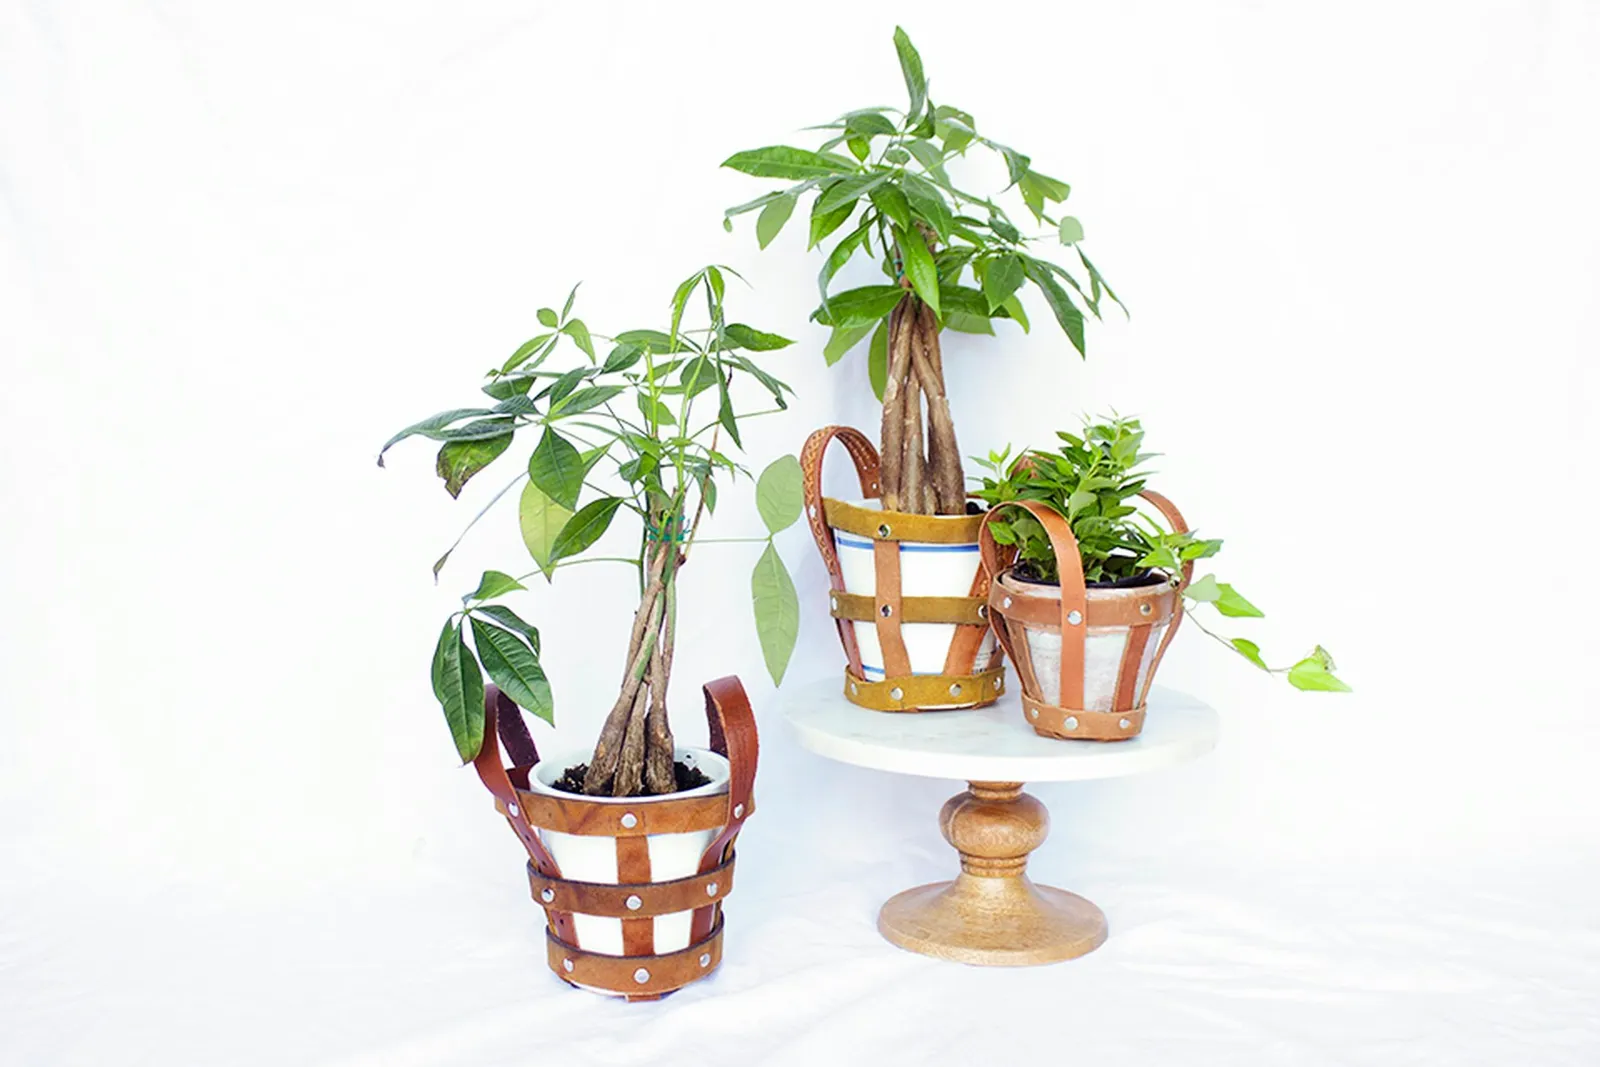
Instead of discarding leather belts that have snapped, worn out, or no longer fit due to weight changes, consider transforming them into stylish plant holders. This DIY project offers a practical second life for those belts, proving that one use is simply not enough.
Step 1: Prepare the Leather Strips
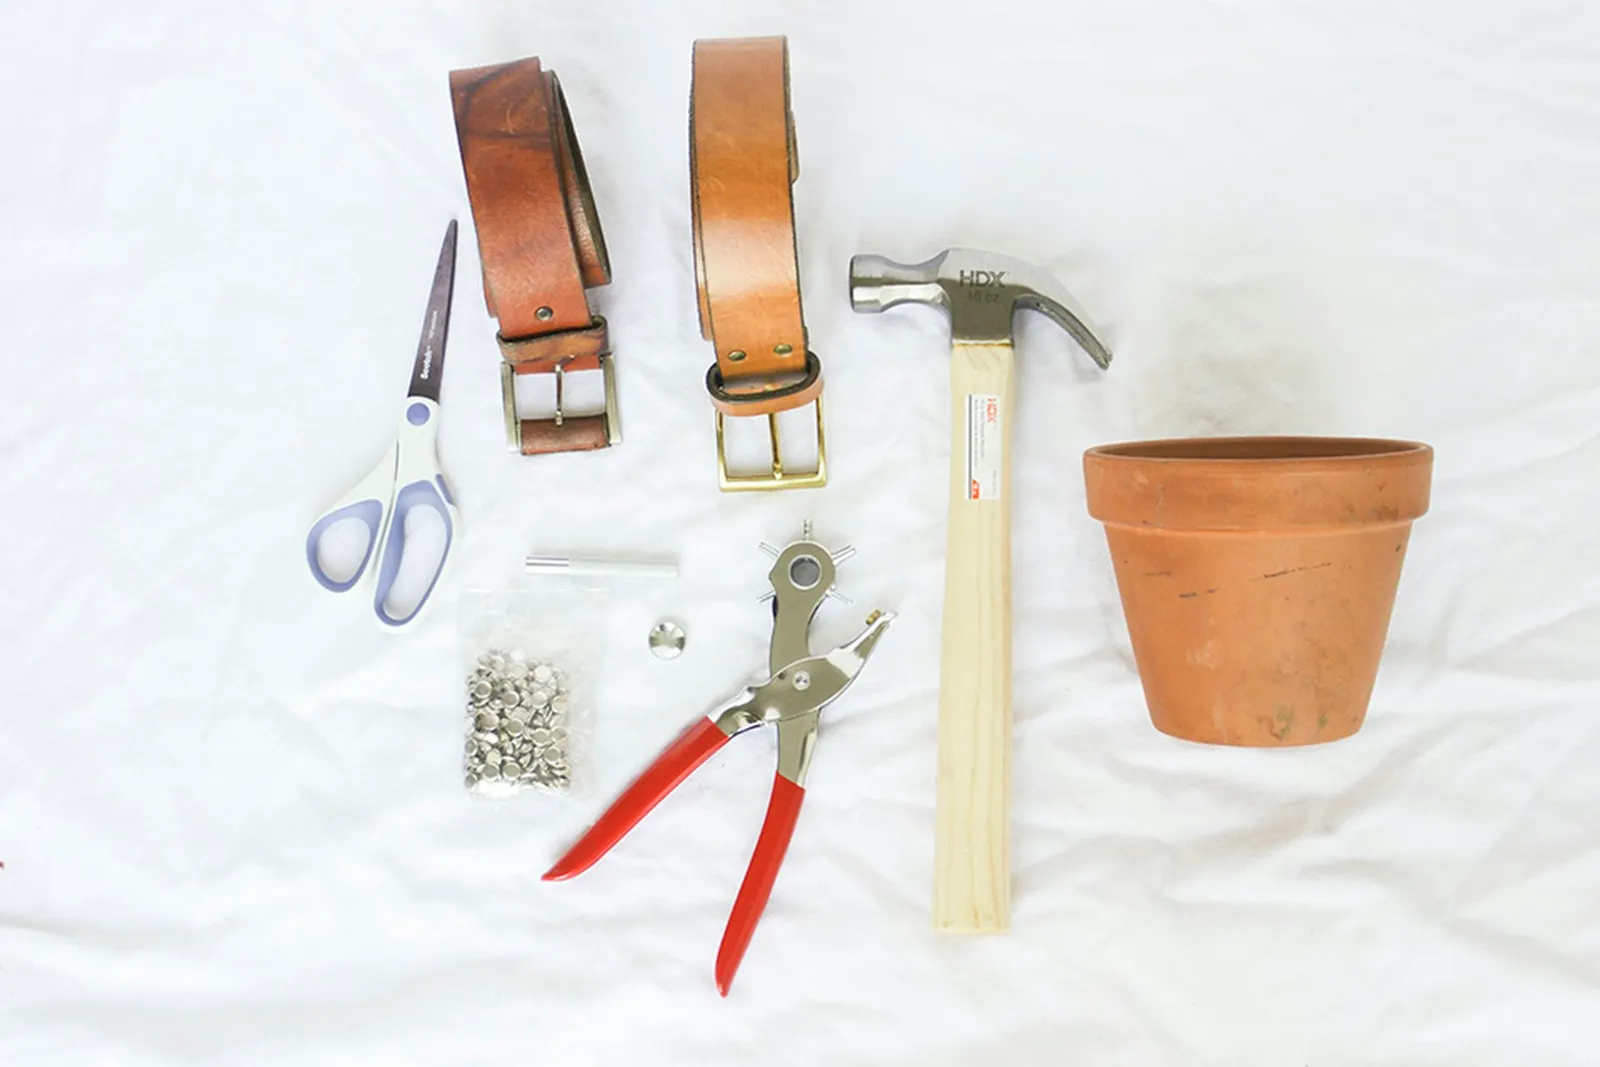
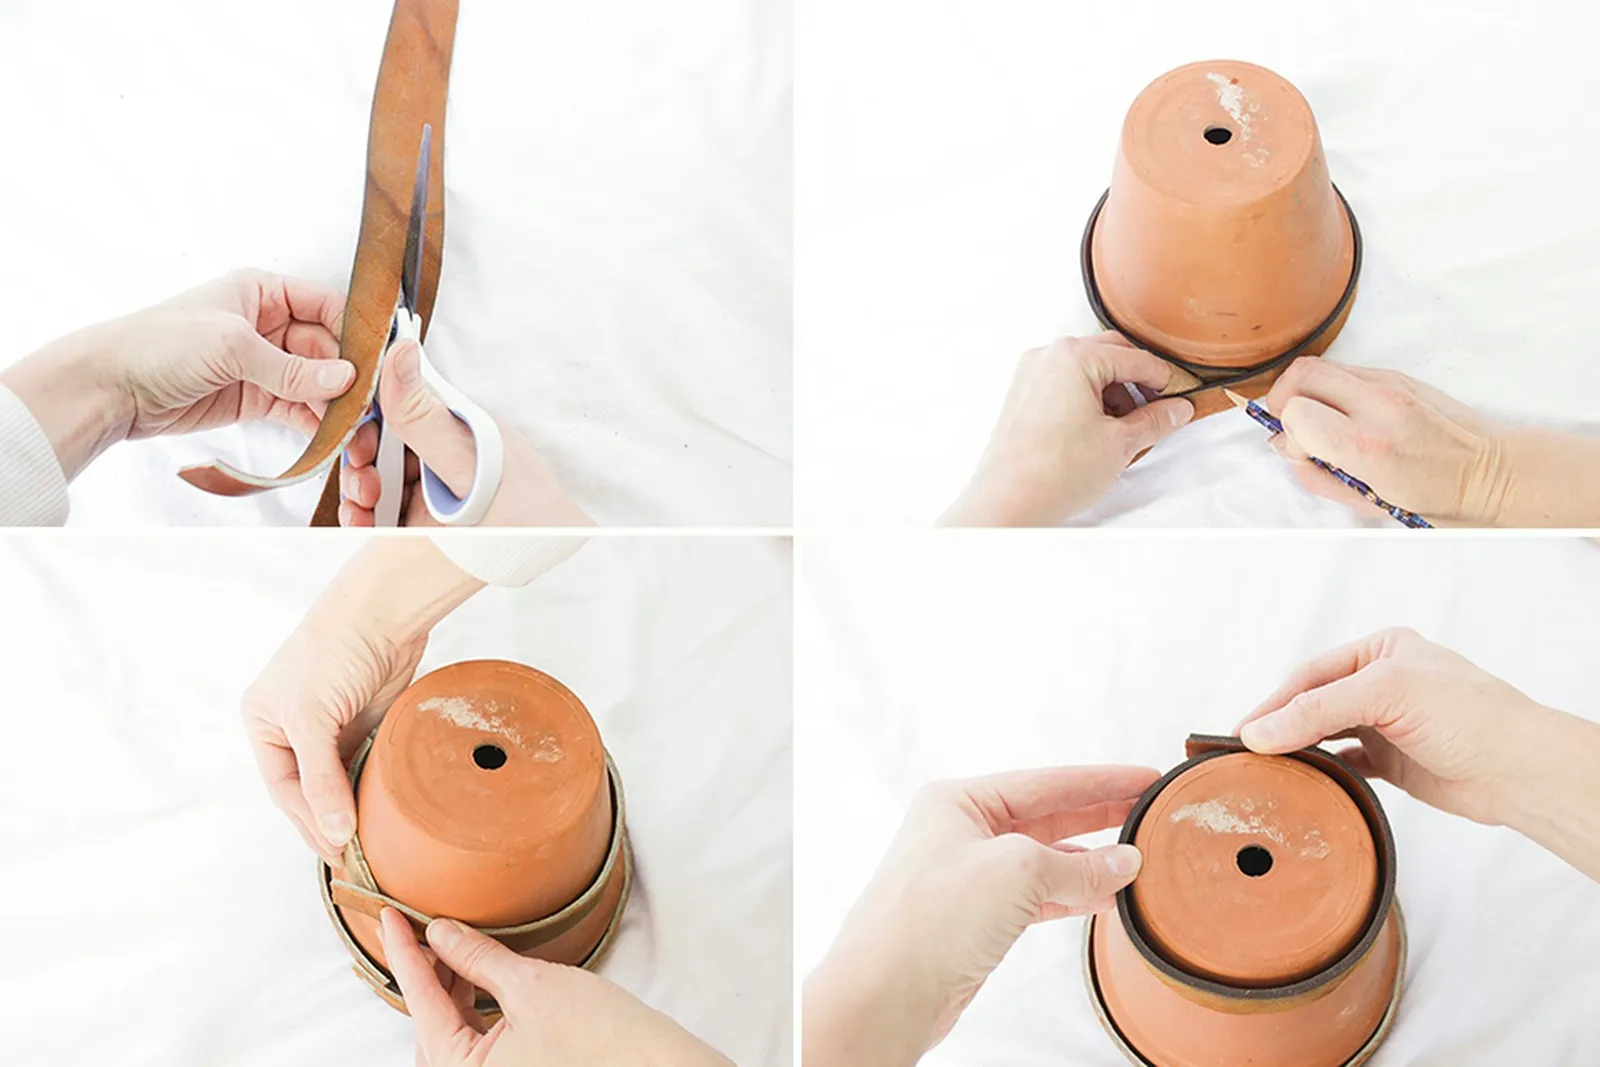
Begin by using scissors to remove the buckle ends from the belts. Then, slice each belt in half along its length to create strips roughly 1 inch wide. If the belt features edge stitching, carefully trim away the stitching and pull the leather layers apart; this doubles the amount of usable material.
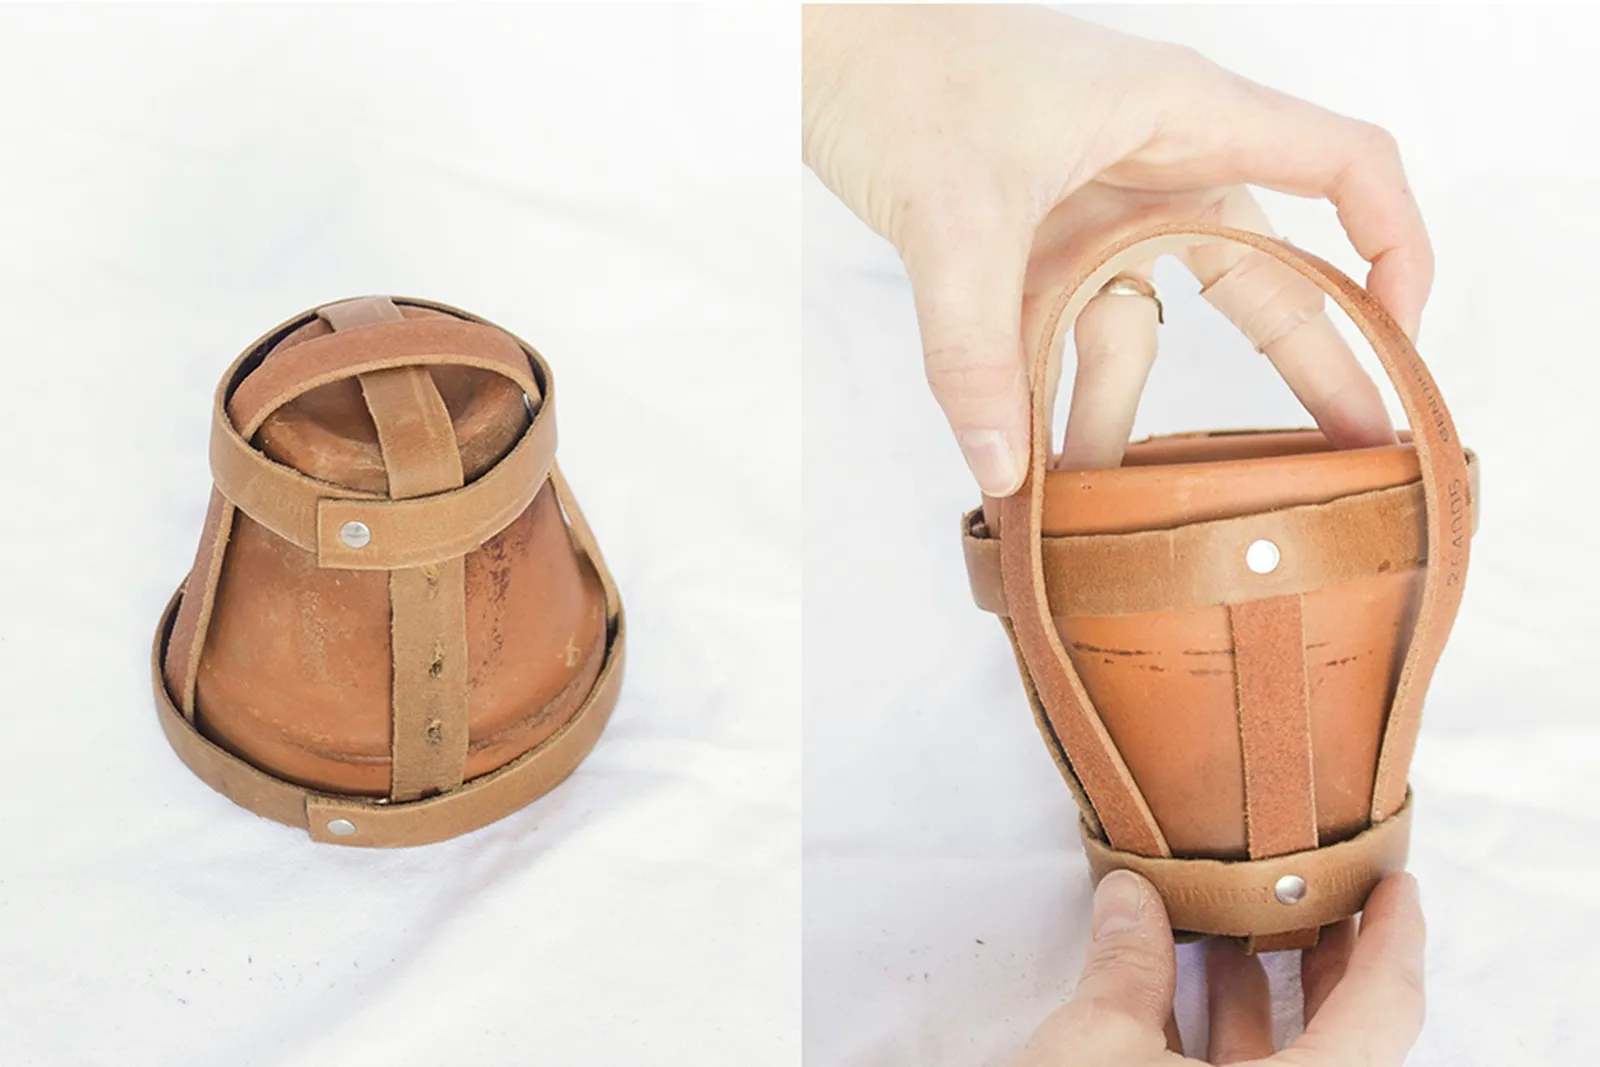
Turn the planter pot upside down. Take one leather strip and wrap it around the widest part or top of the pot, allowing a loose overlap of slightly more than 1 inch, then trim off the excess. Repeat this process for the middle section and again for the bottom.
Step 2: Create Holes and Secure Rivets
Adjust the leather hole punch to the 2.0 mm setting. Overlap the ends of a leather strip so that the overlap measures only 1/2 to 3/4 inch from the ends, then punch holes through both layers. This initial looseness ensures that when additional support straps are added later, the fit around the pot will not become too tight.
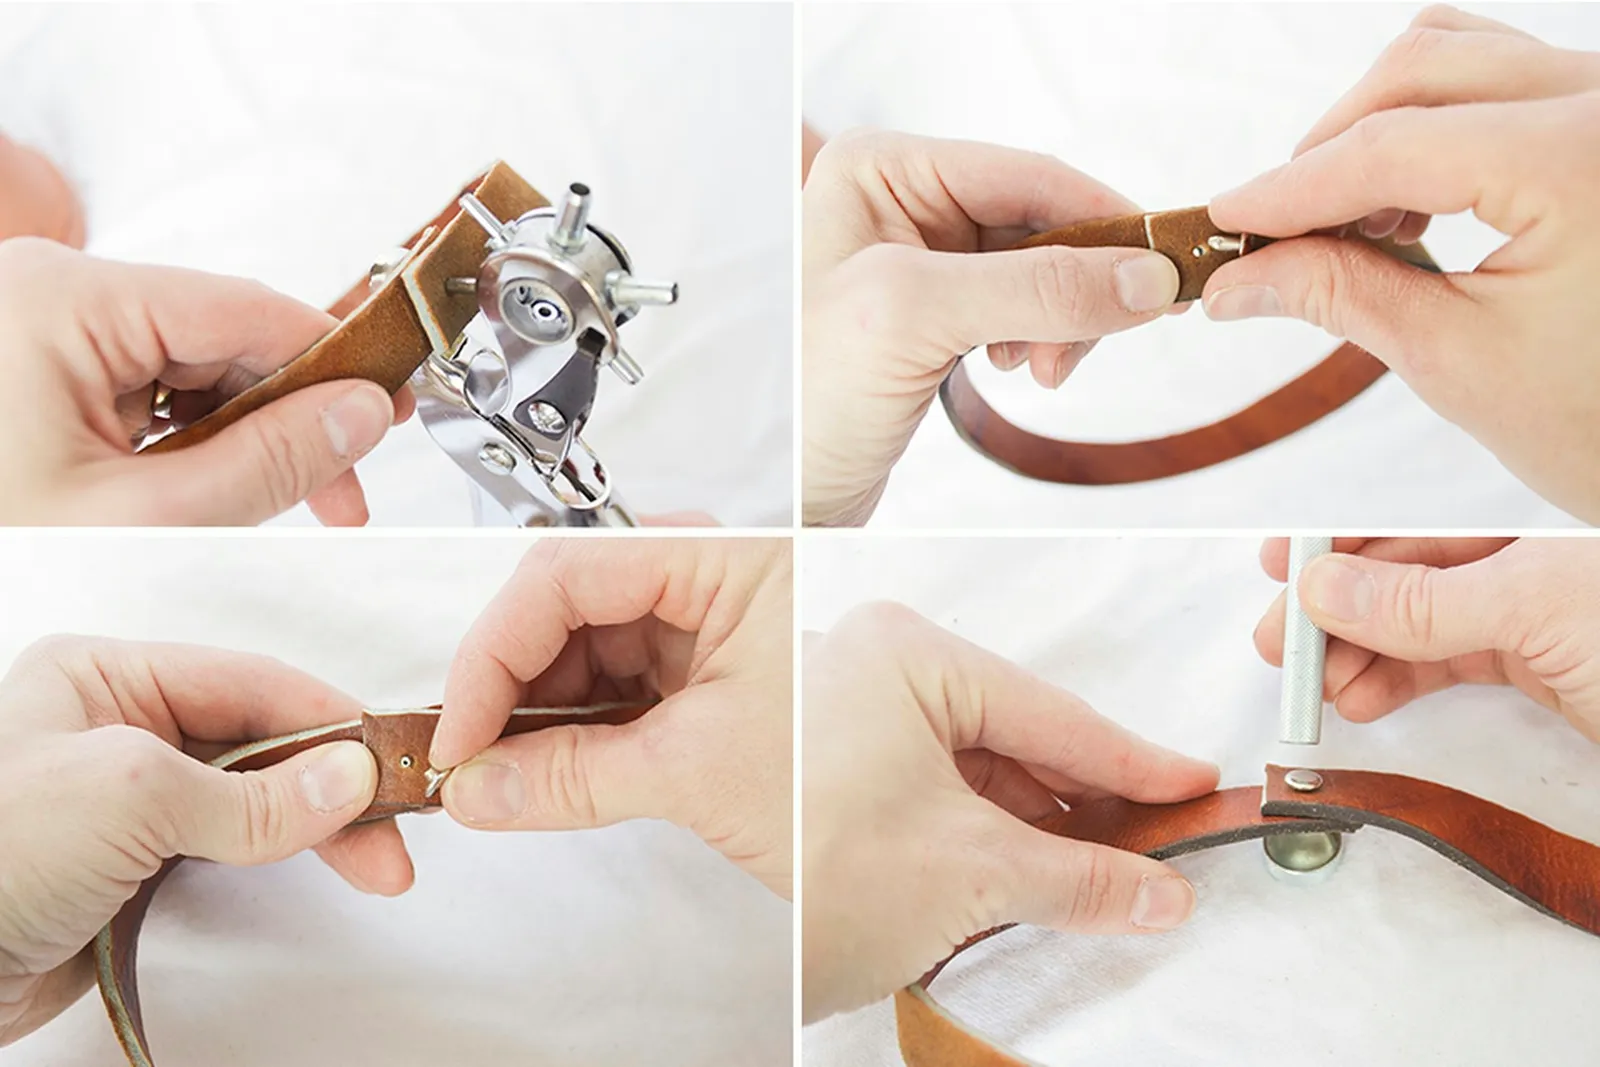
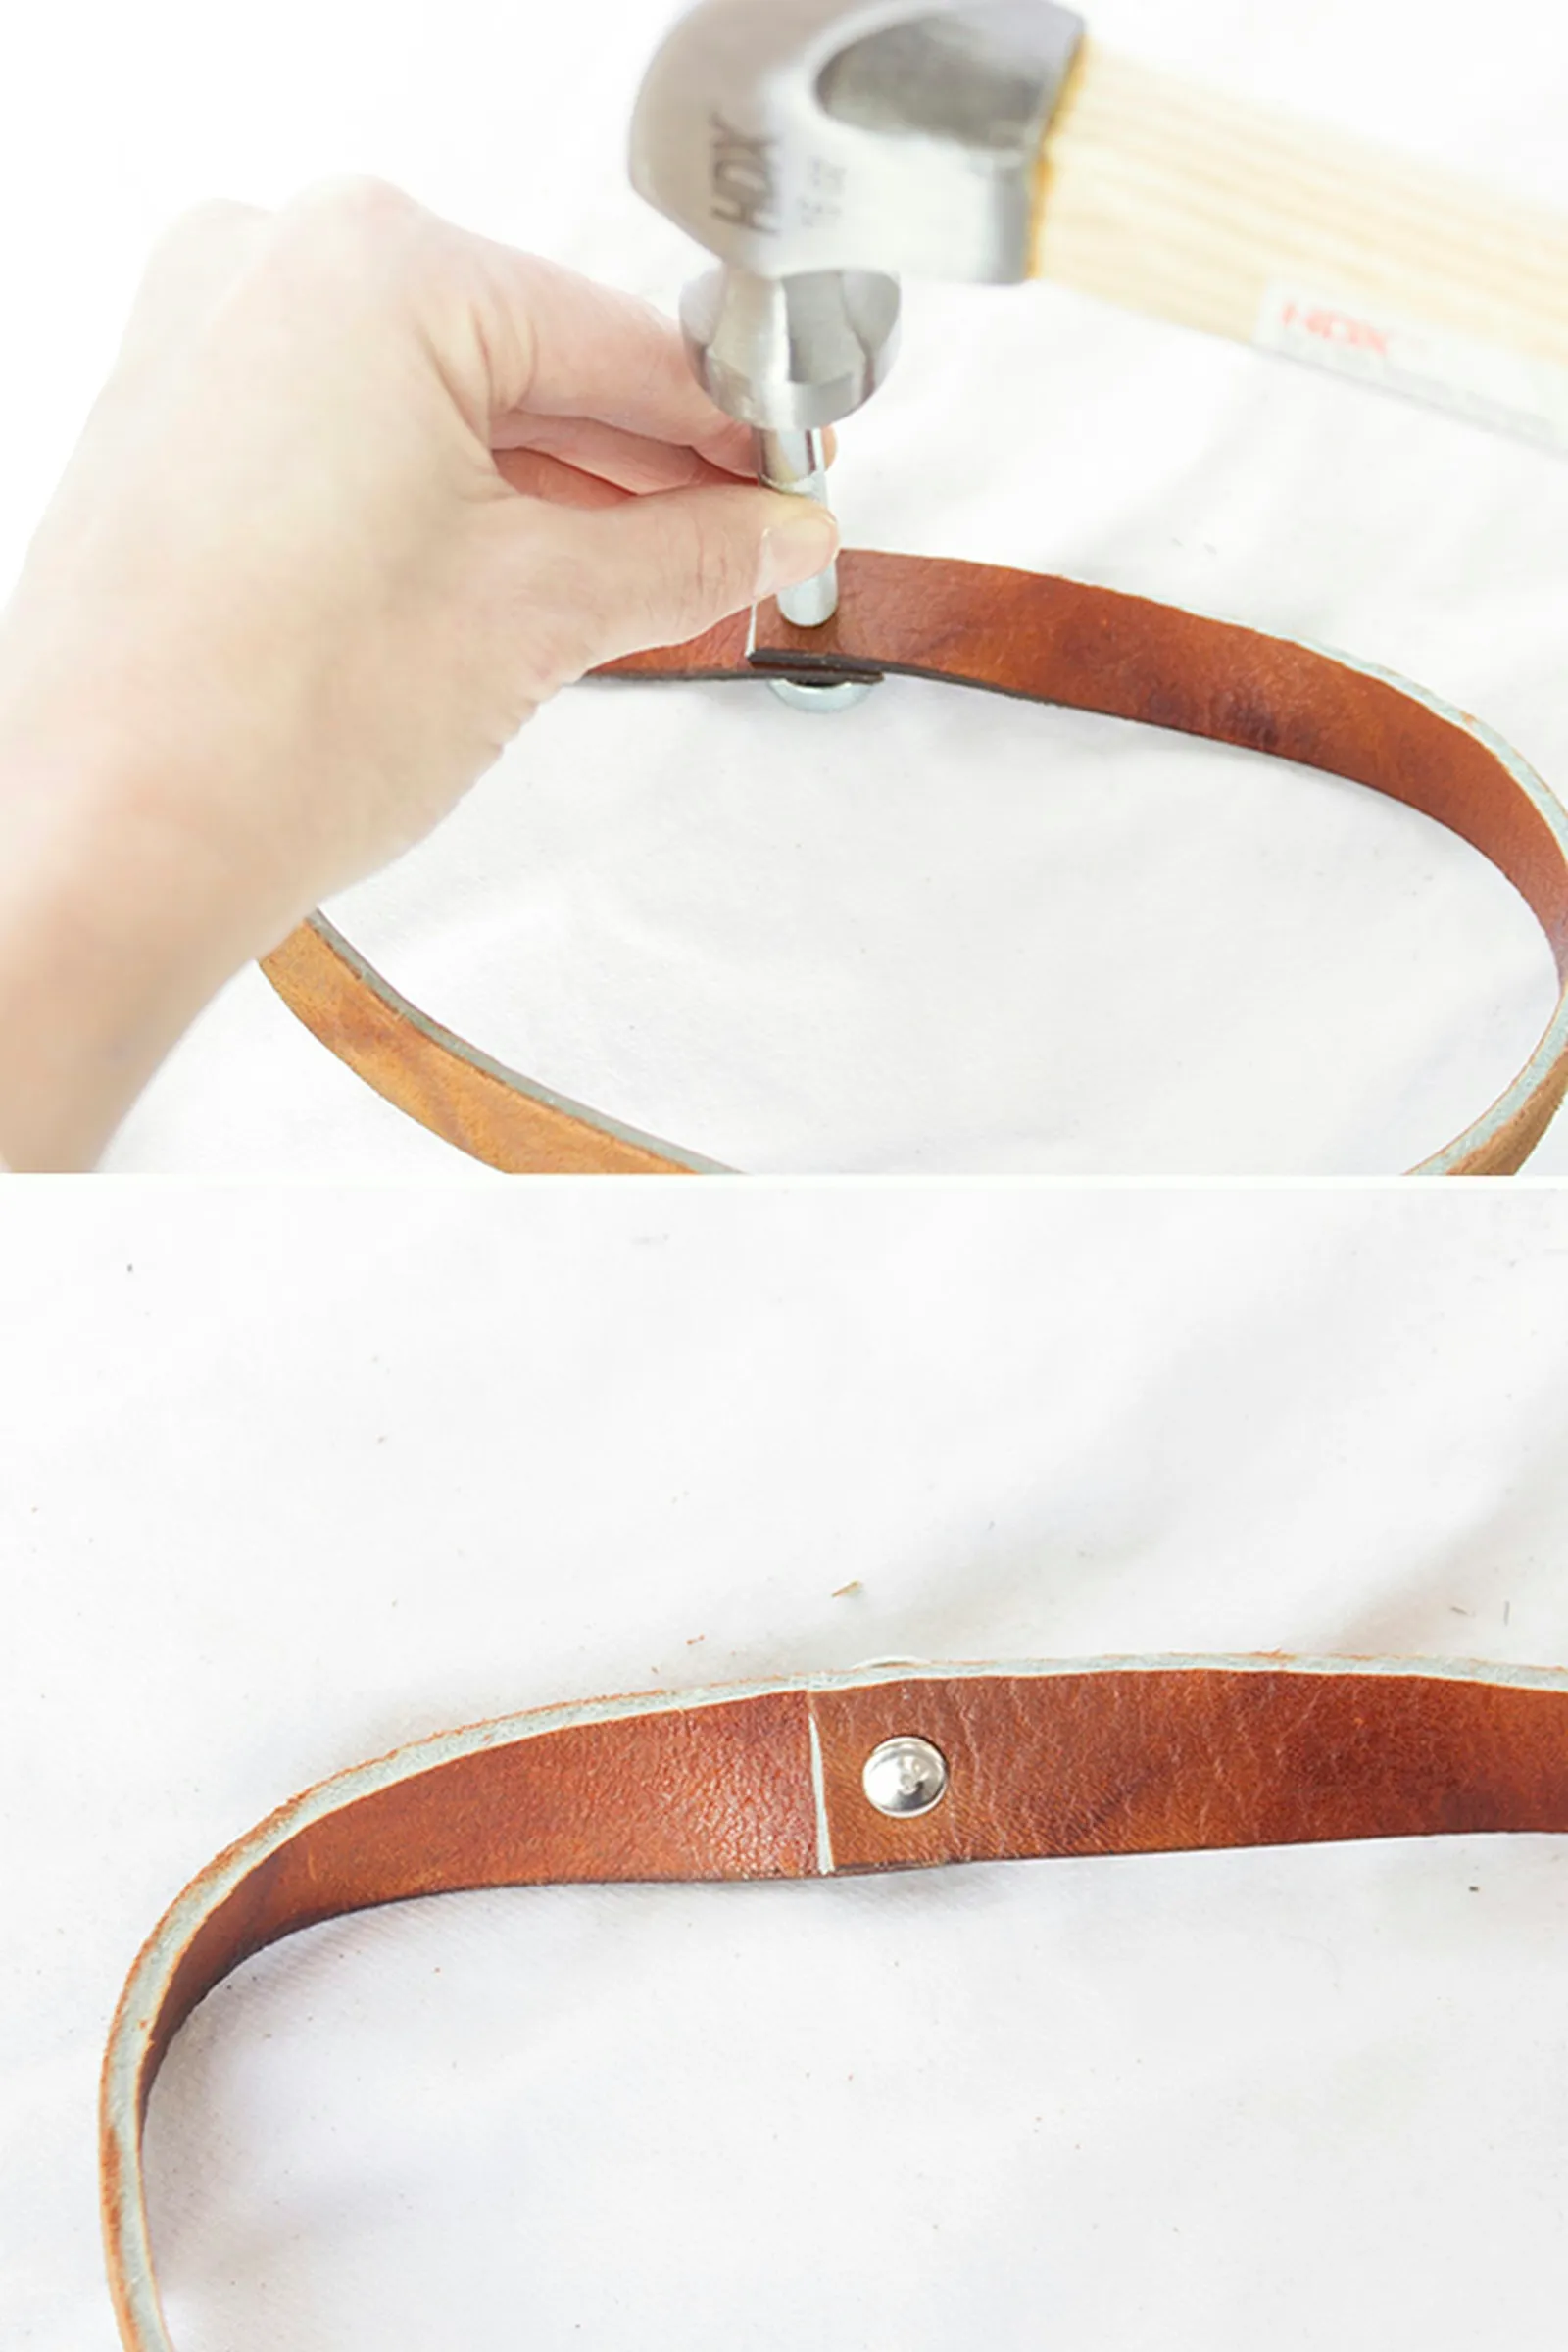
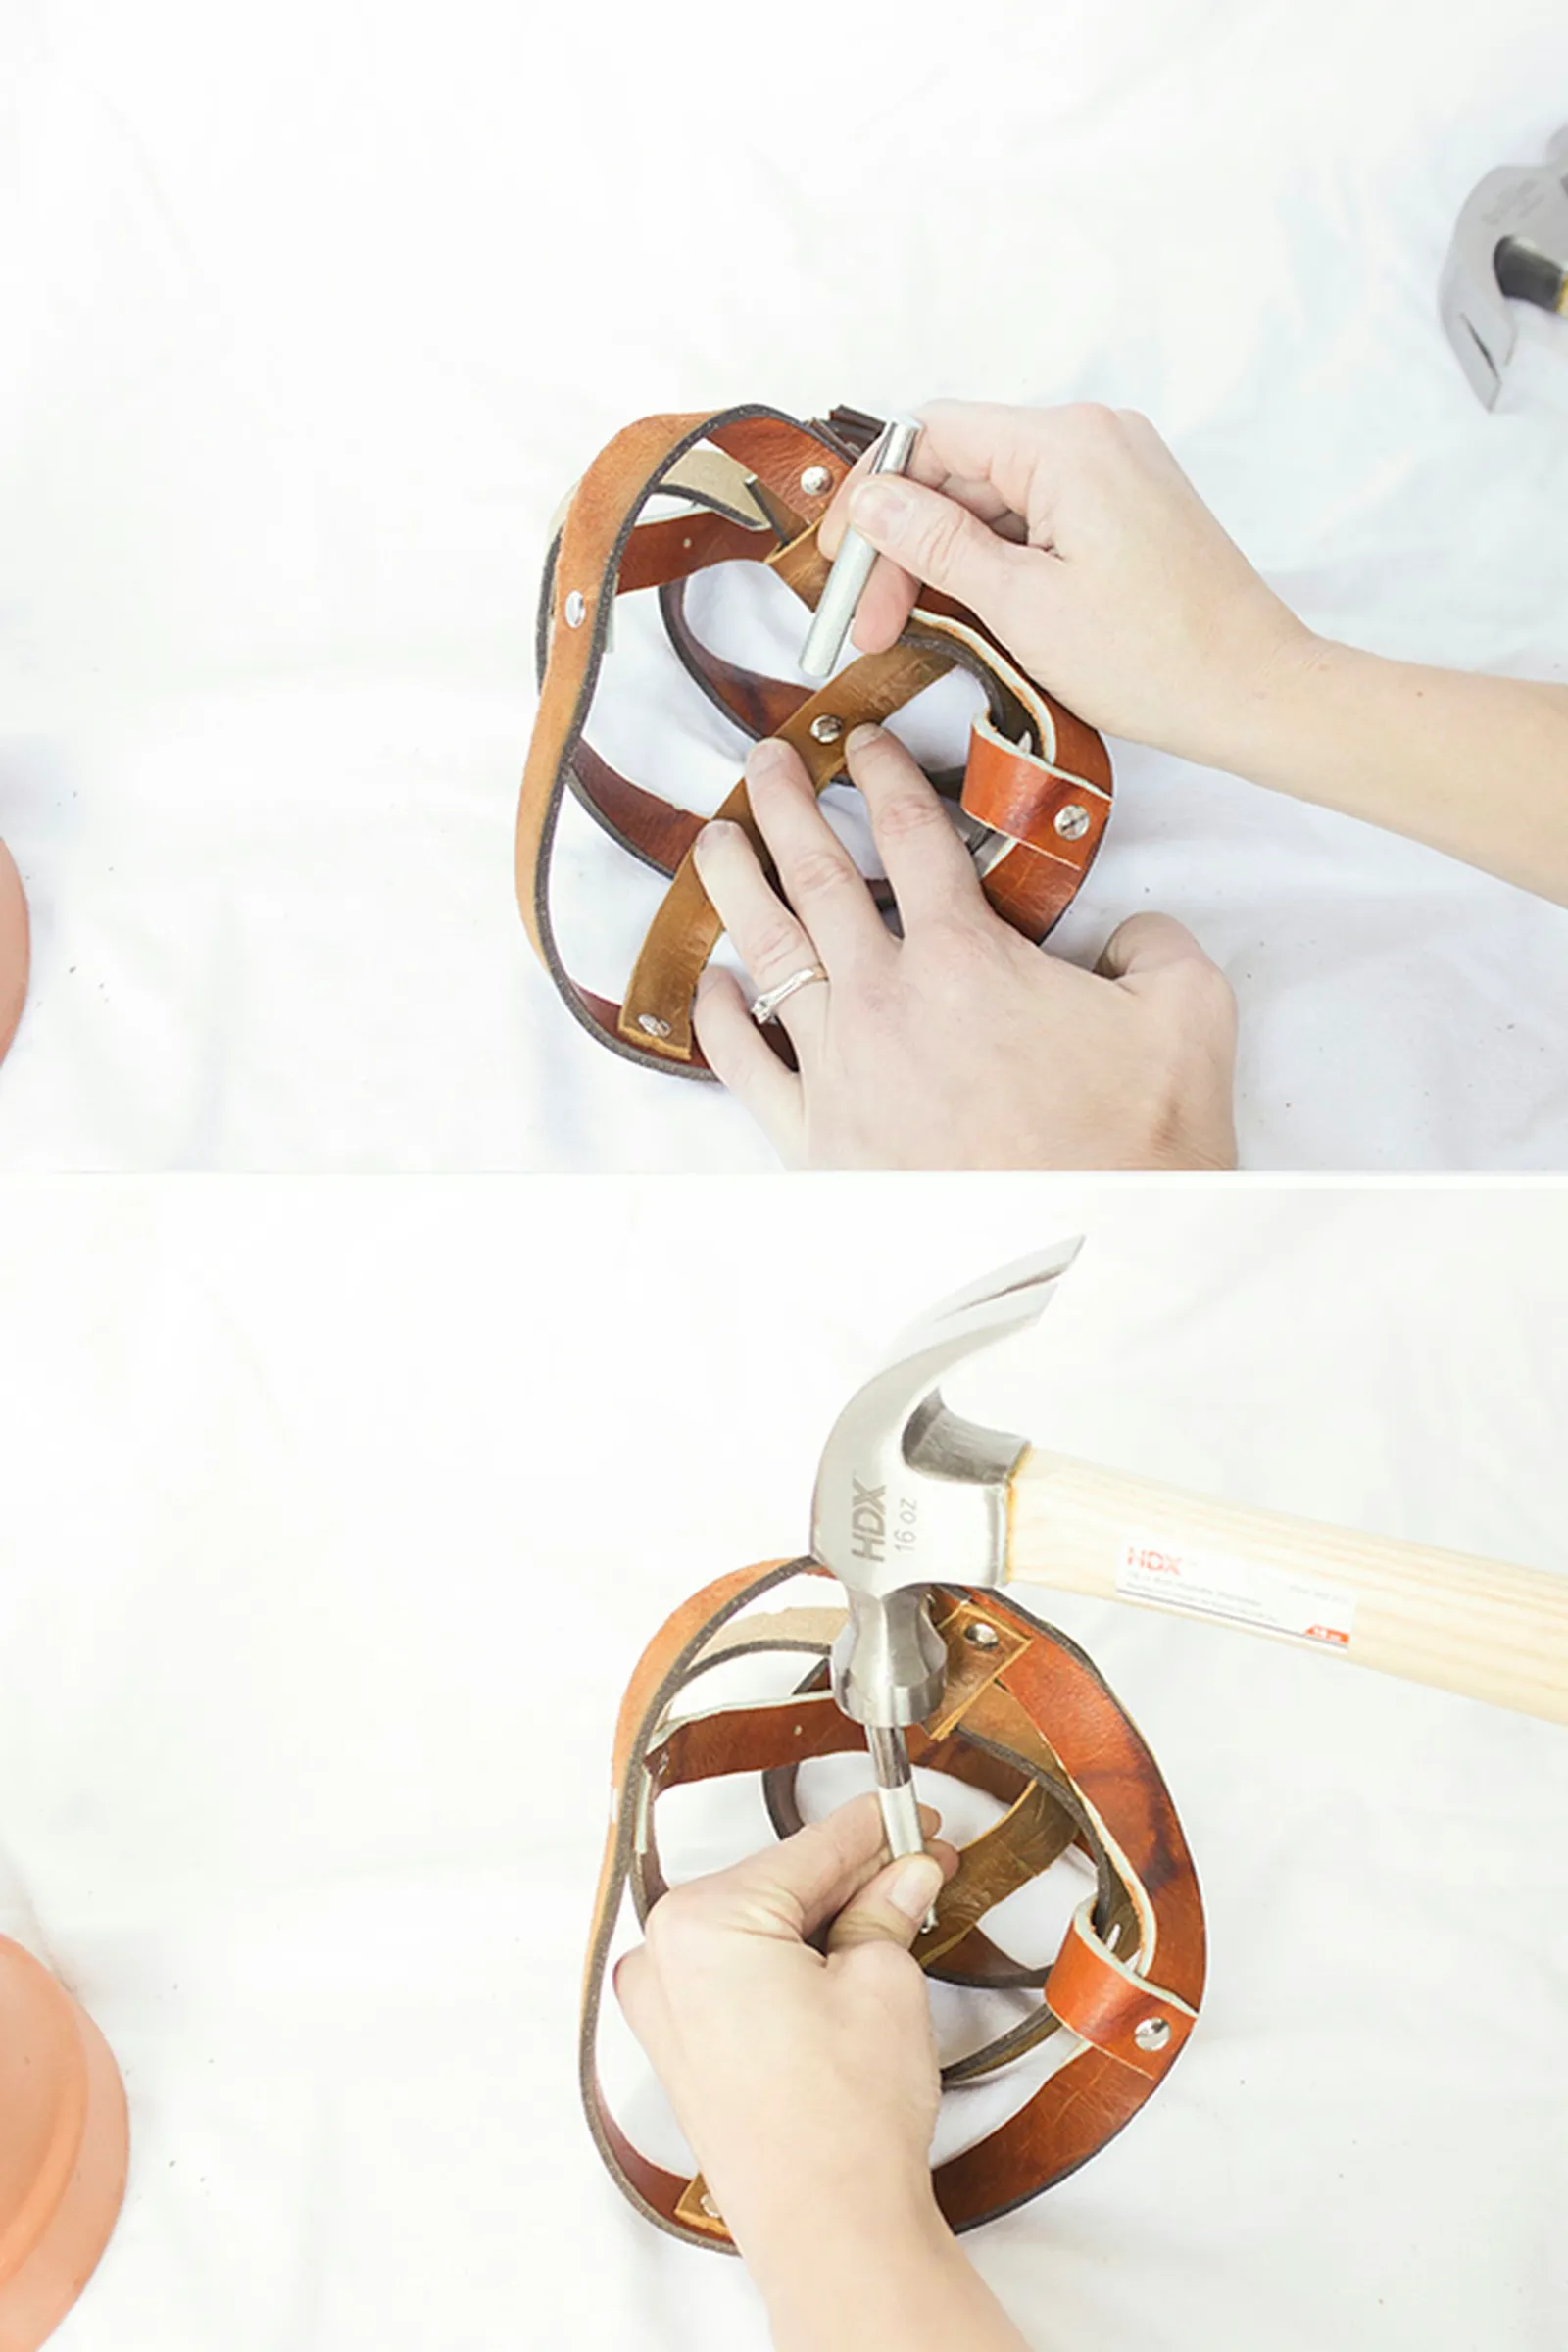
To attach a rivet, insert a medium-sized rivet through the aligned holes, then place a rivet back on the opposite side. Position the rivet on the rivet anvil with the back facing up, set the rivet setter on top, and strike it with a hammer two or three times until the rivet is closed.
Step 3: Add Cross Support Straps
Measure and cut a leather strip long enough to go from the top leather circle, down through the middle and under the bottom circle, and back up to the opposite side of the top. Cut another strip in the opposite direction, crossing the two at the bottom of the pot. Ensure enough overlap on the sides so that rivets can attach the straps to the top circle. These will serve as cross support straps.
Slide the support straps underneath the three leather circles, crossing them at the bottom of the pot. Mark their intersection points on each circle to indicate where holes should be punched and rivets attached.
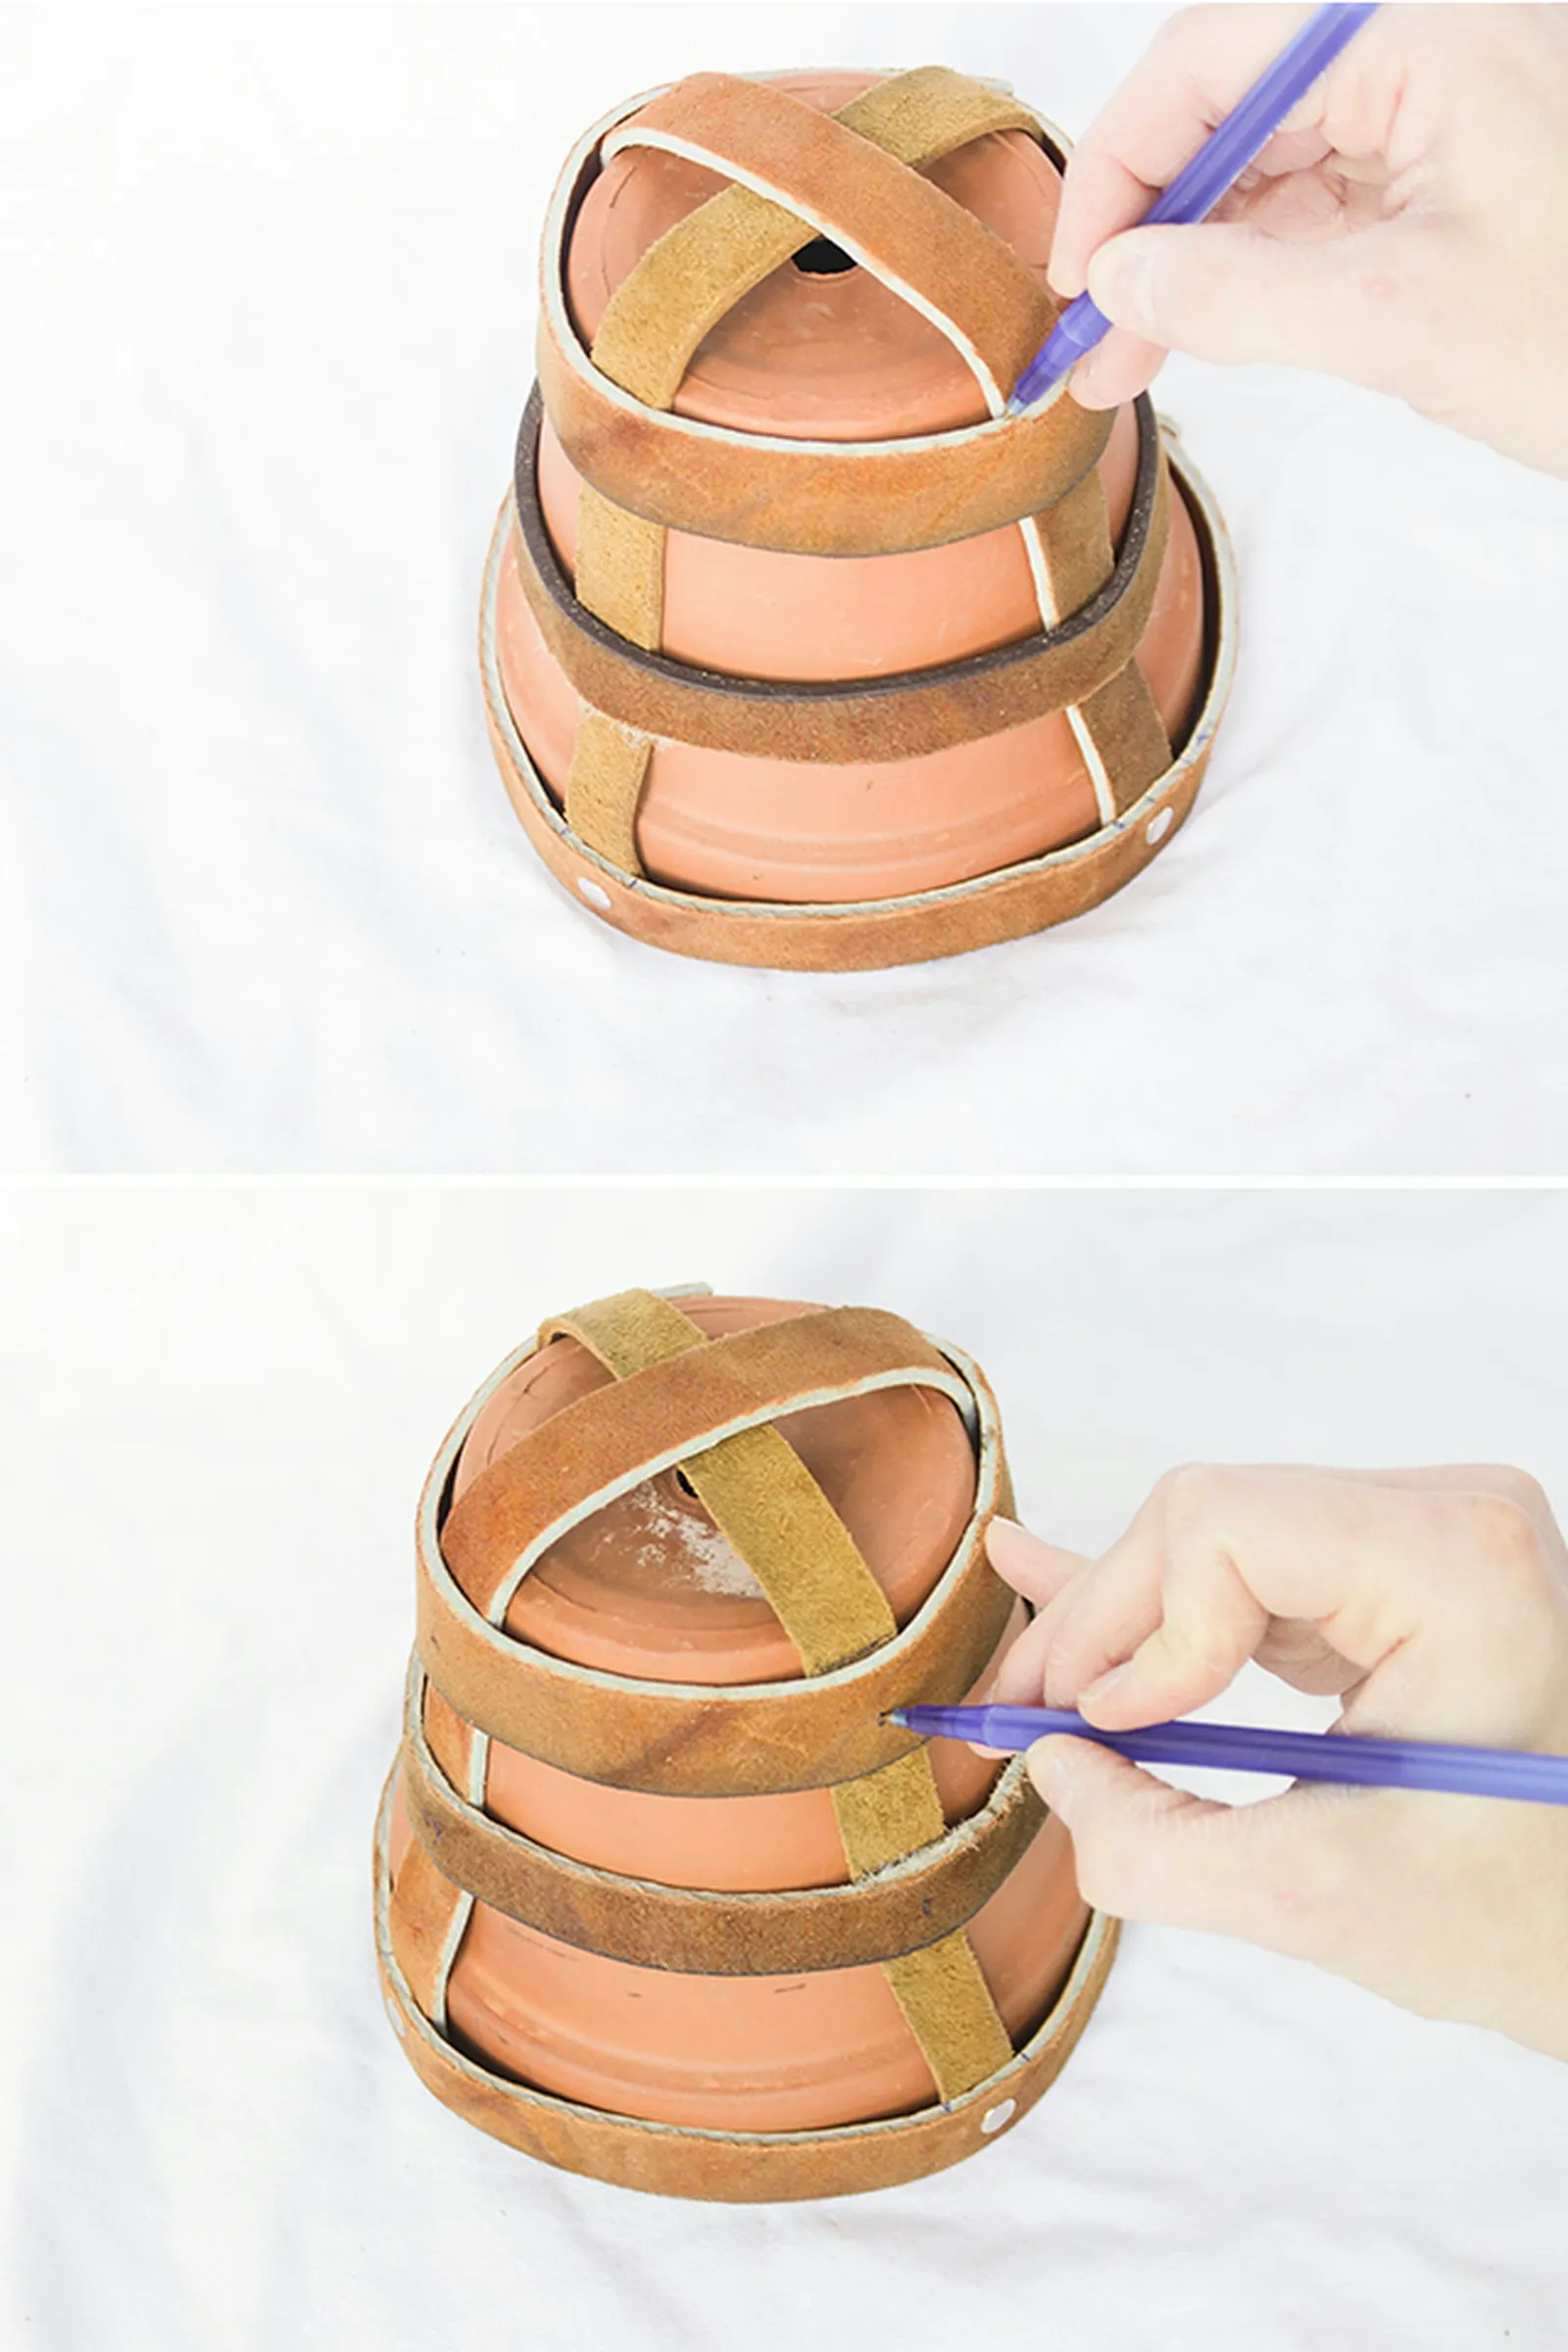
Remove the straps and circles from the pot. Align one strip with the intersection marks you made, ensuring the support strap runs along the inside of the leather circles. Punch holes at the marked points, working on one side (three holes) at a time. Secure with rivets using the rivet setter. Repeat for the other support strap.
Step 4: Make and Attach Handles
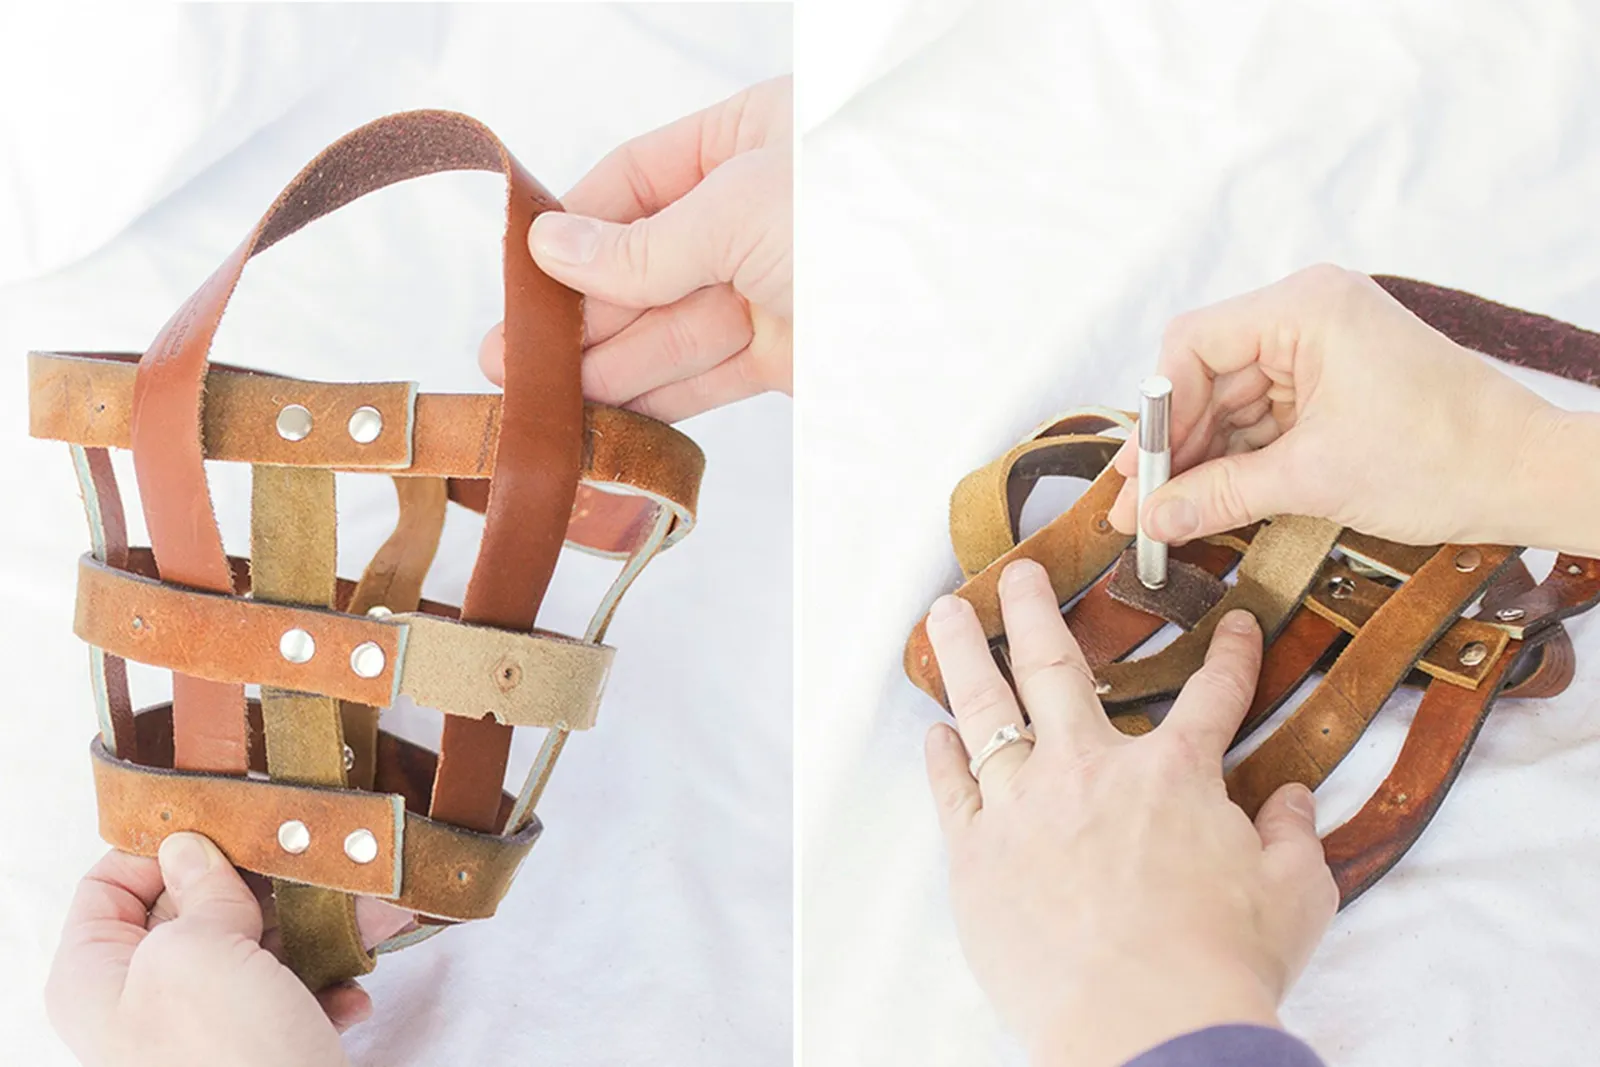
Cut two leather strips (one per side) that run from the inside of the bottom circle, through the inside of the middle circle, to the outside of the top circle, leaving a loop of about 6 inches for the handle, then back over the top circle and inside the middle and bottom circles. Mark where holes are needed. Attach rivets at these points with the rivet setter.
Optional: Smaller Planter Holder Variation
For a smaller version, use 1/2-inch wide leather strips, small rivets, and only create leather circles for the top and bottom of the pot. Follow the same steps as above for the rest of the process.
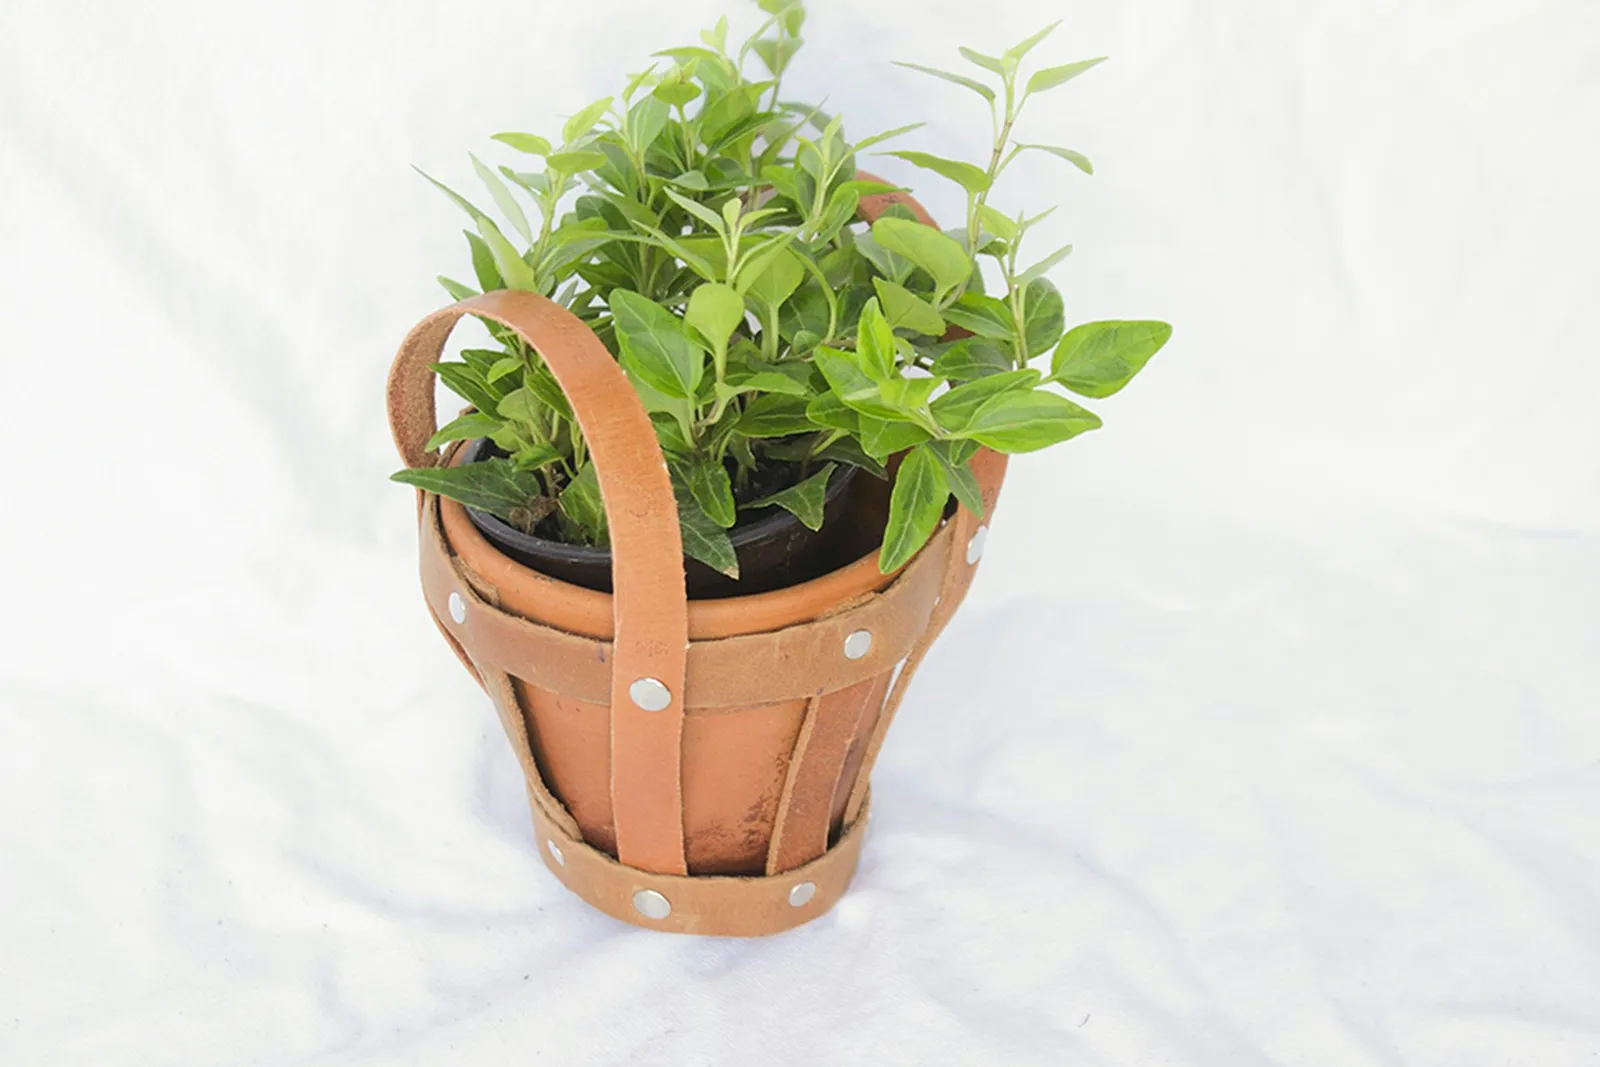
These attractive plant holders can be used with the original pots or swapped out with other pots of similar size.