Using Cones to Rehearse Parallel Parking at the Correct Marker Spacing
Parallel parking skills matter most in crowded city settings where street parking is tight. A common training approach involves setting up traffic cones in an open area, spaced to mimic two parked vehicles with a gap between them, so drivers can rehearse without risking damage to real cars. Practicing with cones at roughly 25 feet apart lets learners build the coordination required to slot a vehicle into a street space without collisions.
By Robin Young6 steps
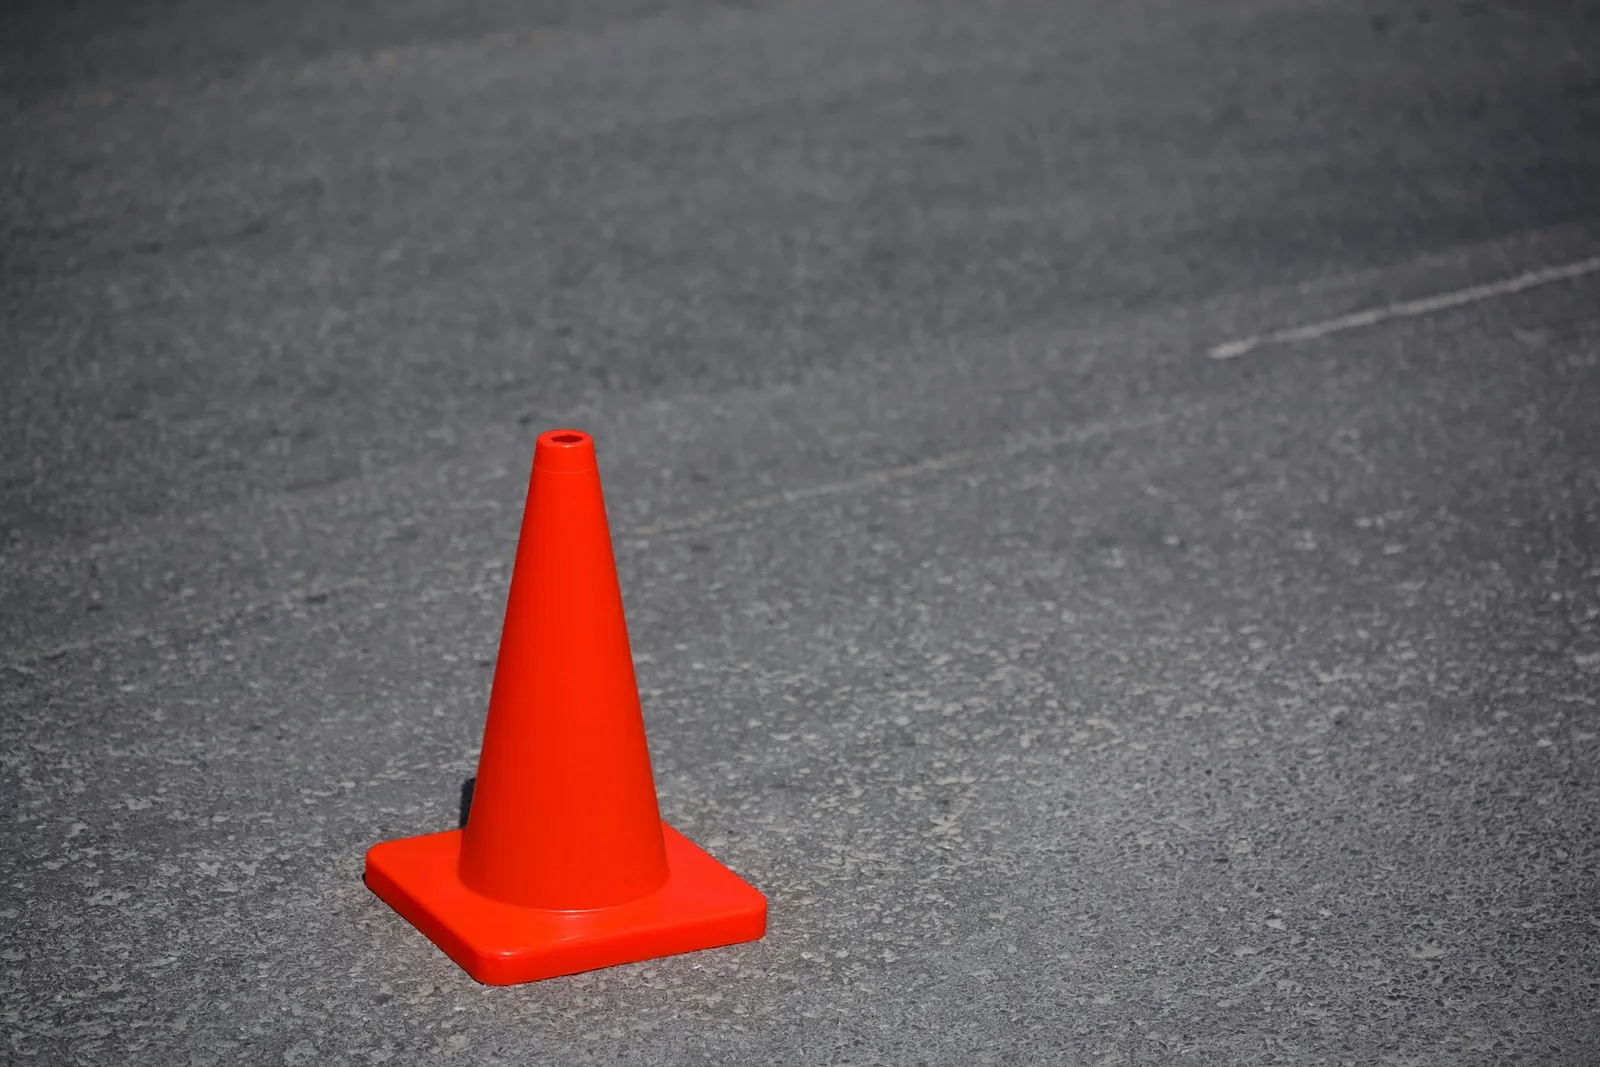
Use a traffic cone as a marker when learning how to parallel park.
Being able to parallel park confidently is an important part of driving well, especially in cities where squeezing into spaces along busy streets is a regular occurrence. Rather than starting out between two actual vehicles, plenty of drivers rehearse in an open area first, arranging traffic cones to stand in for two cars with room left between them. This setup offers a low-risk way to develop the technique, helping the learner gain the ability to park without making contact with other vehicles.
Step 1
Head to an empty parking lot to practice parallel parking. Set up two traffic cones about 25 feet apart; these stand in for the positions real vehicles would occupy along a street.
Step 2
Treat the cones as though they mark an available street parking spot. Turn on your right turn signal. Pull up so you stop alongside the front cone on its left side, level with it and roughly 2 feet away.
Step 3
Glance over your right shoulder. Back the car up slowly while rotating the wheel to the right, guiding the rear of the car toward the right rear corner of the gap between the cones.
Step 4
Once your front seat is about 10 feet from the front cone, rotate the wheel one full turn to the left so the tires point straight.
Step 5
As the car moves fully into the space, spin the steering wheel left promptly and complete the reverse into the spot. If the car is not straight, correct it by turning the wheel one revolution right while moving forward.
Step 6
Run through the same sequence again, this time approaching the cones from the other direction.