Joining Kraftmaid Cabinets: A Step-by-Step Guide
Kraftmaid cabinets are frameless and can be assembled using grabber screws. This guide provides instructions on drilling, clamping, fastening, and finishing the connection with Fast Caps. Kraftmaid offers a range of colors, molding styles, and door profiles, and you can order directly to create a custom look, including two-toned designs.
By Parker Rivera5 steps
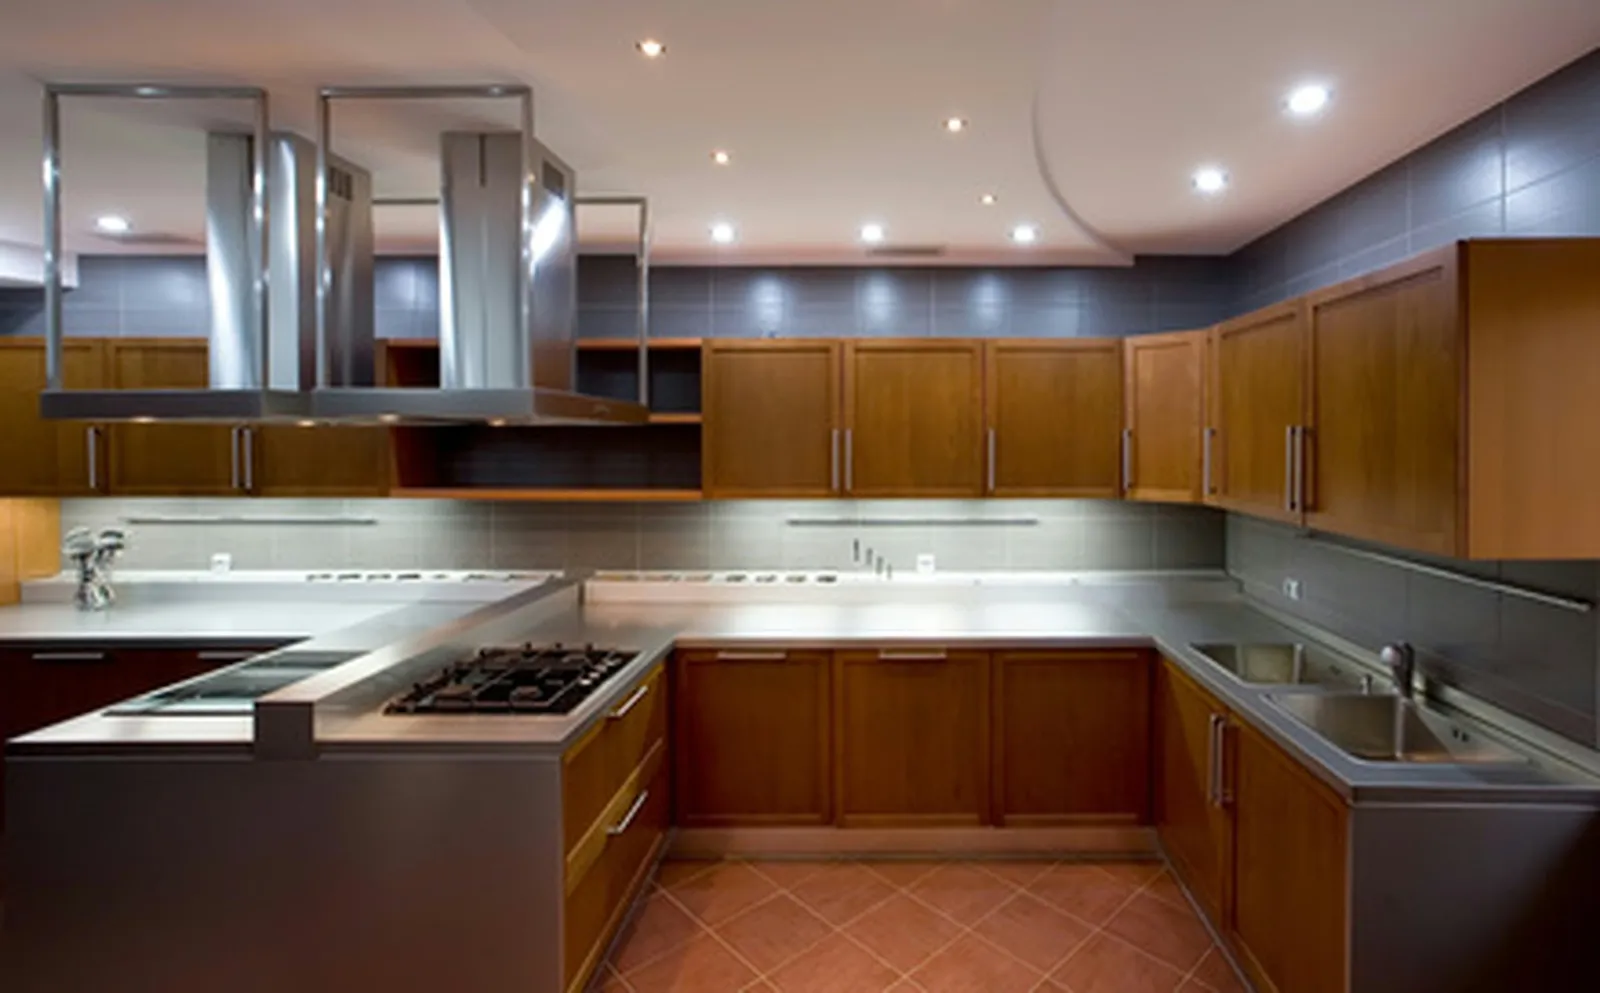
Kraftmaid Cabinets
Kraftmaid cabinets can improve both the appearance and utility of any room. They can be ordered directly from the manufacturer, and come in a variety of colors, molding styles, and door profiles to match your design preferences. Using two different colors can also achieve a custom two-toned effect. To cut costs, you have the option to install them yourself. These cabinets are frameless, meaning they lack a hardwood frame around the front. They are assembled by screwing them together with grabber screws.
Step 1
Using a power drill and a 1/8-inch drill bit, bore holes through the side of one cabinet. Make four holes close to the front and three near the back. Space the holes approximately six inches apart.
Step 2
Use clamps to hold the two cabinets together, making sure their faces are flush.
Step 3
Insert 1 1/4-inch grabber screws through the pre-drilled holes to secure the cabinets to each other.
Step 4
Take off the clamps.
Step 5
Cover each screw hole with a Fast Cap. These self-adhesive discs are applied by hand and conceal the screws. They come in colors that match the cabinet interior.



