Drilling Plumbing Holes in a Shower Enclosure
Logan Hill
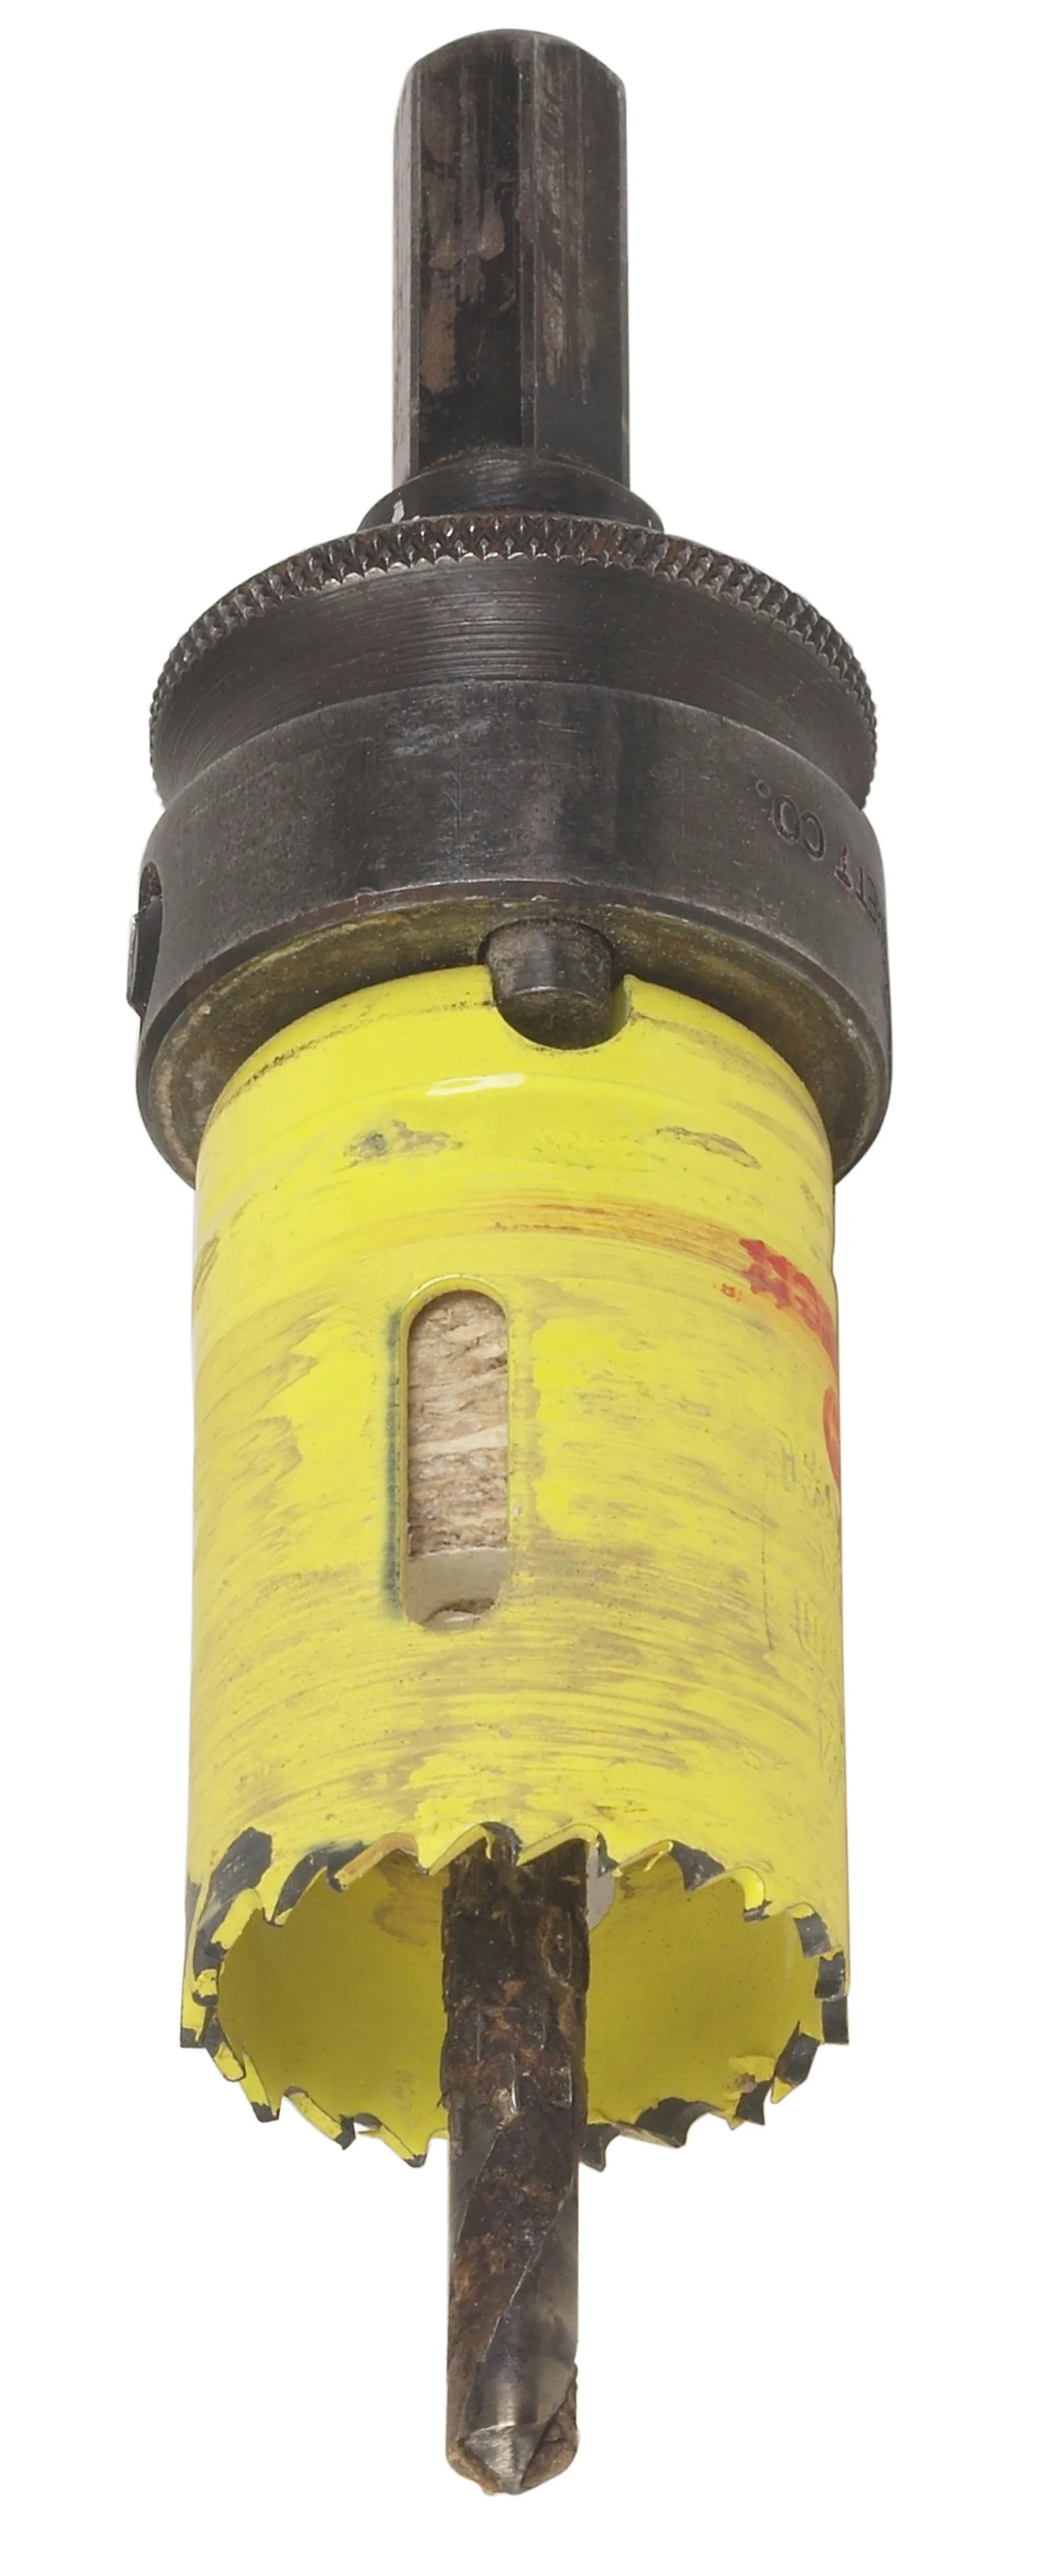
Hole saw bits of all sizes fit onto your power drill, making cutting perfect circles for shower plumbing easy.
Every new shower installation involves drilling through the shower wall so the faucet and showerhead can reach the plumbing pipes. The hole sizes are determined by the fixtures you pick. Separate holes are needed for the tub spout, faucet handles, showerhead, and additional features like hand-held sprayers and multiple showerheads. Hole saw bits for power drills come in various sizes, making it easy to cut clean circles through the shower. For fiberglass showers, use bi-metal hole saw bits; for tile, use carbide bits.
Step 1
Using a tape measure, determine the center of the shower faucet valve body by measuring from the subfloor to the valve body's center height and from the shower back wall to the side centers. Also measure the other plumbing valves, pipes, and shower arm that extend through the shower walls.
Step 2
Check the specific installation instructions for your shower faucet to find the correct hole dimensions. If you cut holes of the wrong size, the shower faucet trim won't cover them, which could lead to leaks.
Step 3
Mark the measurements on the shower unit's plumbing walls with a pencil. If you have a multipiece shower unit, hold the shower panel against the plumbing wall to confirm where the holes should go.
Step 4
Double-check your measurements for accuracy, because a mark that's off will cause the plumbing holes to misalign with the pipes and fixtures.
Step 5
Attach a drill bit to your power drill that is 1/8-inch smaller than the pilot bit on the hole-saw. Hole saw bits have a round blade that cuts the desired hole size and a central pilot bit that goes through the wall first to keep the blade steady.
Step 6
Drill pilot holes at the center of your marks on the shower unit's plumbing wall. This guides the hole saw bit and keeps its pilot bit from scratching or damaging the shower's finish.
Step 7
Put the correctly sized hole-saw drill bit into the power drill.
Step 8
Drill the holes in the shower unit walls following the installation instructions for each faucet component. For a multipiece shower unit, place the shower panel on a flat surface to help drill the holes accurately.
Step 9
Operate the drill at low speed and use light pressure to cut the plumbing holes. Keep the drill plumb and level so the hole-saw bit doesn't bind, slip, or damage the shower unit or panel surface.
Step 10
If you're installing a shower with multiple panels, set the panel against the plumbing wall to verify that the holes align and fit properly. For a single shower unit, the holes are drilled after the shower is in place, so this step isn't necessary.