Guide to Taking Apart a Shower Stall
People often need to remove a shower stall when they want to repurpose the area, update the bathroom, or install a whirlpool or hot tub. Whatever the motivation, the disassembly must be approached methodically and with caution, because at some stage a plumber will be required to cap or reroute the water pipes.
By Quinn White7 steps
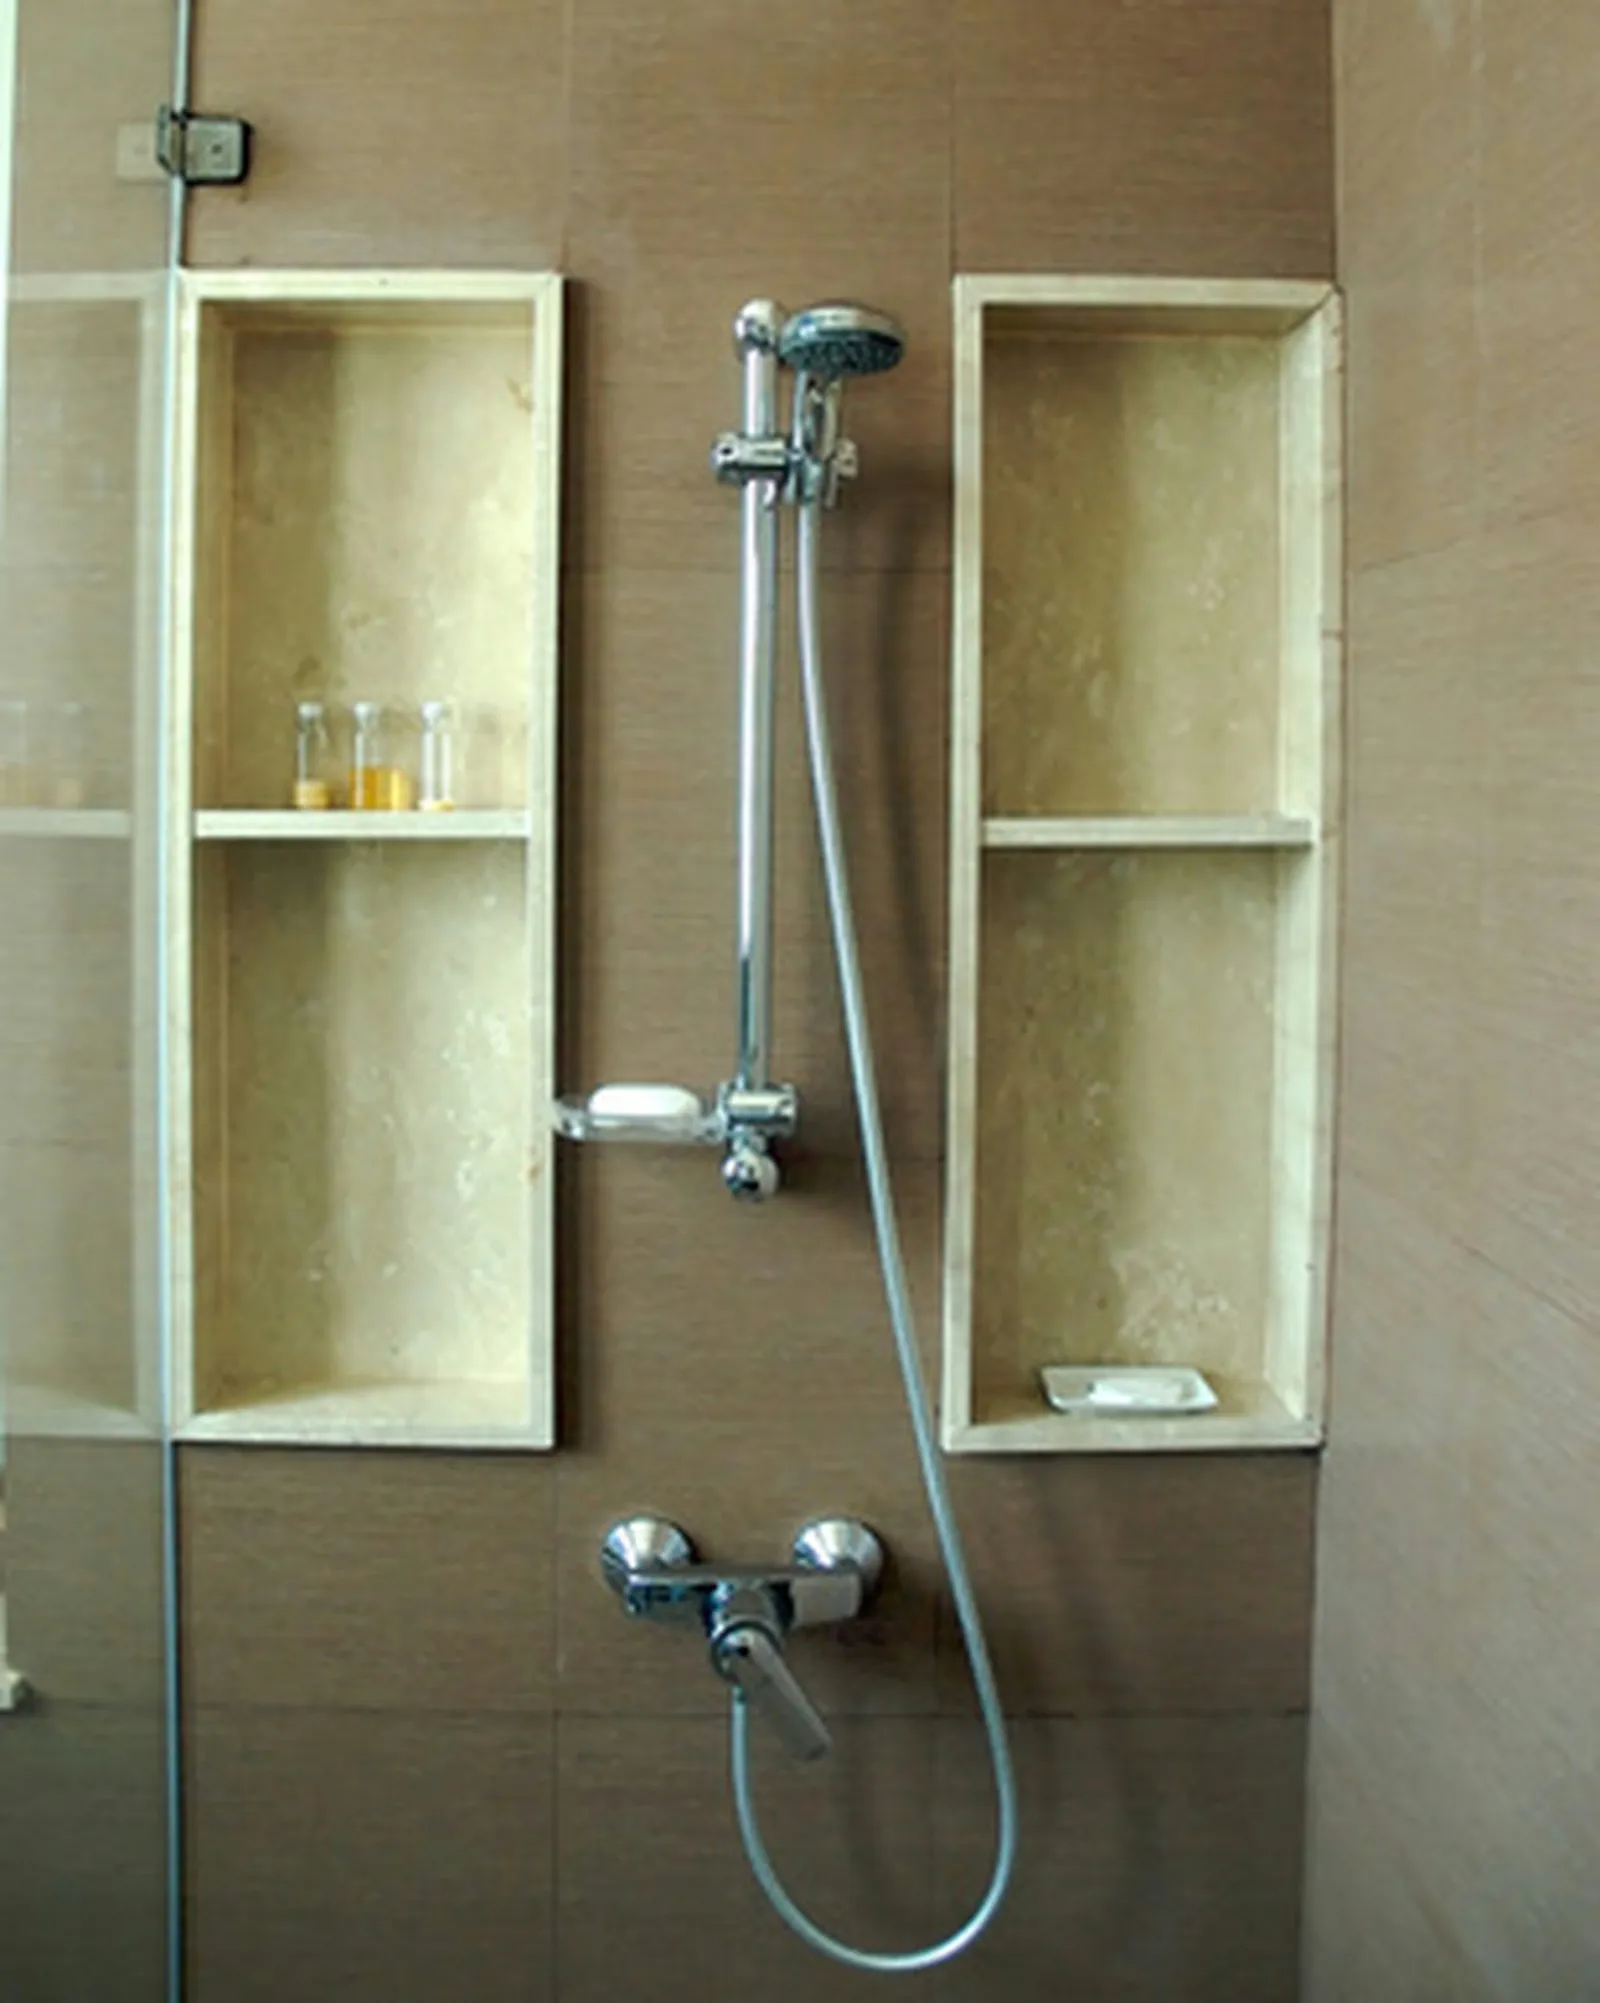
Shower enclosures come in all types of shapes and sizes.
People often need to remove a shower stall when they want to repurpose the area, update the bathroom, or install a whirlpool or hot tub. Whatever the motivation, the disassembly must be approached methodically and with caution, because at some stage a plumber will be required to cap or reroute the water pipes.
Step 1
Begin by removing the doors. Typically, these partitions consist of two sliding panels made of opaque or translucent glass. Taking out the doors is often the simplest part of the project, as most shower doors are built with some vertical play to allow installation after the track is mounted. This same feature simplifies removal. Stand inside the tub and lift one door as high as it will go. That should provide enough clearance to pull the door into the tub area with you. Then hand it carefully to a helper standing just outside the enclosure.
Step 2
Use the utility knife and putty blade to remove the waterproof caulking that secures the door frame above the tub. First, cut through all beads of sealant with the utility knife, doing this on both the inside and outside of the metal track. Next, gently use the putty blade to separate the caulking from the metal frame and the tub or tile wall. Once you get it started, you can pull the caulking by hand, and it may come off in one piece.
Step 3
Remove all screws with an electric screwdriver. These metal fasteners go through the vertical track pieces into the tile wall. After the screws are out, take off the top piece first, then the two side tracks, and finally the bottom piece that rests on the tub sidewall.
Step 4
Disconnect the drain. You may prefer to have a plumber handle this, or if you are mechanically inclined, you can try it yourself. One section of the drain twists out from inside the tub. Use locking pliers to turn the top piece if needed. To reach the underside of the drain, you will likely need to tear out the ceiling beneath the shower stall or remove the floorboards if the unit is on the first floor and there is no basement underneath. Plastic PVC drain can be cut with a saw, but metal drain parts must be taken apart with a large set of slip pliers or pipe wrenches.
Step 5
Chip away any tile or sheetrock that is built over the sides of the tub. Most modern tubs and shower units have a thin flange at the top and sides. This flange serves as a surface for attaching the enclosure to the wall or floor, and often wallboard and tile may cover the thin strip of metal or plastic to help hold the unit in place. Take a hammer and an all-purpose chisel and chip away the bottom edge of tile and drywall until the flange is exposed. Then remove all fastening devices from the flange.
Step 6
Check for caulk or silicone beads attached to the outside edge before pulling the base piece away from its permanent location. If present, these need to be removed as described in Step 2 regarding the door tracks. Also double-check that all plumbing hookups are safely disconnected.
Step 7
Remove the tub or shower base from the wall and floor. You can remove a floor tub or shower base yourself and leave the three plumbing fixtures for later, when a plumber is available. However, a full-length shower unit will likely require a plumber's visit so the water lines can be disconnected and capped.



