Removing a Shower Stall: A Step-by-Step Teardown Guide
Whether you're replacing an outdated fiberglass or plastic unit or prepping for a tile upgrade, taking out an old shower stall is a project that can wrap up within a few hours. The process involves disconnecting plumbing fixtures, separating wall panels, and removing the base—with different techniques depending on whether the base is fiberglass, plastic, or ceramic.
By Avery Rivera12 steps
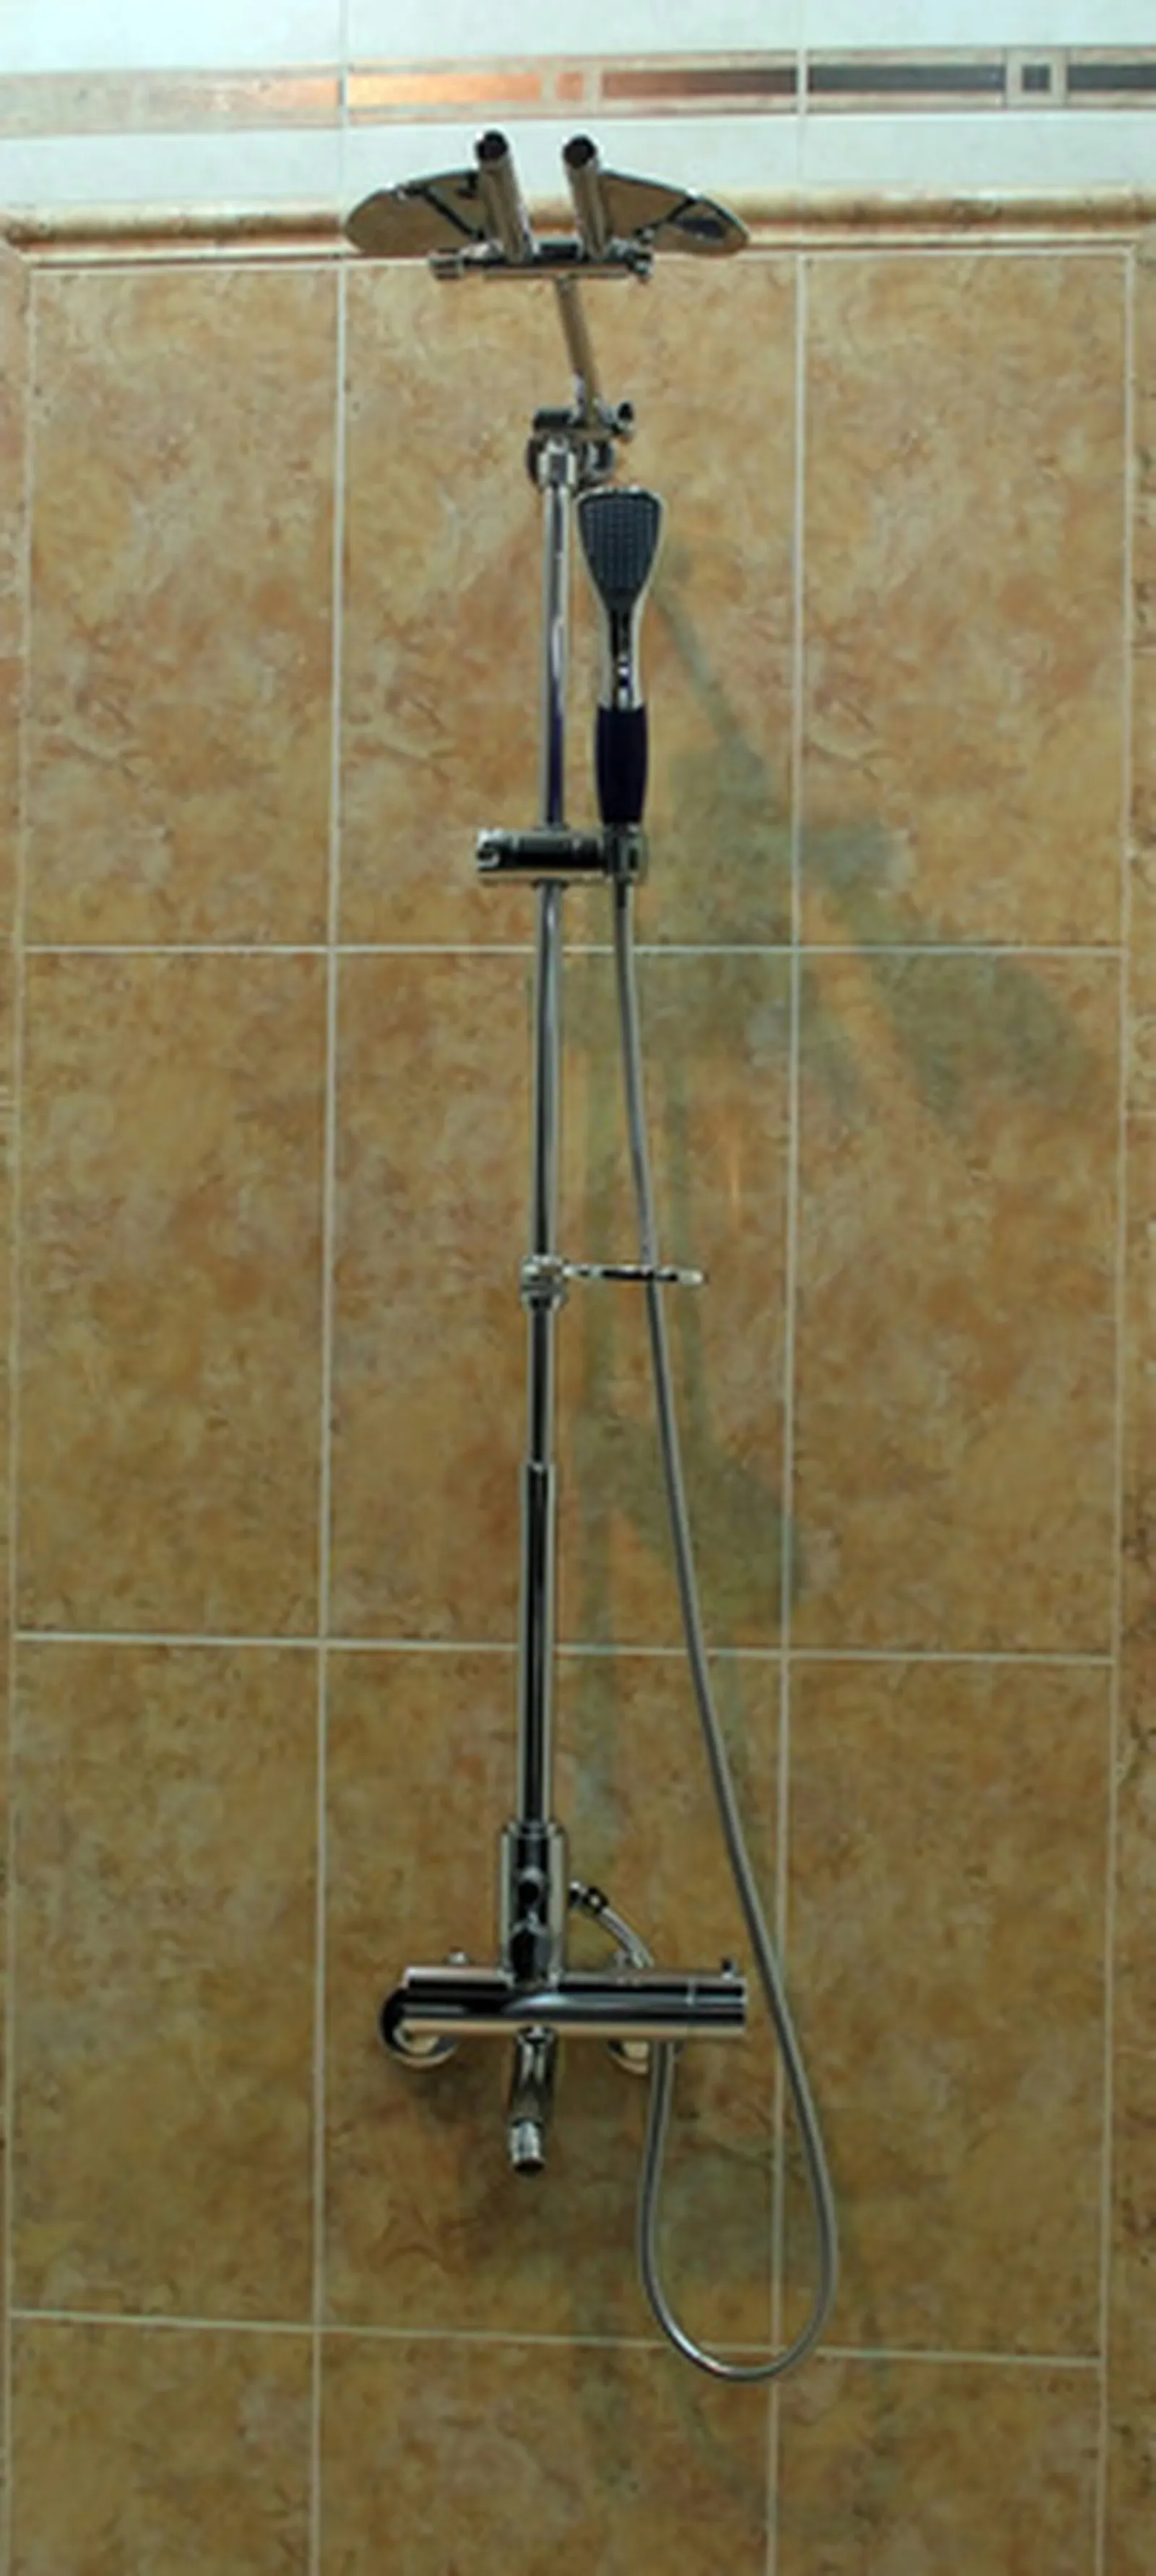
Upgrade to a classy ceramic-tiled shower by first removing the old one.
Taking out a shower stall—particularly one made of fiberglass or plastic—is a job that can typically be finished in just a few hours. If your current shower looks dated and you want to modernize your bathroom, the solution is to pull out the old unit and put in a new one. For those planning to switch from a fiberglass or plastic shower to a tiled version, dismantling the existing stall is one of the necessary preparation steps.
Step 1
Turn off the water supply.
Step 2
Take apart the faucet handles, spout, and shower head. Take down the shower door or curtain rod, the molding or trim, and any additional accessories.
Step 3
Use a pry tool to lift off the faucet covers, then remove the mounting screws to detach them. To remove the shower head, use a wrench to unscrew the collar nut located directly above it.
Step 4
Work the escutcheon plate—the ring-shaped metal piece resting against the wall—loose, then twist the arm counterclockwise to unscrew it.
Step 1
Detach the shower panel from the wall. Start by running a utility knife through the caulking along the entire perimeter of the shower. Take out any screws that connect the panels to one another.
Step 2
Pull the panels away from the wall. Insert the flat end of a pry bar into the gap between the panel and the wall, then pry the panel free.
Step 3
For easier disposal, cut the panels down into smaller pieces using a jigsaw or a very sharp utility knife.
Step 1
For a fiberglass or plastic base, cut through the caulk line between the base and the floor, then unscrew any fasteners. Pry the base loose.
Step 2
For a ceramic base, take out the drain strainer and push a rag into the drain opening.
Step 3
On a ceramic base, use a hammer and chisel to break through the tile so you can reach the layers below. Clear away the tile.
Step 4
Use metal snips to cut through the steel mesh that sits beneath the tile. Take out the steel mesh.
Step 5
Use a scraper to remove the waterproofing layers.



