A Step-by-Step Guide to Transforming Driftwood into Carved Art
Driftwood has a weathered, unique appearance even before you start carving. Since it has traveled through rivers or oceans, it often looks as if it could be something else, sparking ideas for what you might create. Collecting, preparing, and carving driftwood into art can be a fulfilling pastime.
By Hayden Ward6 steps
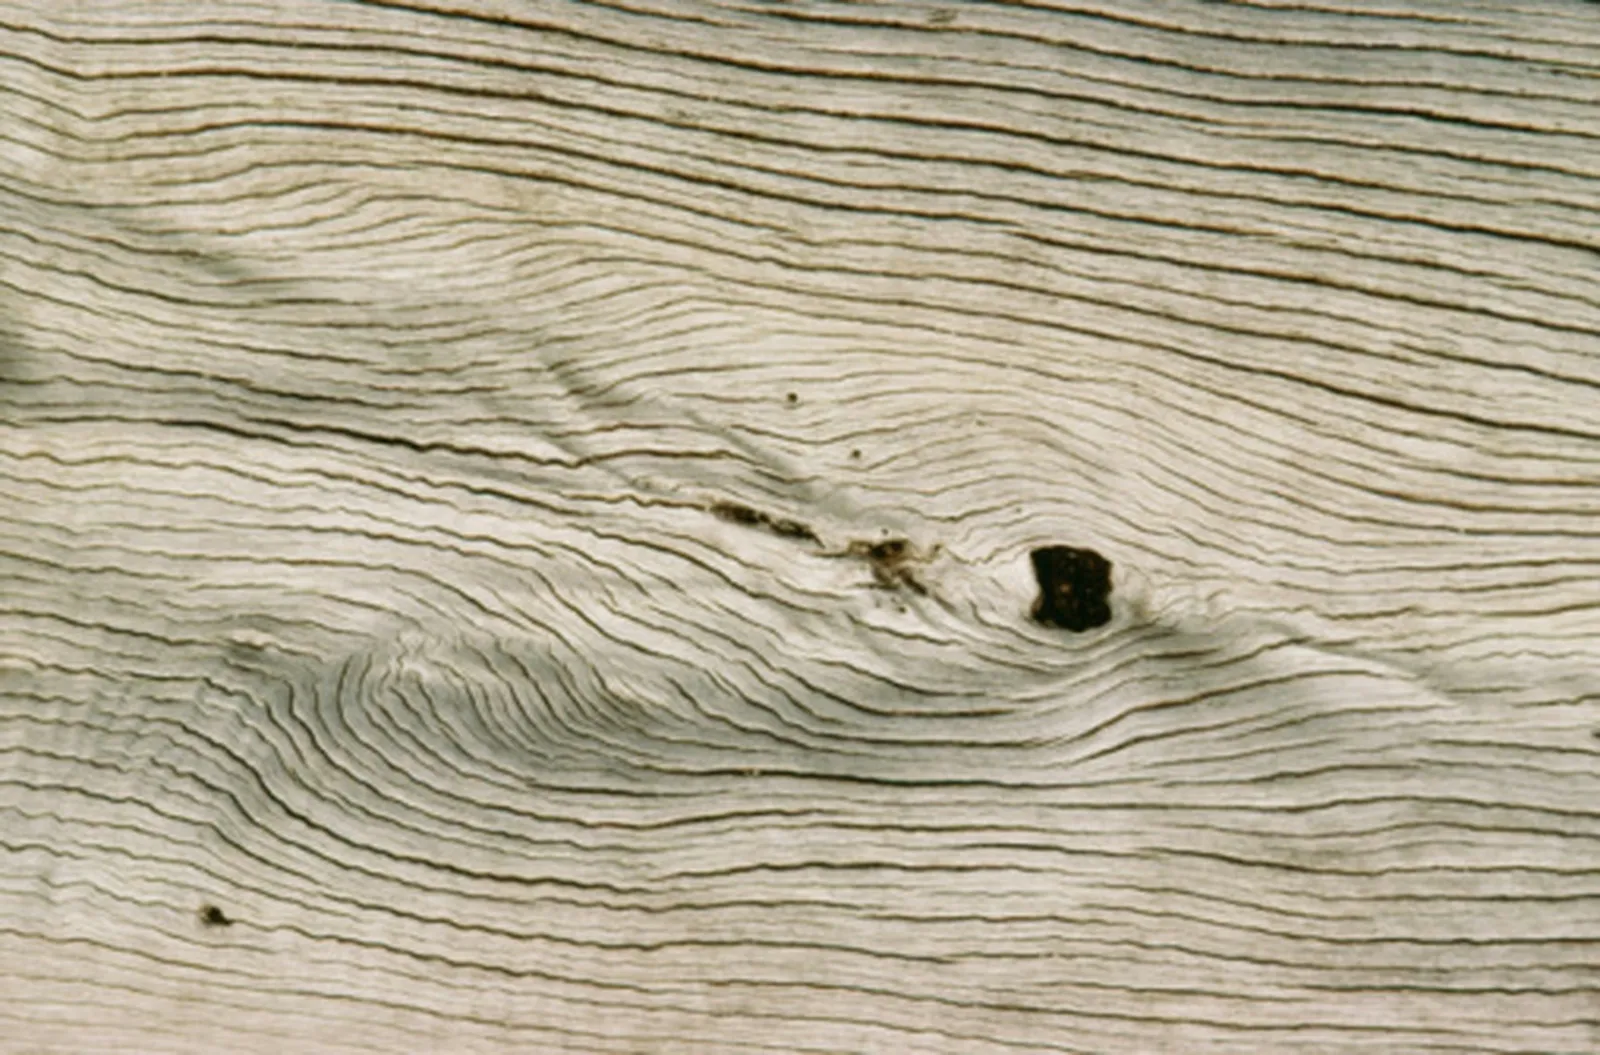
Driftwood is a wonderful carving medium.
Even before you make a single cut, driftwood carries a natural, worn character from its journey down rivers or across oceans. It frequently resembles another object, which can give you an immediate idea of what to carve. The entire process—from gathering the wood to prepping it and then carving—offers a rewarding creative outlet.
Step 1: Choose Your Driftwood
Select a piece of driftwood that fits the size and shape of your intended carving. Search along shorelines and riverbanks for suitable pieces. The time of year matters: in northern regions, October through April tends to be more productive for finding driftwood. If you come across multiple good pieces, take several home for future projects.
Step 2: Get the Wood Ready
One advantage of using driftwood is that the river or ocean has already leached out the sap, which helps prevent rot. However, the wood might harbor woodlice or other insects that could harm your carving. To eliminate them, if the piece is small enough, microwave it for one minute. For larger pieces that won't fit in a microwave, place the wood in a plastic bag and seal the bag's opening around an open container of gasoline, using a twist tie to secure it. The fumes will kill the bugs. Once the insects are dead, vacuum the wood thoroughly to remove dirt and sand from crevices.
Step 3: Sketch Your Design on the Wood
Draw your intended image directly onto the driftwood. At first, this can feel awkward because drawings are flat while carvings are three-dimensional, but having physical lines to follow is extremely useful. Use a pencil so you can erase and adjust. Your sketch doesn't need intricate detail, but it should include key reference points. For instance, if you're carving a face, mark lines or rough shapes for the eyes, nose, mouth, ears, hairline, and cheekbones.
Step 4: Ensure Your Knife Is Sharp
A sharp carving knife is both easier to control and safer than a dull one. If you're using a razor blade–style knife, swap in a fresh blade. For a jack knife or carving tool, take it to a professional sharpener unless you already know how to sharpen it yourself.
Step 5: Carve in Three Dimensions
Use the guidelines you drew to shape the image into 3D. Remove wood from areas that should recede. Returning to the face example: carve along the sides of the nose while leaving the tip as full as you like, and carve away the sides of the face.
Step 6: Add Texture for Realism
After shaping the main edges, incorporate texture to make the carving look realistic. If you're carving a bird, add lines to suggest feathers. If it's a person, carve texture lines into the hair.



