Sealing Attic Eaves: A Step-by-Step Guide to Improve Energy Efficiency
Open eaves let weather in and allow conditioned air to escape, driving up utility costs. By sealing these openings with wire mesh and adding proper insulation, homeowners can reduce energy loss and keep pests out. This guide outlines the necessary tools and a four-step process to close off eaves safely and effectively.
By Robin Young4 steps
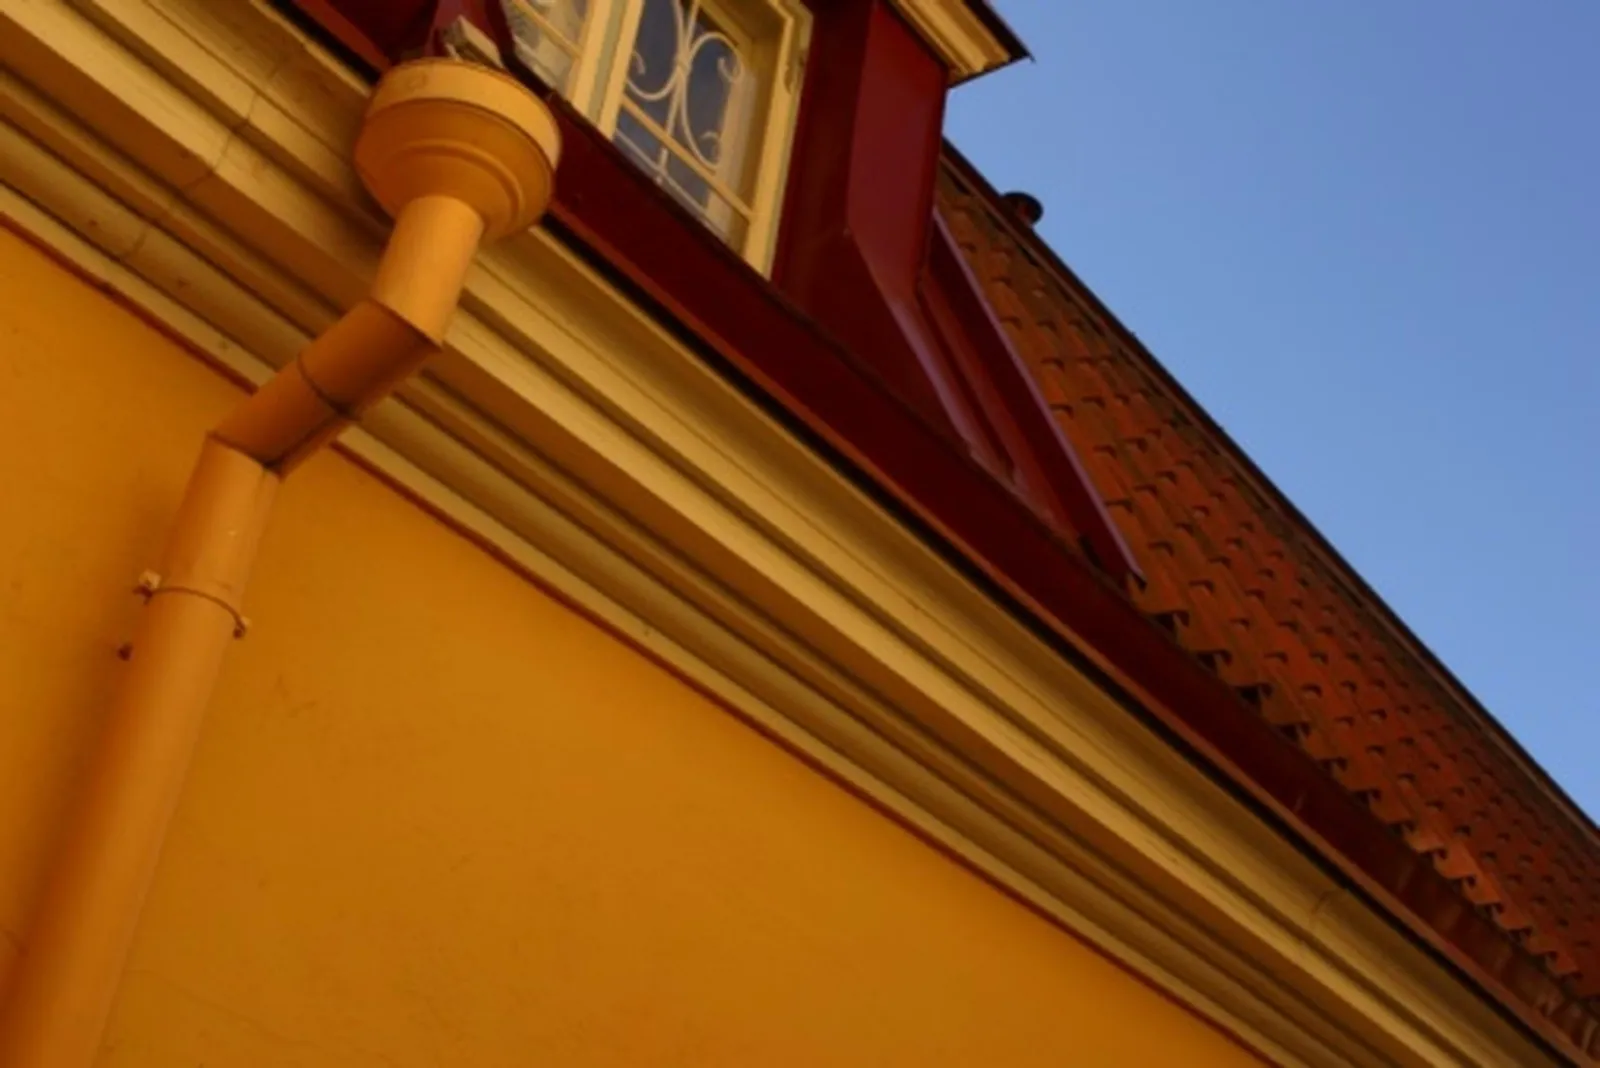
You may need to use a ladder if you have to access the eave opening from outside the house.
Sealing the eaves in your attic is a straightforward way to boost your home's energy efficiency. When left open, these gaps expose your home to the elements. Without proper sealing and insulation, heated or cooled air can escape, leading to higher energy bills. With some basic preparation and an understanding of your eave structure, you can close them off without much trouble.
Step 1: Prepare the Attic Space
Begin by clearing the area around the eaves in your attic. Check for any openings in the attic floor or walls—such as those for electrical wiring or plumbing—as well as cracks in the floor. Seal these gaps using caulk.
Step 2: Measure and Cut the Mesh
Cut the wire mesh so that it covers the eave opening. Leave roughly 1 inch of mesh on each side to allow for securing it in place.
Step 3: Install the Mesh
Position the wire mesh over the opening and fasten it with a staple gun or a hammer and nails. Space the staples or nails evenly along each edge to keep the mesh tight. The mesh permits some airflow between the eaves and rafters, which helps maintain a roof temperature close to the outdoors. At the same time, it blocks birds, most insects, and other animals from getting into the attic, and it reduces energy loss through the eave opening.
Step 4: Add Insulation
Next, install insulation. In warm climates, lay insulation parallel to the joists; if your roof is prone to ice dams in winter, place it perpendicular to the joists. Insulation can be blown in or laid in sheets. Be careful not to cover the eave openings with insulation. This step helps keep the living space below the attic at your desired temperature while still allowing airflow to protect the roof.



