Securing Plywood Underlayment With Adhesive: A Step-by-Step Approach
While some installers simply fasten plywood underlayment with screws or nails, adding wood glue creates a base that resists shifting and peeling as the structure moves or moisture builds up. The following guide walks through preparing, gluing, screwing, and finishing an underlayment installation.
By Finley Morgan7 steps
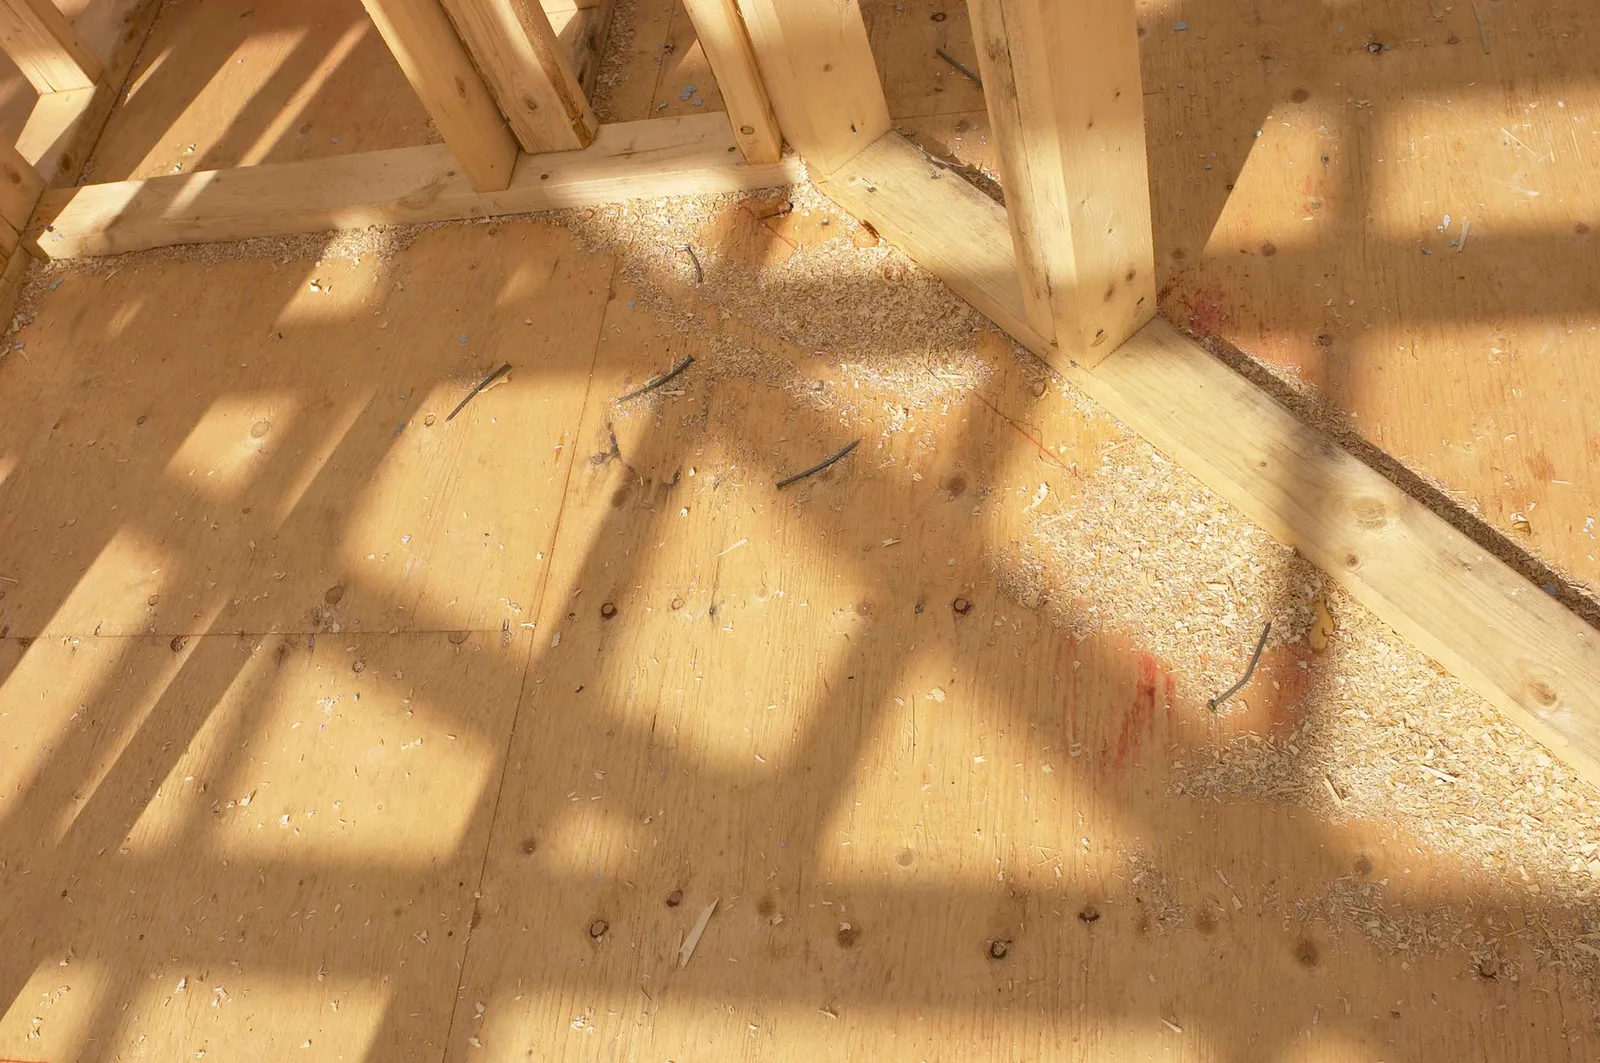
Gluing down plywood underlayment affixes it very firmly to the floor.
It's common for people to skip the adhesive step and simply drive screws or nails through their plywood underlayment into the subfloor. That approach works when long-term durability isn't a priority. However, if you want a surface that holds up over time — one that won't shift or peel up as the building settles or moisture collects — gluing the underlayment down produces a more stable base. A plywood underlayment also adds rigidity to a subfloor that flexes or bends, giving your finished floor a firmer foundation.
Step 1
Begin in the corner of the room that is furthest from the door, placing your first plywood sheet there. Verify the squareness of the board using your carpenter's square. Plywood sheets aren't always perfectly square, but for the initial piece it's best to pick one that's reasonably true. Keep a gap of 1/4 to 1/2 inch between the boards and the walls to allow for expansion.
When the subfloor is made of plywood, run the underlayment perpendicular to the first plywood layer. If the subfloor consists of wood planks, set the plywood grain at a 90-degree angle relative to the plank grain. With a concrete subfloor, you're free to orient the plywood in whichever direction suits your needs best.
Step 2
Use a pencil to outline the area that one plywood sheet will cover, so you know precisely where to spread the glue. This prevents wasting adhesive on sections where you'll still be working. Once you've laid a few sheets, you can estimate the coverage of the next sheet without marking, but during the early stages, marking helps you limit glue application to one sheet's worth of area at a time.
Step 3
Spread a layer of glue onto the subfloor where the plywood underlayment will sit. Consult the directions for your specific glue brand to determine the proper application method and thickness. If the product lacks instructions, distribute an even pattern of glue over the full surface that will receive the plywood, making sure to run beads along the edges and apply generously through the middle. For an especially strong and uniform bond, follow up with a roller or brush to smooth the glue into a consistent layer covering the whole area.
Step 4
Press the plywood sheet firmly into position. Having two people lower the plywood onto the glue and push down hard makes this step easier and helps the adhesive set.
Step 5
Drive several screws through the plywood and into the subfloor. This pulls the plywood tight and strengthens the connection between the underlayment and the material beneath it.
Step 6
Continue this procedure until you've covered the whole room. Offset the plywood sheets so the joints don't align. Work your way across the room starting from the first sheet, and when you get to the far end, cut a piece to size with your circular saw. For the next row, begin with either a half-sheet or the leftover portion of your first cut piece.
Step 7
Wait for the glue to cure fully, following the manufacturer's specifications, before you begin installing any flooring on top.



