Building a Transition for Drop Ceilings at a Stairwell Opening
When a suspended ceiling is installed in a basement, the area where the staircase meets the room can leave an unsightly gap. This guide explains how to construct a filler piece from MDF and a support board to bridge that gap before installing the ceiling grid.
By Emerson Young7 steps
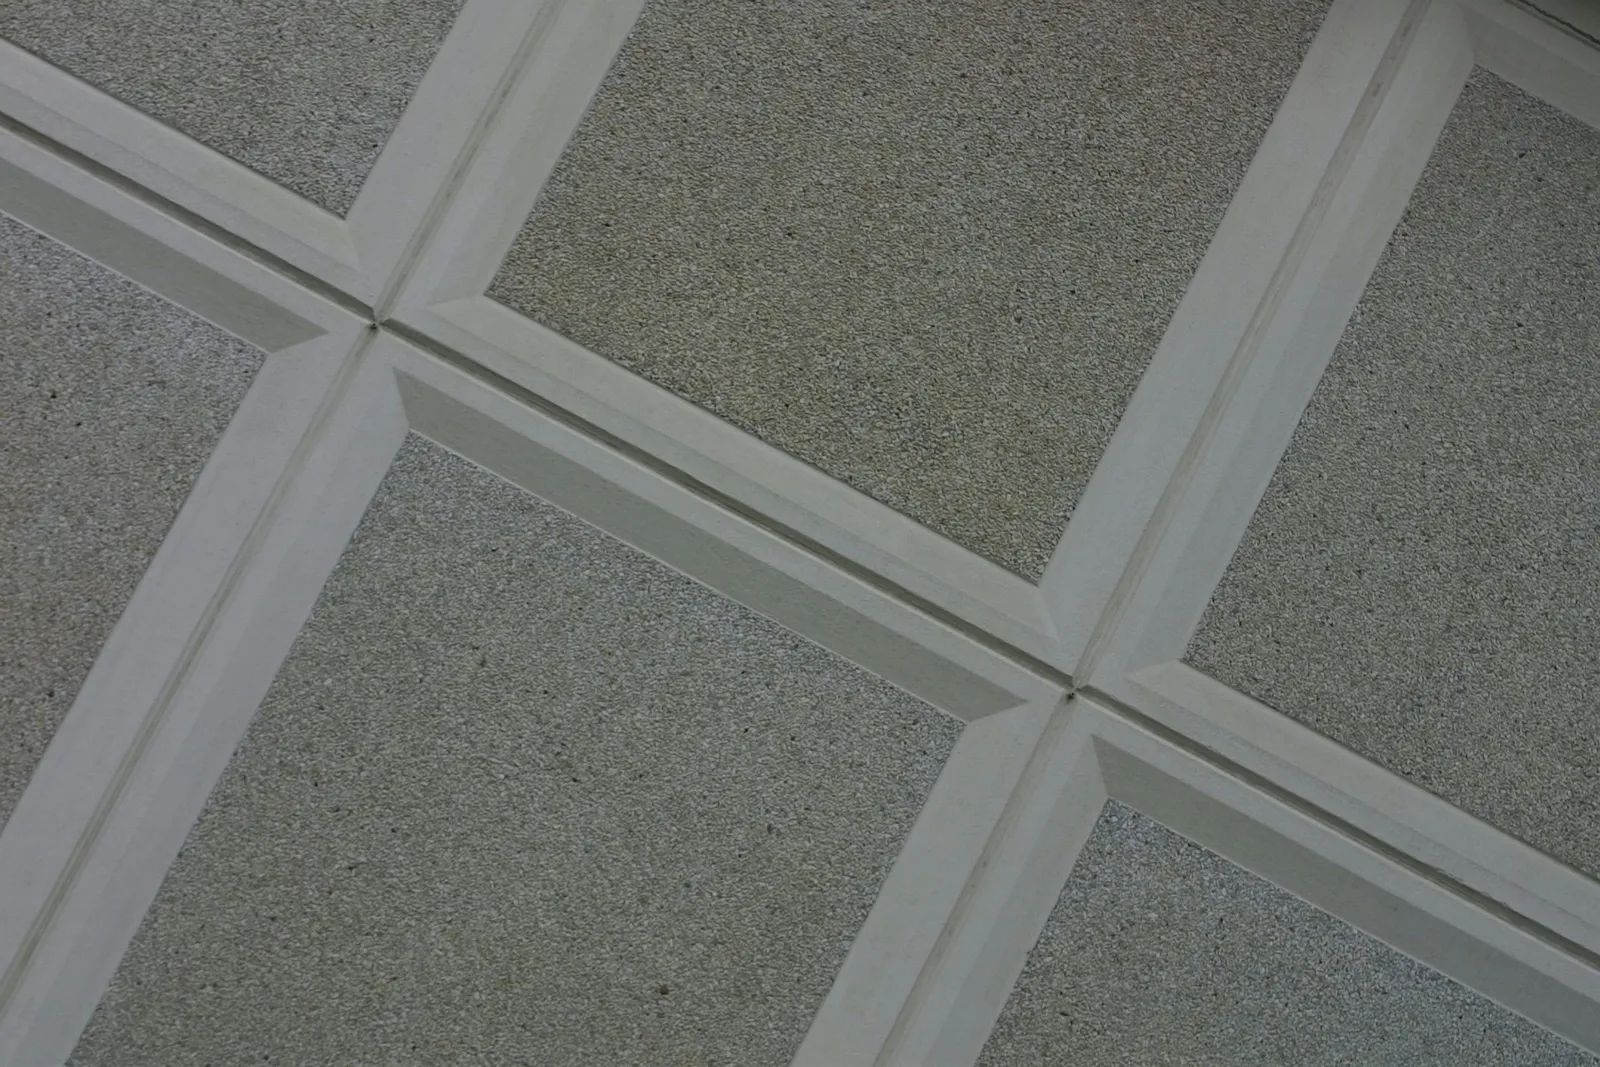
Suspended ceilings hang below joists and leave a gap at stairways.
Installing a suspended ceiling is a quick way to cover ceiling joists without the dust and effort of drywall. However, where a stairwell from an upper floor enters a room—like in a basement—a gap often appears. The ceiling joists meet the finished front wall of the stairwell, and the ceiling grid and tiles hang below the joists, leaving an unattractive space between the tiles and the top of the stairwell. To fix this, prepare the gap before starting the grid installation.
Step 1
Measure the vertical distance from the top of the stairwell opening to the bottom of where the ceiling tiles will be. Adjust the table saw fence to this measurement and set the blade height to 1 inch. Turn on the saw and feed the MDF through, keeping one edge against the fence.
Step 2
Place the MDF against the top of the stairwell opening so both ends overlap the side walls. Draw a line on each end where the MDF meets the side walls. Cut along these lines. The MDF should fit almost snugly between the two side walls and against the bottom of the front stairwell wall.
Step 3
Cut the 1-by-4 board so it is 6 inches longer than the MDF piece. Lay the board on top of the MDF, centering it so each end extends 3 inches beyond the MDF, and align the top edges. Drill countersunk pilot holes every 8 inches through the board into the MDF, but do not go all the way through. Secure the board to the MDF with 1 1/4-inch drywall screws.
Step 4
Insert the assembled board and MDF into the stairwell opening, with the board overlapping the side walls and the MDF fitting between them. Drill two pilot holes at each end of the board into the wall studs. Fasten the board to the side walls using 1 1/2-inch screws.
Step 5
Run a bead of latex caulk along the seam where the MDF meets the side walls and the bottom of the front stairwell wall. Smooth it with your finger and allow it to dry for at least 24 hours.
Step 6
Position the wall angle across the front of the MDF, aligning its bottom edge with the bottom edge of the MDF. Drill pilot holes for the sheet metal screws, being careful not to drill through the MDF. Attach the wall angle to the MDF with the sheet metal screws.
Step 7
Proceed with the rest of the suspended ceiling: extend the wall angle around the room, suspend the grid from the ceiling joists, and install the ceiling tiles.



