Laying Shingles on a Rounded Roof: A Step-by-Step Guide
Curved roofs—like those on turrets, barrel-shaped structures, or eyebrow windows—are common in both historic and contemporary homes. Asphalt shingles offer a flexible, leak-resistant covering that works on these non-planar surfaces. The following instructions explain how to fasten shingles over a curved roof, from underlayment to offset rows.
By Blake White6 steps
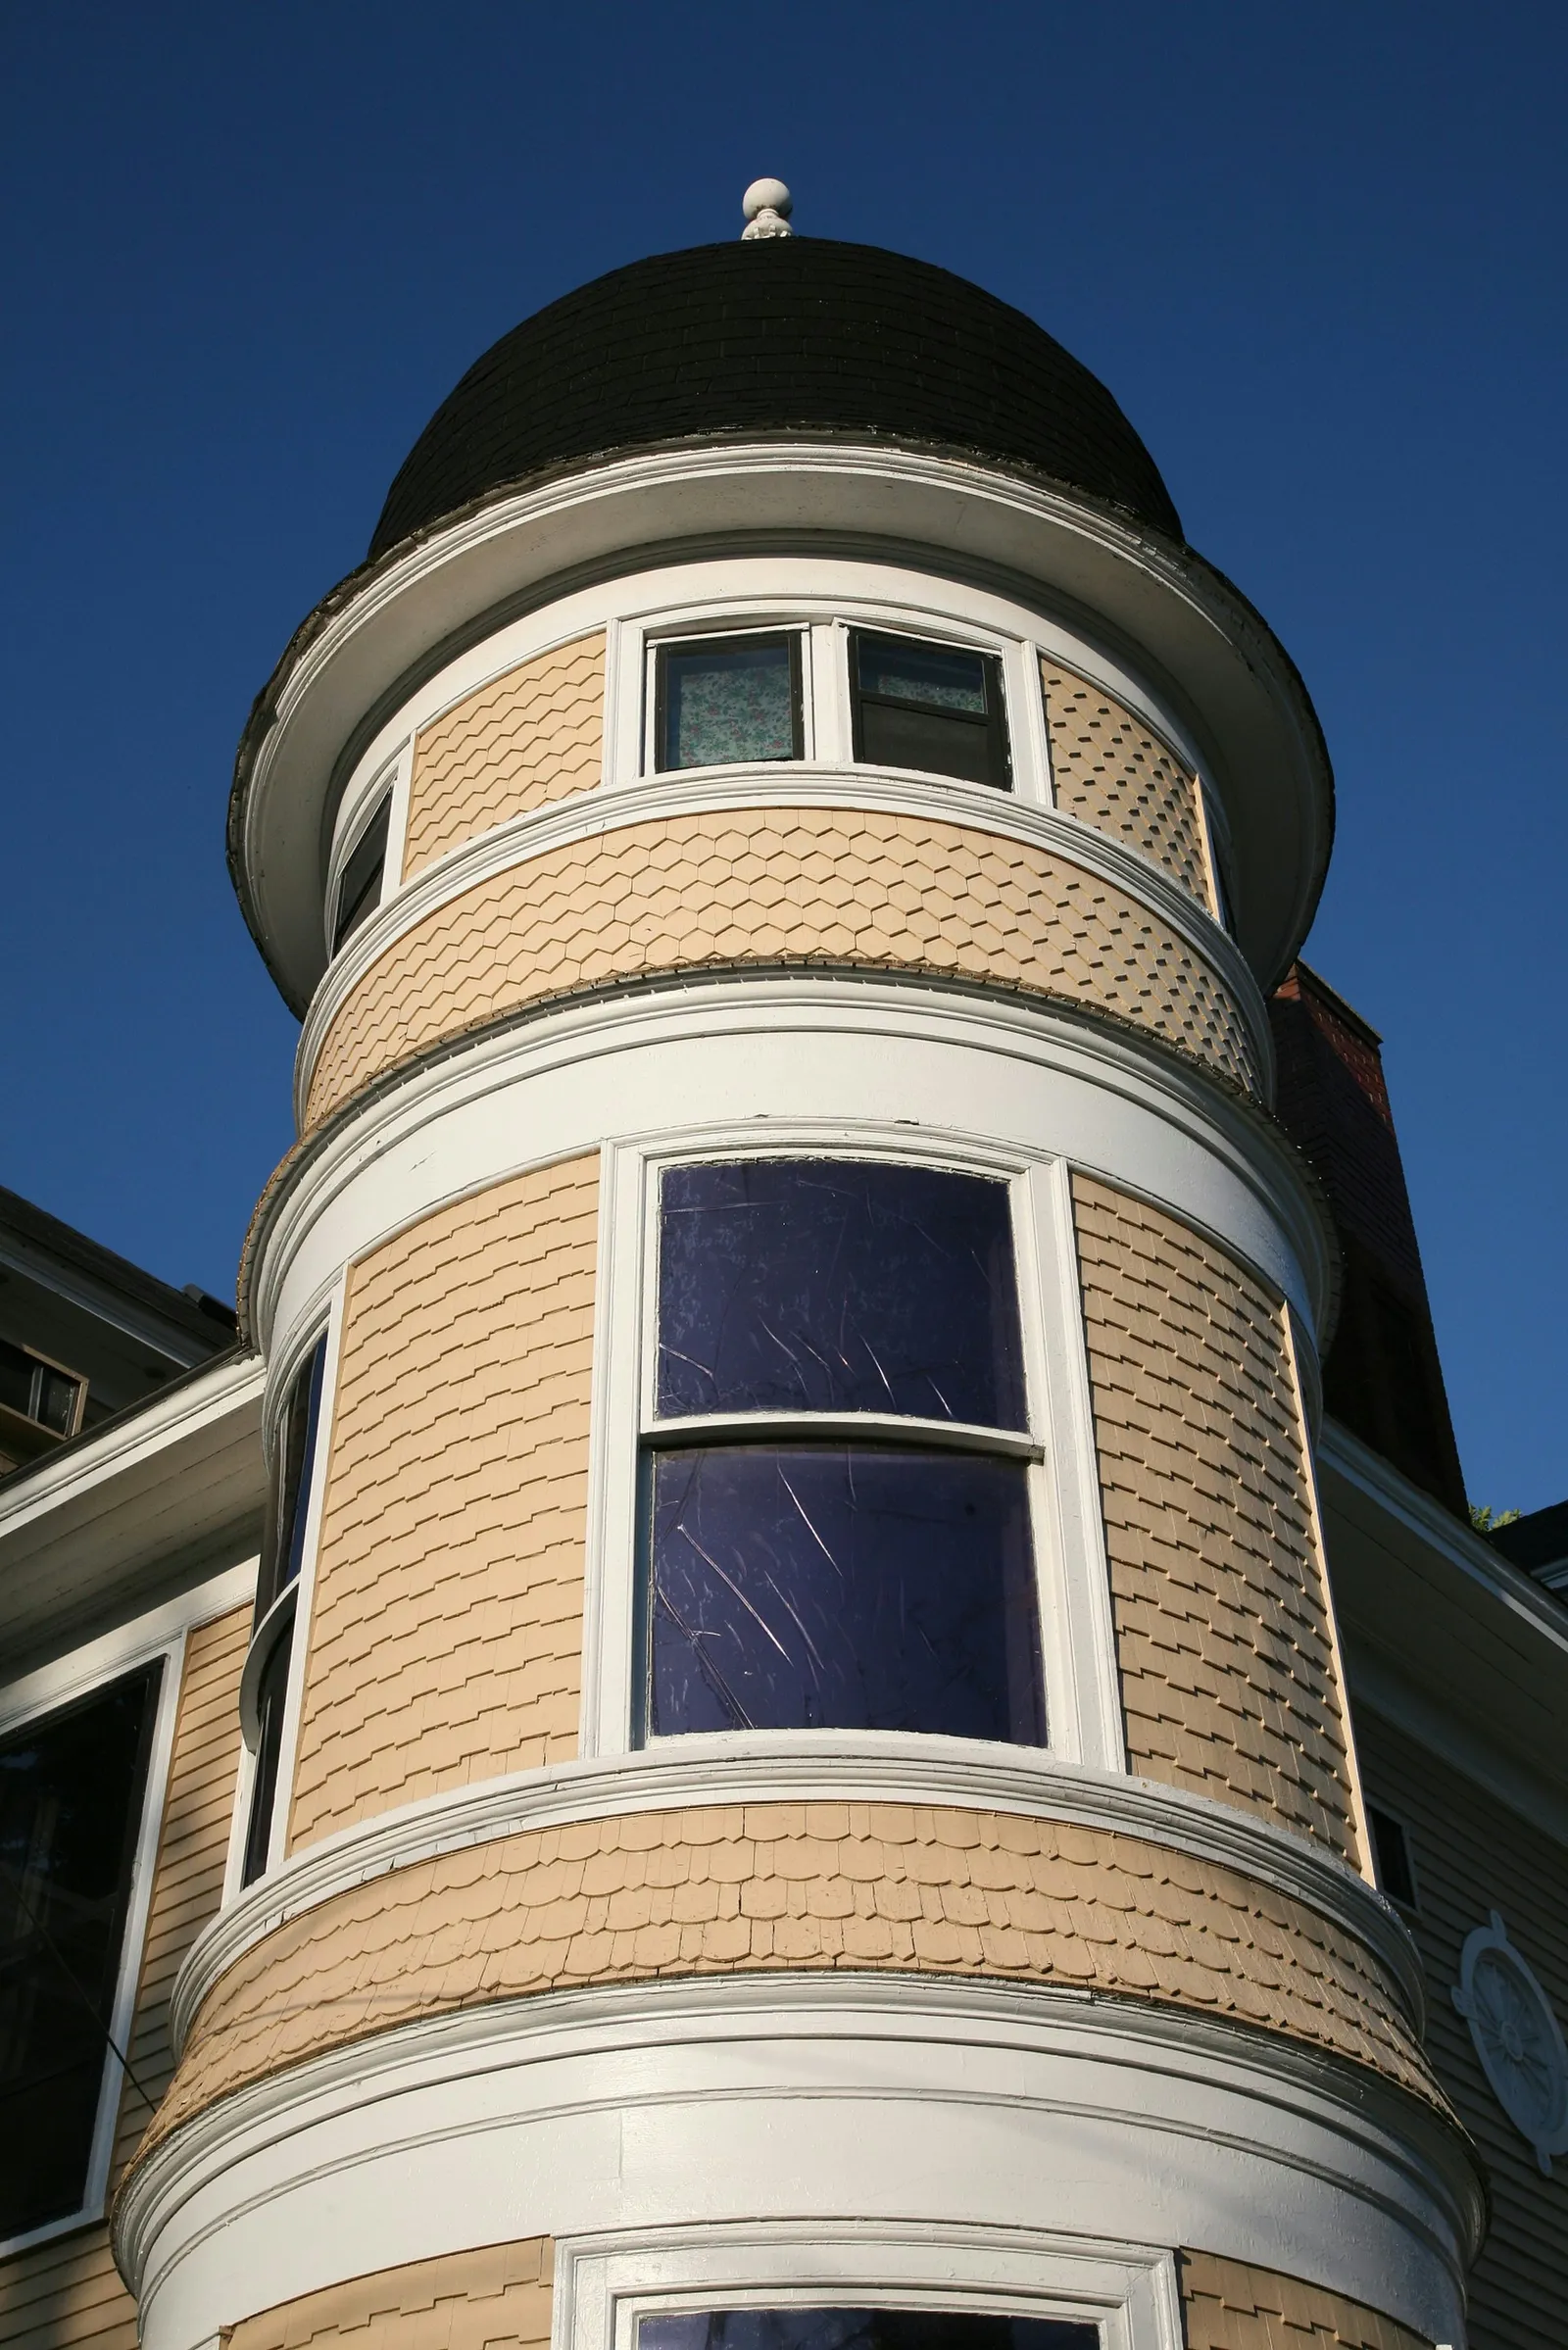
Asphalt roofing shingles curve to conform to rounded or domed roofs.
While most roofs consist of flat or sloped planes and straight angles, straight lines aren't the sole possibility. Eyebrow windows are a decorative element seen on many historic cottage-style houses, and conical or curved roofs often top turret features in both older and newer construction. Barrel roofs, domes, and half-circle roofs also exist. These shapes tend to resist leaks better than flat roofs and can stand up to strong winds and heavy rain. For covering such roofs, shingles are both visually appealing and straightforward to install. Because modern asphalt shingles are flexible, they can be applied to any roof shape, including curved ones, and the basic installation steps remain similar across all of them.
Step 1
Cover the roof with tarpaper. Begin at the lowest point of the roof, placing sheets and fastening them with staples spaced roughly every 6 inches. As you proceed, overlap the edges of the paper.
Step 2
Start setting shingles at the roof's perimeter. The initial row should extend past the roof edge by about 1/8 inch, but the shingles should be placed side-by-side without overlapping each other. To keep this first row straight, it can help to take measurements and snap chalk lines.
Step 3
Drive three roofing nails evenly spaced along the top edge of every shingle. Around the roof's curve, you might need someone to press the shingle down so you can nail it flush against the roof surface.
Step 4
Apply a bit of roofing putty over each nail head. This step contributes to keeping the roof watertight.
Step 5
Position the second row of shingles above the first. Stagger this row so that the middle of each shingle sits over the seam between two shingles in the row below. This staggering also helps prevent leaks. Let the second row overlap the first by roughly 1/4 inch, so the upper shingle conceals the nails underneath.
Step 6
Keep adding rows of shingles up the roof in the same overlapping and staggered pattern, matching the roof's contours. If needed, use additional nails to hold the shingles tight against the curved surface. Since the roof is curved, there's no roof ridge to cut shingles for. Should trimming be necessary, use heavy-duty shears or vinyl cutters to shape the shingles to the roof.



