Adding Blown-In Insulation to Existing Lath and Plaster Exteriors
Older properties with walls made of lath and plaster frequently lack adequate insulation. Filling the exterior wall cavities can cut energy expenses. Blown-in cellulose allows you to insulate without tearing out the plaster.
By Jamie Howard7 steps
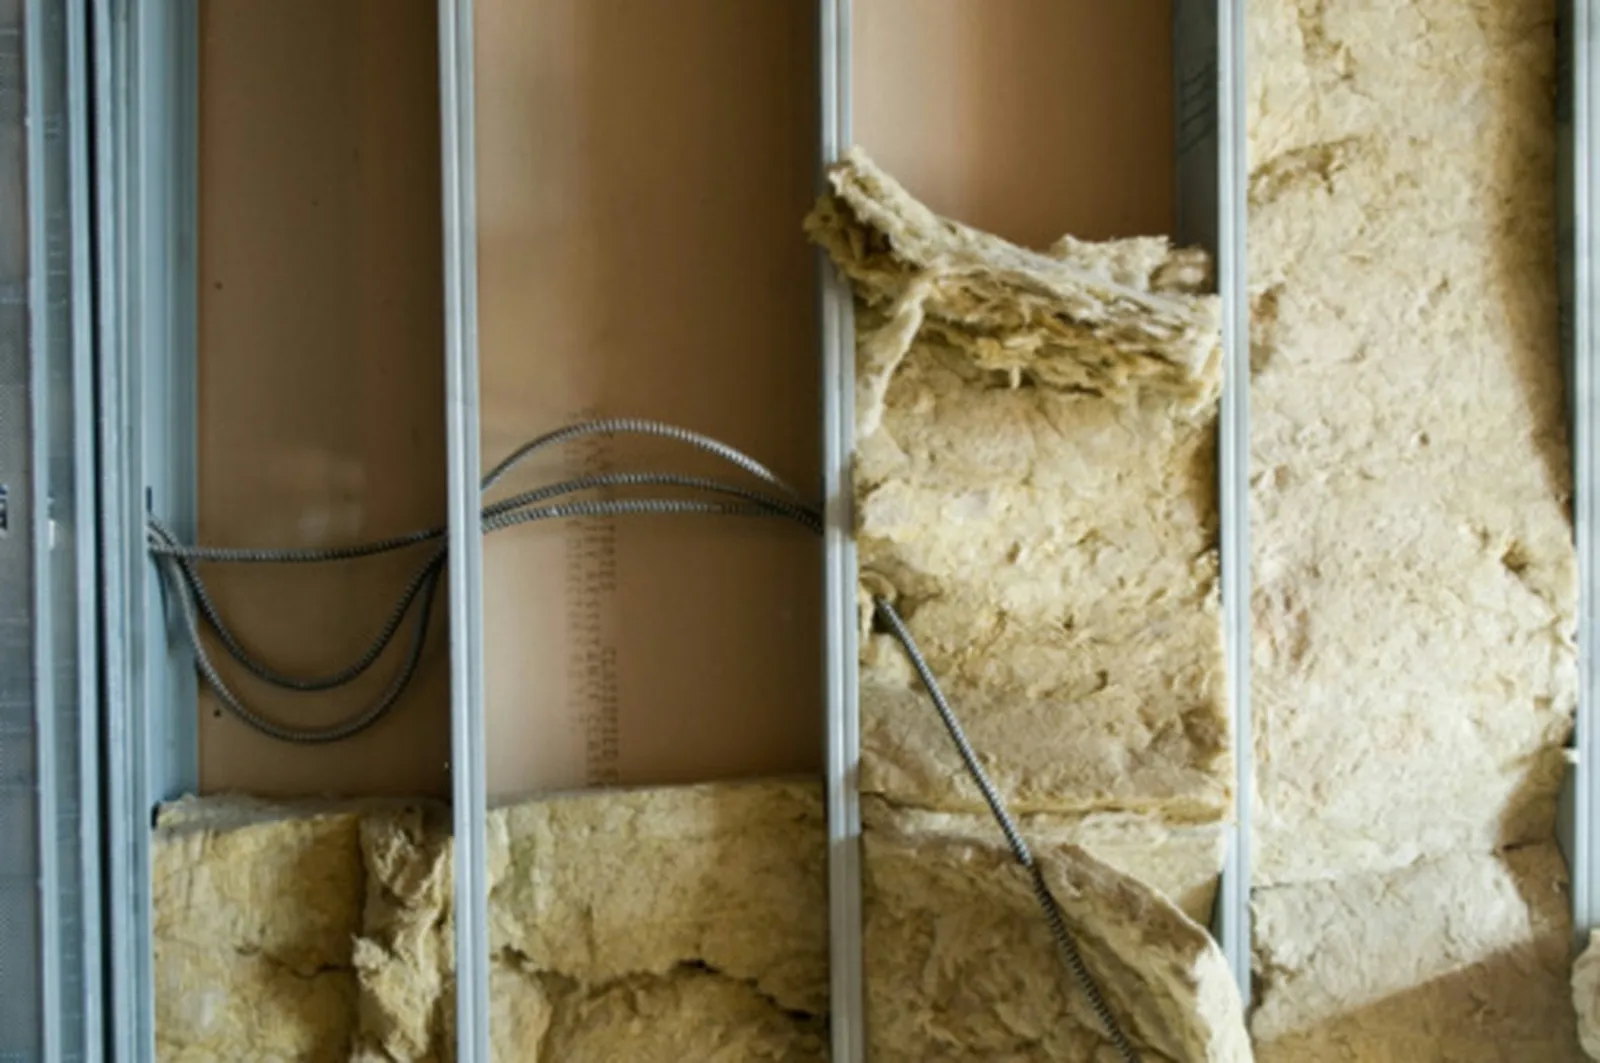
Properly installed insulation can help reduce your heating and cooling costs.
Homes built with lath and plaster walls, particularly older ones, frequently have insufficient or nonexistent insulation within the wall cavities. By insulating the exterior walls, you can make your home more energy-efficient and potentially reduce what you spend on heating and cooling. Existing lath and plaster walls can be insulated using blown-in cellulose, a method that avoids the need to remove the plaster. Some preliminary work is required, but after those steps are done, an insulation blower makes the job go faster.
Step 1
First, have an electrician verify whether your home has knob-and-tube wiring that is still active. Placing insulation near live knob-and-tube wiring creates a fire risk.
Step 2
Find the studs on every exterior wall using a stud finder. Use a pencil to note where each stud is located.
Step 3
Using a hole saw attachment on your drill, bore through the plaster and lath. Position these holes close to the ceiling and midway between two studs. The hole diameter needs to be a bit bigger than the nozzle of the insulation blower.
Step 1
Load the insulation blower with material as the manufacturer directs, then put the nozzle into one of the wall holes. To create a seal that keeps insulation from escaping through the hole, wrap a rag around the hose at the point where it enters the wall.
Step 2
Switch on the blower and let it fill the wall cavity until no more insulation can be added. Once the wall is full, the blower will cease feeding insulation. Shut off the blower.
Step 3
Proceed to the next wall cavity and repeat Step 2 until every cavity has been insulated. Avoid insulating cavities that house light fixtures or chimneys, since insulation in those spaces would be a fire hazard.
Step 4
Seal the holes using expanding foam insulation. After the foam dries, trim away any excess so it sits level with the wall. Then apply drywall compound over the foam patch to make the surface smooth. Paint the patched areas to blend with the rest of the wall.



