Building a Wooden Stand for Makeup Brushes and Eyebrow Tools
If you're short on drawer space in your bathroom or vanity, a countertop organizer can help. This project shows how to turn a wooden block into a custom stand that holds makeup brushes and eyebrow grooming tools, with an extra spot for a tiny flower vase.
By Reese Campbell8 steps
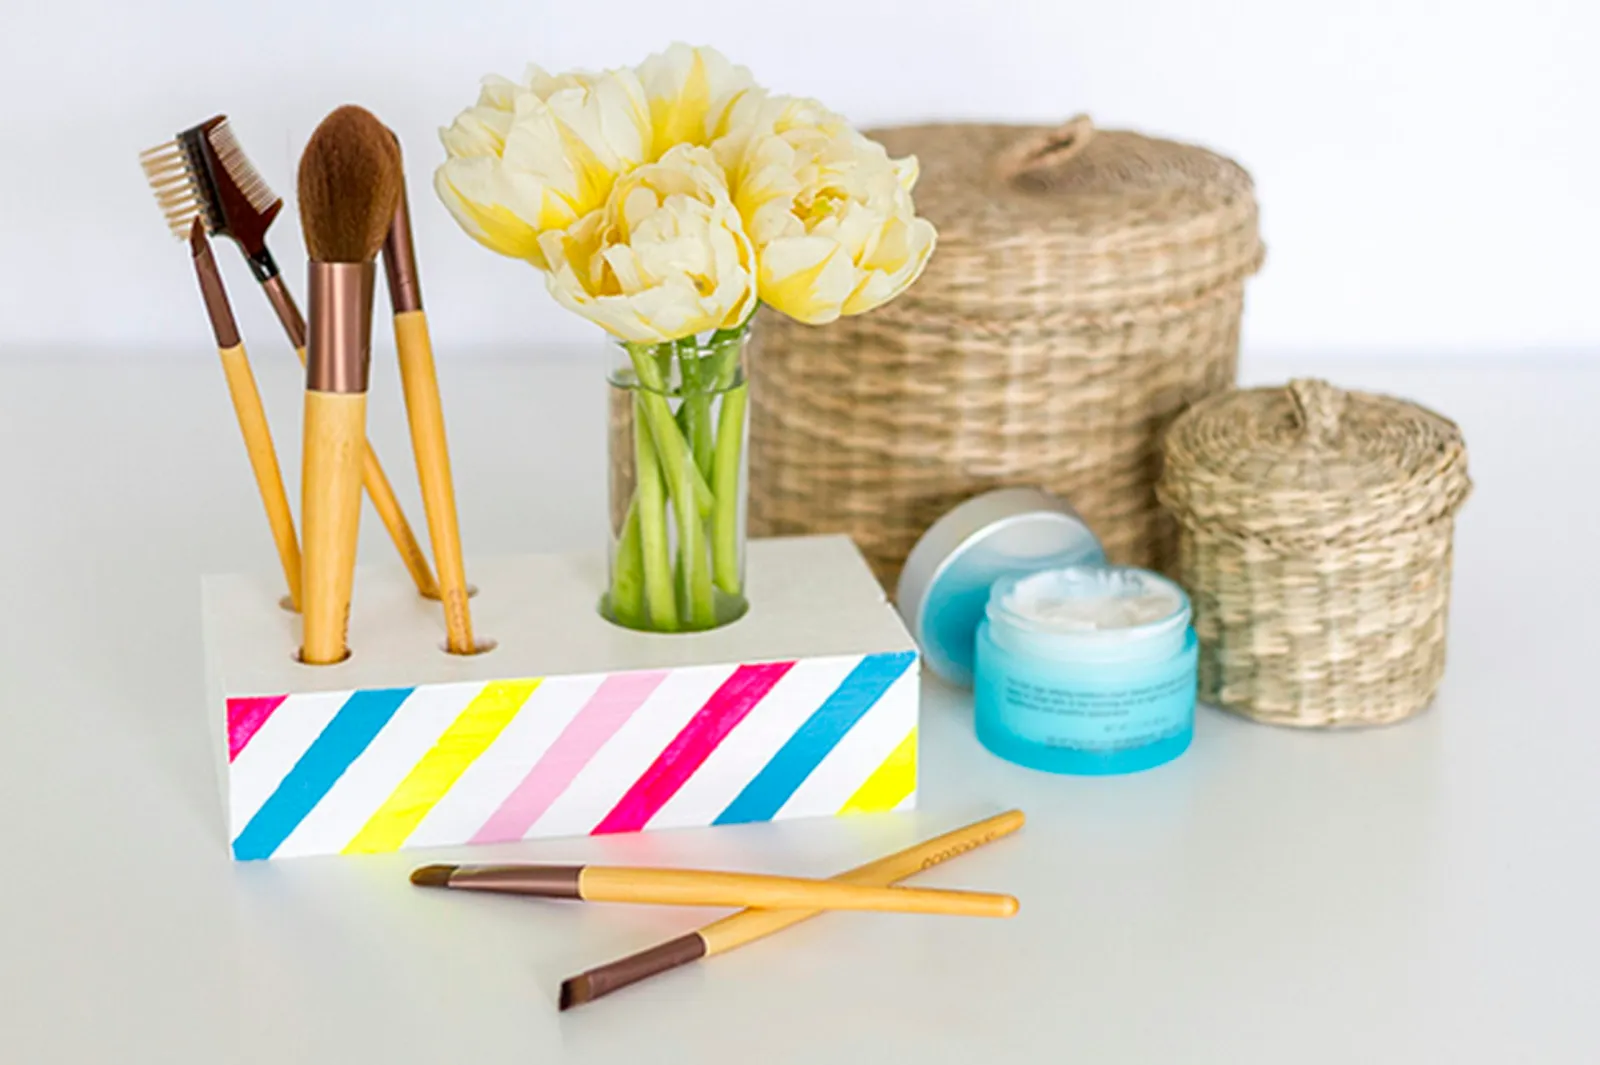
Make your own countertop makeup brush organizer.
If you're short on drawer space in your bathroom or vanity, a countertop organizer can help. This project shows how to turn a wooden block into a custom stand that holds makeup brushes and eyebrow grooming tools, with an extra spot for a tiny flower vase. The steps below walk through the process.
Supplies
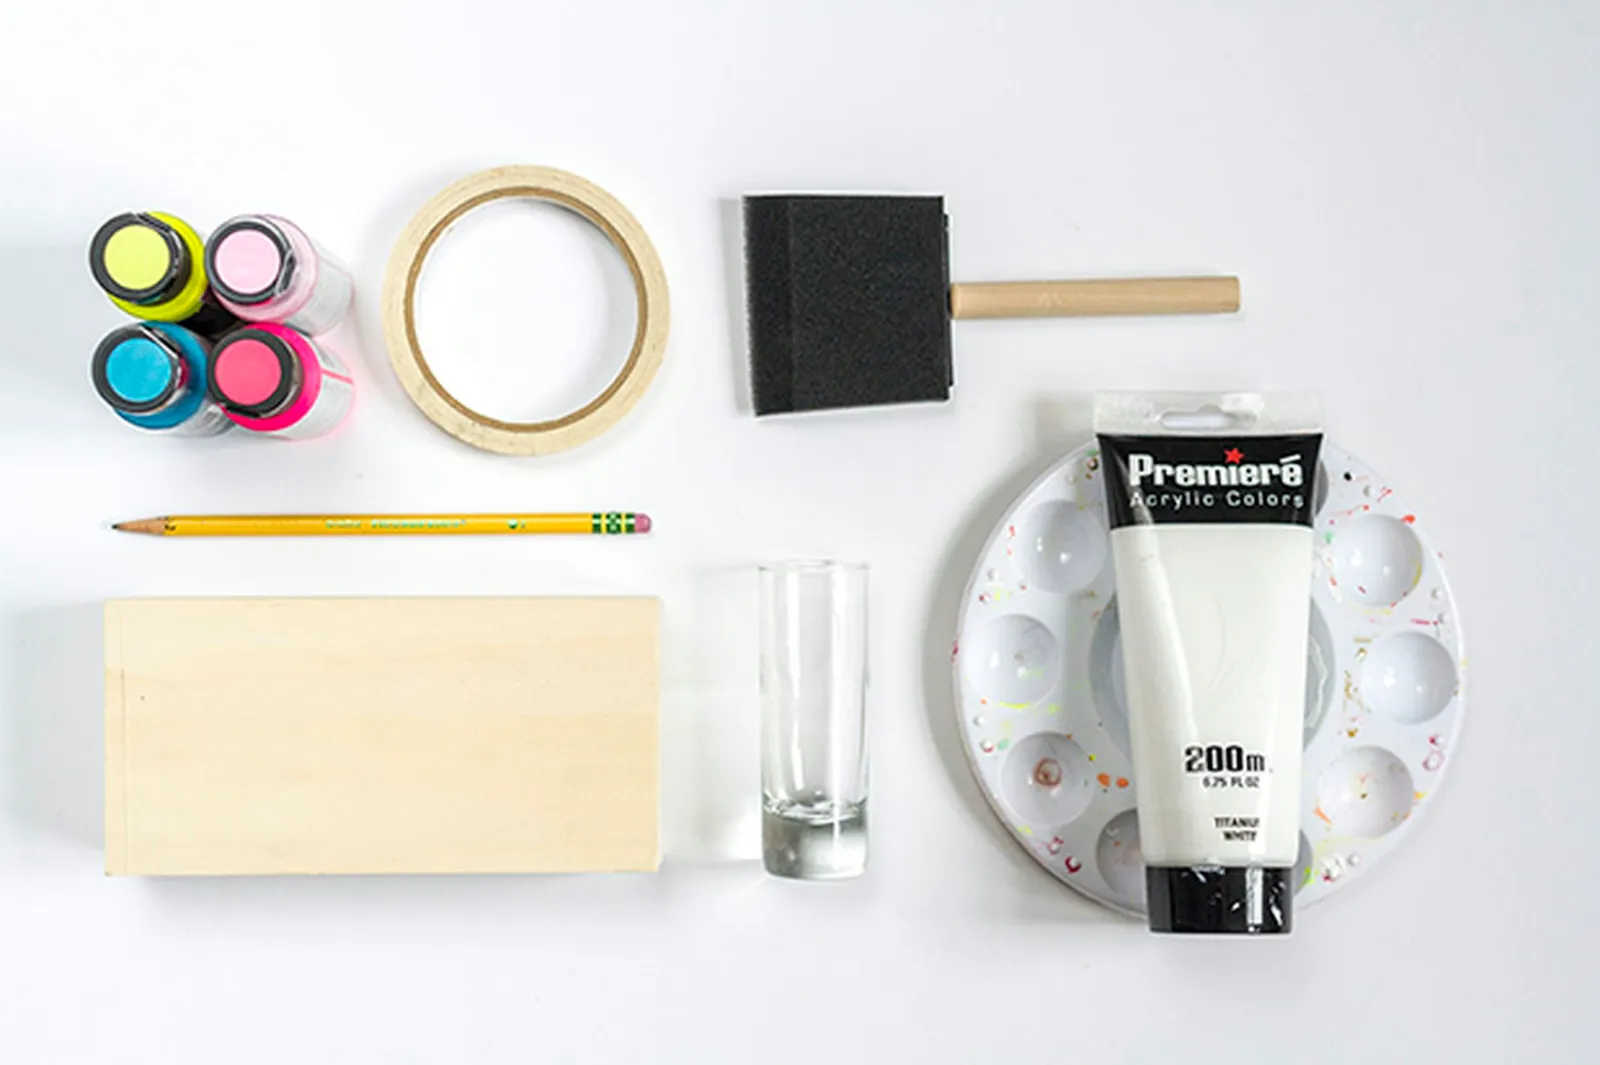
Begin the project by purchasing and laying out all of the necessary supplies.
- Wooden block measuring 7 inches by 3 1/2 inches by 2 1/2 inches
- Drill press
- Forstner bit, 1-inch size
- Forstner bit, 1/2-inch size
- Safety glasses and mask
- Sandpaper, 120-grit
- White acrylic craft paint
- Plastic painter's tray
- Foam paintbrush, 2-inch
- Small detail paint brush
- Craft acrylic paint in various colors
- Masking tape
- Glass votive vase with a 3/4-inch diameter
Step 1: Select the Bit
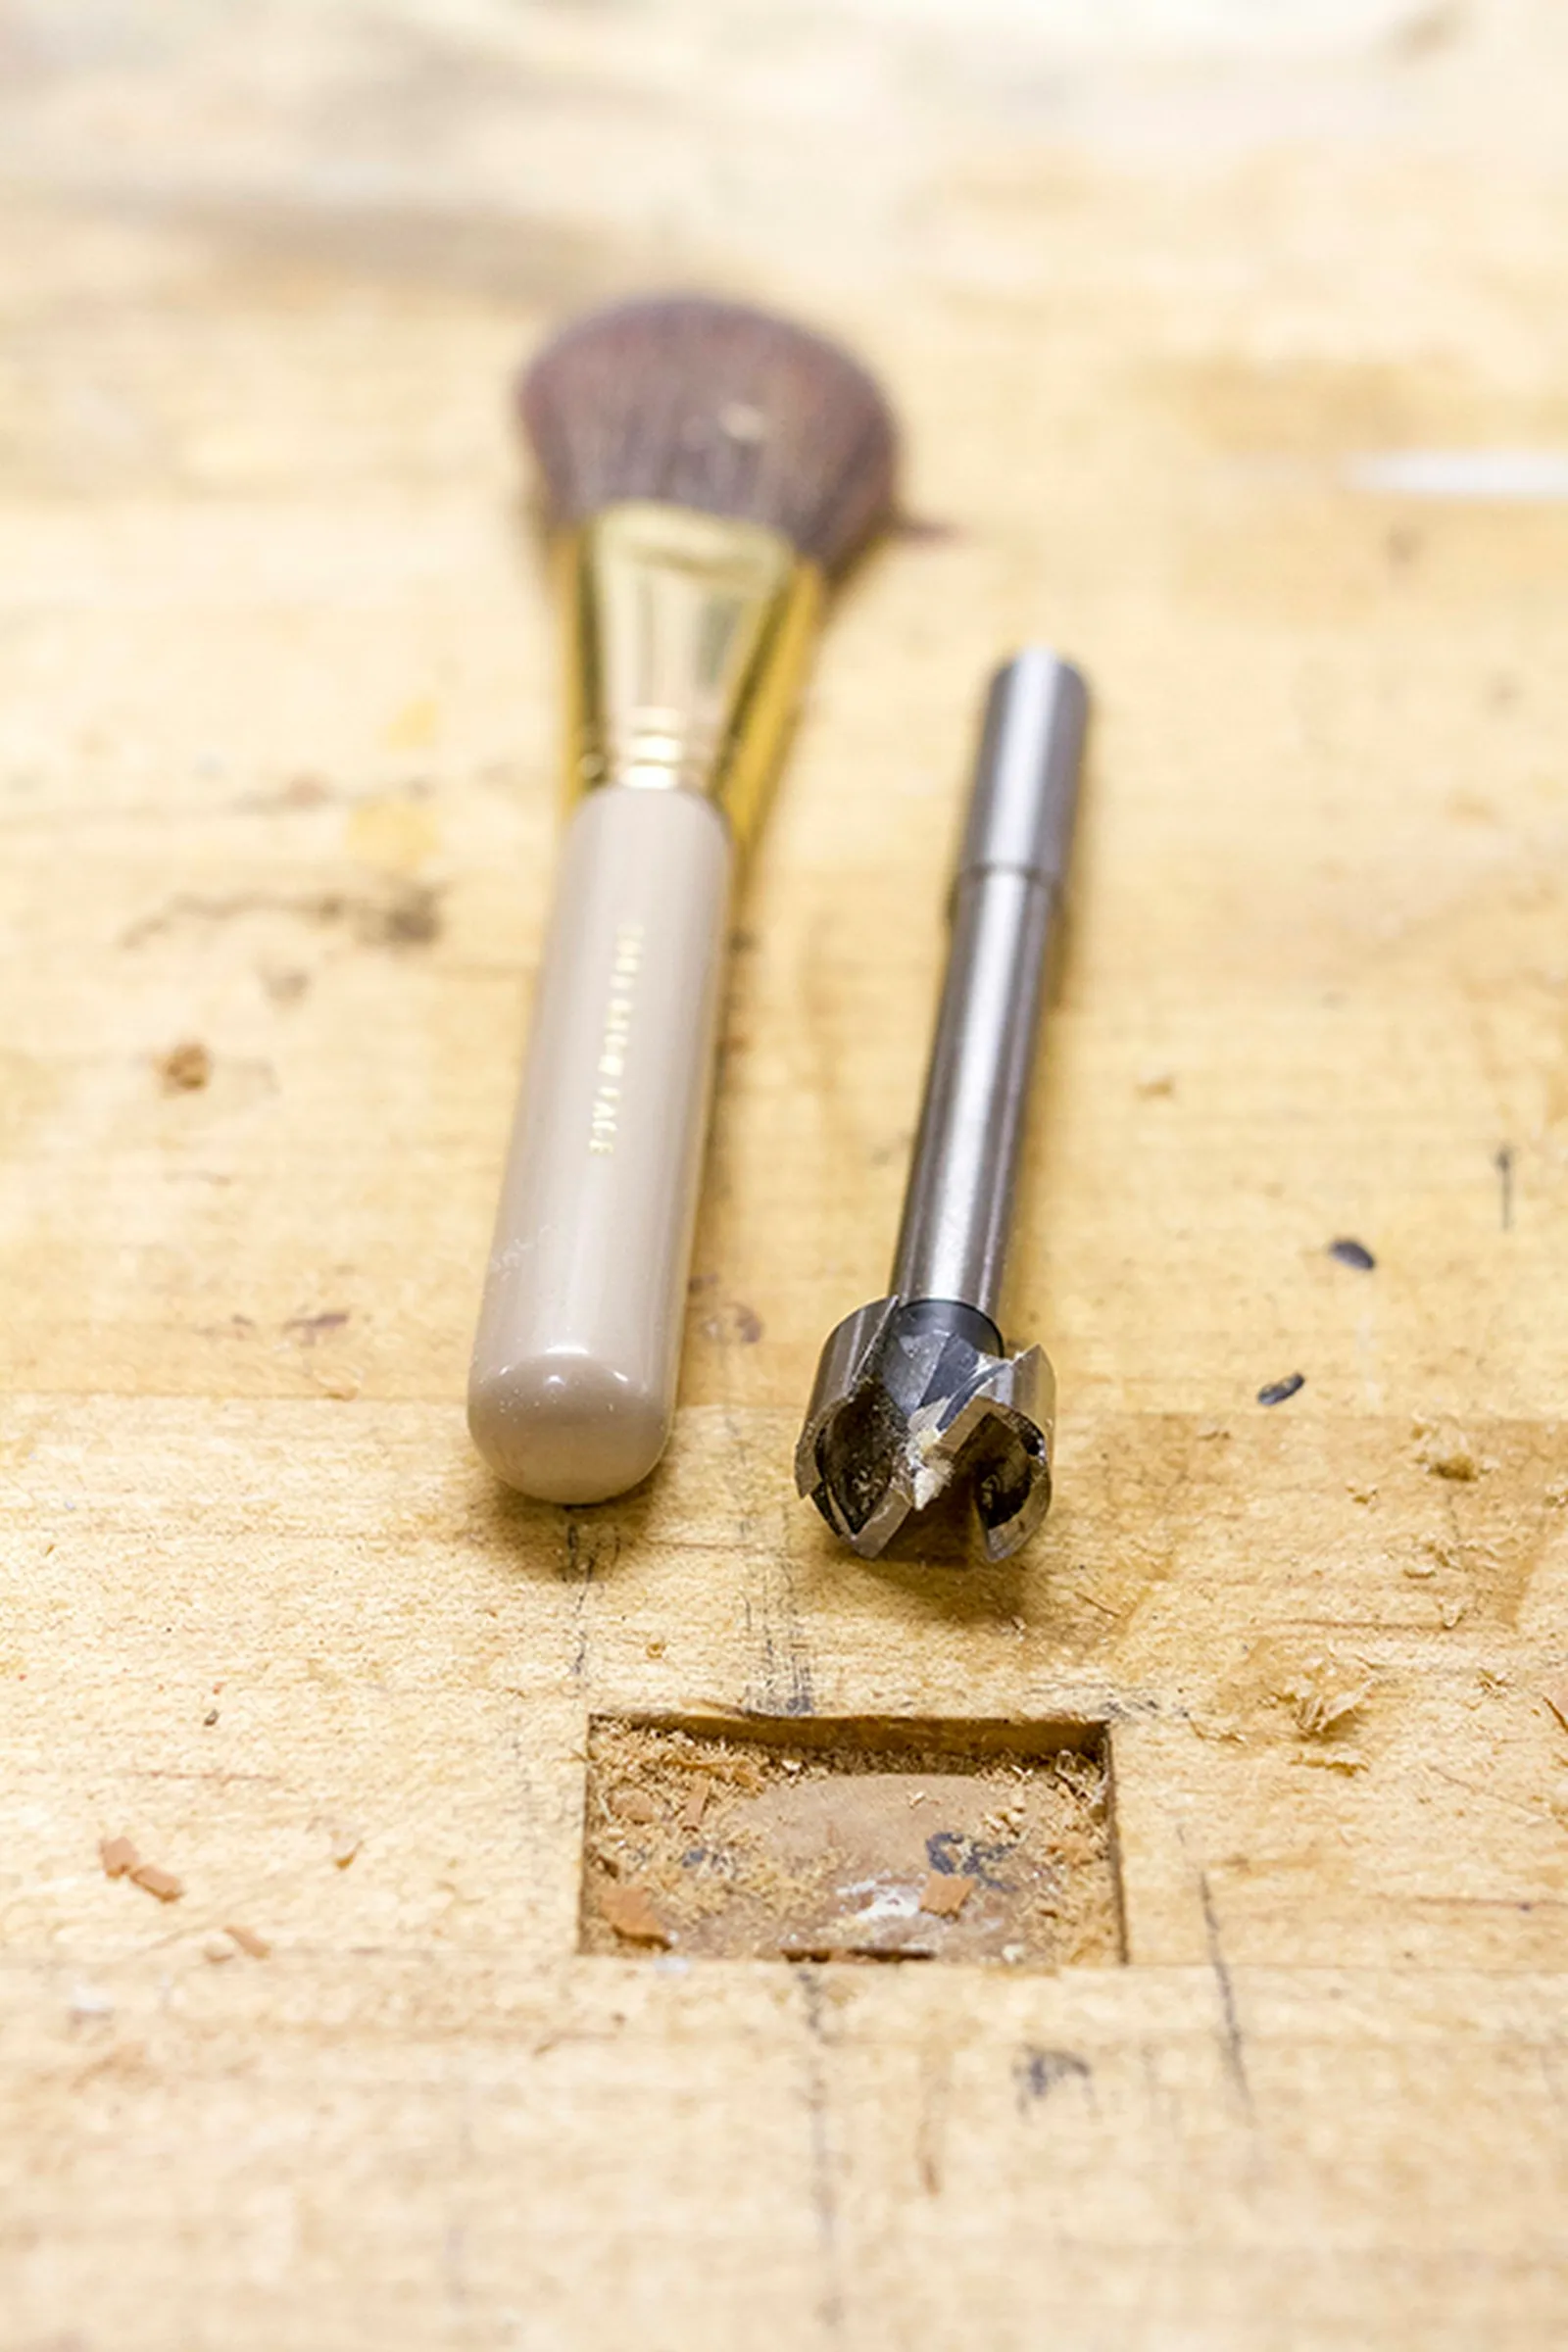
Measure the diameter of your thickest makeup brush and then find a bit to match.
Pick out a forstner bit that matches the diameter of your biggest makeup brush, then mount it on the drill press.
Step 2: Mark the Hole Positions
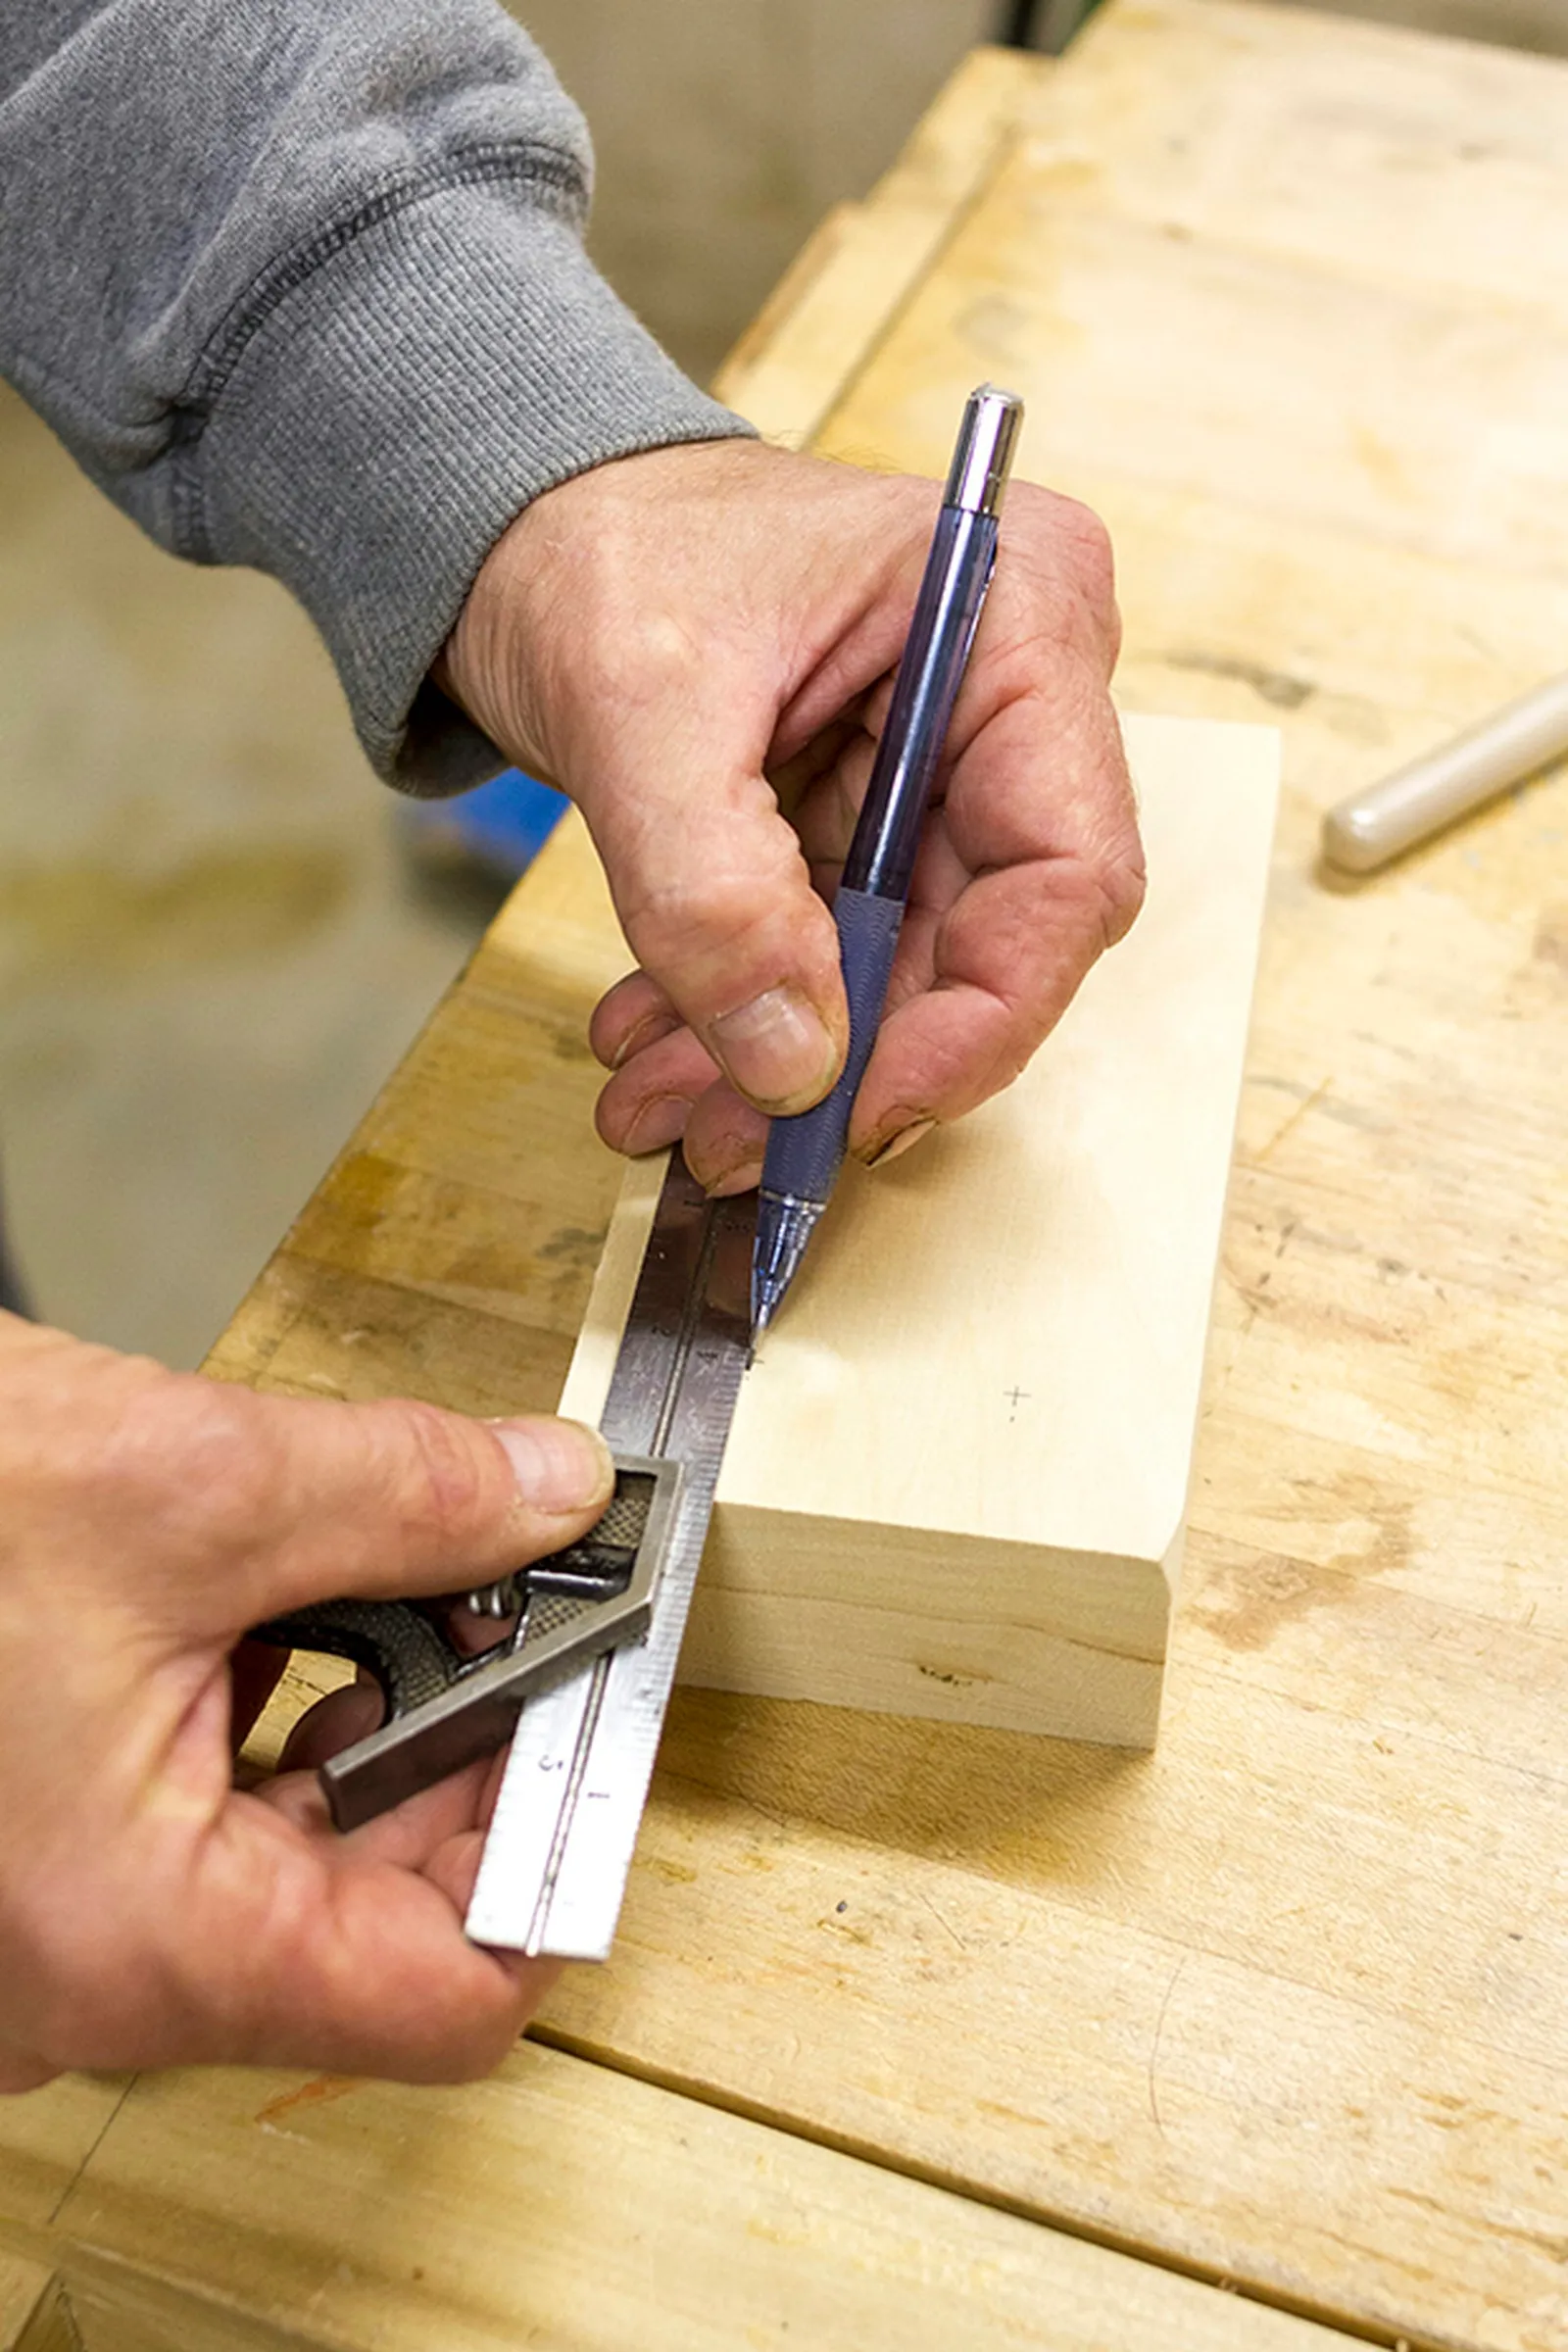
Use a ruler and pencil to make marks on the wood where the holes will go.
With a ruler and pencil, measure and mark where each makeup brush hole will go on the top face of the wood block. Place four marks evenly spaced from one another and from the block's edge. After that, make one additional mark for a larger hole near the opposite end of the block. The glass vase will sit in that opening.
Step 3: Bore the Brush Holes
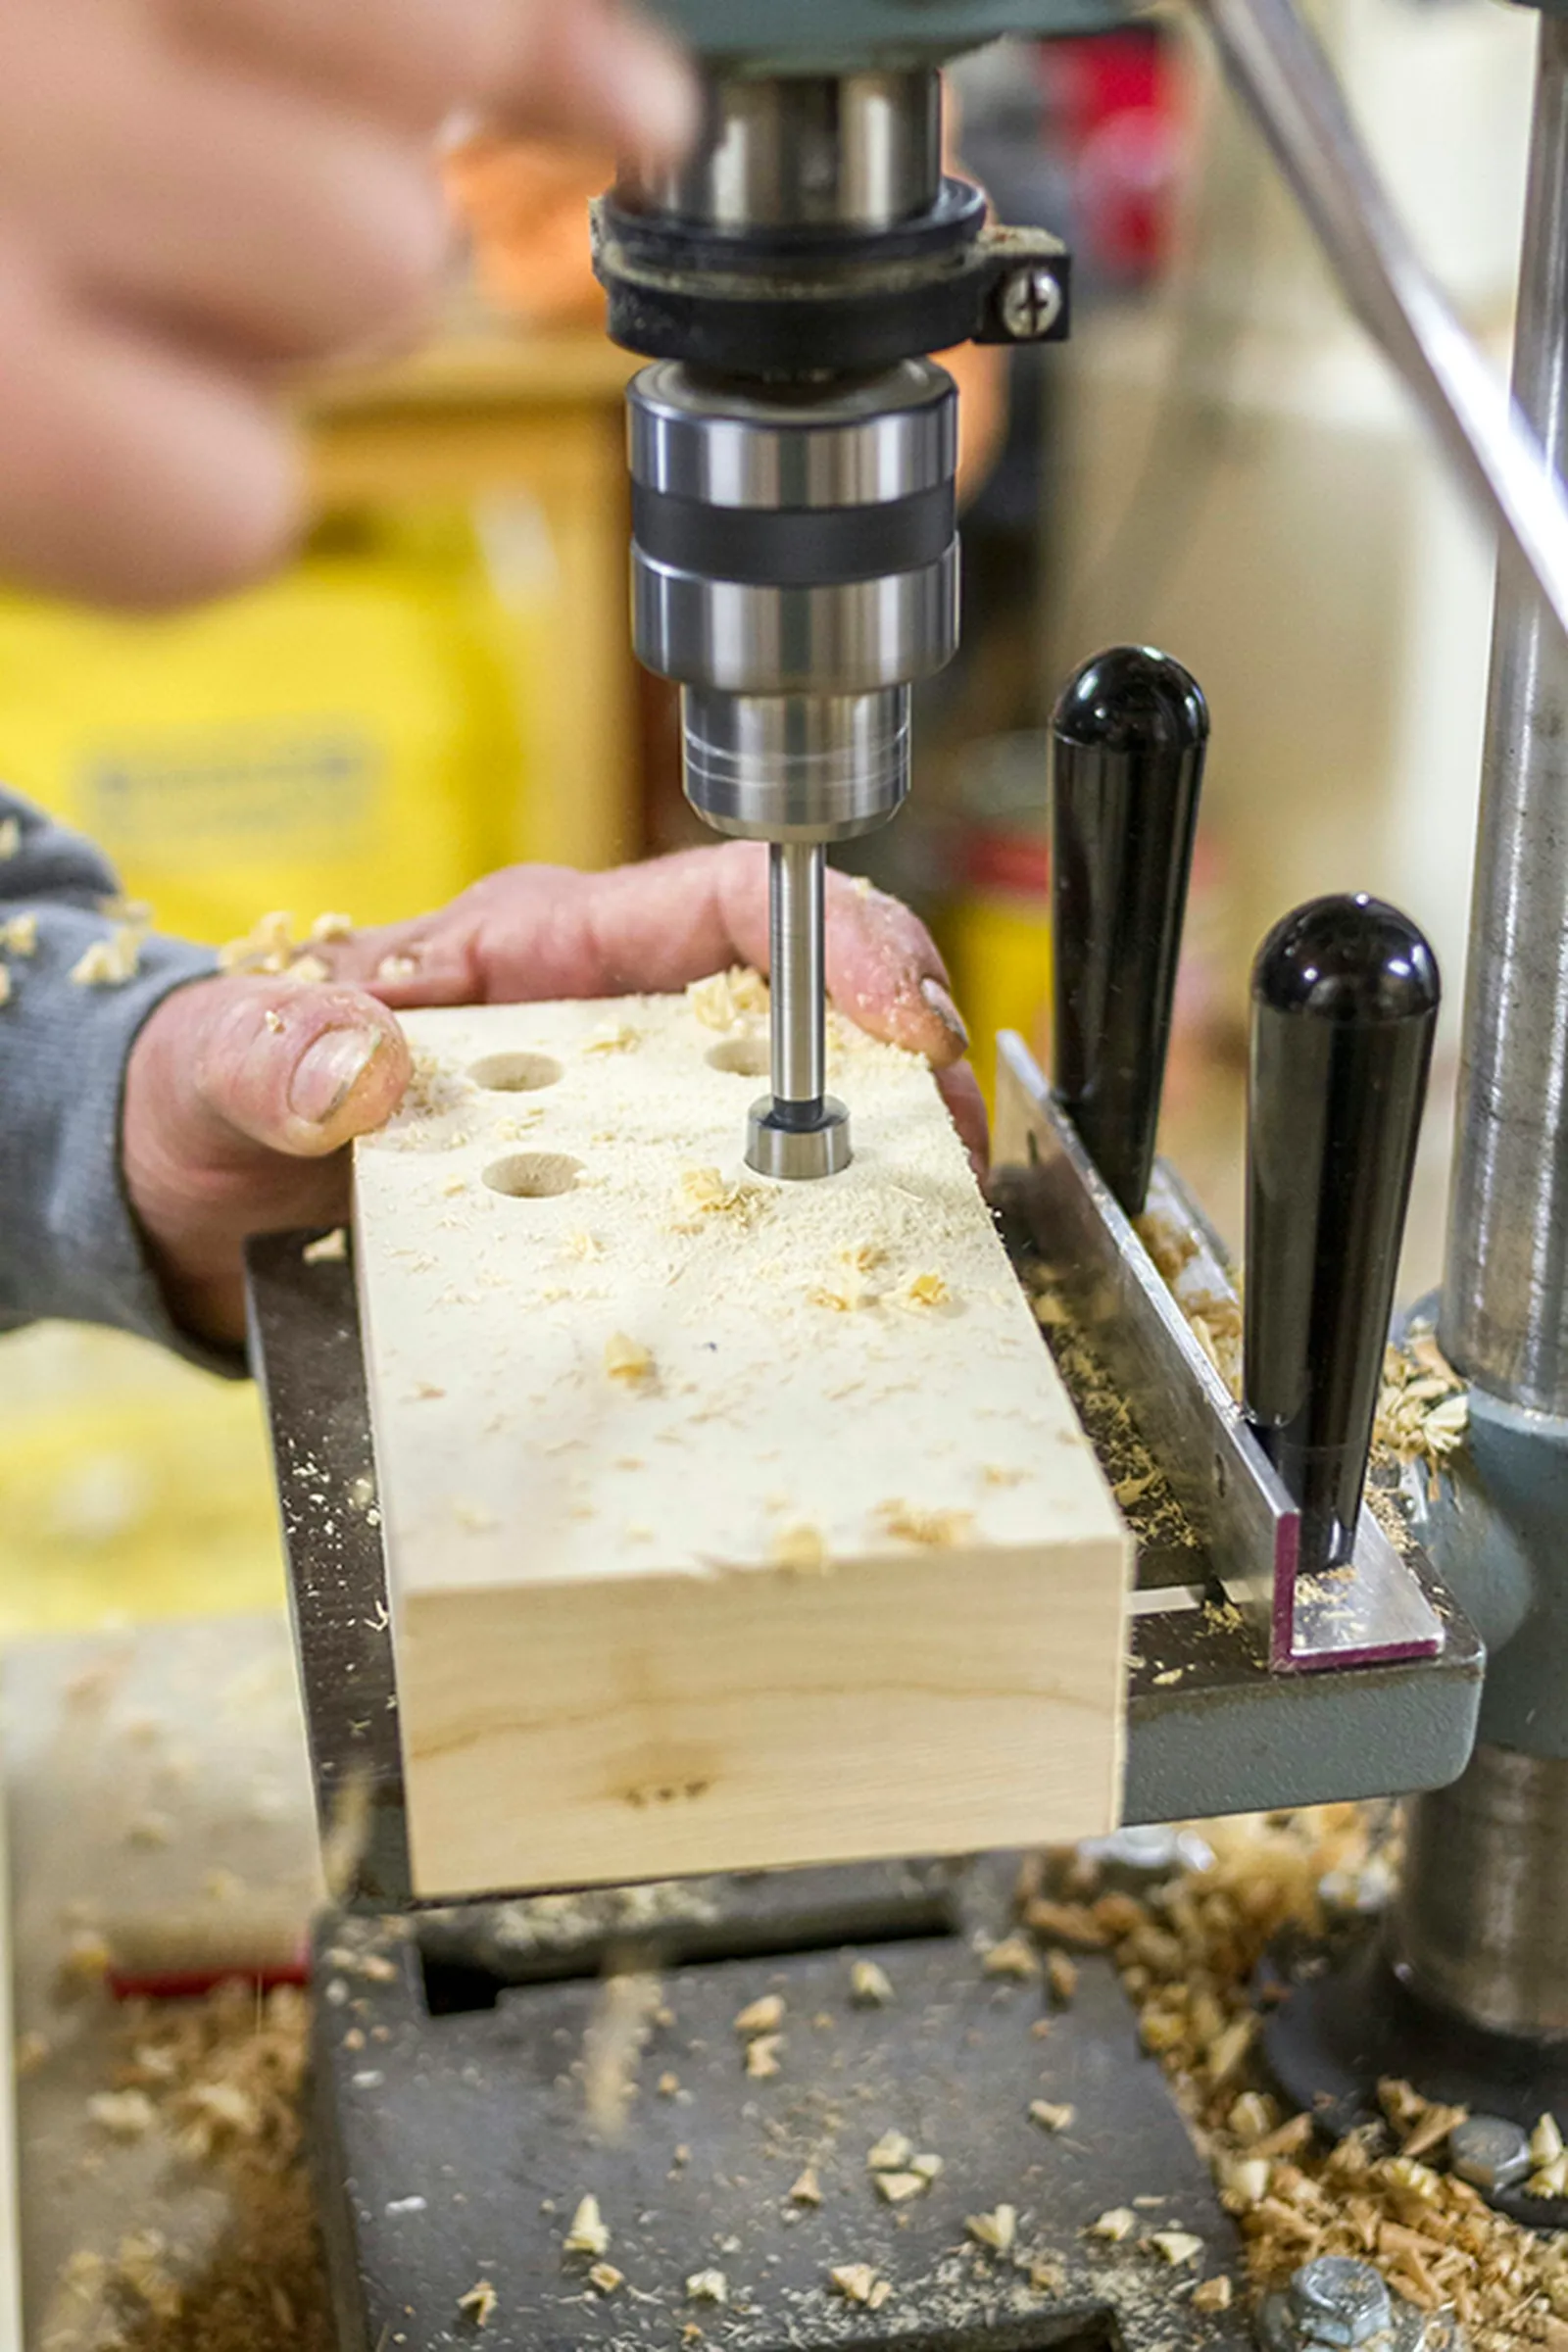
Drill small holes into the top of the wood block for the brushes to go into.
Put on the appropriate safety gear, then drill the smaller makeup brush holes into the top of the block.
Step 4: Bore the Vase Hole
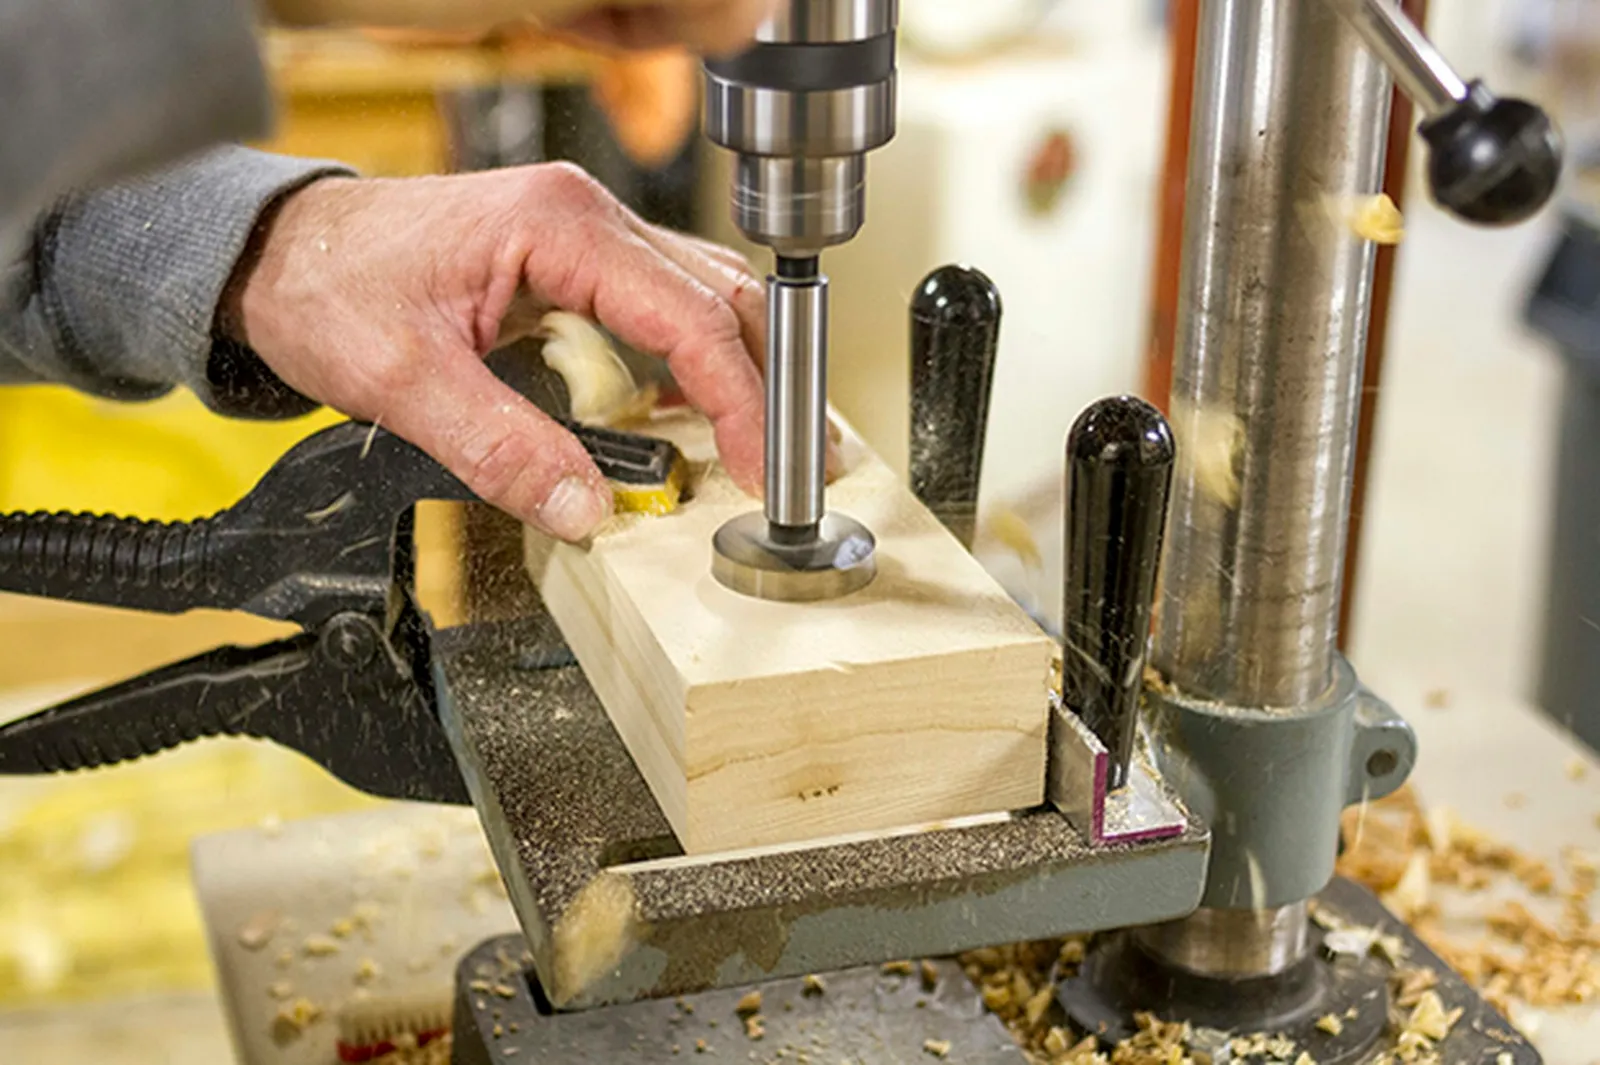
Drill one larger hole into the wood block for the vase to go into.
Switch the drill press to a 1-inch forstner bit and drill the larger opening for the vase. Use 120-grit sandpaper to smooth any rough spots on the block's surface and inside the holes.
Step 5: Apply a White Base Coat
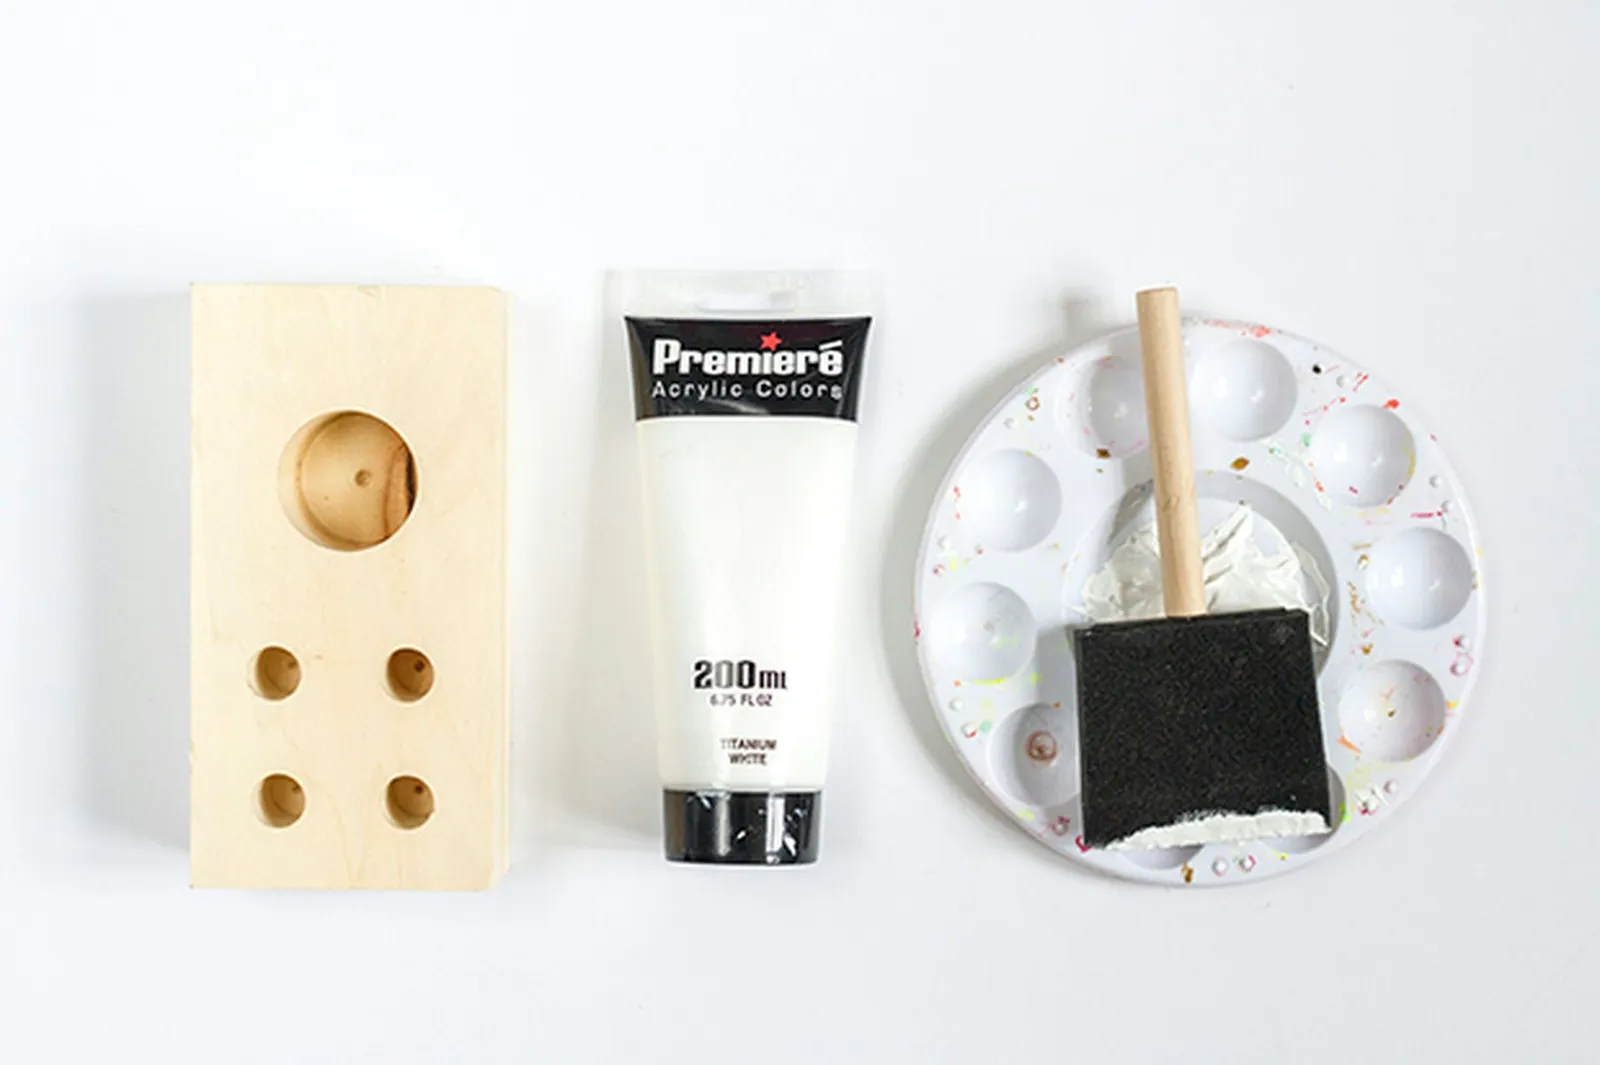
Acrylic white paint gives the wood block an even color and finish.
Pour white acrylic craft paint into a plastic painter's tray and cover the block with one coat using a 2-inch foam paintbrush. Let the paint dry until it feels dry to the touch, about 30 minutes, then apply a second coat. After the final coat, wait at least three hours for it to dry.
Step 6: Tape Off a Pattern
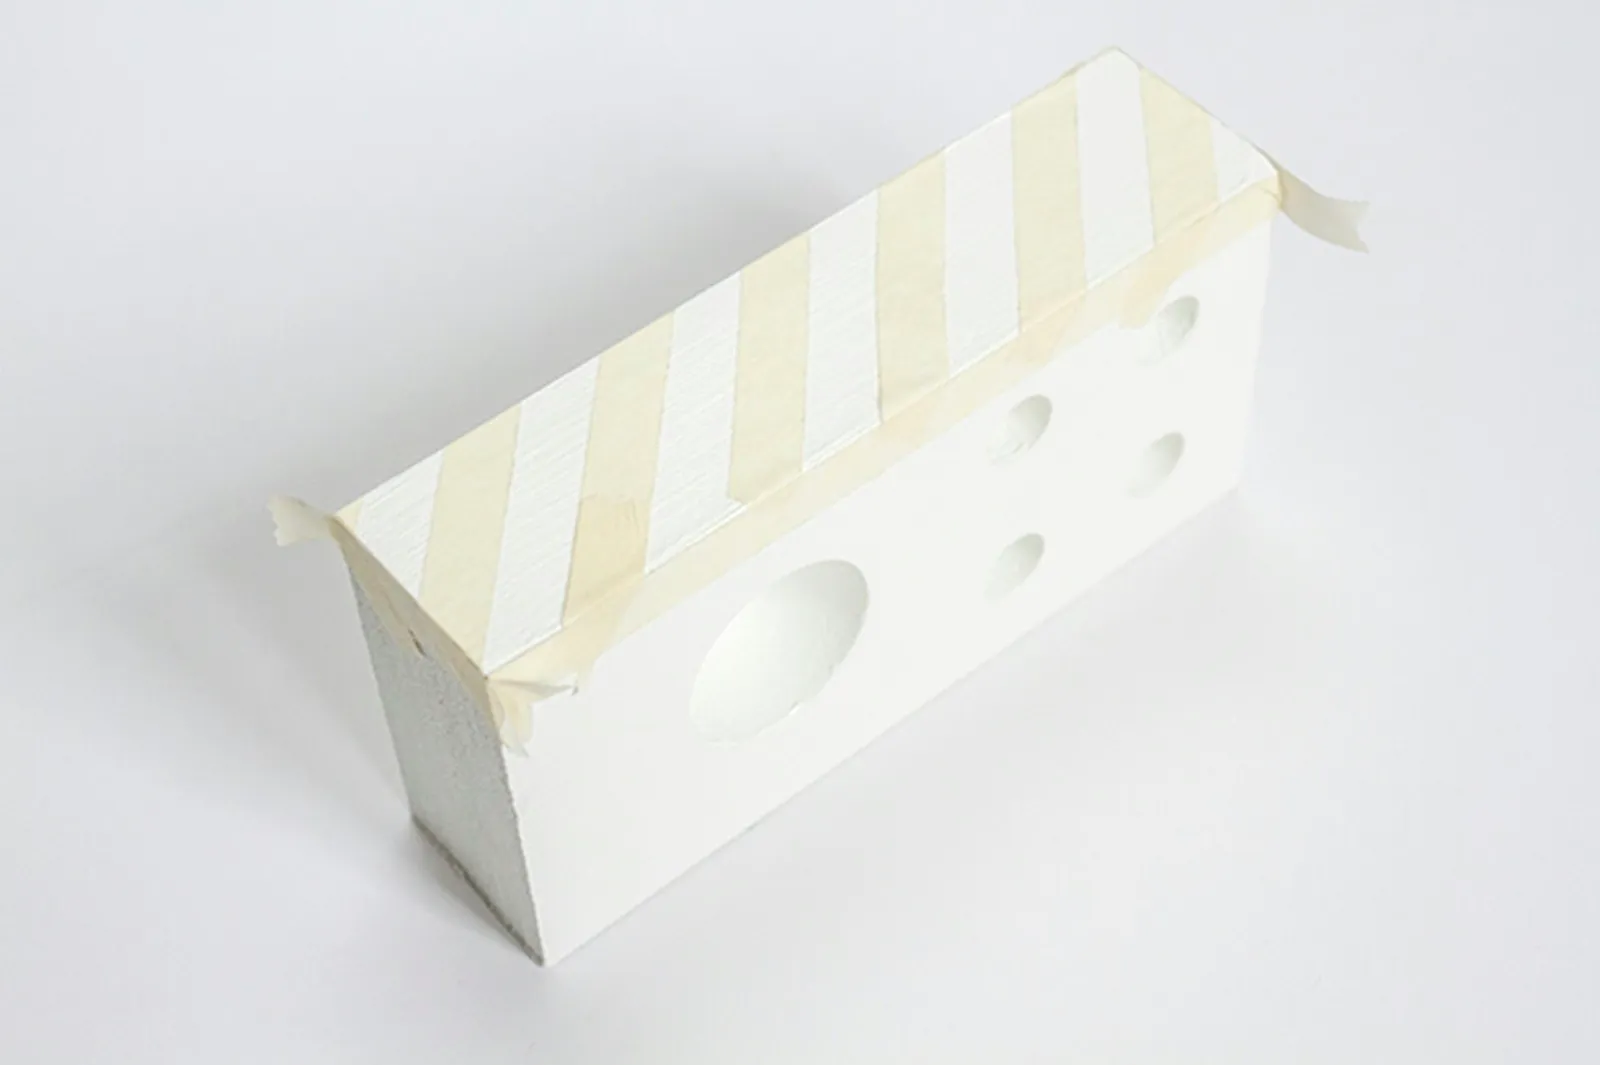
Give the block a bit of added personality by creating a design on the side with masking tape.
Tear small strips of masking tape and arrange them on the front of the block in whatever pattern you like. Press down firmly along every tape edge with your fingertips so paint doesn't seep underneath.
Step 7: Add Color to the Design
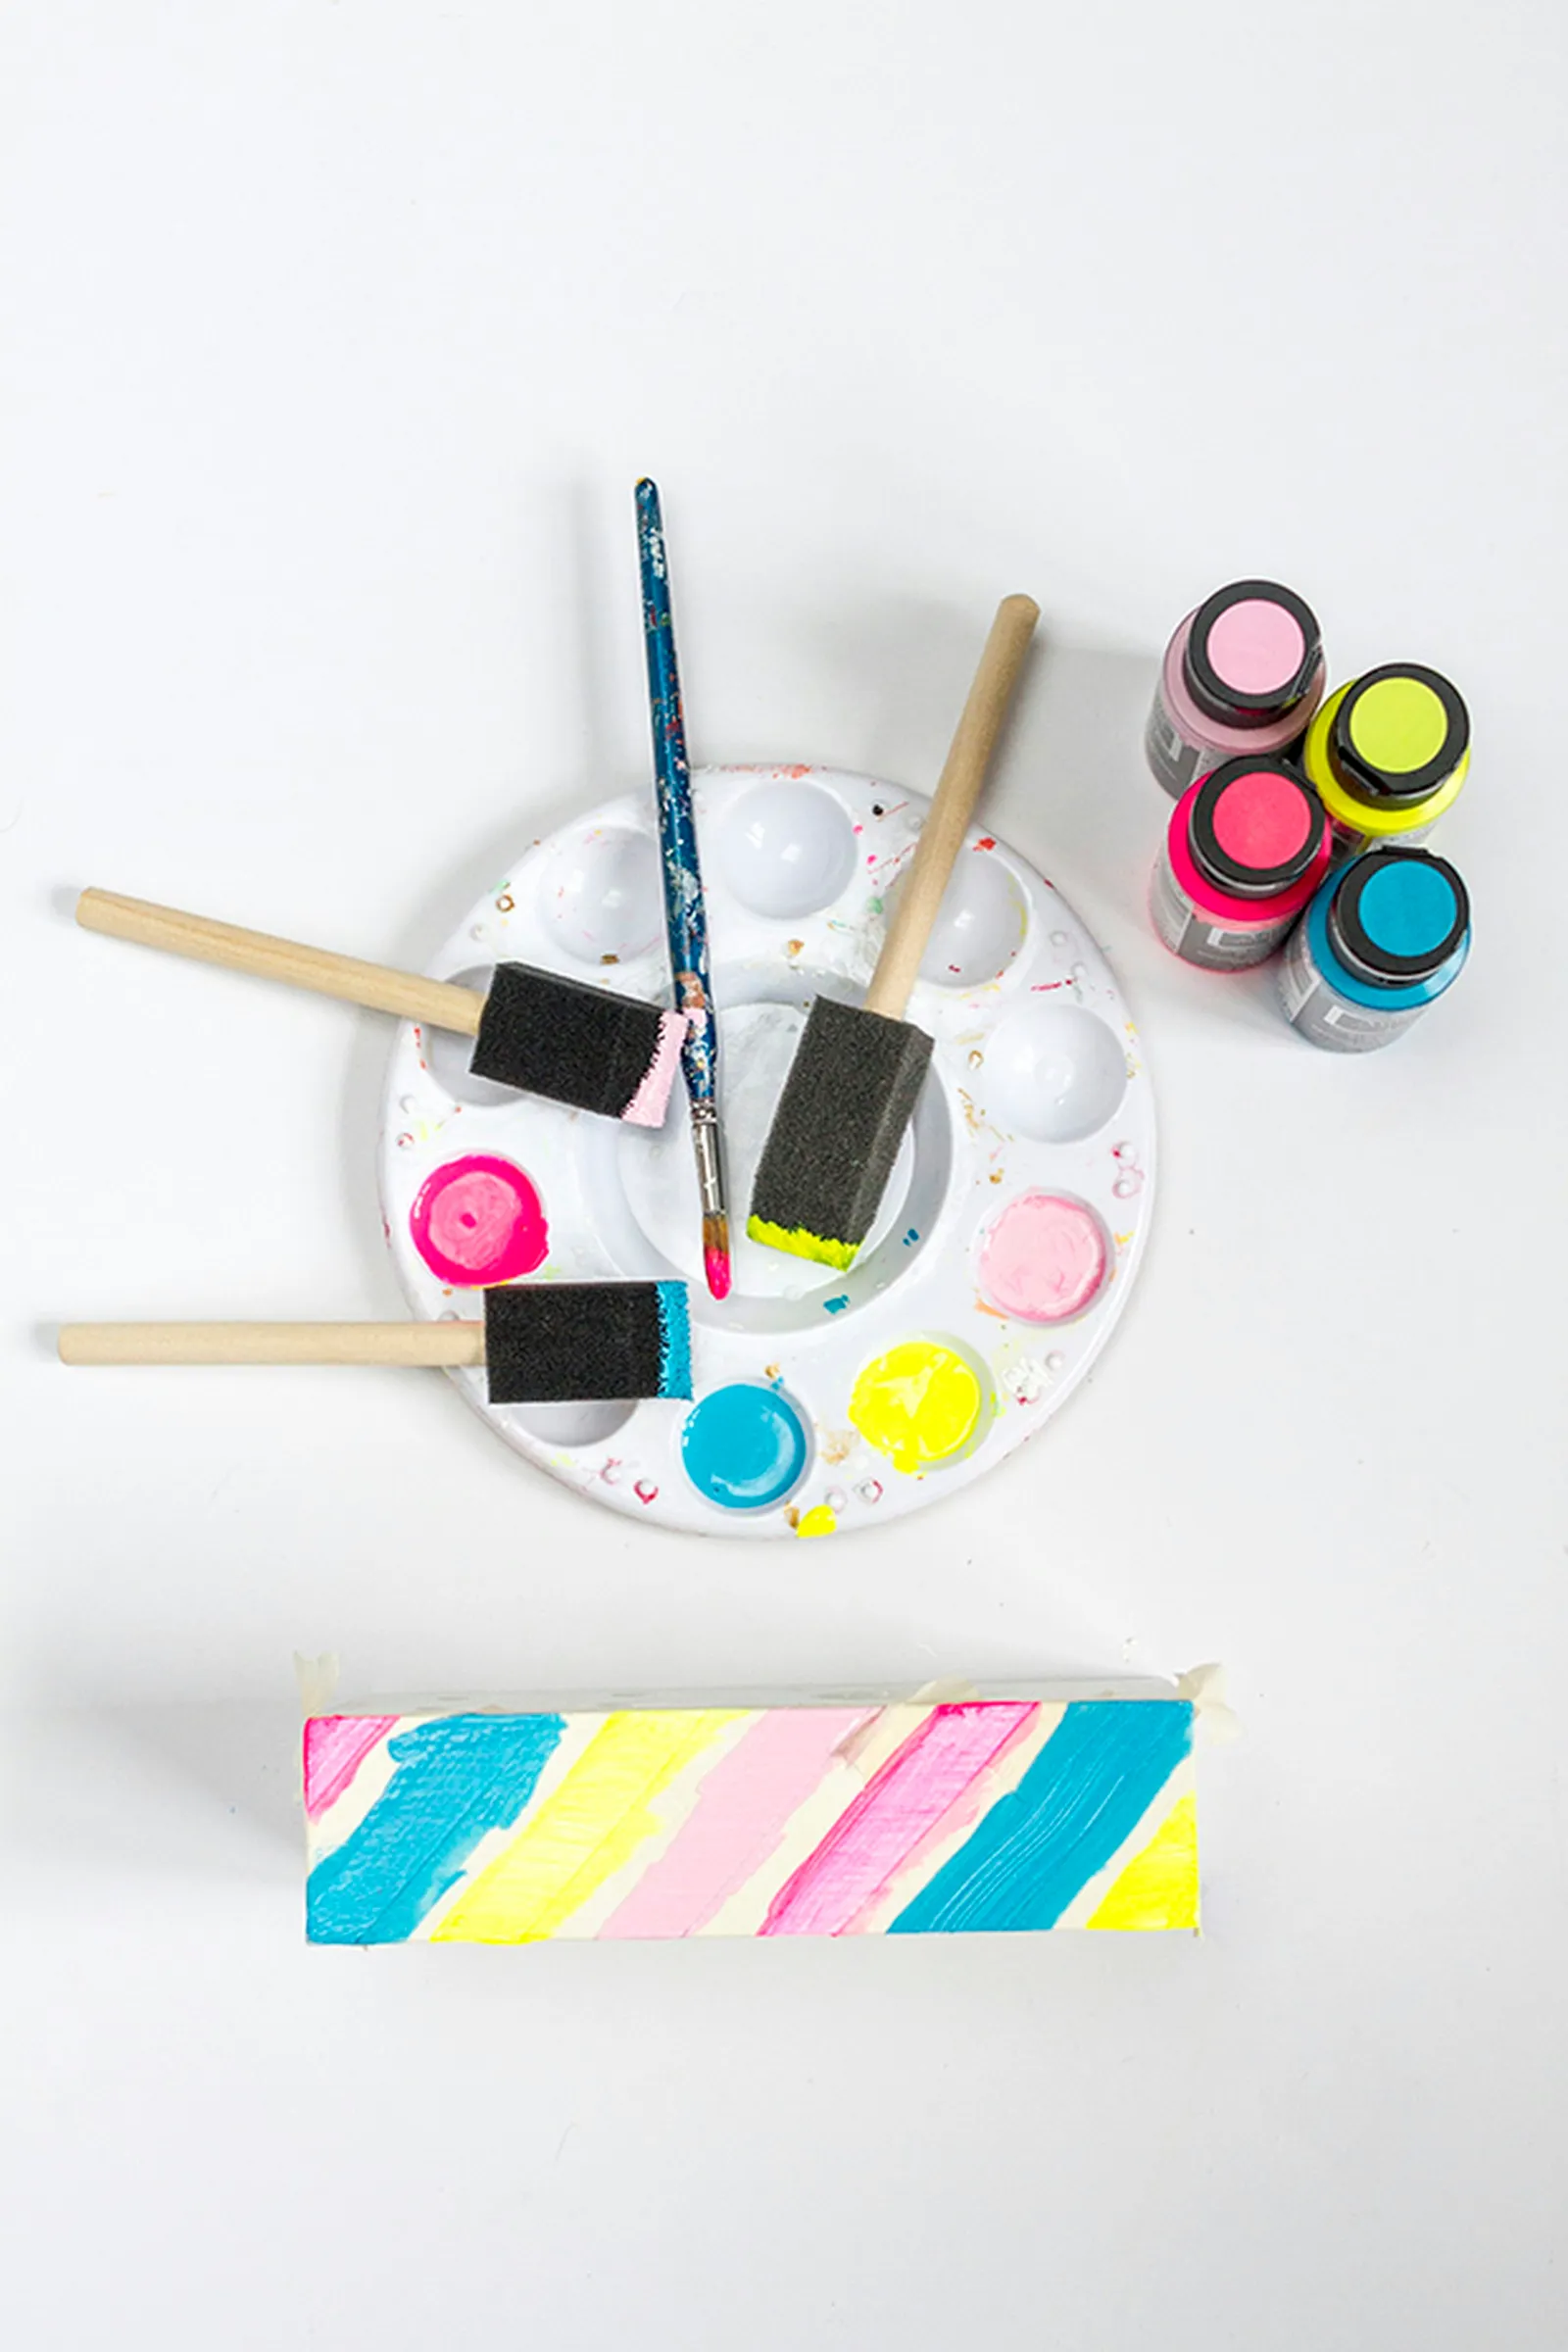
Add painted stripes in different colors to the side of the block.
Using a small detail paint brush or 1-inch foam paintbrushes, apply craft acrylic paint to the block. Let each coat dry for 30 minutes, then keep adding coats until the white base no longer shows through the color.
Step 8: Let the Block Dry
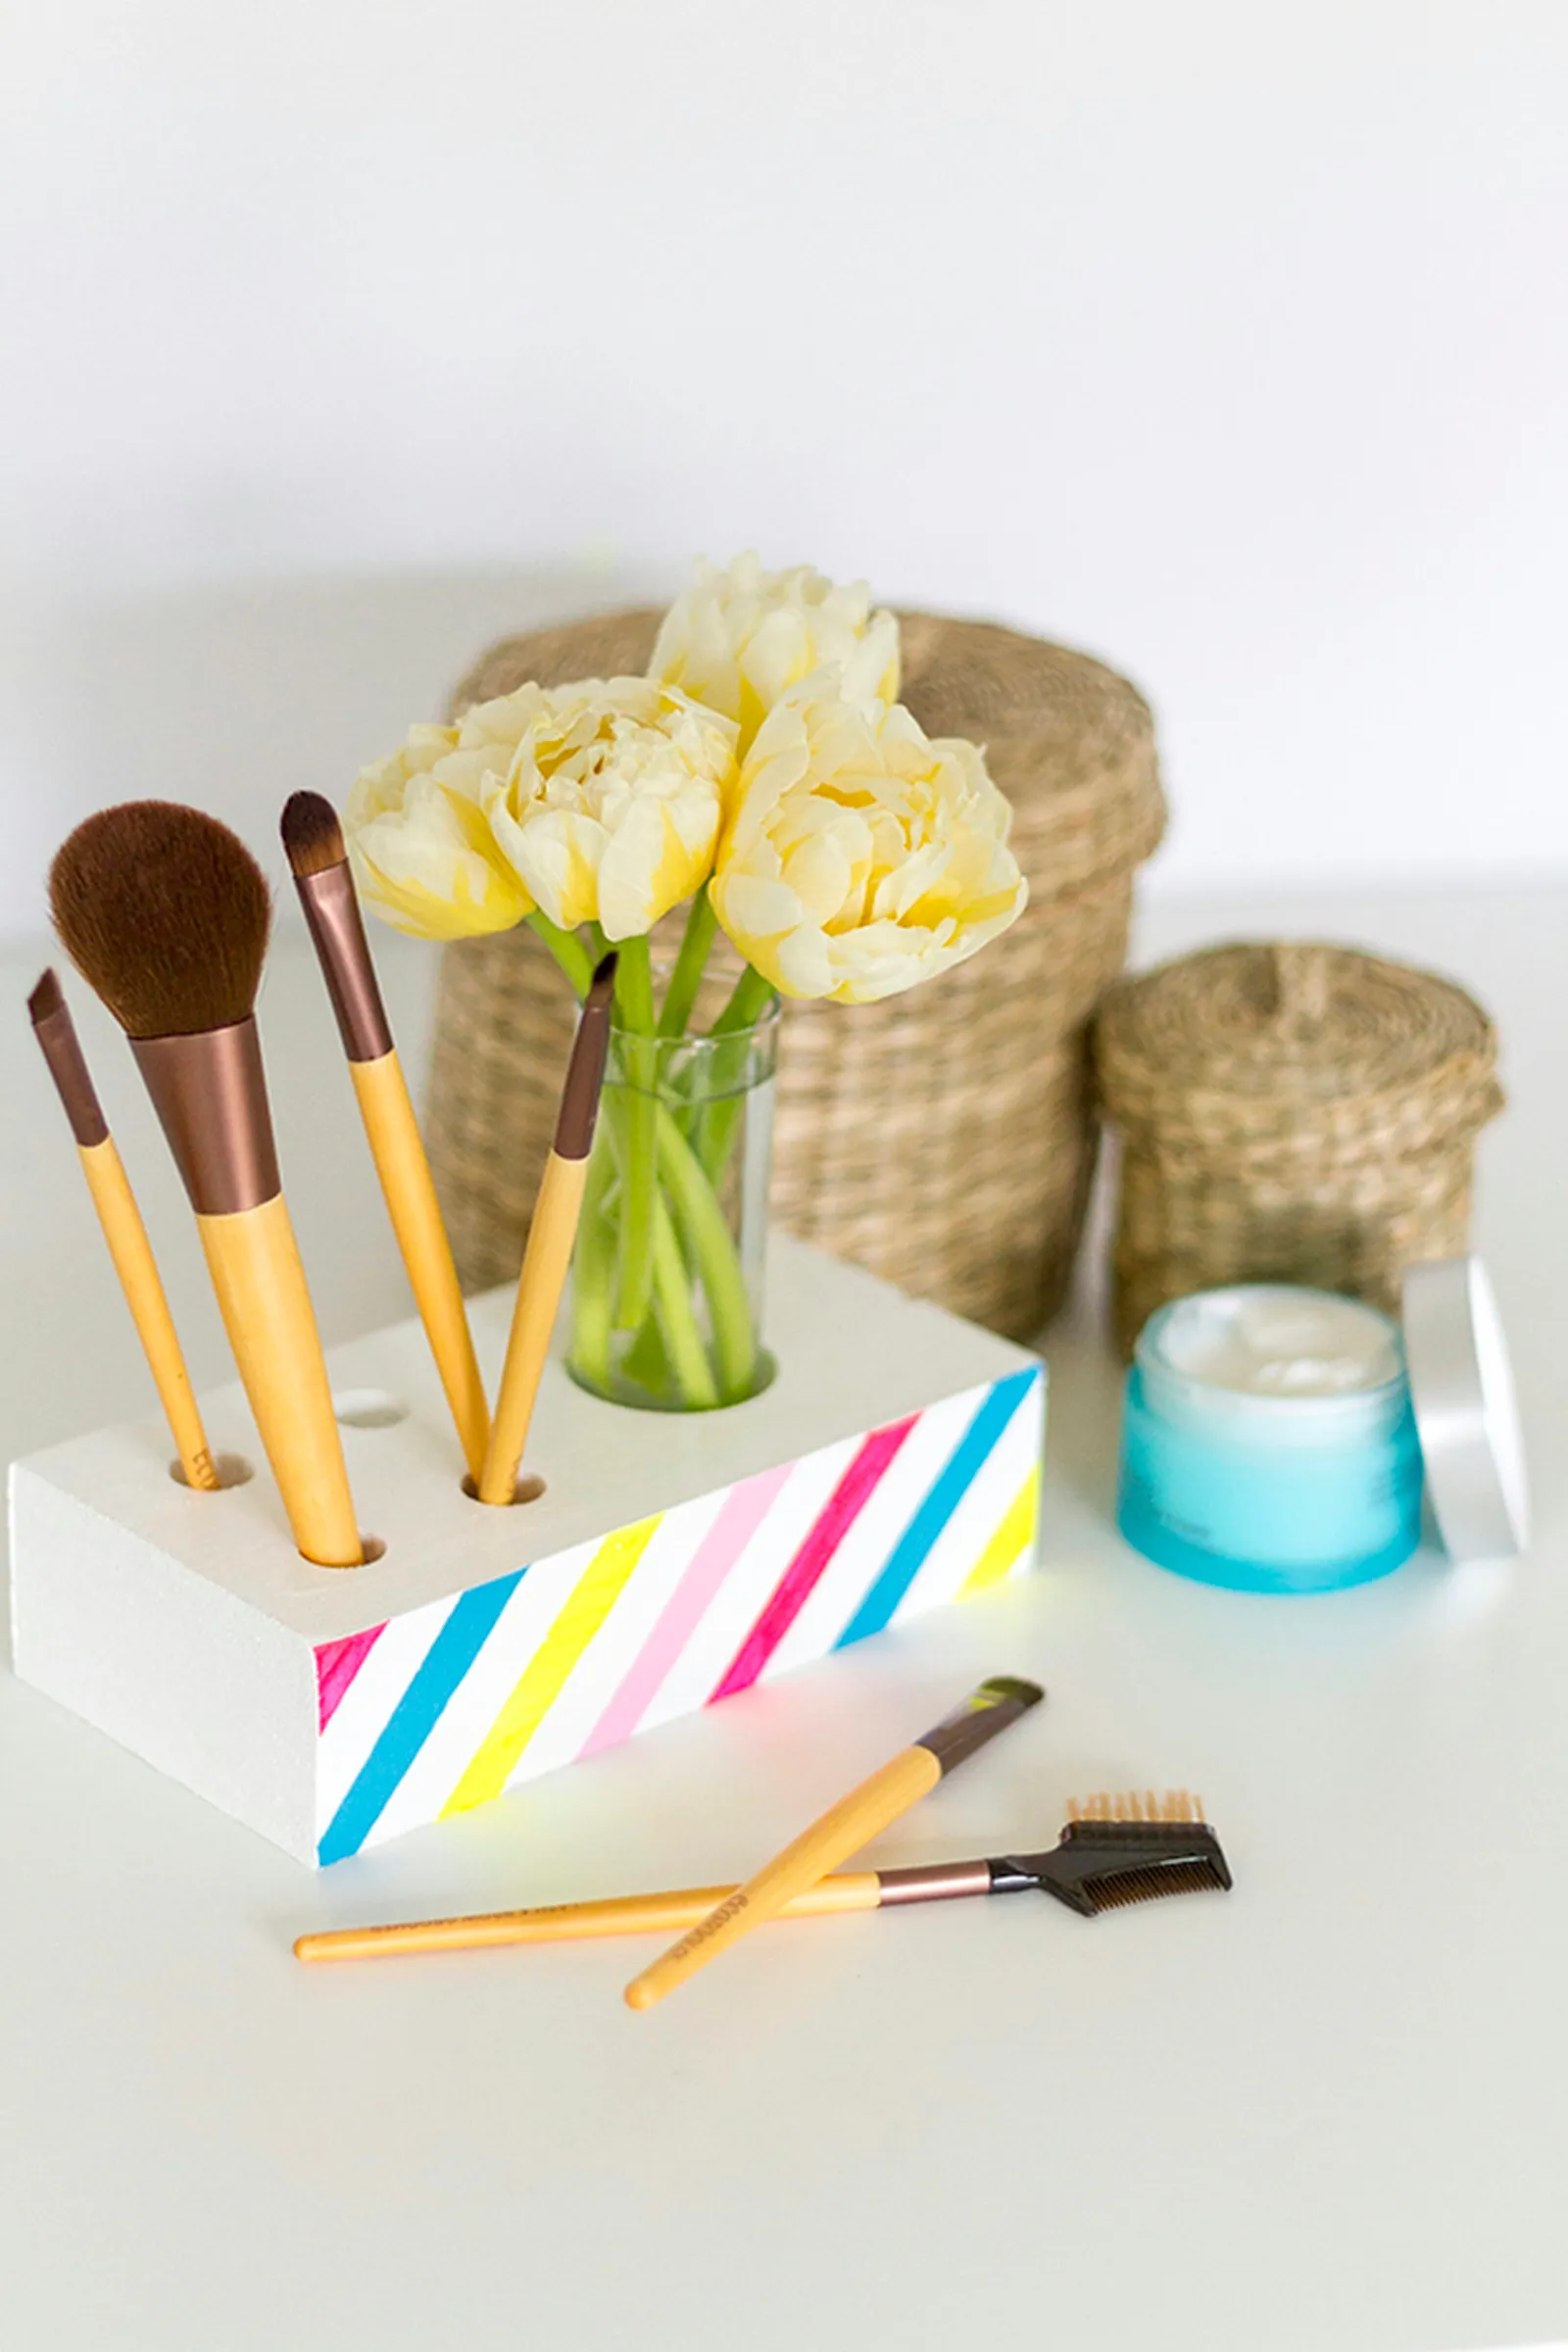
Give the block 24 hours to dry before styling it with brushes and a vase.
Pull off the masking tape and throw it away right before the paint dries, then let the painted block sit for at least three hours before you handle it. To finish, place makeup brushes in their holes and set a glass votive vase filled with water and flowers into the larger opening.



