Crafting a Traditional Irish Walking Stick: The Shillelagh
Shillelaghs, whose Gaelic name means "oak club," are traditionally English in origin according to Irish Culture and Customs. These hardwood weapons and walking sticks arrived in Ireland with England's invasion. Mother Earth News notes that England prohibited weapons in Ireland. In response, the Irish used the shillelagh as both a walking stick and a covert resistance tool. Here's how to make your own shillelagh to celebrate Irish heritage or for practical use on hikes.
By Robin Reed9 steps
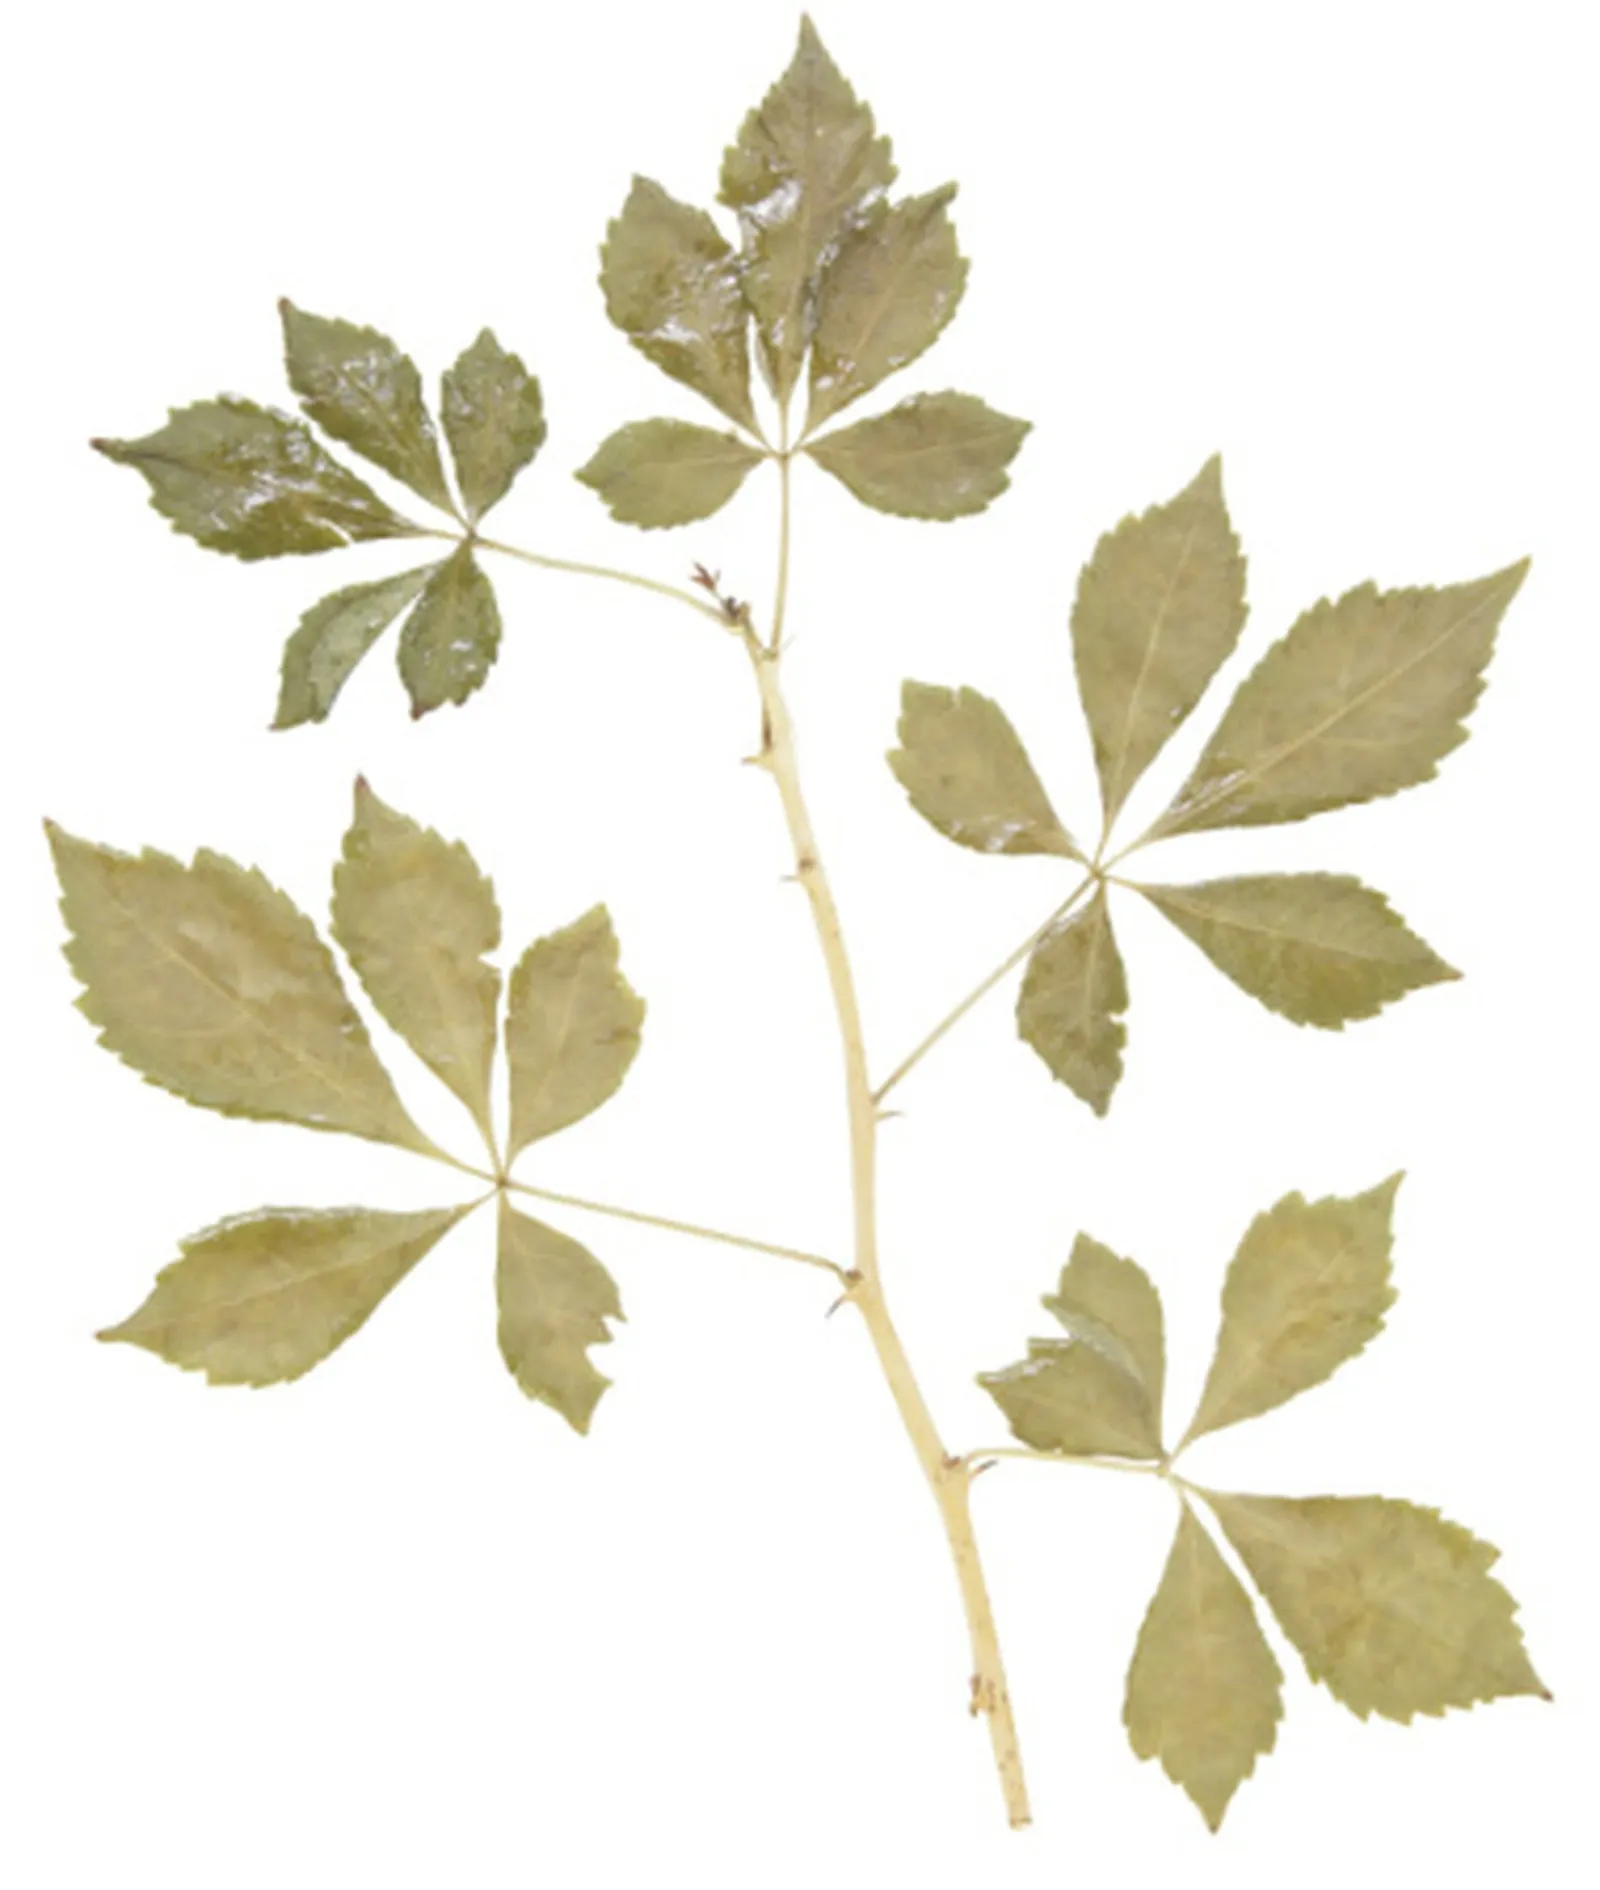
Shillelaghs come from thorny hawthorn trees.
The term shillelagh comes from Gaelic and translates to "oak club," with origins traditionally traced to England, as reported by Irish Culture and Customs. When England invaded Ireland, these hardwood battle clubs that doubled as walking sticks were introduced. Mother Earth News indicates that England outlawed weapons in Ireland. In defiance, the Irish embraced the shillelagh as a walking stick and a concealed weapon for resistance. You can create your own shillelagh to celebrate Irish pride or as a practical hiking stick.
Step 1
Locate a hawthorn tree that has numerous thick branches. Inspect the tree until you spot a branch that appears heavy and dense, with the characteristic gnarled yet straight form of a shillelagh. The branch ought to be tapered but appear robust. If a hawthorn tree is unavailable, consider oak, ash, or holly. These woods are all traditional options.
Step 2
Set up a stepladder and wear gloves. Hawthorn trees require careful handling. All American species have thorns, and many European species do as well. Find a gap between the thorns and grasp it securely.
Step 3
Use a branch saw to cut through the branch, choosing a notably knobby section. Shillelaghs are traditionally known for their very bumpy, club-like appearance.
Step 4
Remove all thorns from your shillelagh branch by sawing them off. If needed, also saw it to the desired length. Your shillelagh should reach your bellybutton.
Step 5
Place your shillelagh on a sturdy surface and use a sharp knife to cut through the bark. Insert the blade tip into the cut and peel back the bark.
Step 6
Leave your shillelagh in a cool, dry area to dry for approximately three weeks. This process hardens the shillelagh by allowing it to become dry and very dense.
Step 7
Sand the shillelagh to smooth out the thorn stumps and any cut areas, making them rounded and even.
Step 8
Apply stain to your shillelagh if you wish. Dark cherry, black hawthorn, and walnut are all suitable options. Allow the stain to dry overnight.
Step 9
Seal your shillelagh with a water-based weather sealer varnish. Apply about two coats, waiting 2 hours between each.



