A Guide to Creating Faux Wood Logs on Interior Walls
Transform a plain wall into a rustic log cabin feature by replicating the colors and grain patterns of real wood. Even those new to painting can achieve convincing results with a loose, freehand approach, since natural wood's organic variations make precision less critical and allow for quicker coverage.
By Kai Murphy8 steps
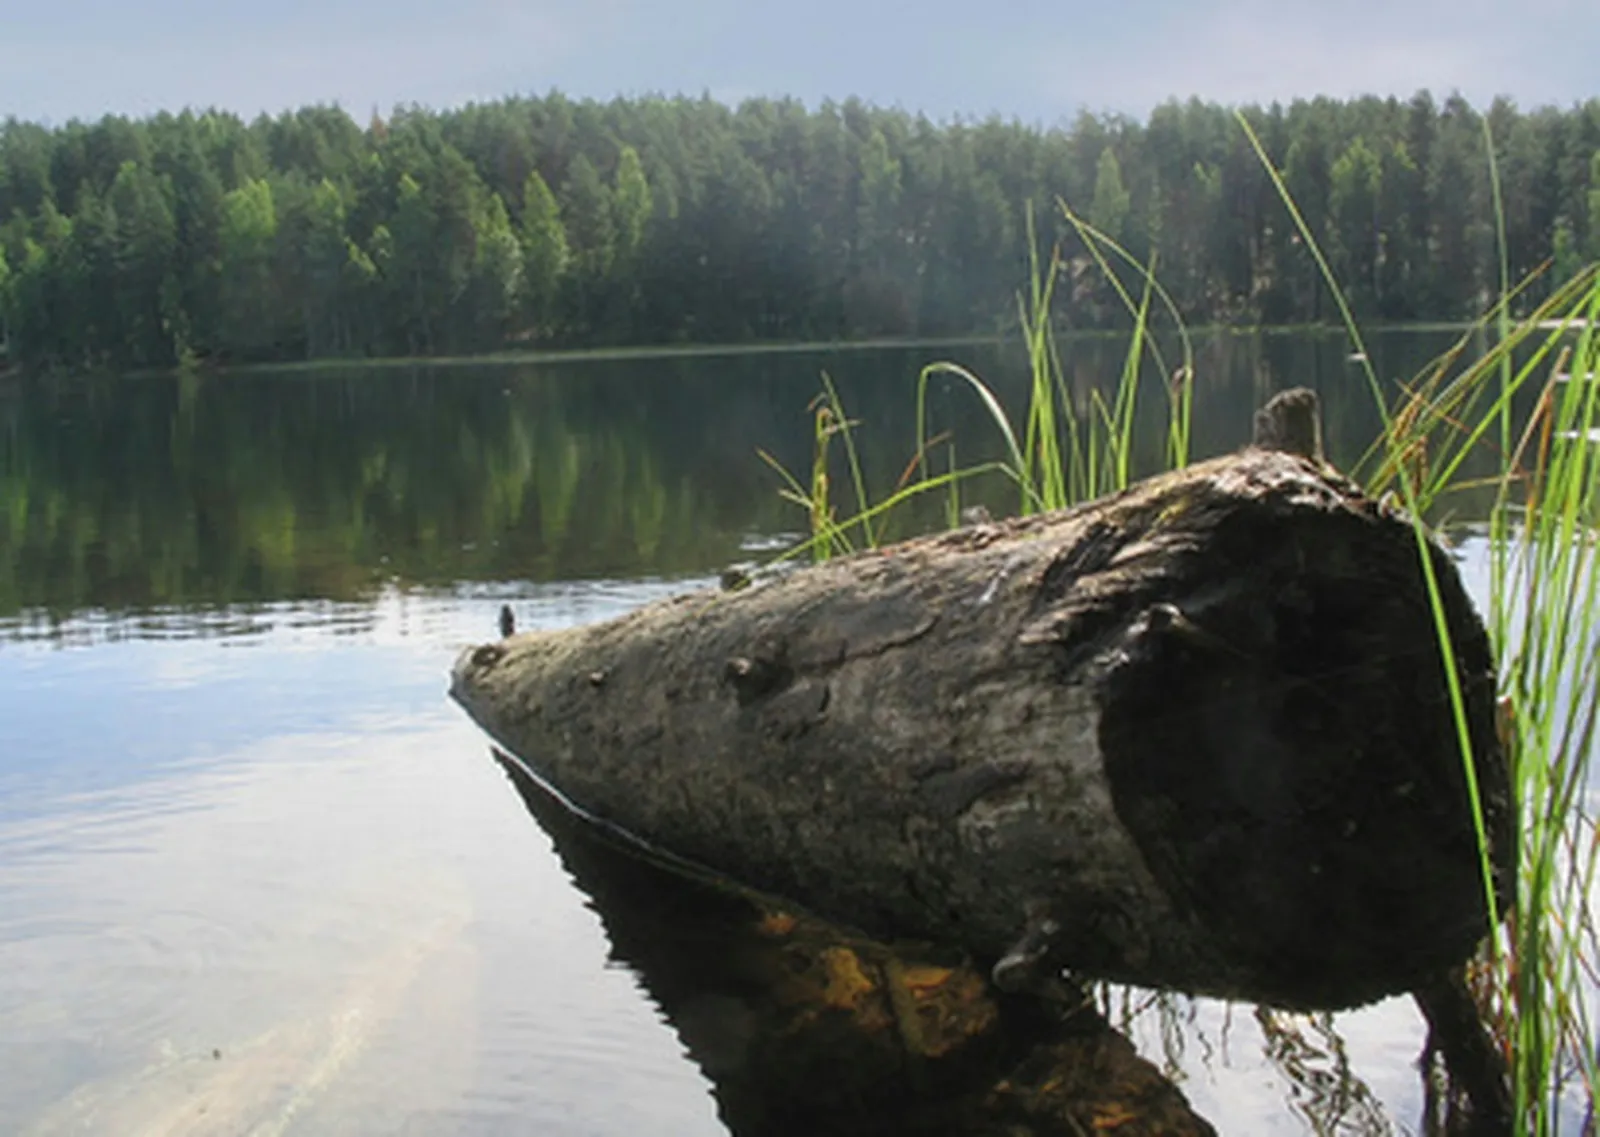
Reference photos of logs make it easier to copy the wood grain.
Recreate the hues and grain of genuine wood to paint faux logs on a wall for a realistic appearance. A mural of faux logs can give any room the cozy atmosphere of a log cabin. Because natural wood has an abstract quality, even a beginner can pick up a freehand method that covers the wall more quickly. Applying this faux log treatment to a wall brings a touch of the outdoors inside.
Step 1
While looking at photographs of actual logs, sketch a few logs that include details like a knot or two. Experiment with different log types until you are happy with the result.
Step 2
Clear all furniture away from the wall, and use a drop cloth to protect items that cannot be moved. Provide ventilation by opening windows or doors so paint fumes can escape.
Step 3
Apply masking tape to the wall in horizontal bands spaced 6 to 8 inches apart. Lines between the faux logs that are not perfectly parallel will make the wall look more natural.
Step 4
In one paint pan, mix equal parts of dark brown paint, paint thinner, and glazing liquid; in the other pan, mix equal parts white paint, paint thinner, and glazing liquid. Use separate paint sticks to stir each colored glaze.
Step 5
Gather a small washcloth into a ball in your hand and lightly dab it onto the brown glaze to pick up a small amount. Move the washcloth horizontally across the wall to mimic the wood grain of a log.
Step 6
Repeat the process with a second washcloth loaded with white glaze to add layered texture to the logs. You can apply the white glaze while the brown glaze is still wet to blend the colors in certain spots. Keep wiping and smearing the glazes with the washcloths until the logs look right to you.
Step 7
Press corks of various sizes into the dark-brown glaze and then onto the wall in a few darker spots to create the look of knots. Use a small paintbrush dipped in the colored glazes to add finer details to the knots and the rest of the logs.
Step 8
Once you have finished applying glaze, peel off the masking tape. To remove glaze from areas where you don't want it, use a sponge dipped in paint thinner.



