Converting a Single Vanity Light into a Dual-Light Setup
If your bathroom vanity has only one light fixture, you can upgrade to two fixtures to brighten the area. This guide walks through the process, from shutting off power to installing the new lights, with safety precautions for working with electricity.
By Finley Morgan15 steps
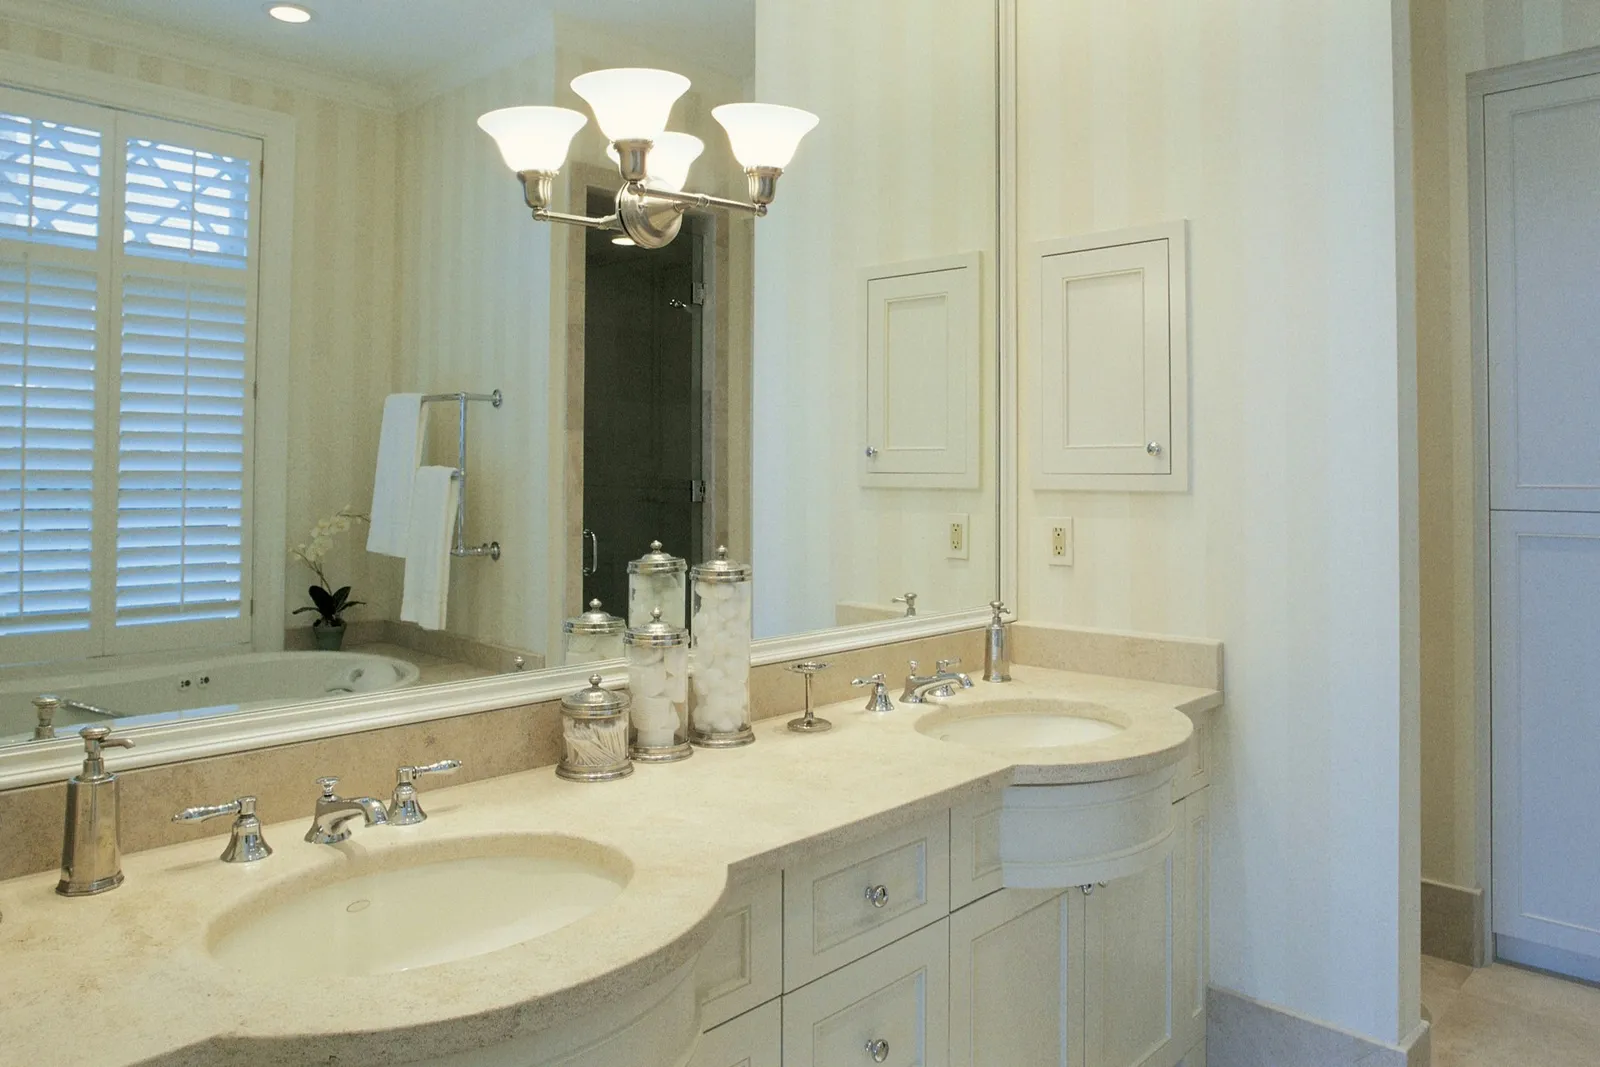
Installing a new light fixture can increase the amount of light in your bathroom.
In bathrooms, proper lighting—particularly above the vanity—is key to seeing yourself in the mirror. Should your vanity lighting consist of just one bulb, it's possible to swap that single fixture for two, thereby boosting the light output. Since this involves electricity, caution is essential.
Step 1
Shut off the power to the light at your main electrical panel. Verify by flipping the switch on and off.
Step 2
Take out the light bulb and use a voltage tester to check the circuit again. If it shows voltage, return to the panel and turn off the correct breaker.
Step 3
Unfasten the light fixture and pull it away from the wall. Detach the wiring from the fixture, and secure the electrical cable to the wall with tape to prevent it from slipping into the wall cavity.
Step 4
Find a wall stud close to each spot where the new fixture will go, and mark those locations.
Step 5
Use a circular electrical box as a template to trace its outline on the wall beside the studs at the installation points. Use a drywall saw to cut a hole at each traced location.
Step 6
Measure and cut a length of 12/2 electrical cable to span between the two holes. Use wire strippers to remove two inches of outer sheathing, and then strip 1/2 inch of insulation from each individual wire.
Step 7
Remove the knockout holes on the back of the electrical boxes.
Step 8
Insert your hand into the hole cut in the drywall between the light switch and the original light fixture's hole, and locate the electrical cable for the light fixture. Take off the tape holding the cable end to the wall, and pull it through the hole for the new fixture. Tape it to the wall beneath the new hole.
Step 9
Route the second cable through the wall so that its ends protrude from the holes for the new fixtures.
Step 10
Feed the electrical cables through one of the electrical boxes, and screw that box to the stud in the first hole. Do the same for the other hole (note that the second hole only has one cable).
Step 11
Cut a 3-to-4-inch piece of electrical cable, and extract the black and white wires from it.
Step 12
Wire the first light fixture. Using a plastic connector cap, join the black wire from the light switch and the black wire going to the second fixture to one end of the short black wire. Do the same with the white wires. Connect the bare copper wires from the cables together with a connector cap. Attach the free end of the short black wire to the brass screw on the light fixture, and the free end of the short white wire to the silver screw. If the fixture's connections differ, follow the manufacturer's instructions.
Step 13
Push the wiring into the electrical box, and secure the fixture to the wall.
Step 14
For the second fixture, connect the black and white wires to the appropriate screws on the light fixture. Attach the bare copper wire to the grounding screw in the electrical box. Tuck the wiring inside the box, and mount the fixture on the wall. Install light bulbs into the fixtures.
Step 15
Turn the power back on and test the lights. Repair the hole in the wall left by the old fixture.



