A Guide to Replacing a Compressor's Pressure Relief Valve
This article walks through the process of removing and replacing a faulty safety relief valve on an air compressor, from shutting off power to testing the new valve.
By Charlie Davis5 steps
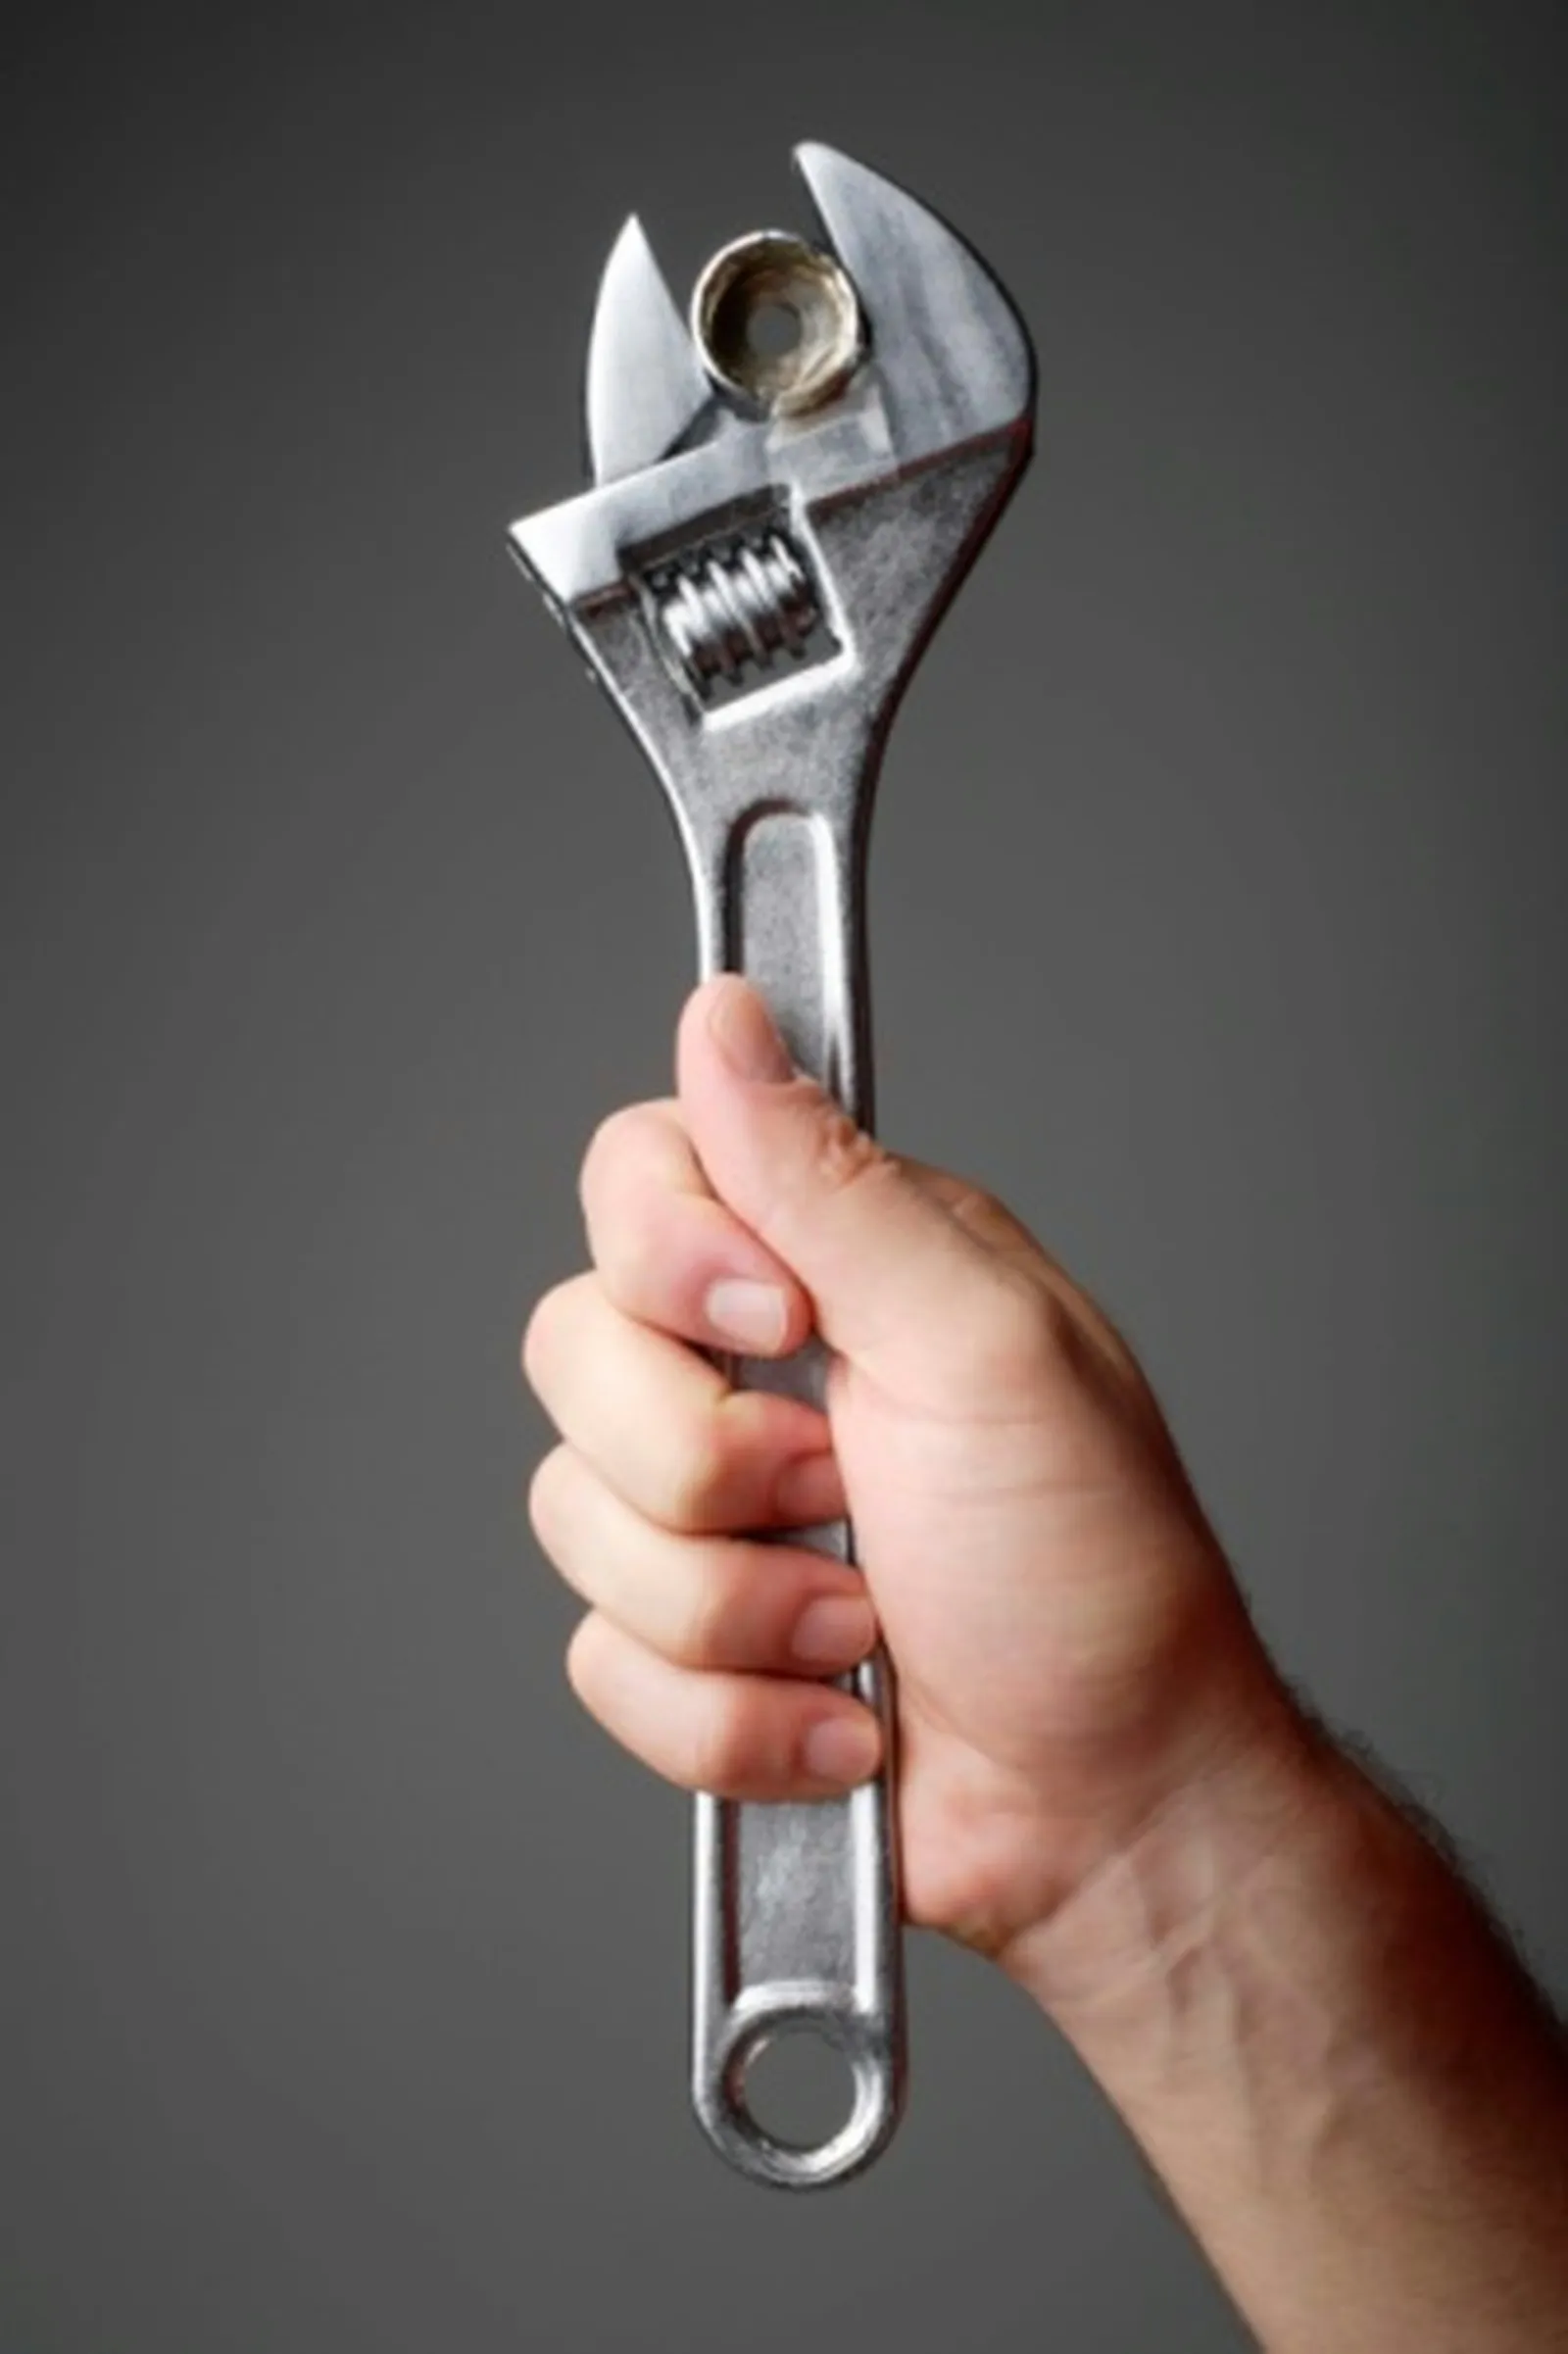
Use an adjustable wrench to remove pressure relief valves.
For several decades, virtually every air compressor has included a safety relief valve—sometimes called a pressure release valve—as a standard safety component. This compact valve, usually measuring 1/2 inch, works as a spring-loaded plug that prevents compressor pressure from exceeding safe limits. Excessive pressure can lead to tank, tool, or hose failures, which may result in serious injuries. The valve comes from the factory set to a specific pressure and is a sealed unit that cannot be adjusted. When pressure reaches the preset threshold, the spring opens the valve; once pressure drops below the safe level, it closes again. If the valve malfunctions—either releasing at an unusable pressure or failing to close—it needs to be replaced.
Step 1
Shut off the compressor's power or disconnect it from the outlet. Find the safety relief valve, which is generally on the side of the tank or near the top, positioned to one side of the air outlet. It measures about 1/2 inch across and protrudes roughly 3/4 inch from the compressor. The valve is made of brass or a brass-and-plastic combination and usually has a metal ring through it that you pull to release pressure. Pull the ring to let out any remaining air from the tank.
Step 2
Place a wrench on the nut at the base of the valve and turn it counterclockwise to loosen and remove it. Use the pull ring to open the valve and check for debris lodged inside. If a stone or sand is stuck in the valve, rinse it out, reinstall it, and test whether it works properly. If it does not, proceed to replace it.
Step 3
Bring the old valve and the make, model, and capacity information for both the compressor motor and the tank to a tool repair shop. Many lawn mower repair shops, rental shops, and hardware stores provide tool repair services. Choose a replacement valve that releases at the same pressure as the original to ensure safety.
Step 4
Apply two wraps of Teflon plumber's tape to the threads of the new safety relief valve, then insert it into the hole where the old valve was mounted. Hand-tighten the valve, then use the wrench to tighten it firmly clockwise.
Step 5
Turn the compressor's power back on. Let pressure build until the compressor shuts off. If the valve holds, the compressor can be used normally again. If the issue continues, seek help from a tool repair professional or get in touch with the manufacturer for advice.



