Installing Sheathing on a Gable End Wall
Gable ends can present tall, solid wall sections that need covering. While the task itself is not complex, working at greater heights reduces how quickly the job gets done. This guide covers material options, fastening methods, and the steps for sheathing a gable wall safely.
By Jamie Hayes5 steps
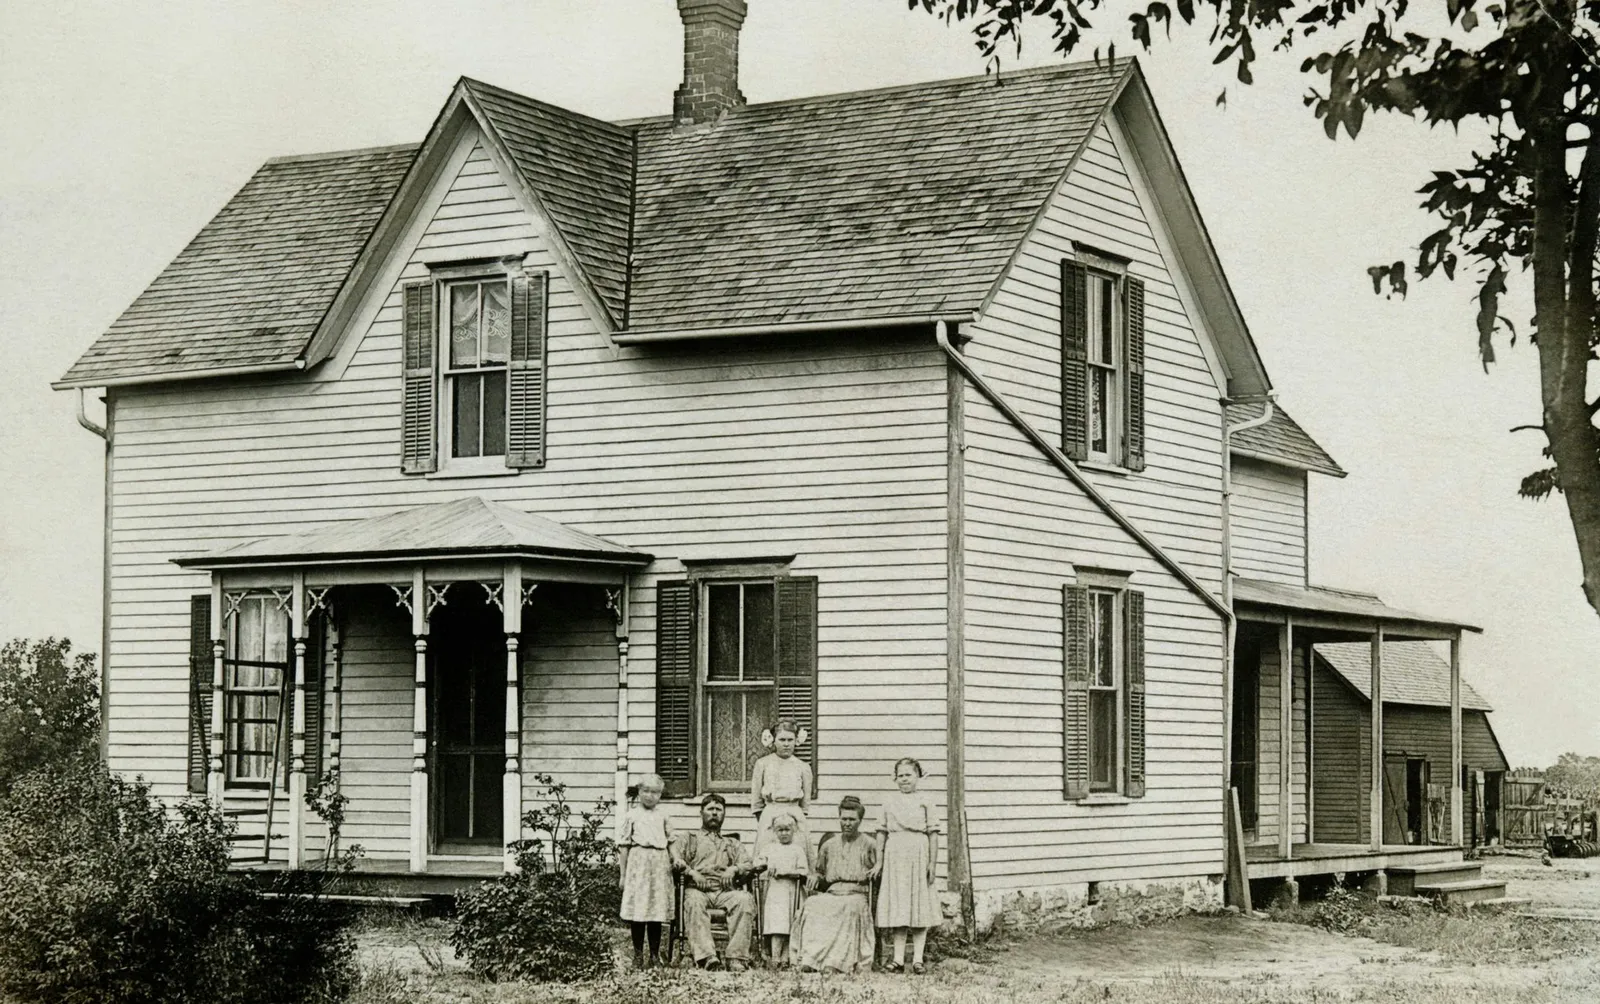
High gabled walls are sometimes susceptible to wind damage.
Gabled roofs rank among the simplest roof types to construct and finish, yet many such buildings have a solid wall stretching two or three stories beneath each gable. Putting sheathing over a large wall area is not complicated, but the higher you go, the more your productivity drops. On a contemporary building, the sheathing gets fastened straight onto the stud wall framing, after which a breathable plastic wrap such as Tyvek is applied over it. Wind damage is a bigger concern in these situations, so how you arrange the sheathing panels and which fasteners you choose both matter.
Step 1
Confirm that every material you need is within reach before starting. Three sheathing products can work: CDX plywood, pressure-treated plywood, and OSB particle board. CDX plywood makes a solid general-purpose option; pressure-treated plywood costs more and gives off fumes; OSB particle board is less expensive but weaker. For residential sheathing, the typical thicknesses are 1/2 inch for CDX and pressure-treated plywood, and 7/16 inch for OSB particle board.
Step 2
Assemble the walls for each story on the wood deck at that construction level (ground floor, second floor, and so on). Set up the sawhorses and use the circular saw to cut the sheathing panels to size. Fasten the sheathing straight to the studs using 8-penny ring-shanked stainless steel nails spaced every 6 inches. Drive the nails with the framing hammer, and keep tools and nails in a leather tool belt. Position the sheets vertically so that every seam lands at the center of a stud. Before raising the wall into place, hammer back out any nails that missed the stud.
Step 3
Complete the framing of all roof rafters, then finish both gable walls under the peaks, before you start attaching sheathing to the triangular wall section. Verify that the roof and gable framing are all tight and properly secured.
Step 4
Rent a lift and bring the platform or bucket up to the top of the gable. Measure from the peak down to the top edge of the plywood wall. (Note: Other ways to reach the top of the wall include setting up pumps and poles, or using special building brackets mounted directly to the structure. These alternatives cost less but carry a higher risk of injury.)
Step 5
Plan how you will sheath the gable. When the triangular section is under 8 feet tall, install the sheets vertically as before. For a wall measuring 12 to 16 feet, use two rows of vertical plywood. For heights between 8 and 12 feet, take the middle approach and install two vertical rows. Before positioning and nailing the sheathing, apply construction adhesive along the outer edge of the studs with the caulk gun. Then secure the sheathing to this wall section using the ring-shanked nails.



