A Guide to Acoustic Treatment for Concrete Ceilings
Improving the acoustics of a concrete ceiling requires a different approach than standard ceiling insulation. Because concrete is a solid mass, you cannot add insulation inside it, and fastening drywall directly to it does little to stop sound. The solution involves building a framework that creates an air gap, then layering sound-resistant materials to block noise.
By Sage Cooper
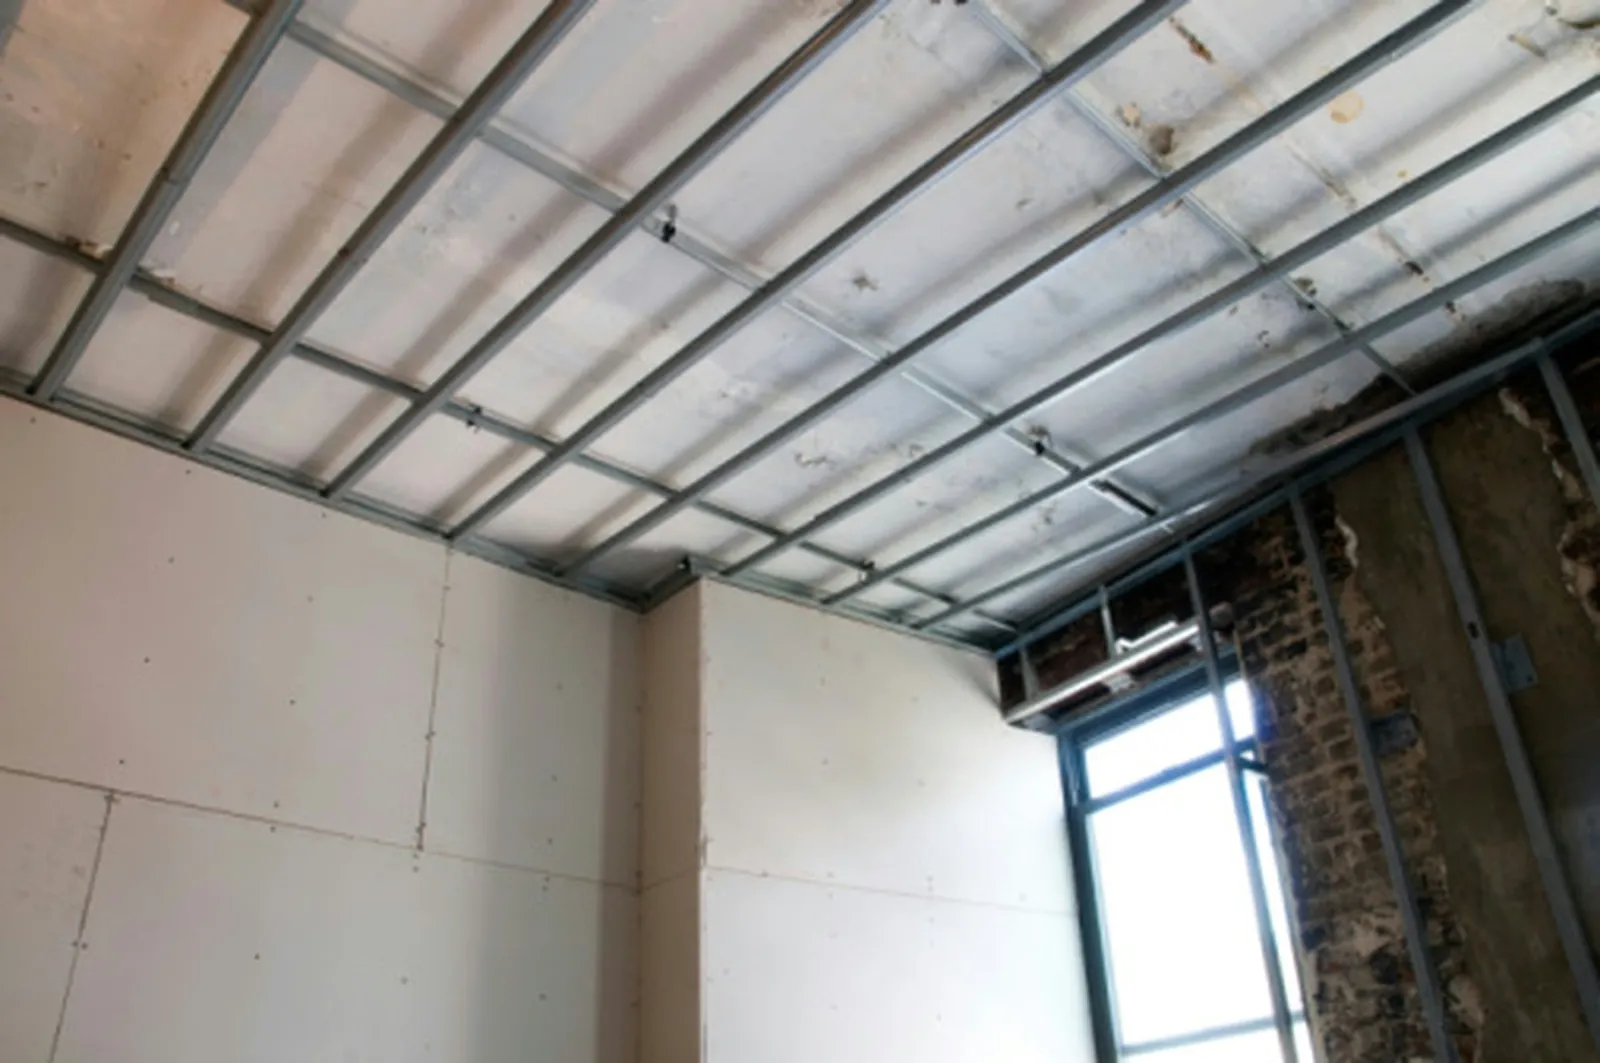
Adding space below a concrete ceiling is essential for soundproofing.
Typically, soundproofing a ceiling means adding insulation and drywall to increase mass and stop sound waves. But with a concrete ceiling, that method is not as effective because you cannot put insulation inside the concrete, and simply attaching drywall won't block much noise. A better approach is to create an air gap that lets sound waves spread out after they pass through the concrete. This gap gives the sound space to weaken, and then the drywall and insulation you add absorb or block what remains.
Phase 1: Install C Channels
Fasten metal bars called C channels to the concrete ceiling. These channels form the skeleton for the air gap you need. Choose C channels that are at least 3 inches deep to provide enough space. Use a masonry bit to drill holes in the ceiling, then secure the channels with masonry screws.
Phase 2: Attach Isolation Clips
Mount resilient sound clips, also known as isolation clips, onto the C channels. These clips serve as mounting points for the furring channels that will hold the drywall and plasterboard. Space the clips every 48 inches across the ceiling, and about 7 to 10 inches apart along each C channel.
Phase 3: Secure Furring Channels
Attach furring channels to the isolation clips using bolts or screws. Ensure they are firmly fastened because they will bear the weight of the drywall and plasterboard you hang.
Phase 4: Hang Acoustic Plasterboard
Install a layer of sound-resistant plasterboard with drywall screws, driving the screws into the furring channels. You don't need to tape or sand this layer since it will be covered by more layers.
Phase 5: Add Damping Compound and Drywall
Coat additional sound-resistant plasterboard or standard drywall with a drywall damping compound. Hang these panels with the compound facing up so it sits between the new drywall and the first plasterboard layer. Offset the seams so they don't line up with the seams of the acoustic plasterboard.
Phase 6: Finish the Ceiling
Finish and paint the drywall as usual. The combination of the air gap between the new ceiling and the concrete, the acoustic plasterboard, and the damping compound will greatly reduce the amount of sound passing through the ceiling.



