Applying Tyvek House Wrap to Brick, Block and Concrete Walls
DuPont's synthetic house wrap can be fastened over masonry surfaces such as concrete, brick and cinder block, not only over wood framing. This guide walks through priming the wall, laying out a fastener grid, drilling and cleaning pilot holes, anchoring the wrap with capped Tapcon screws, and sealing the seams with flashing tape so the membrane stays weathertight.
By Rowan Adams10 steps
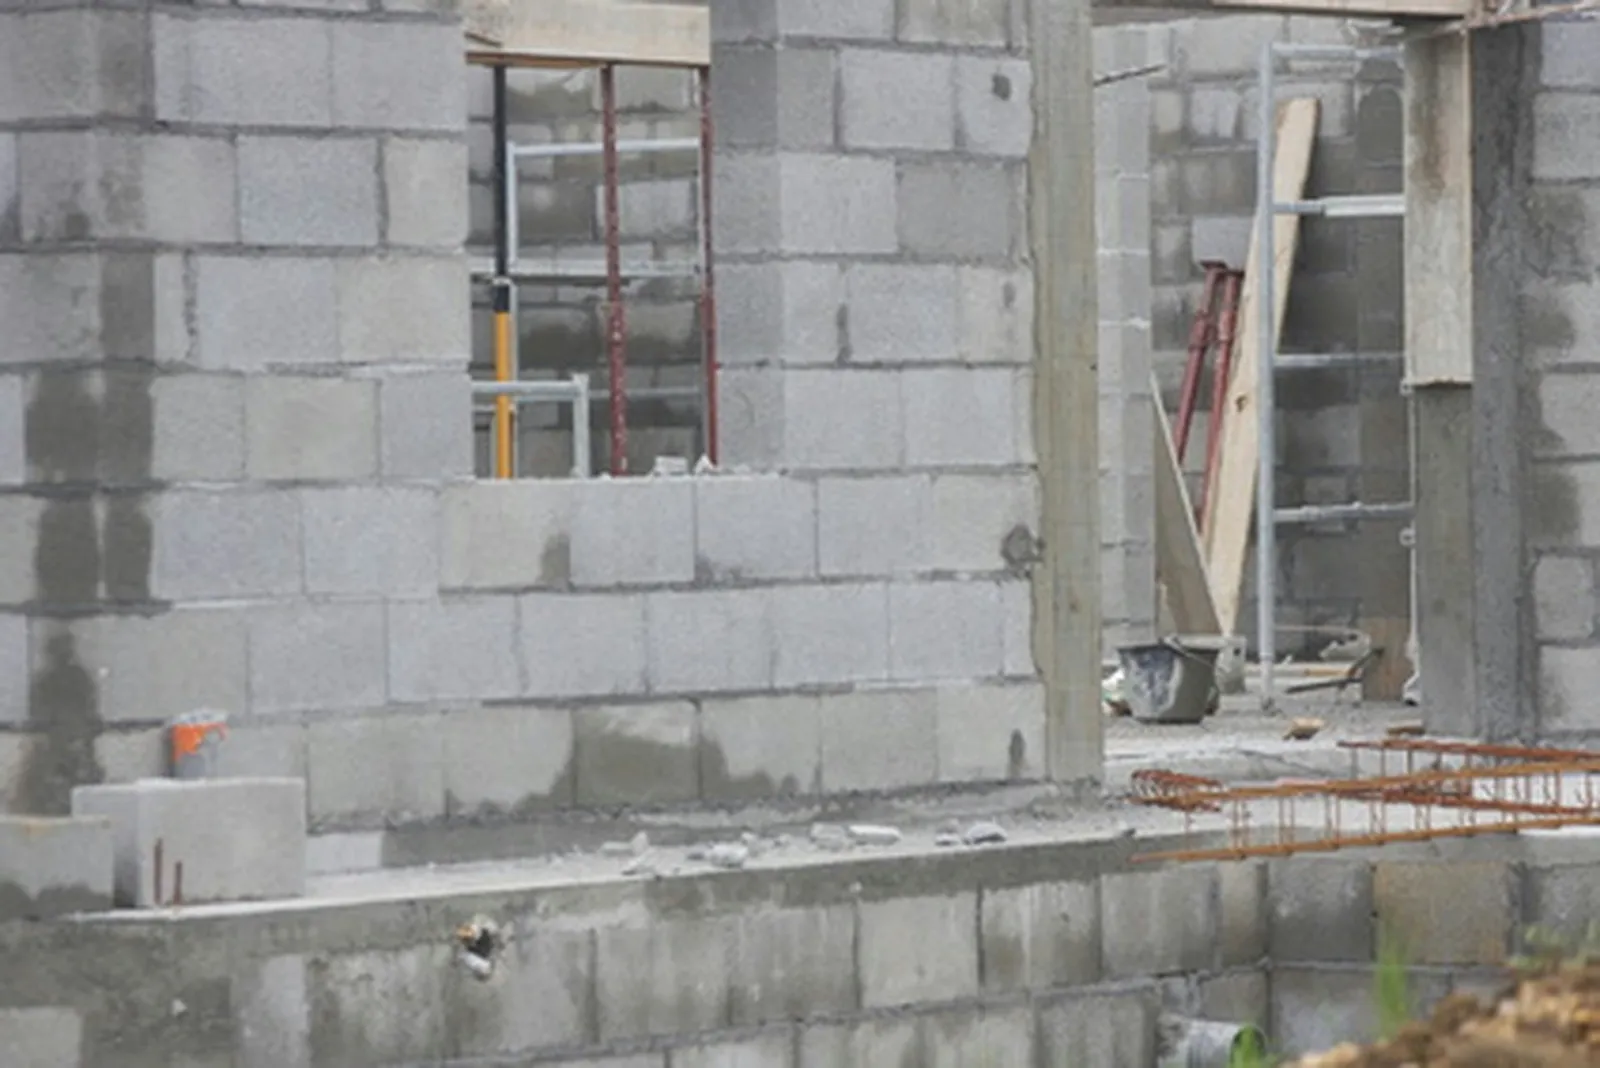
Tyvek sheeting can be installed over cinder block construction with the use of masonry screws.
Tyvek sheeting is a man-made construction material designed to be wrapped around the outside of residential or commercial structures. It performs two jobs: it blocks water so rain cannot work its way into the walls, and it restricts air movement, which raises the R-value of the insulation inside the building. DuPont, the manufacturer, states that the sheeting may be installed over a range of building materials, among them masonry products like concrete, brick and cinder block construction.
Step 1
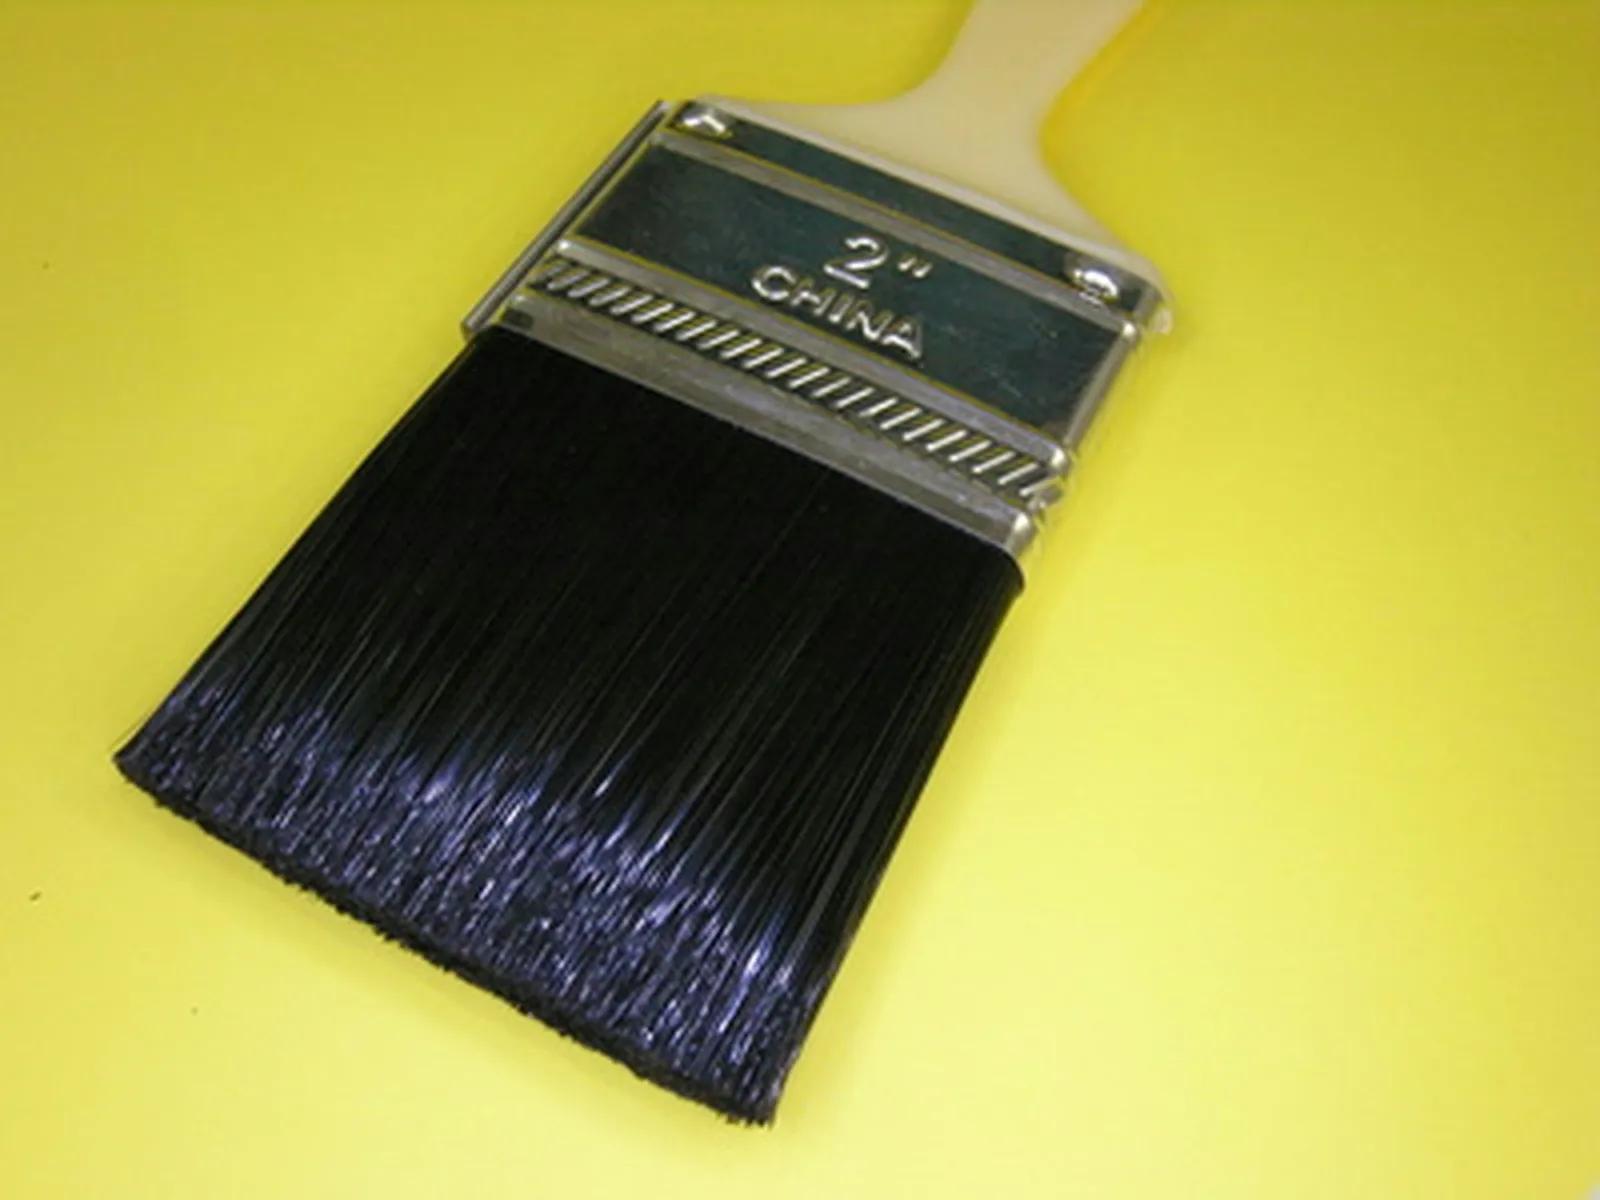
Apply primer to the masonry.
Using a paintbrush, coat the masonry with primer. Let the primer dry in line with the manufacturer's instructions.
Step 2
Use the chalk line to lay out a grid across the full masonry surface. Vertical grid lines should be spaced 18 inches apart, and horizontal lines should be spaced 24 inches apart.
Step 3
At every axis point on the grid, bore pilot holes with a carbide tip hammer drill. Each pilot hole needs to be no less than 1 inch deeper than the length of the Tapcon anchors that will hold the Tyvek to the masonry.
Step 4
Clear dust from every pilot hole by blowing compressed air into it.
Step 5
Set a Tapcon anchor into each of the pilot holes.
Step 6
Start wrapping the Tyvek sheeting around the building from a corner. At the corner's edge, leave an overlap of 6 to 12 inches.
Step 7
With a Phillips head drill, drive the Tapcon fastener screws, which have 2-inch plastic caps, through the Tyvek sheeting and into the Tapcon anchors. As the screws grip the anchors, they expand inside the pilot holes, which locks the Tyvek onto the masonry.
Step 8
Keep wrapping and fastening the Tyvek sheeting along the building's bottom row until that row is finished. Should a roll of Tyvek run out before the row is done, leave a shingled overlap of 6 to 12 inches when you begin the next roll.
Step 9
Keep adding successive rows of Tyvek sheeting until you arrive at the roof line of the exterior wall. The sheeting should be overlapped vertically in a shingle pattern by 6 to 12 inches.
Step 10
Use Tyvek flashing tape to seal every seam in the Tyvek sheeting, which ensures a weather tight membrane around the building.



