Handcrafted Balsa Wood Christmas Tree Centerpieces
A step-by-step guide to making minimalist wooden Christmas trees from balsa wood, ideal for adding a handmade touch to your holiday decor.
By Toby Wood4 steps
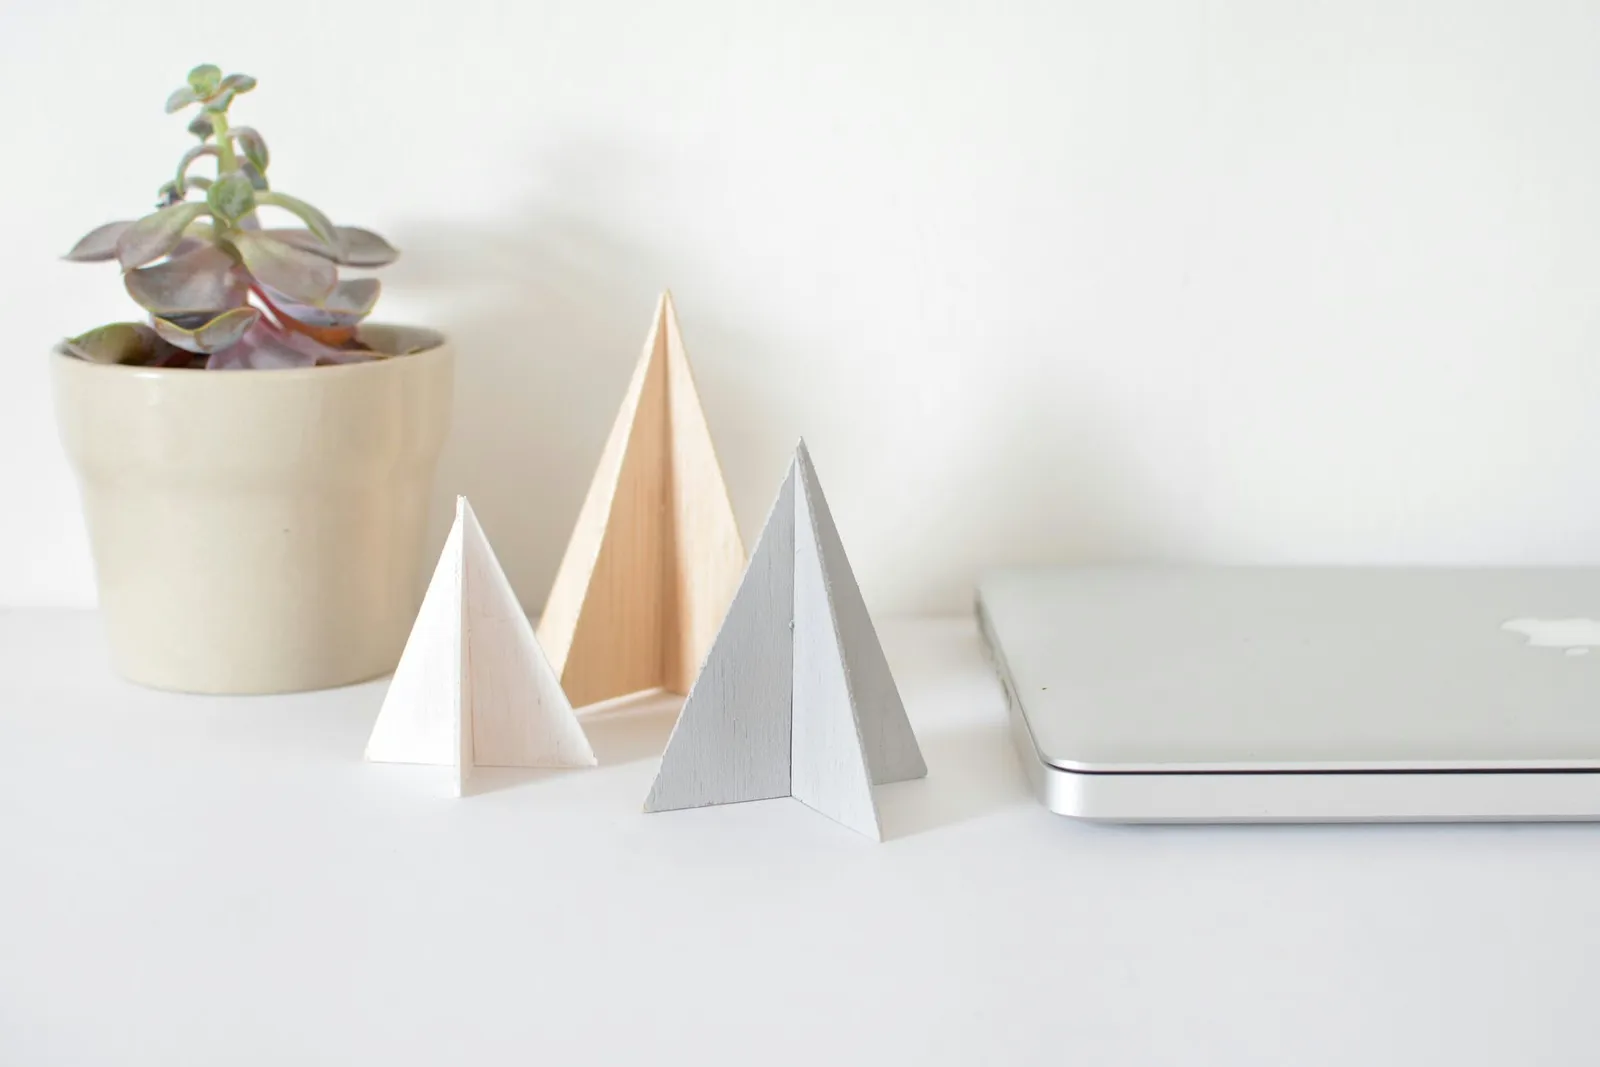
If you're looking to add some contemporary, handcrafted decorations to your home this holiday season, this project is for you. With this straightforward DIY tutorial, you can make festive ornaments that blend modern design with traditional holiday charm. These miniature wooden Christmas trees are simple to put together and look wonderful on a fireplace mantel, a living room table, or even a workspace.
Step 1
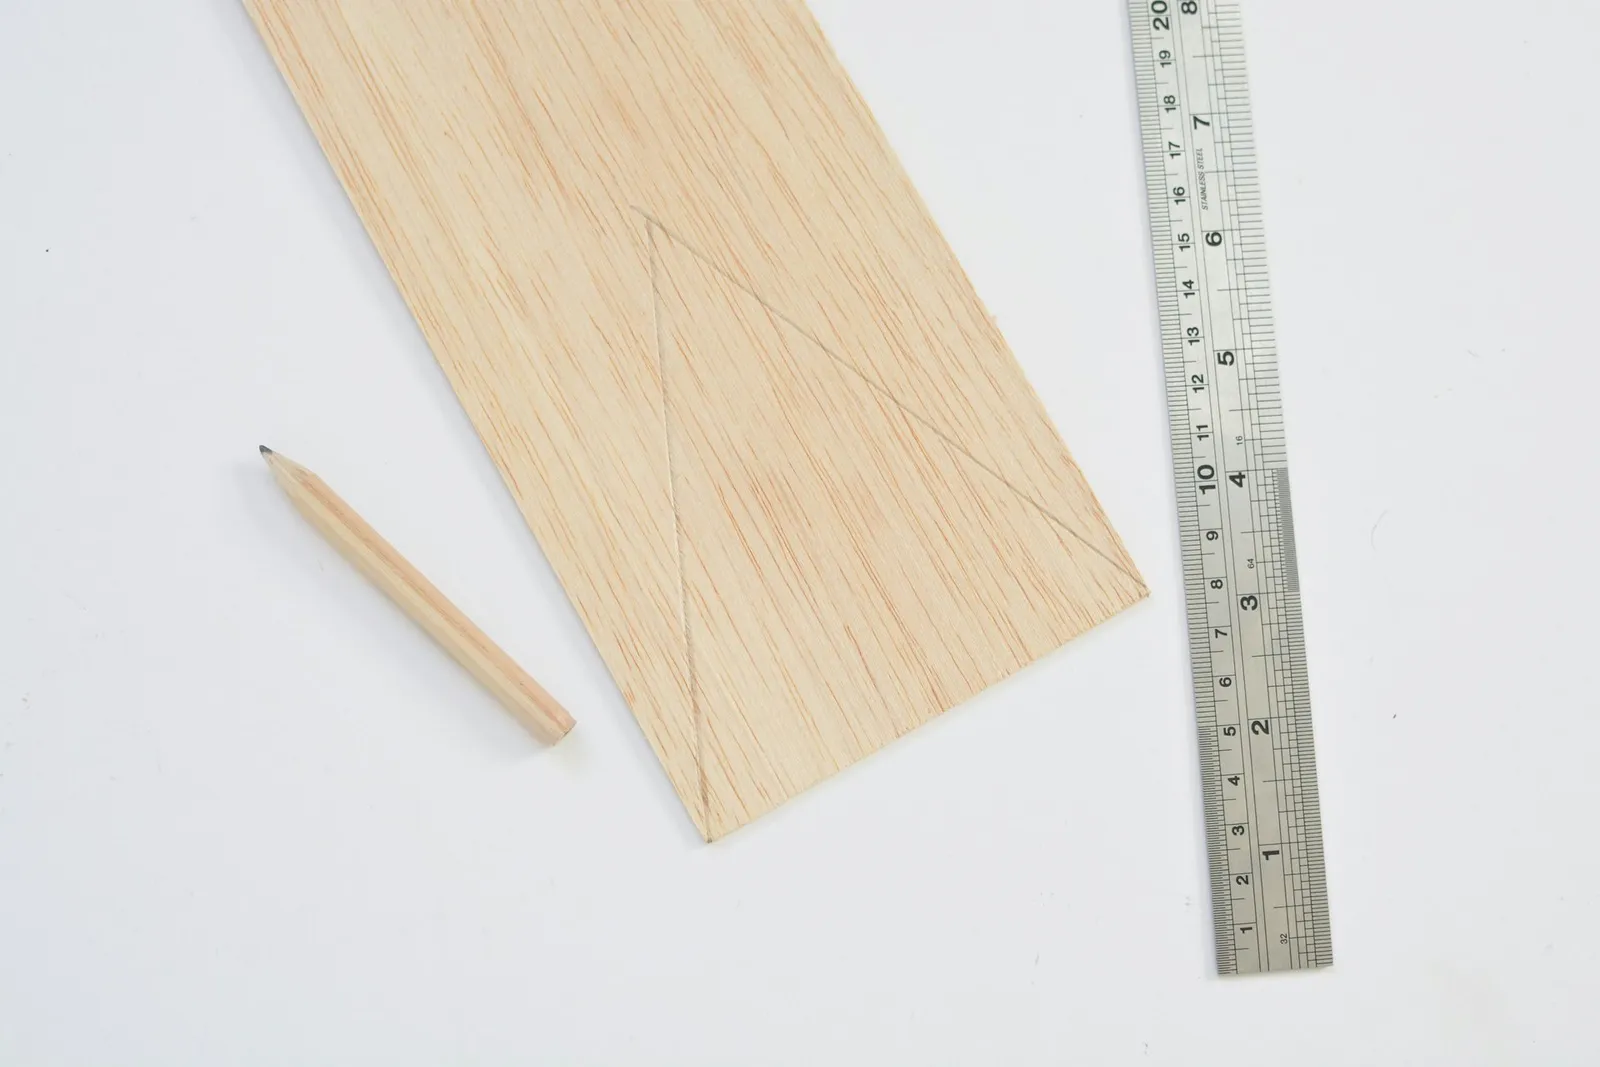
With a pencil and ruler, sketch two triangular outlines on the wood. In my case, the bottom edge of each triangle is 10 cm long and the two sloping sides are 12 cm each, making the tree slightly taller than it is wide.
Step 2
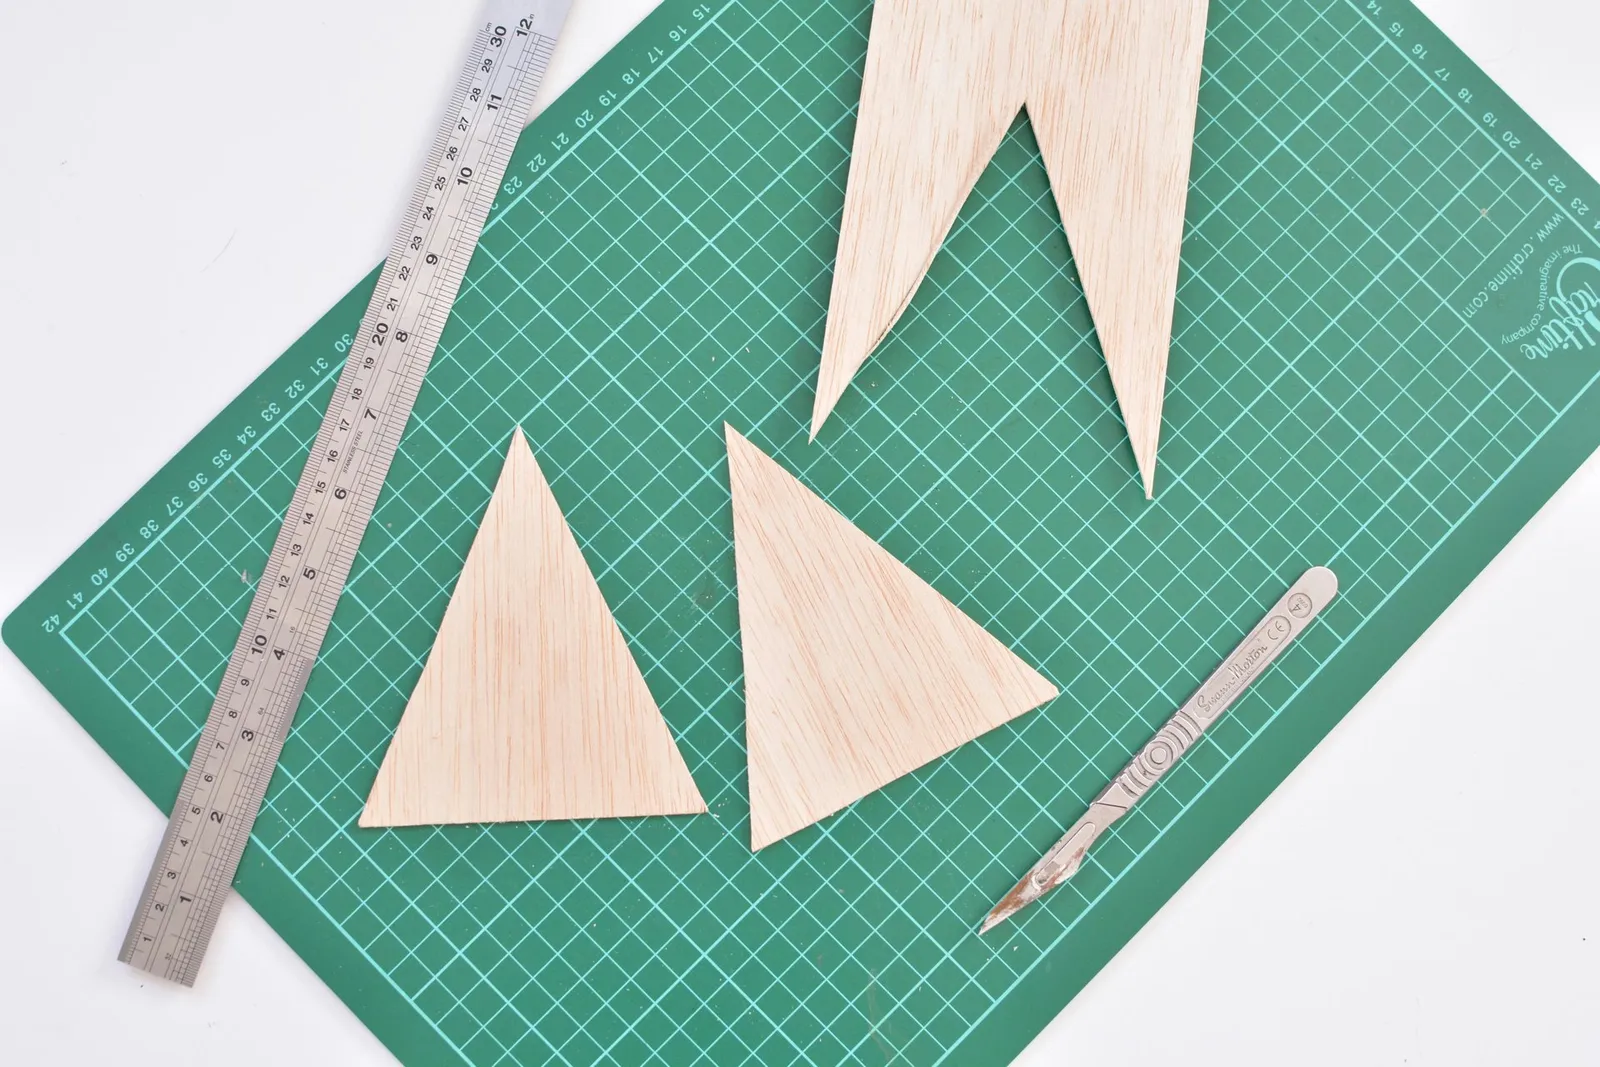
Put the balsa wood on your cutting mat and use a craft knife along with a ruler to cut out both triangles. Balsa wood works well for this because it is firm enough to remain upright, yet lightweight enough to slice through with a knife without much effort.
Step 3
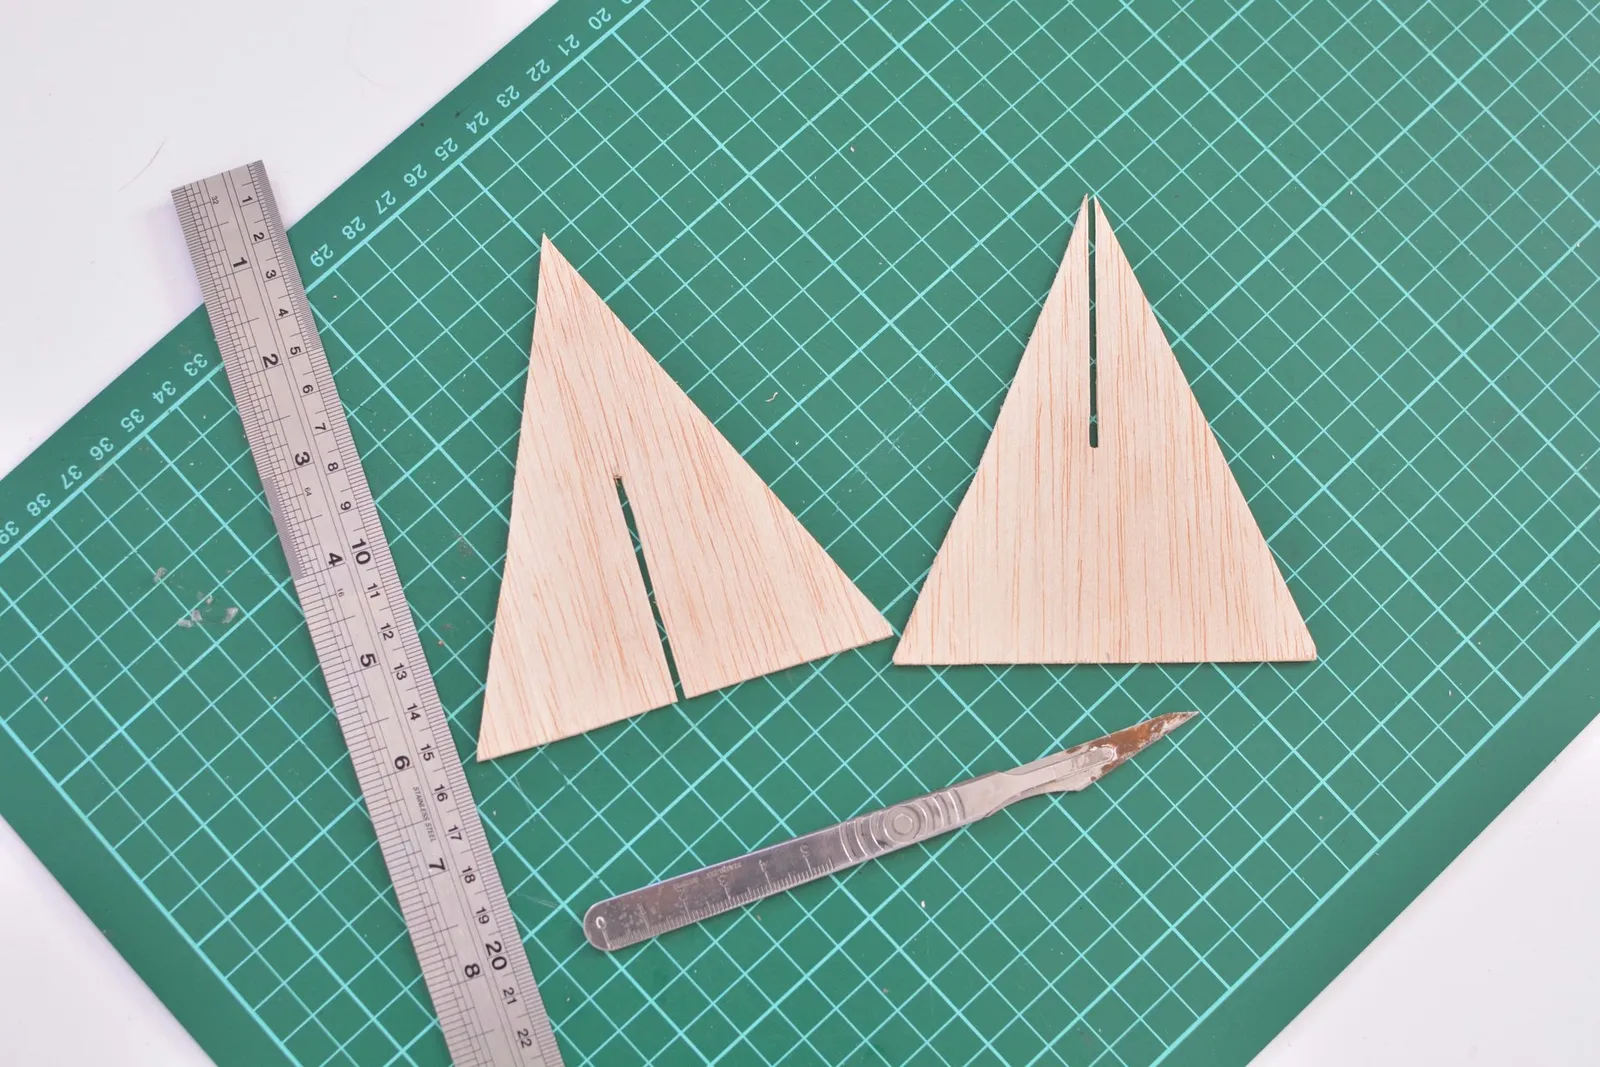
Now you need to make the slots that will allow the two triangles to interlock. Each slot should be cut to half the height of the triangle (here, the triangles are 12 cm tall, so the slots are 6 cm deep). The width of each slot should match the thickness of your wood (in this case, the balsa is 3 mm thick, so the slots are 3 mm wide). Cut one slot from the top of a triangle down to its midpoint, and another from the bottom edge up to the midpoint.
Step 4
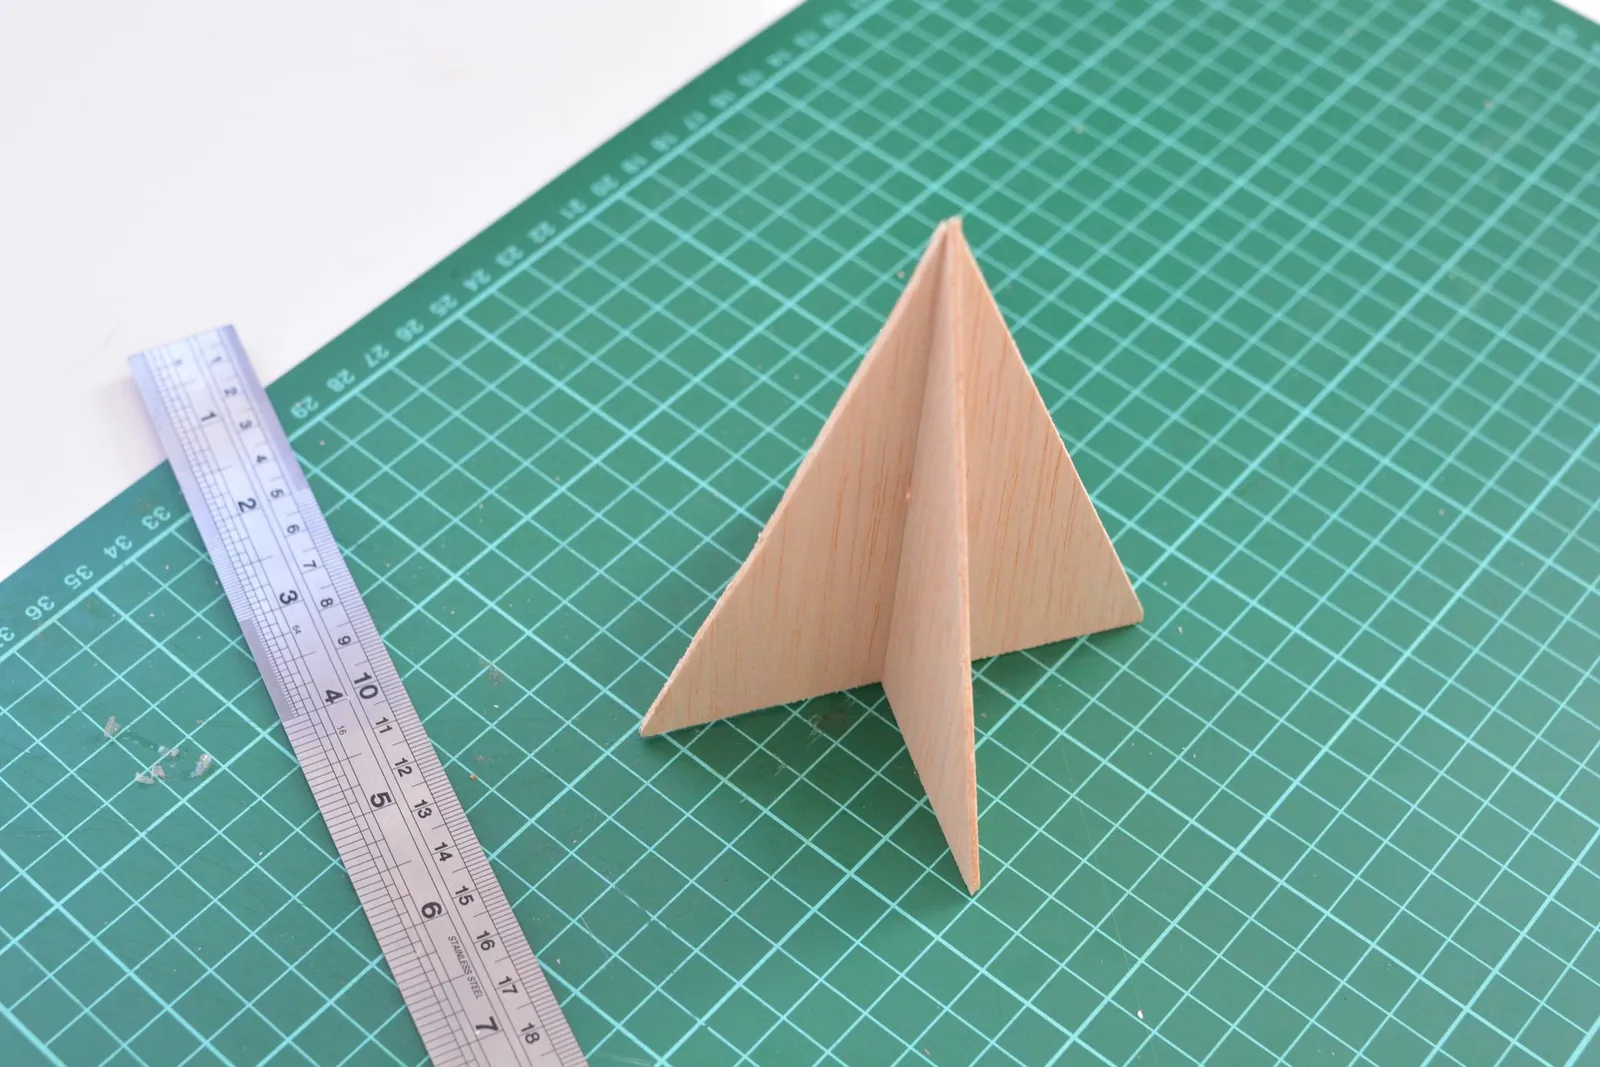
Join the two wooden triangles by sliding them together. You can leave them unpainted if you like the natural wood appearance, or you can decorate them with acrylic craft paint.

I enjoy making trees in a range of sizes to create a festive grouping to place around my house. These minimalist trees can be easily disassembled and stored for future holidays without taking up much room!