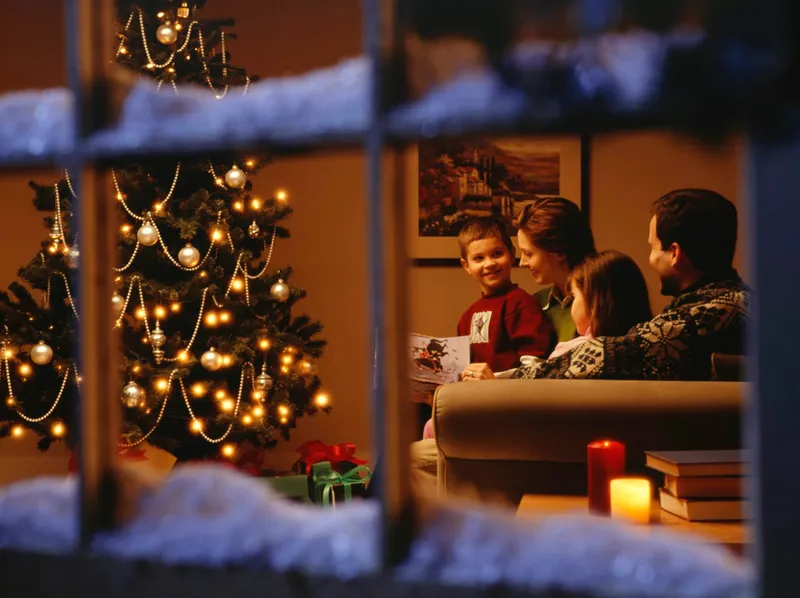
Converting Your Outdoor Holiday String Lights to Solar Energy
You can power your outdoor Christmas lights with solar energy instead of relying on the grid. This do-it-yourself approach keeps your electric bill from rising and is better for the environment, though buying pre-made solar lights is an option that tends to be pricier. The same setup can also serve your outdoor lighting needs throughout the year.
By Avery Rivera7 steps
Create solar power to operate your Christmas lights
Switching your outdoor Christmas lights to run on solar power is a project that benefits both your wallet and the planet. Once you convert your existing lights, you can keep enjoying them without seeing your electricity costs go up. While you could simply buy solar-powered Christmas lights, those products tend to be costly. Another advantage of converting your outdoor lighting system is that you can make use of solar energy in your outdoor living area throughout the entire year.
Step 1
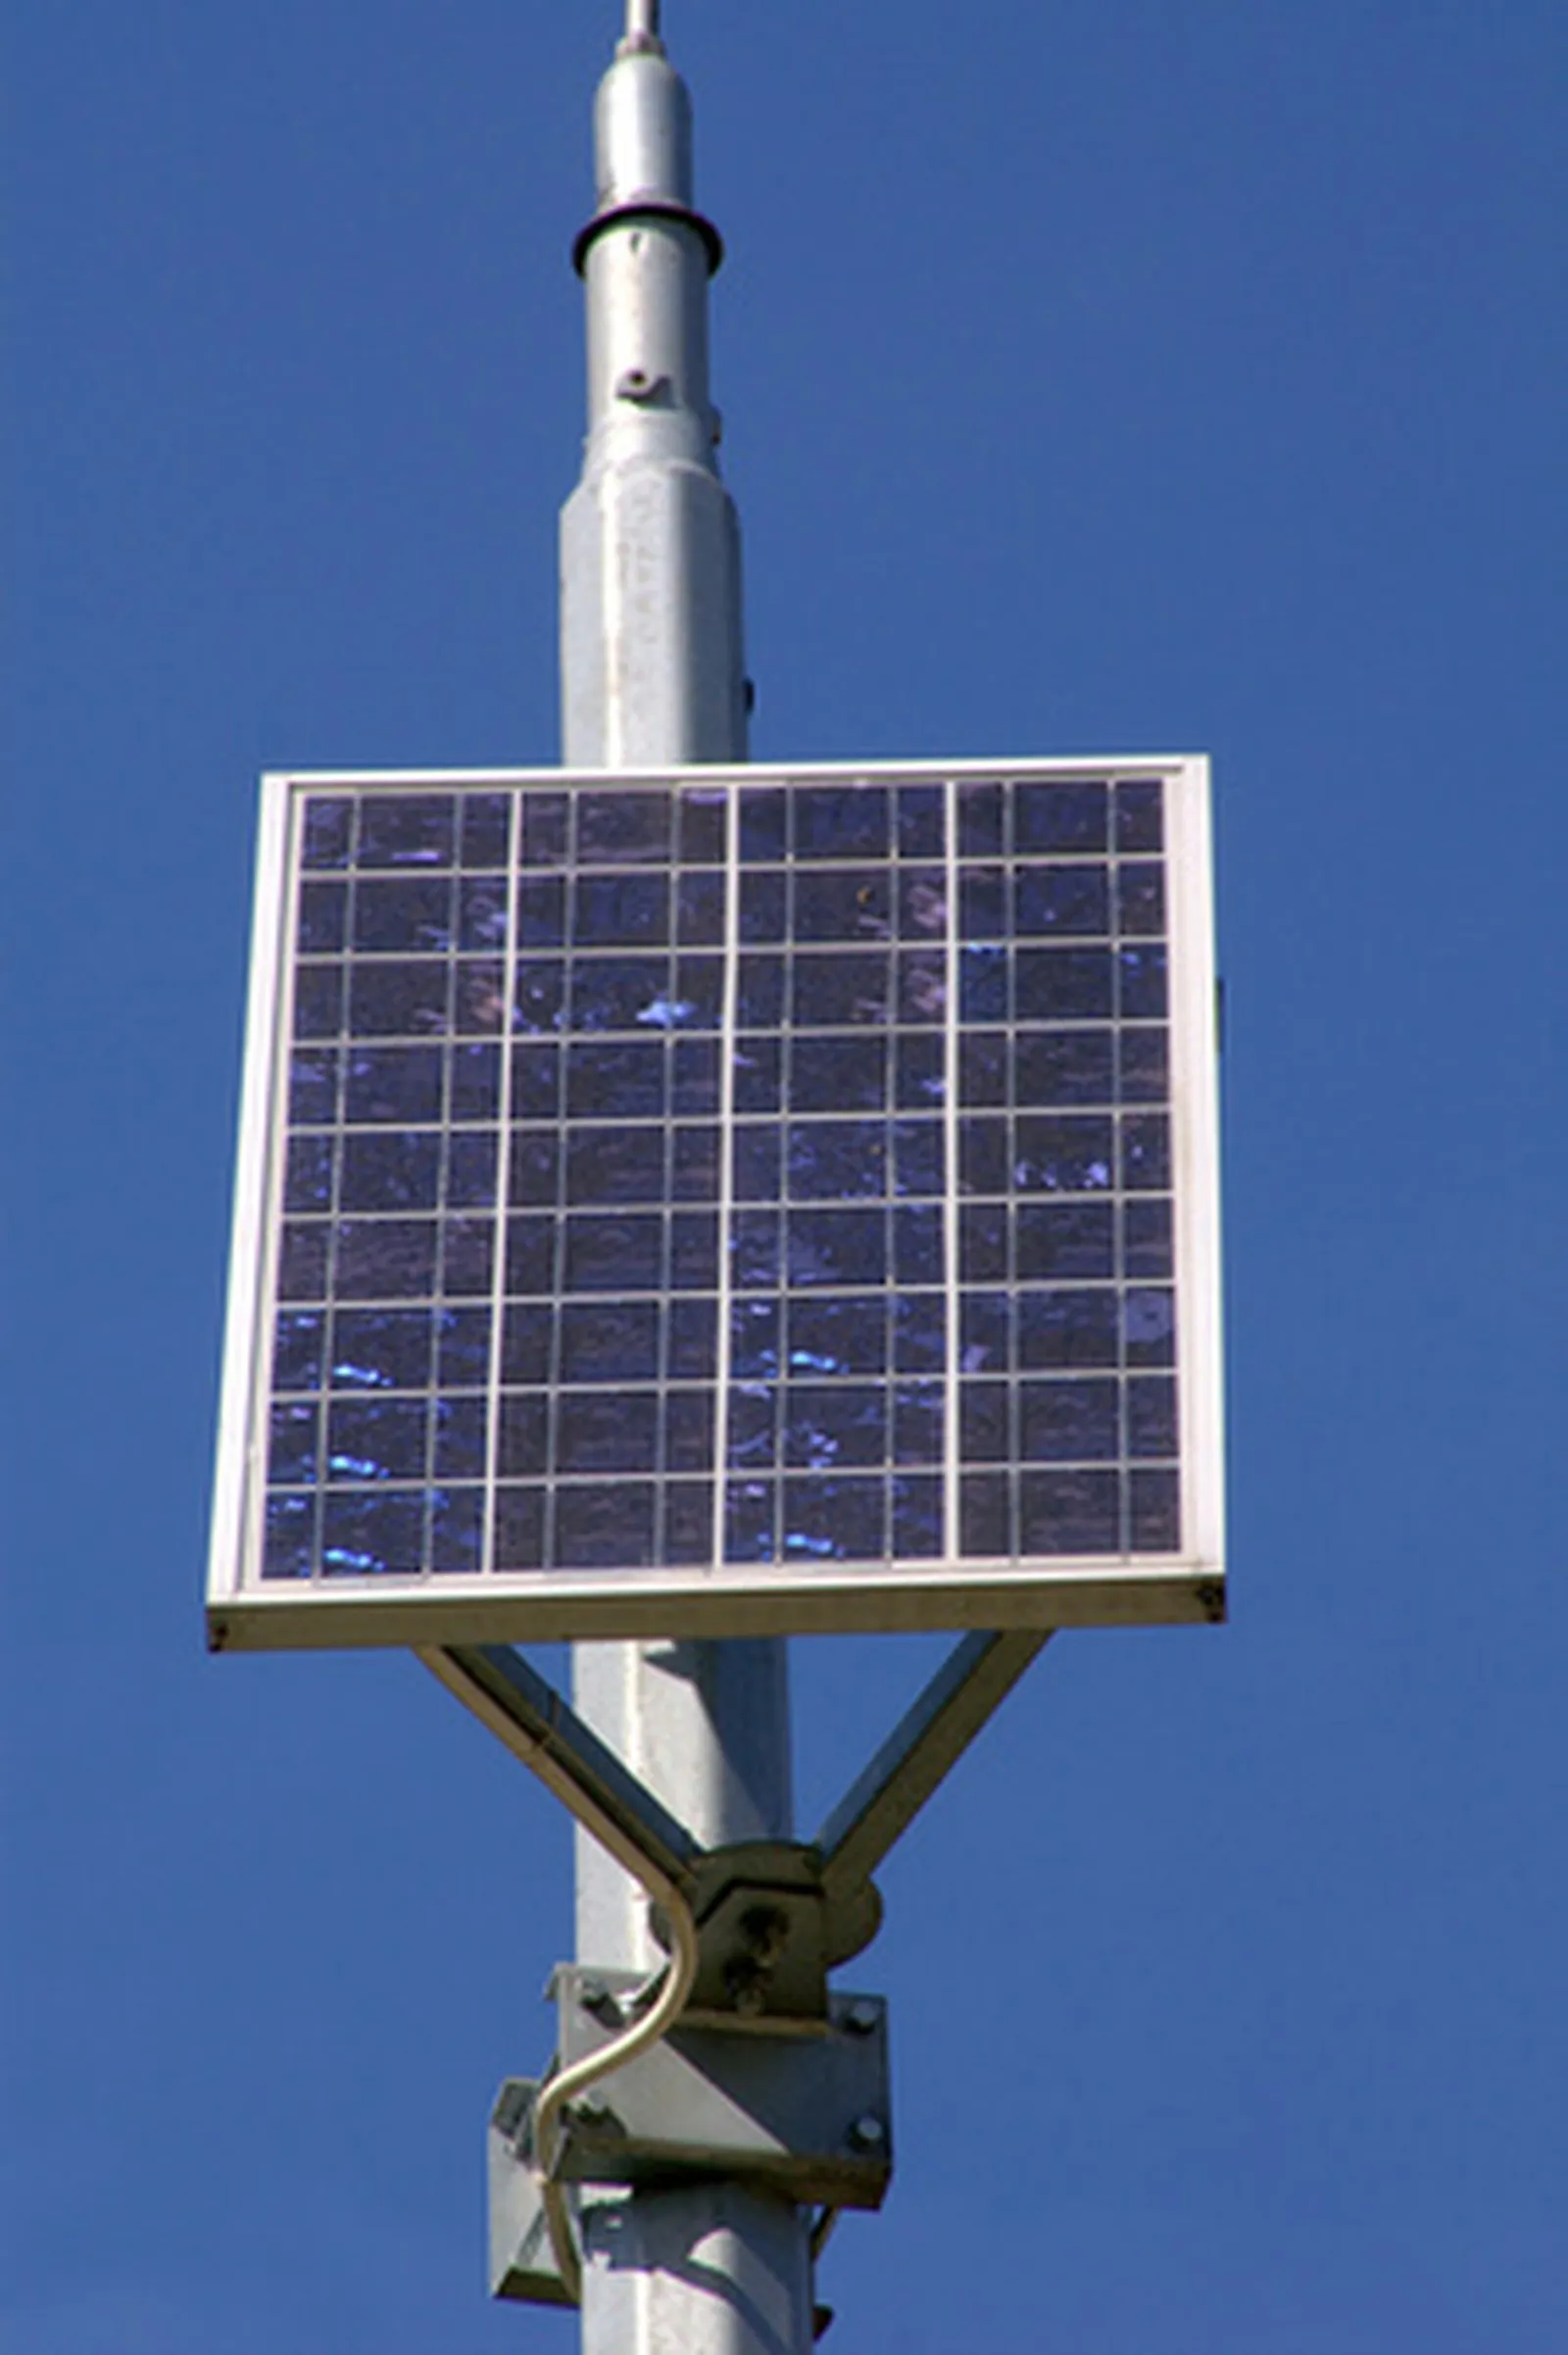
Find the spot with the greatest sun exposure and install the solar panel there. A mounting kit should be included with the panel. Placing the panel on your roof is ideal because it captures the most sunlight and simplifies running wires to your Christmas lights.
Step 2
Wire the solar panel to the charge controller, then fasten the controller as near to the panel as the cables permit. The charge controller connects via a wire similar to a cell phone charger, which plugs into the output port located on the side of the solar panel.
Step 3
Link the battery pack to the charge controller. The controller manages the charging process and keeps the battery from getting overcharged. Take the positive (red) cable from the battery pack and connect it to the positive (red) cable on the controller. Repeat this process with the negative (black) cables. Soldering is usually unnecessary for most charge controllers; you simply screw the wires onto the battery posts. The red wire goes to the positive post, which is marked with a plus sign. The black wire goes to the negative post, marked with a minus sign. If neither the solar panel nor the charge controller has a power switch, wait until all wiring is finished before connecting the charge controller to the battery. The power switch must stay off until all wiring is complete.
Step 4
Set up your outdoor Christmas lights and decorations.
Step 5
Locate the strand of Christmas lights nearest to the battery pack and remove its plug. About one inch from where you cut the plug, strip away the outer insulation of the Christmas lights to reveal the positive (red) and negative (black) wires.
Step 6
Join the negative (black) wire from the Christmas lights to the negative (black) wire from the battery pack. Solder this connection carefully so it holds firmly. Then connect the positive (red) wire of the Christmas lights to the positive (red) wire of the battery pack. Be certain the solder joint is solid. Wrap any exposed wires with black electrical tape.
Step 7
Let your batteries reach a full charge before you switch on the Christmas lights. Give the battery a full day of sunlight to charge before you try to light up your Christmas display.