Turn Old Tennis Balls Into Festive Tree Decorations
Rather than discarding worn tennis balls, you can transform them into distinctive holiday ornaments. This craft suits the entire family, whether you're making a gift for a tennis lover or a playful pup.
By Sage Campbell7 steps
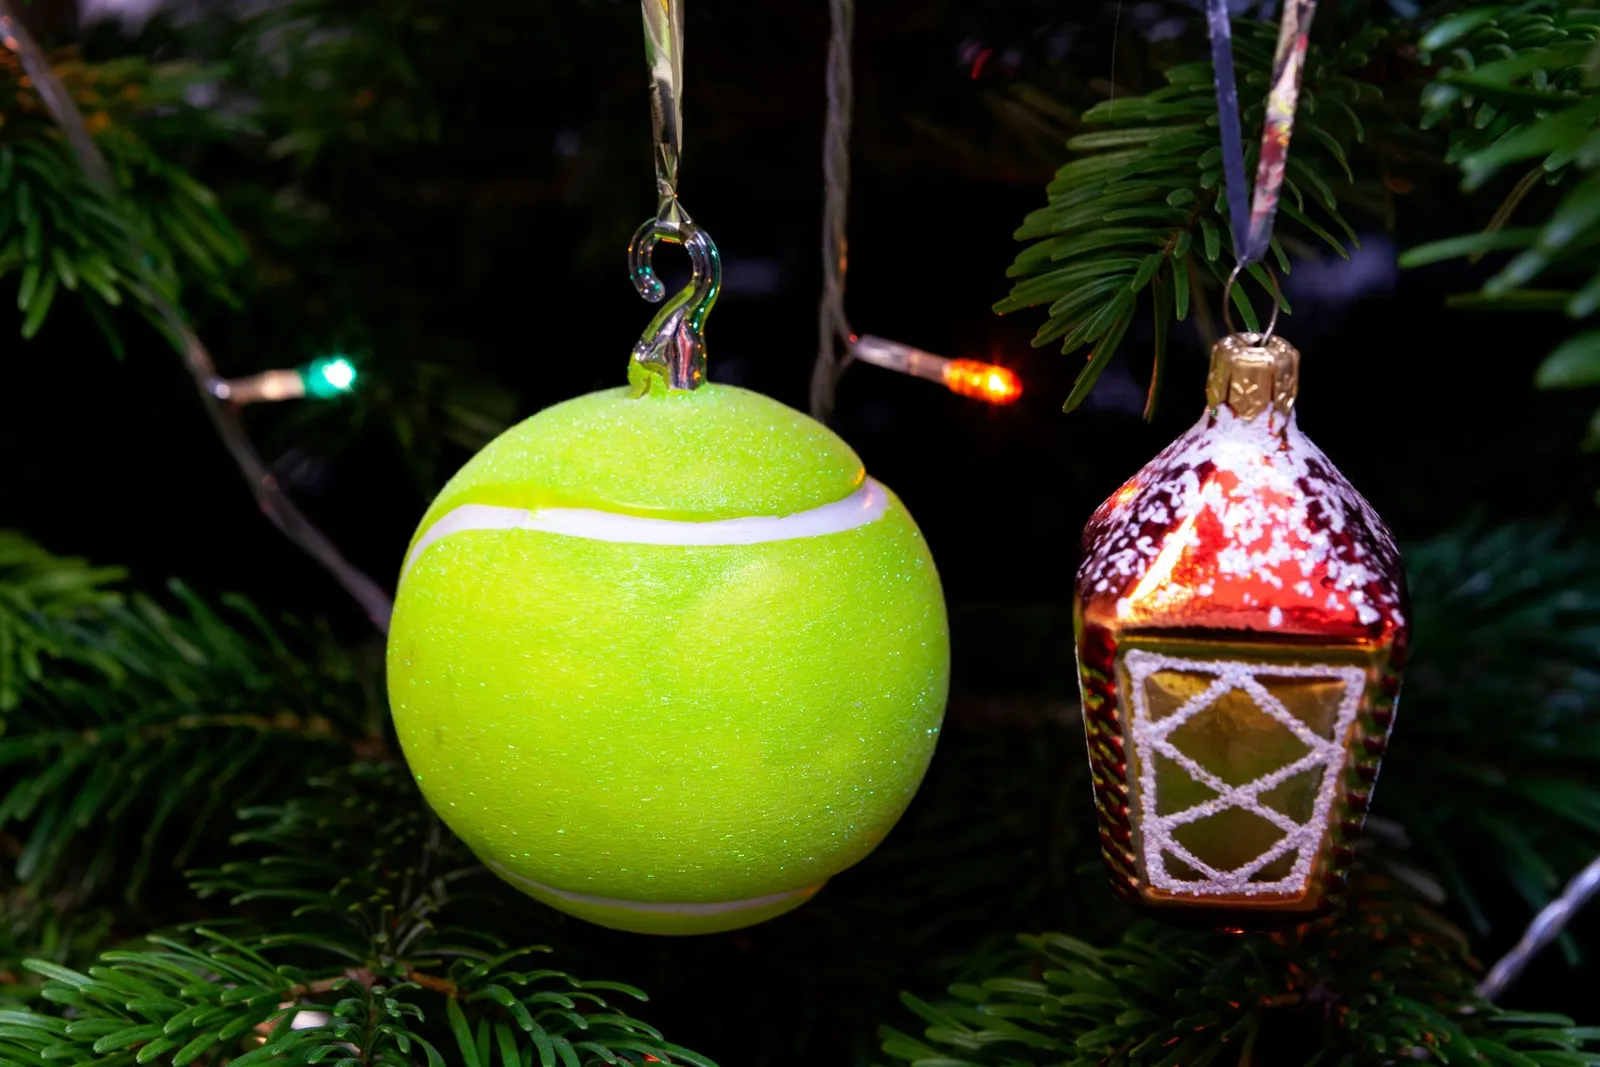
How to Make a Christmas Ornament Out of a Tennis Ball
Creating ornaments from tennis balls is a craft the whole household can take part in. Tennis players who go through balls quickly can give them a second life as budget-friendly holiday decor instead of throwing them away. With just a handful of supplies, you can produce multiple unique ornaments in a short time, and they will hold up for many seasons.
Step 1: Prepare Your Workspace
Cover your work surface with newspaper to keep it protected. Get your glue gun ready by inserting a glue stick and plugging the device into a wall outlet to heat up.
Step 2: Attach the Cord's Starting Point
Place a line of glue at the base of the tennis ball. Take one end of the twisted cord and push it into the glue. Keep pressing the cord down for at least 30 seconds so it bonds firmly to the ball.
Step 3: Begin Wrapping the Cord
Add more glue in a clockwise circular pattern around where the cord is attached. Use only enough glue to complete a single loop around the cord's end. While rotating the ball, bend and press the cord into the glue. The initial loop should sit snugly against the cord's end. Let the glue dry before moving on.
Step 4: Continue Adding Cord Layers
Spread another ring of glue on the ball beside the cord already in place, then repeat the wrapping and pressing process for the next loop. Each circle should sit tightly against the previous one, with no ball surface visible in between. Keep gluing and wrapping the cord around the ornament, working your way upward.
Step 5: Trim and Secure the Cord
Once you reach the top of the ball, use scissors to cut the twisted cord. Put a line of glue at the top, press the cord's end into it, and hold until the cord is firmly attached.
Step 6: Prepare the Hanging Ribbon
Cut a 6-inch piece of decorative satin ribbon. Place a small amount of glue 1/4 inch from one end. Bring the other end over and press it into the glue so the ends overlap by 1/2 inch. Keep the ends pressed together until they are securely joined.
Step 7: Complete the Ornament
Put a small dot of glue on the cord's end at the top of the ball. Position the glued ends of the satin ribbon flat onto the glue to finish the ornament. Press the ribbon down with your fingertip until it sticks securely. The ornament can now be hung on your tree.