How to Craft a Christmas Tree with Nails and Yarn
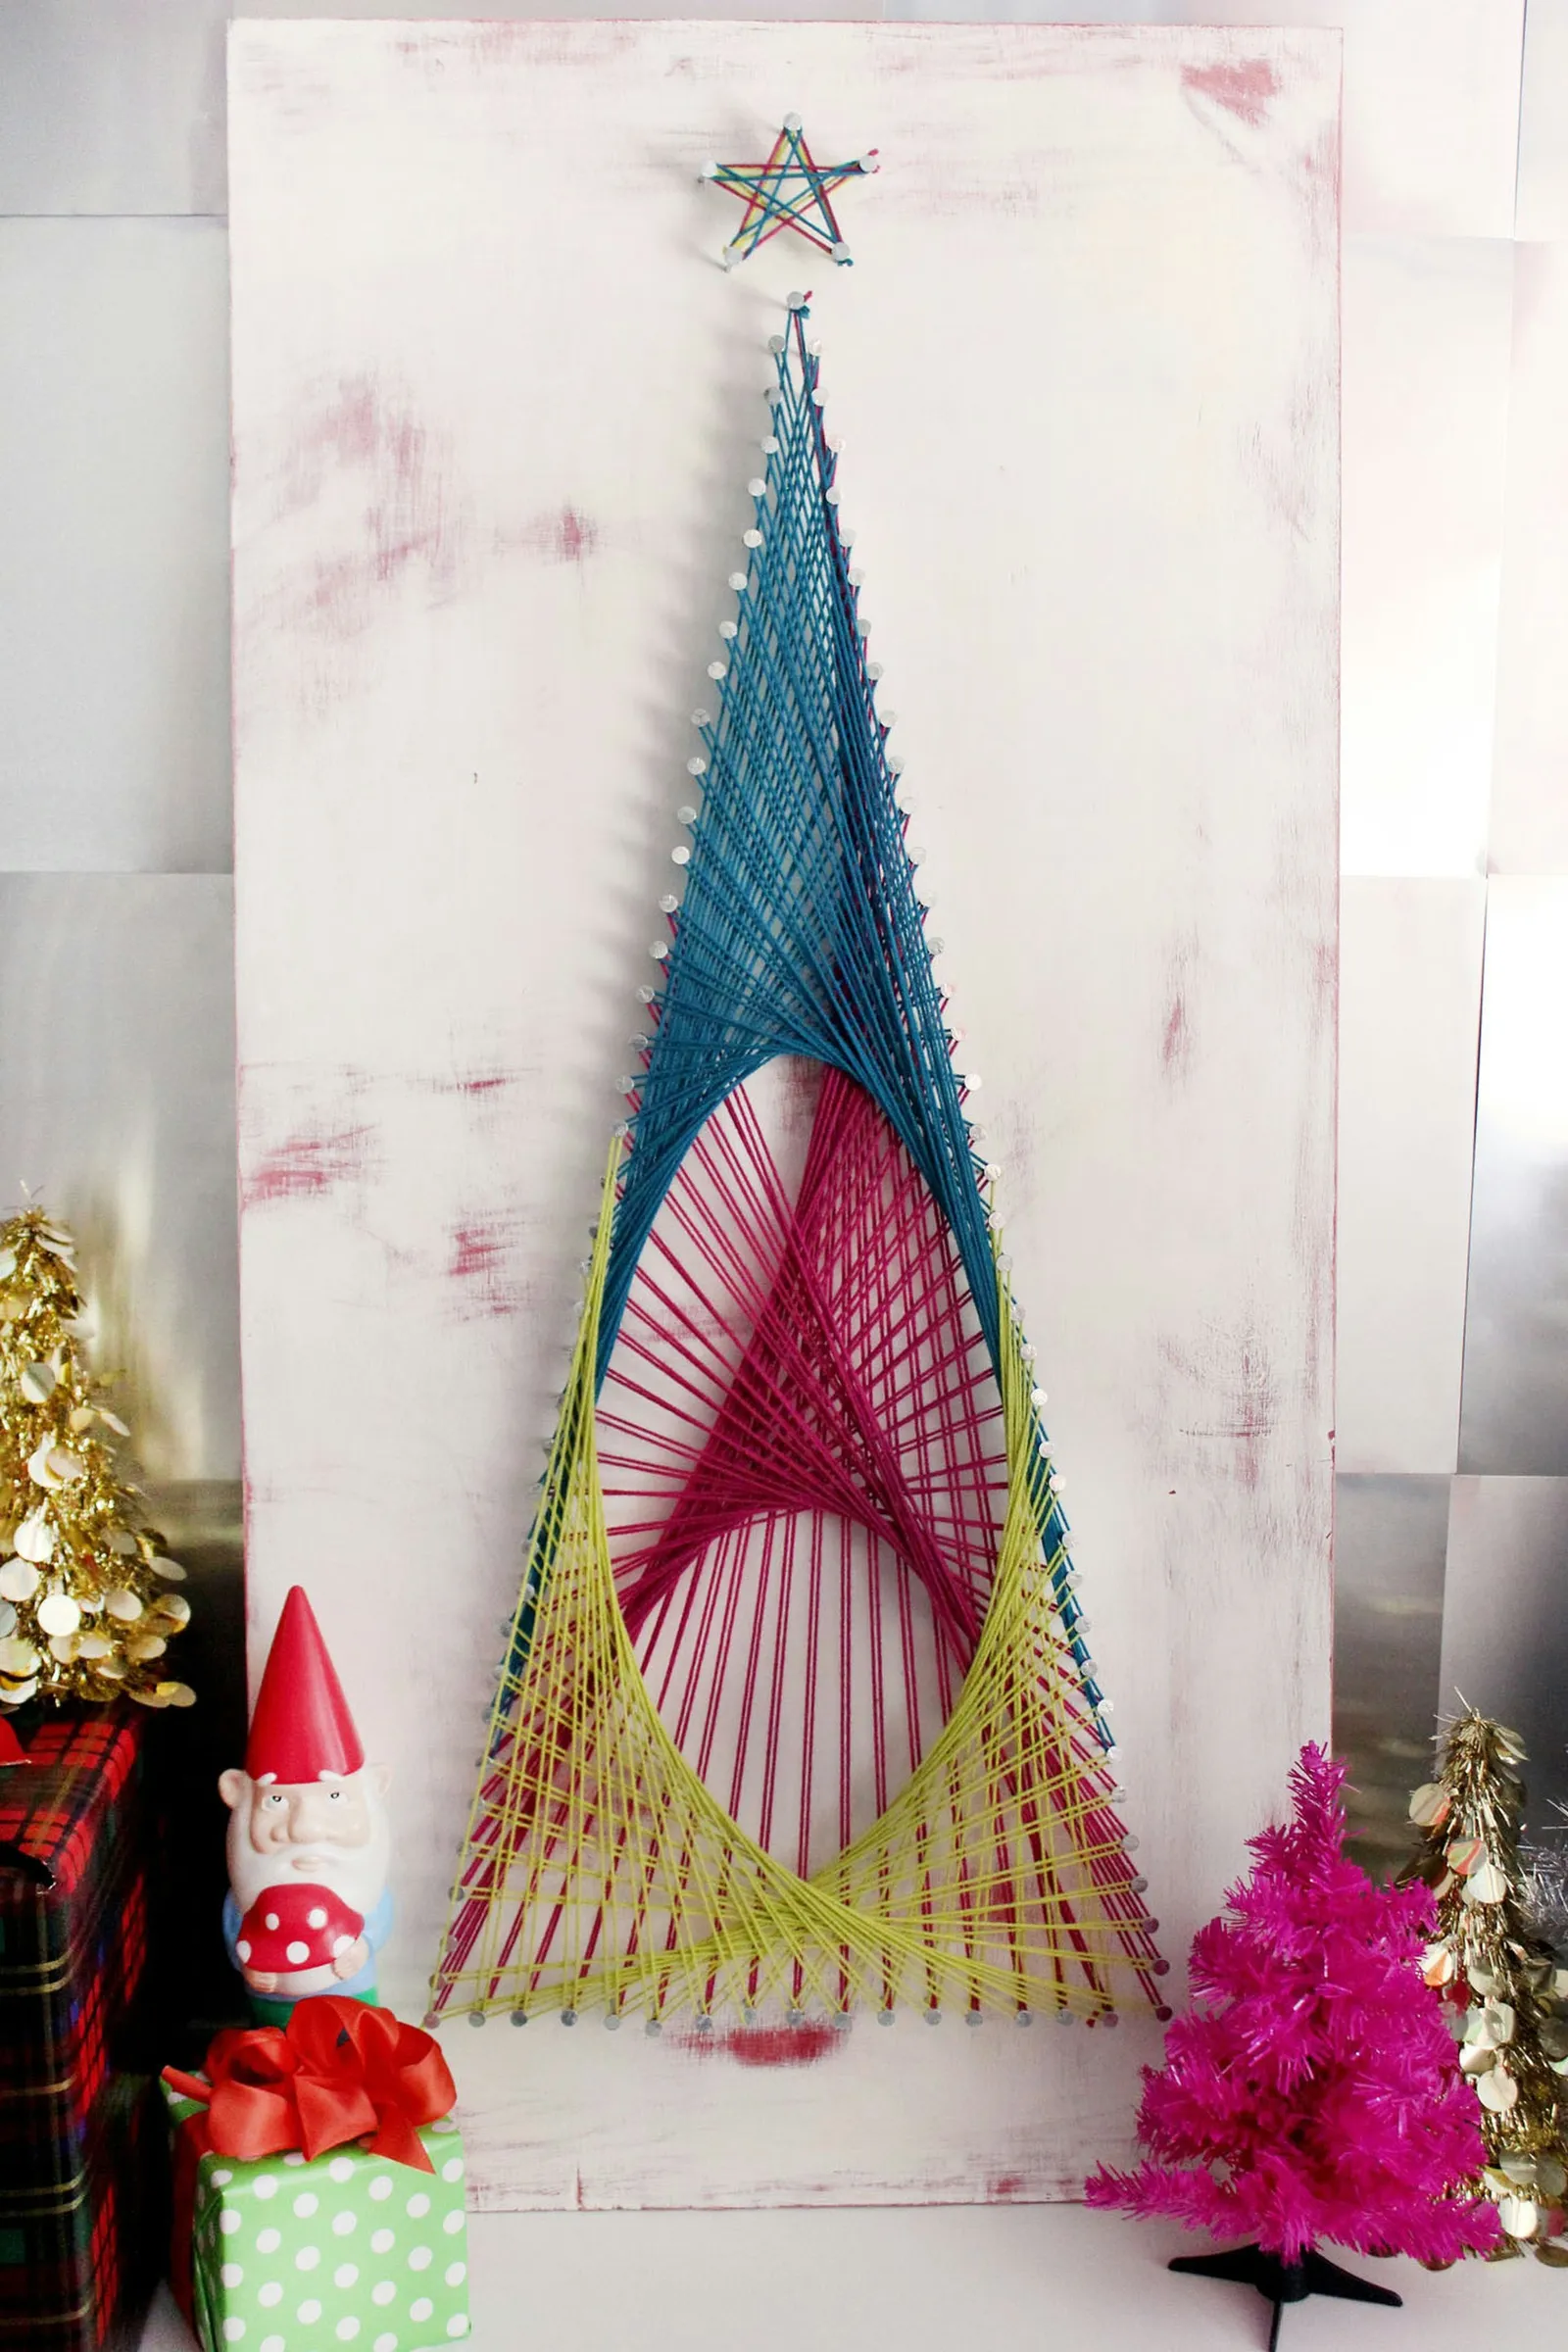
Create a distinctive holiday display by following this guide to make a string art Christmas tree, a project that blends simple materials with impressive results.
By Toby Wood9 steps

String Art Christmas Tree Tutorial
If you're after a holiday decoration that stands out and looks impressive, try making a string art Christmas tree. Much like the string art figures we often made as kids, these creations of wood, nails, and yarn tend to get a "Wow, how did you do that?" response. Yet, as this tree string art project shows, they are quite easy to put together.
DIY Christmas Tree String Art
Step 1: Paint the Wood Board
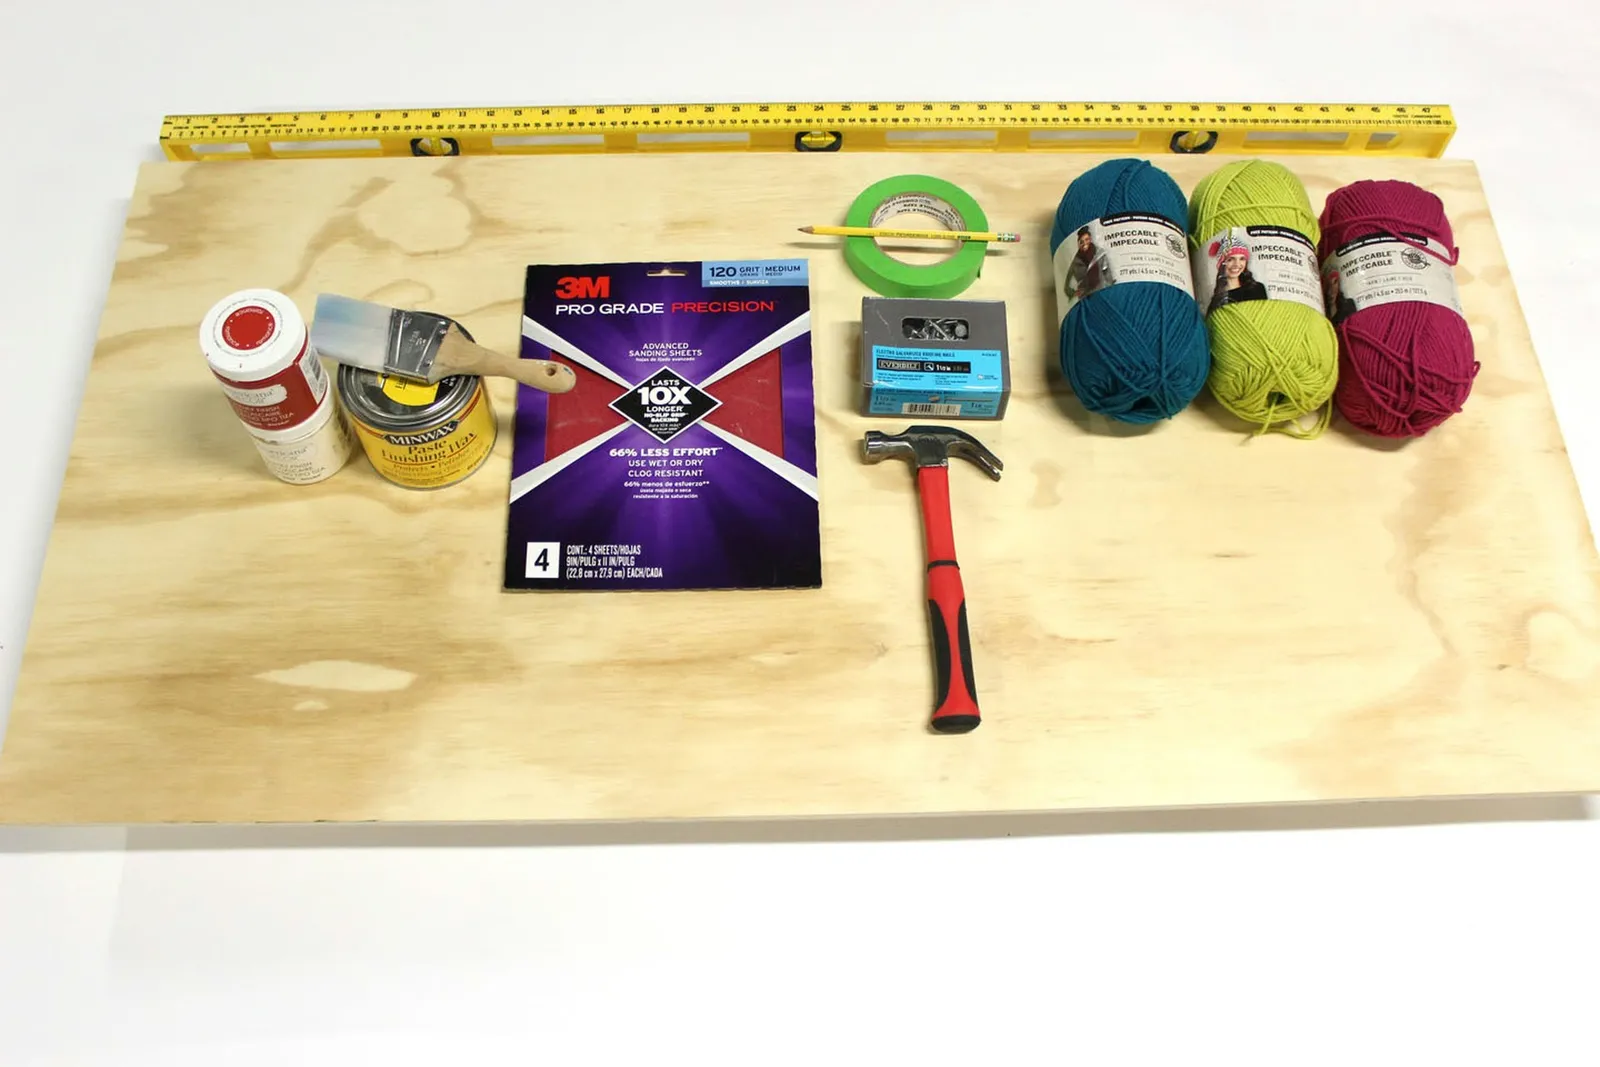
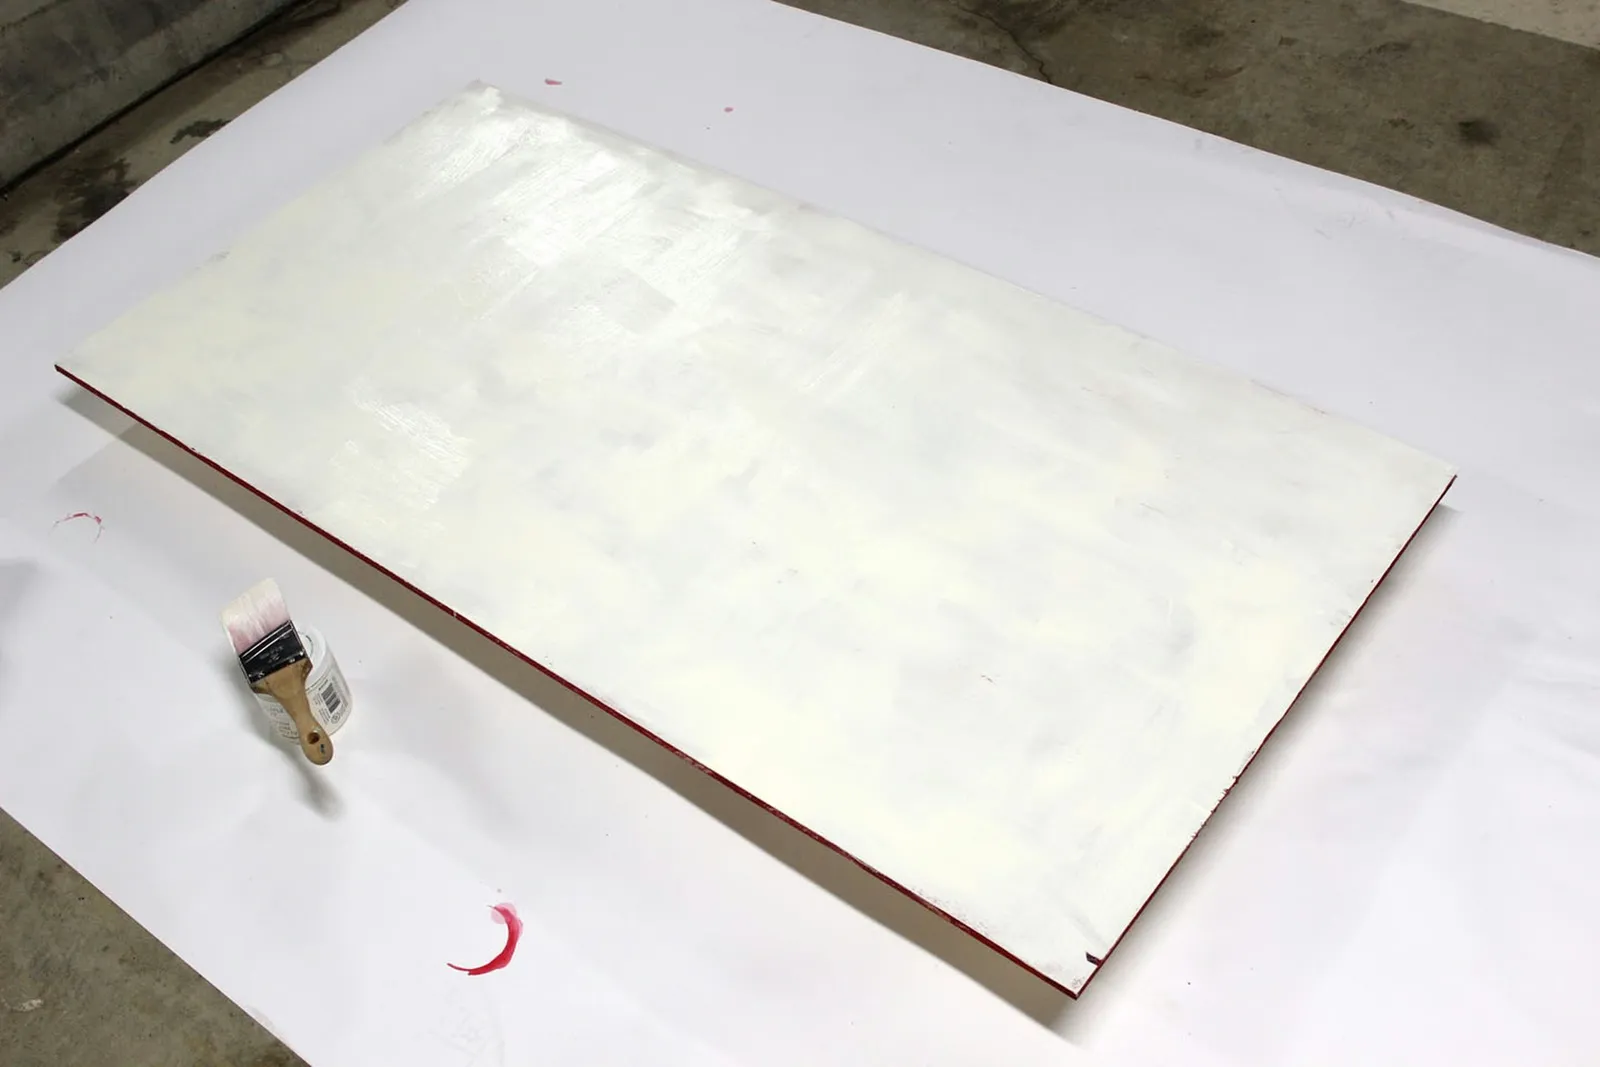
You can find wood boards precut to 2 feet by 4 feet at home improvement stores, a size that works well for this string art Christmas tree. Although a single color would do, I opted to create a weathered appearance by applying two colors and then sanding away part of the top layer. To get this effect, begin with a base coat. I used a deep red, which will show through the main color.
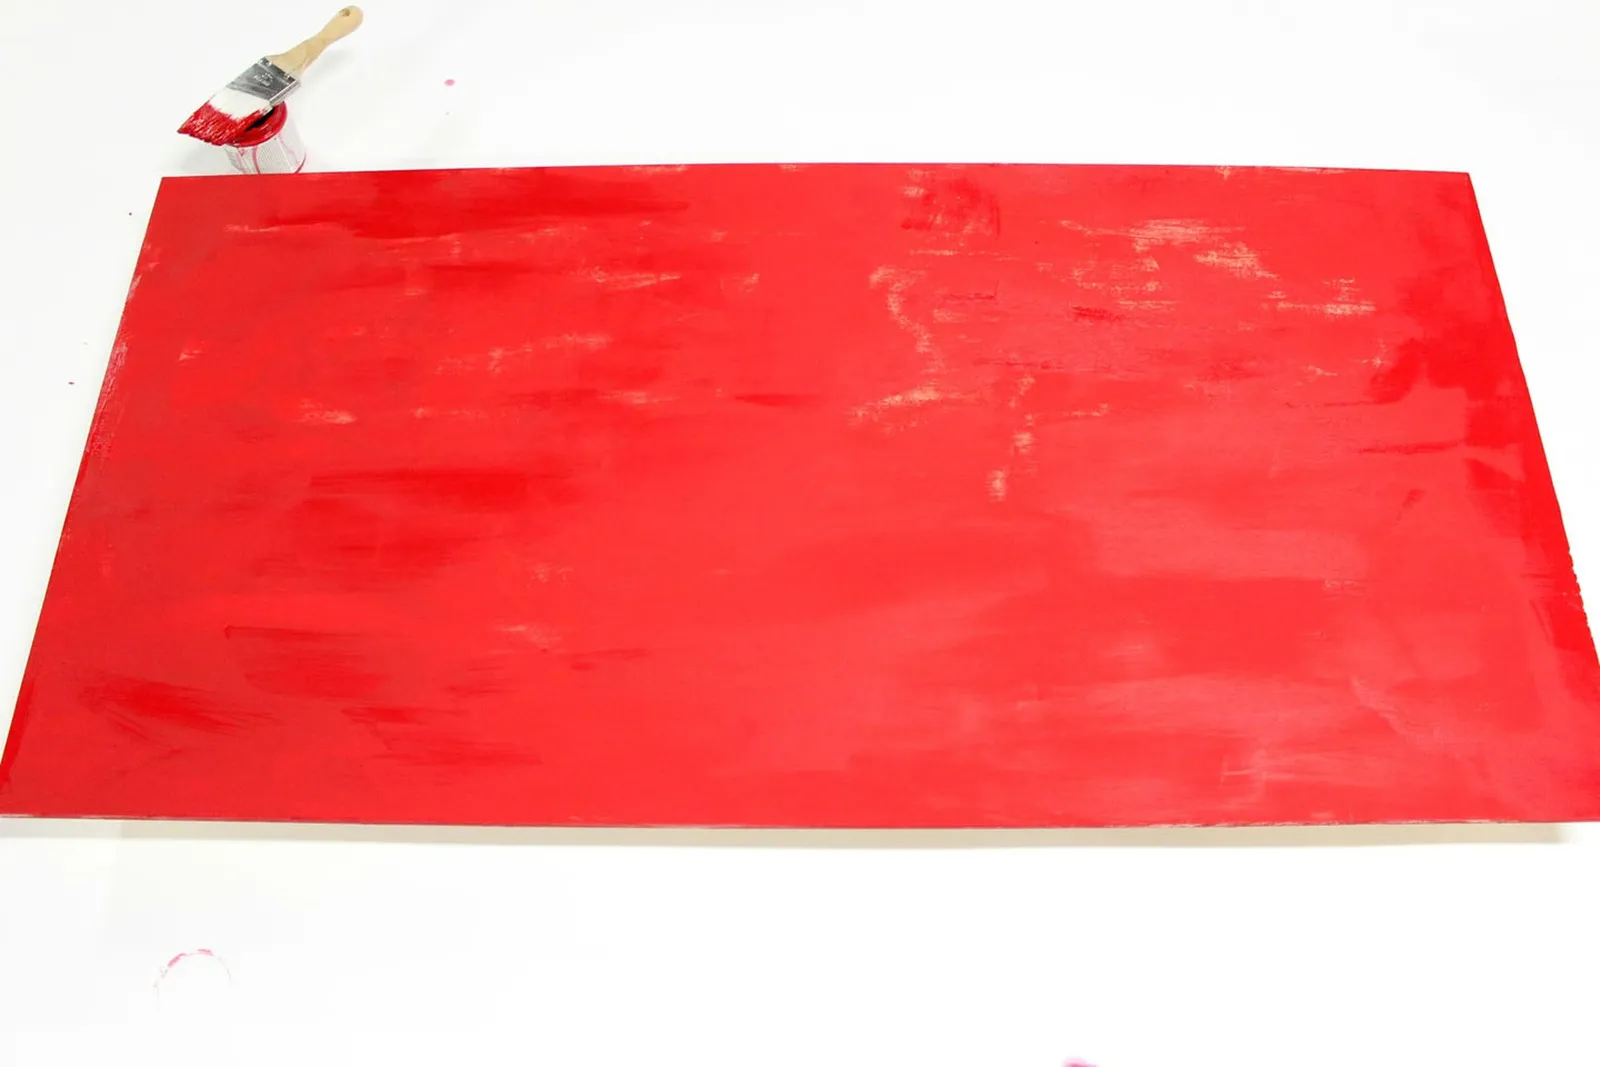
Next, apply the main color over the base coat; in this case, white. Don't aim for perfect coverage because you'll want some of the red to remain visible.
Step 2: Sand Off the Top Layer
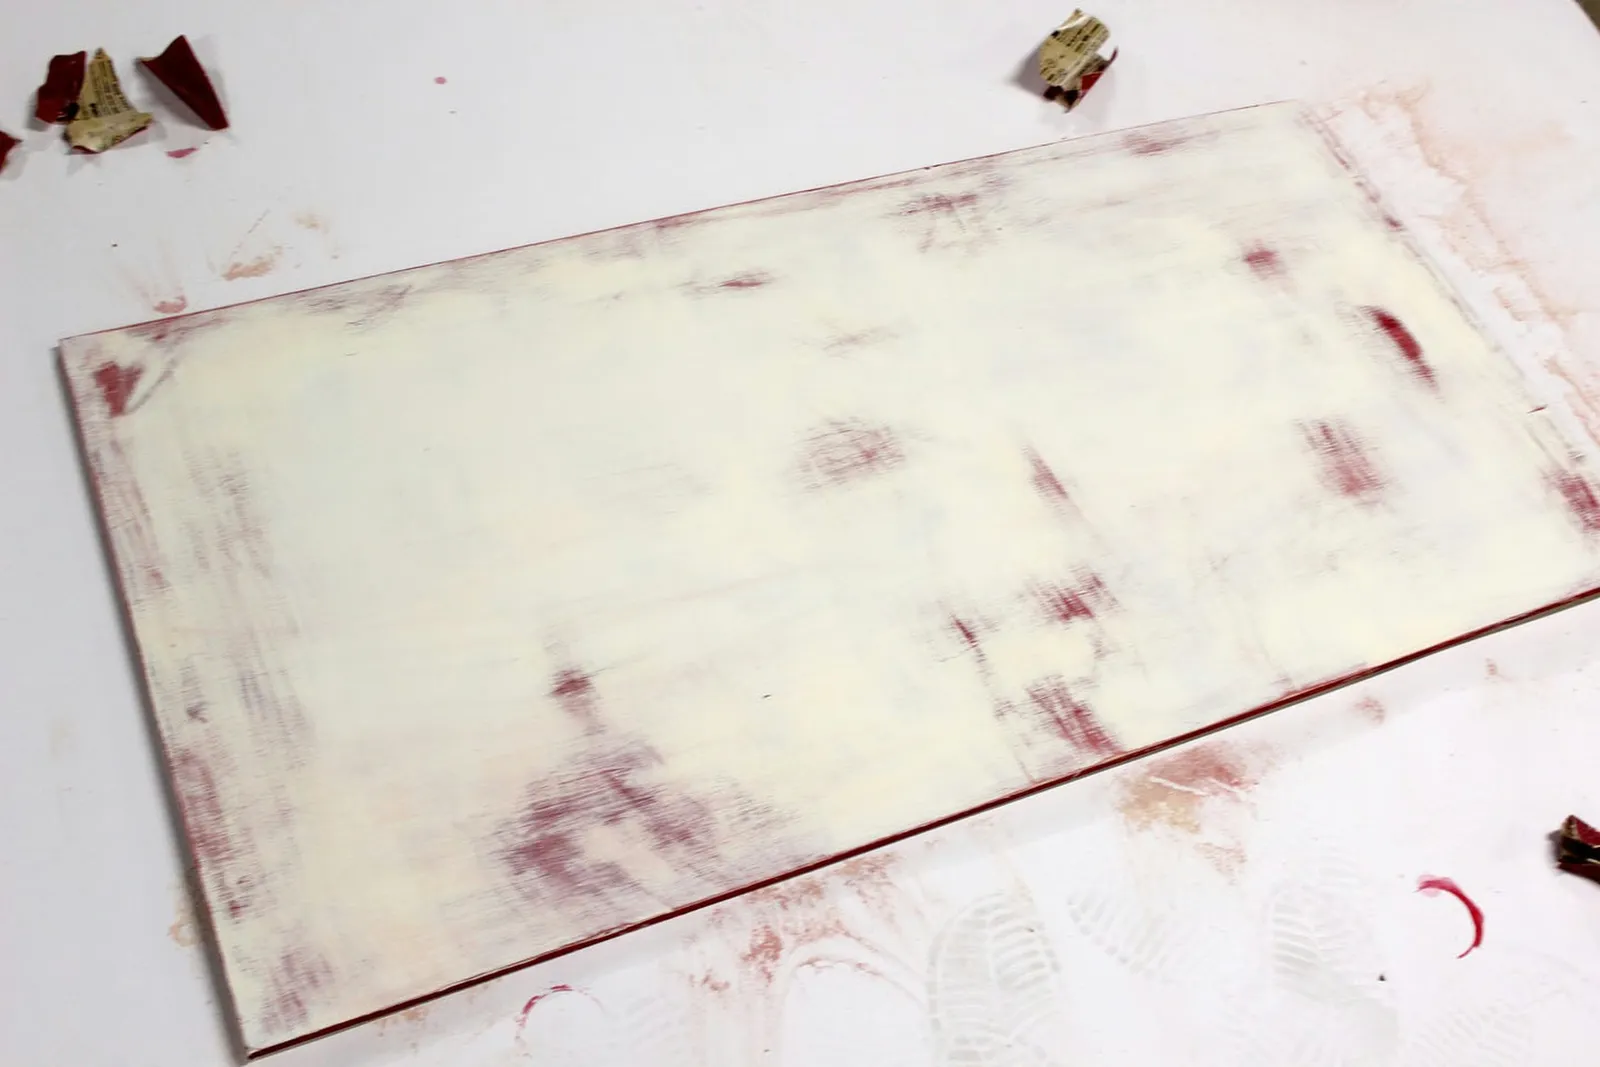
Take 120 grit sandpaper and distress the top paint layer, letting the undercoat show in spots. The sanding gives the wood an aged look.
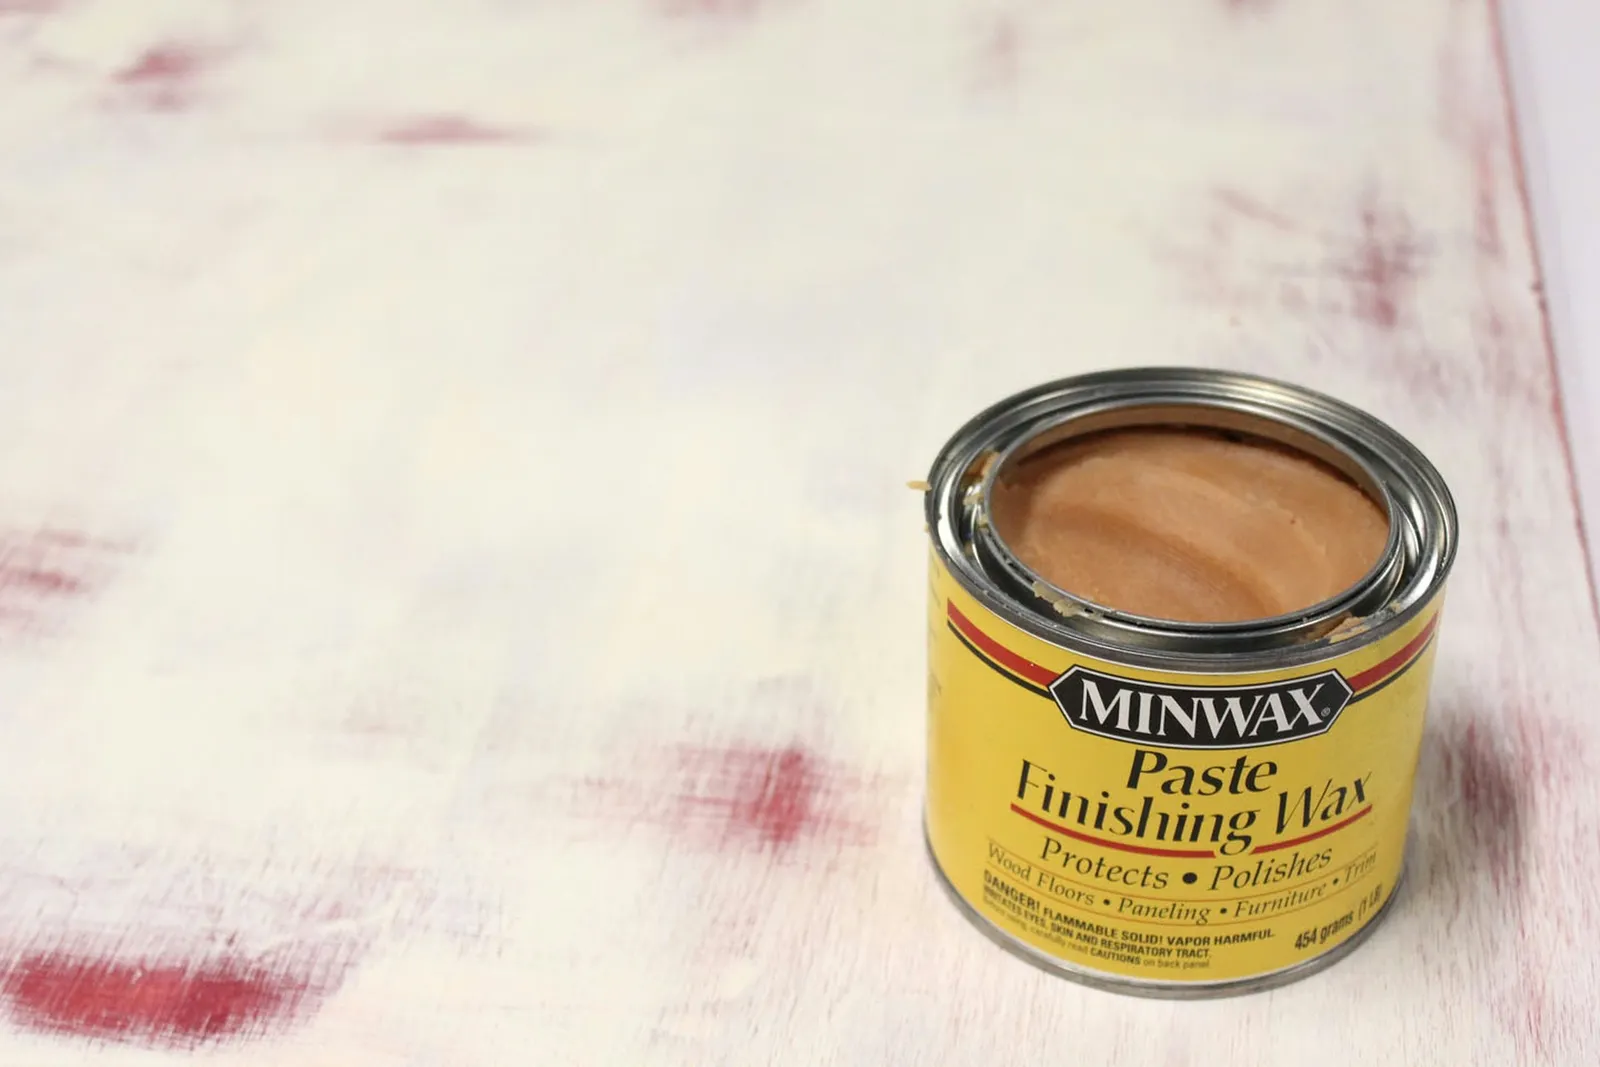
Use a rag to apply finishing wax over the paint, sealing in the weathered finish.
Step 3: Mark Nail Holes
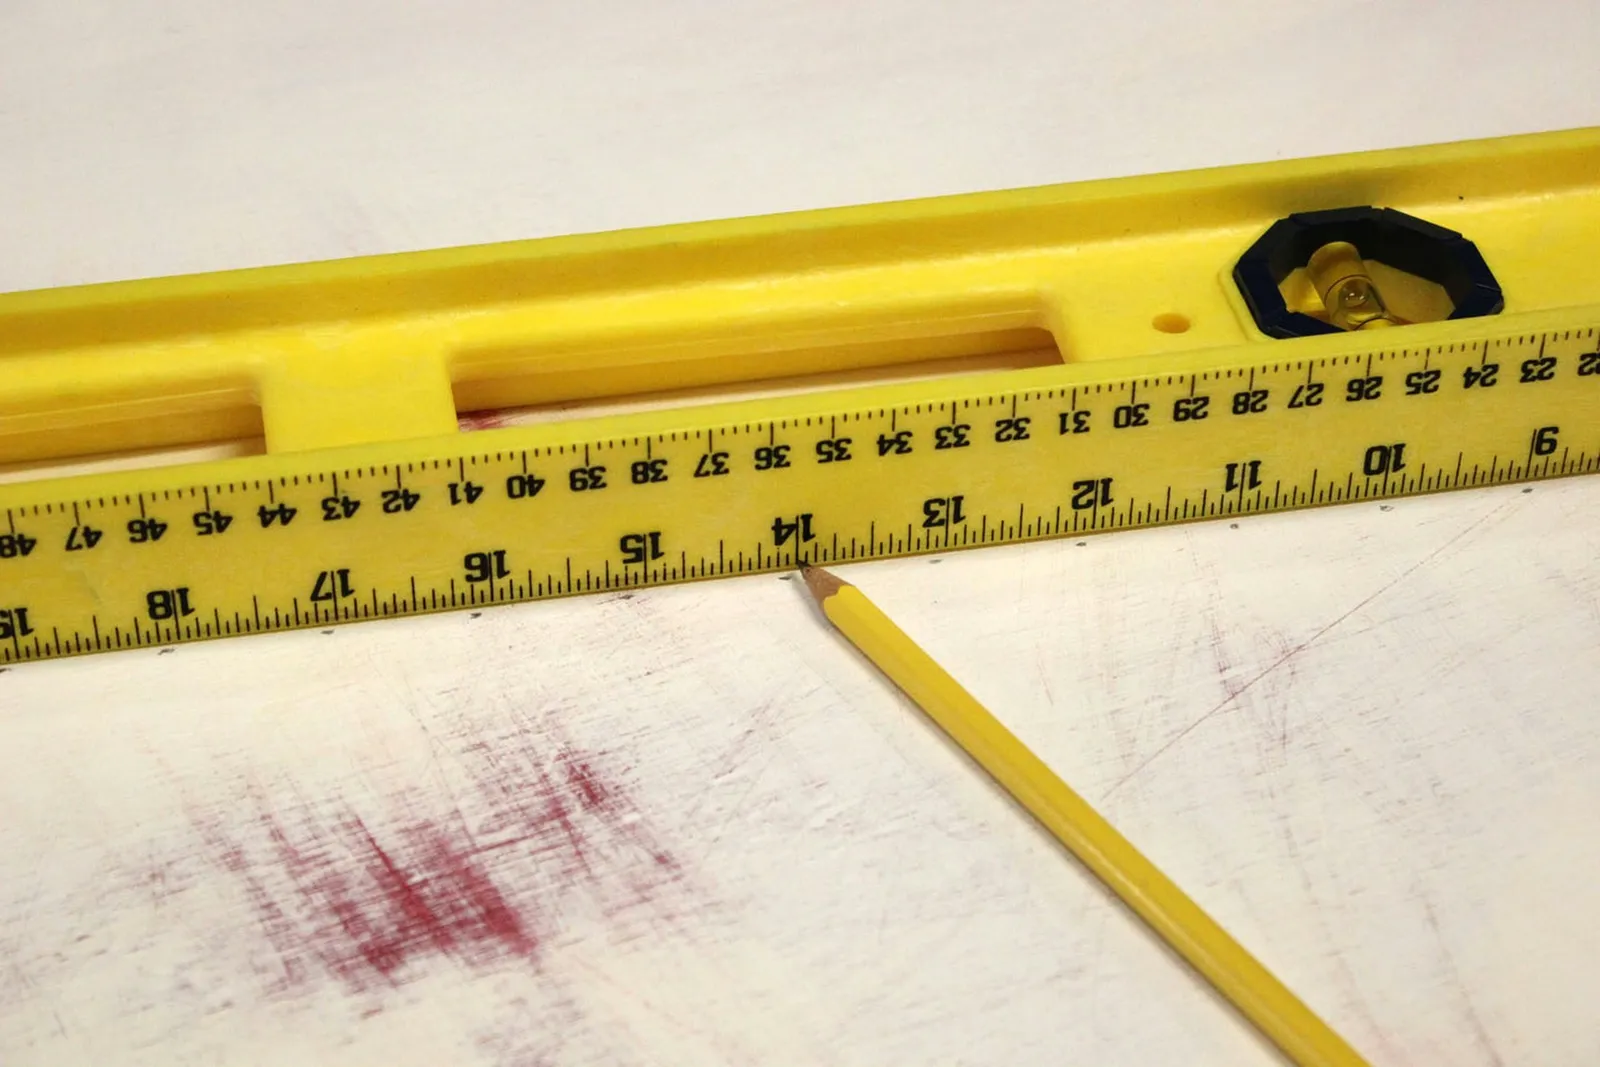
On the wood board, sketch a triangular tree shape with a pencil and a long ruler or measuring tape, placing marks every inch where nails will go. This serves as your Christmas tree string art template.
Step 4: Hammer Nails into the Board
Drive nails into the board at your marked spots. The size of the nails isn't crucial, but pick ones with large heads to hold the yarn securely as it wraps around each nail.
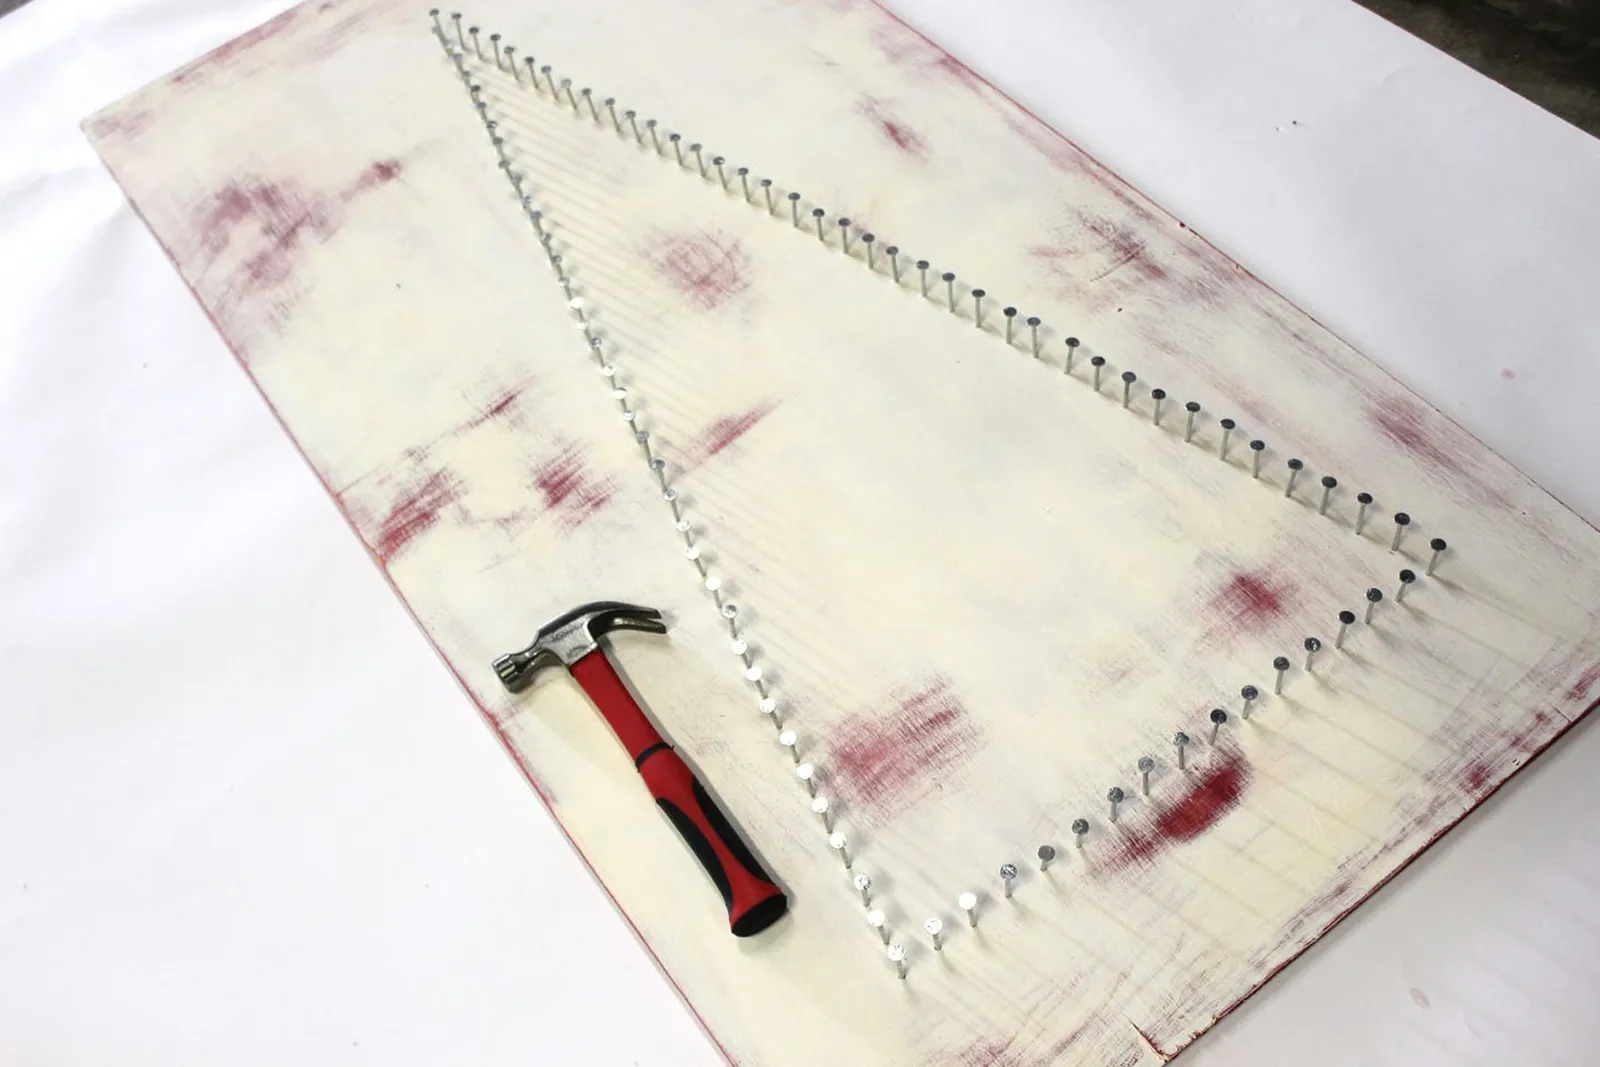
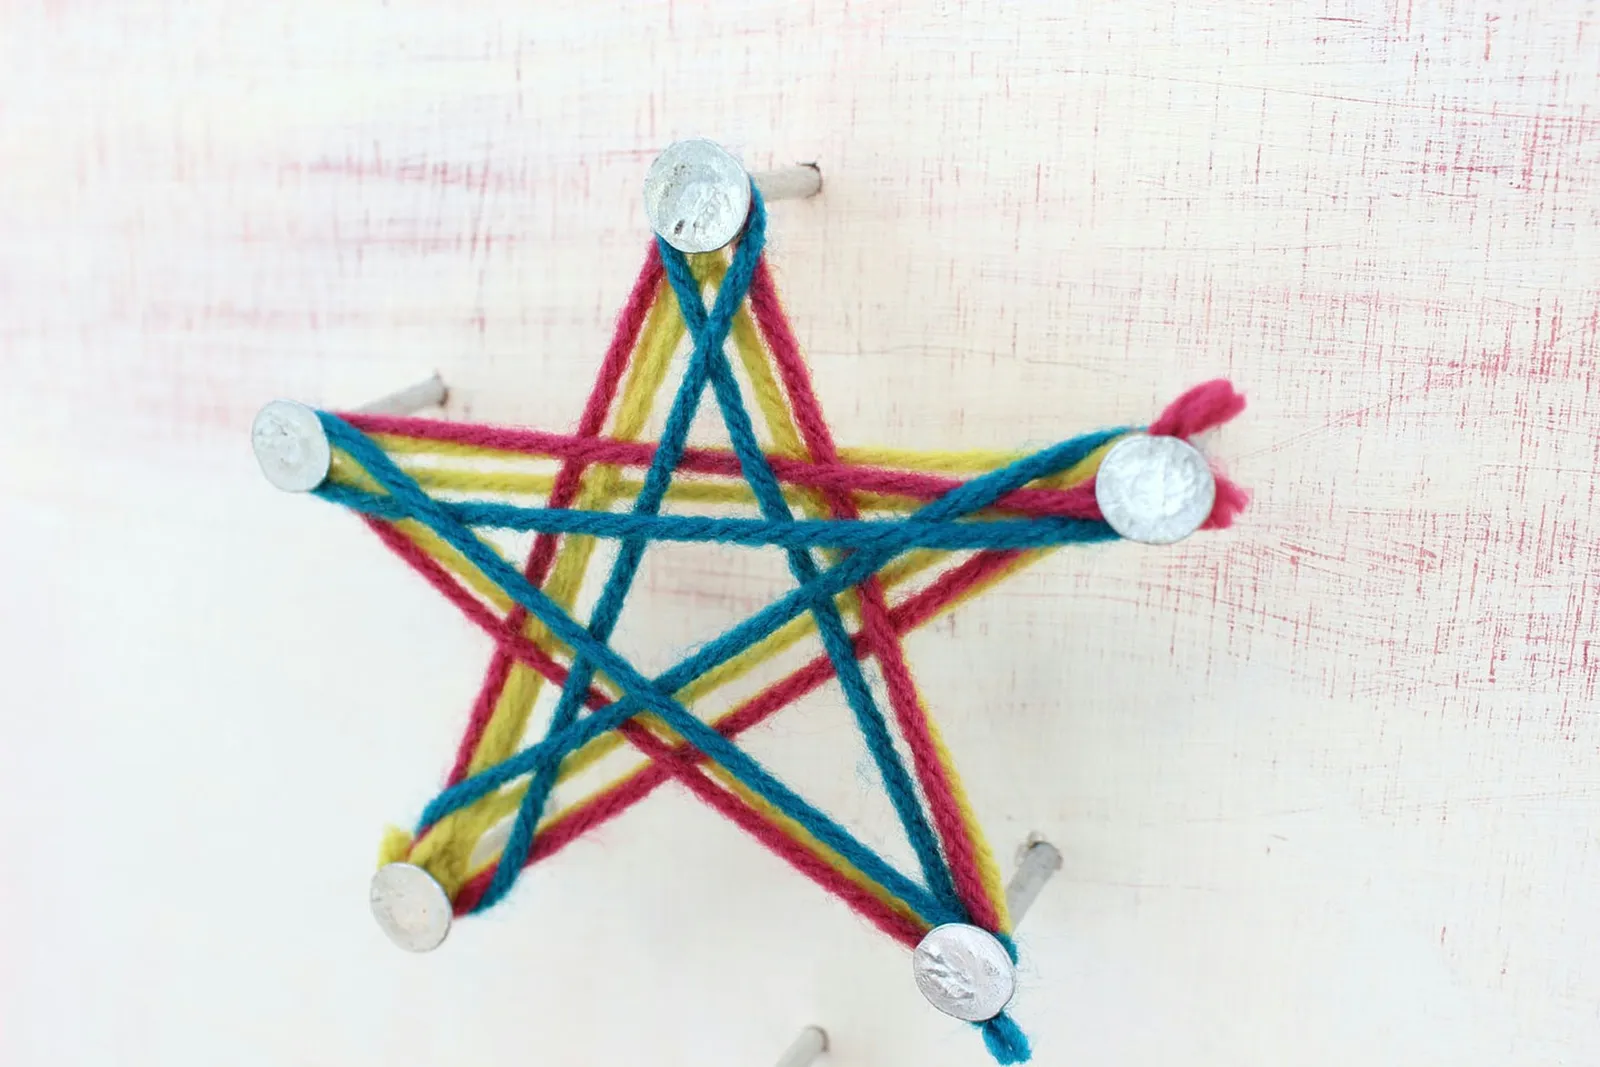
For the star, hammer five nails above the tree shape.
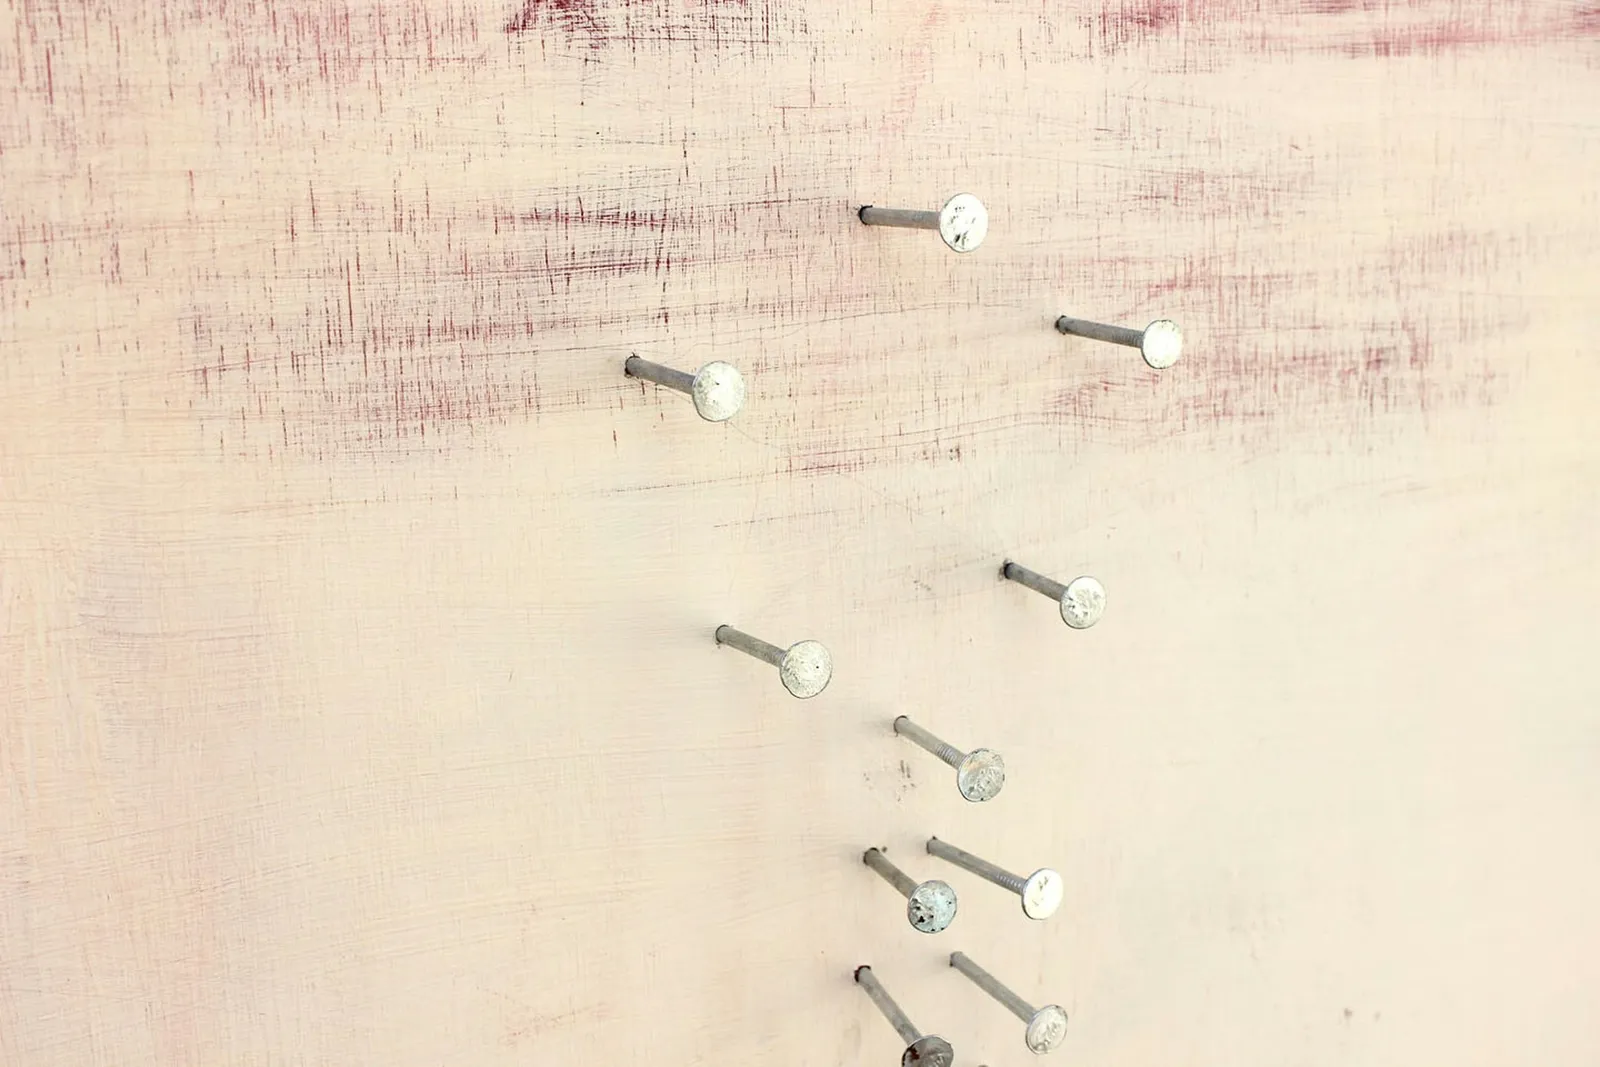
Step 5: Number Each Nail
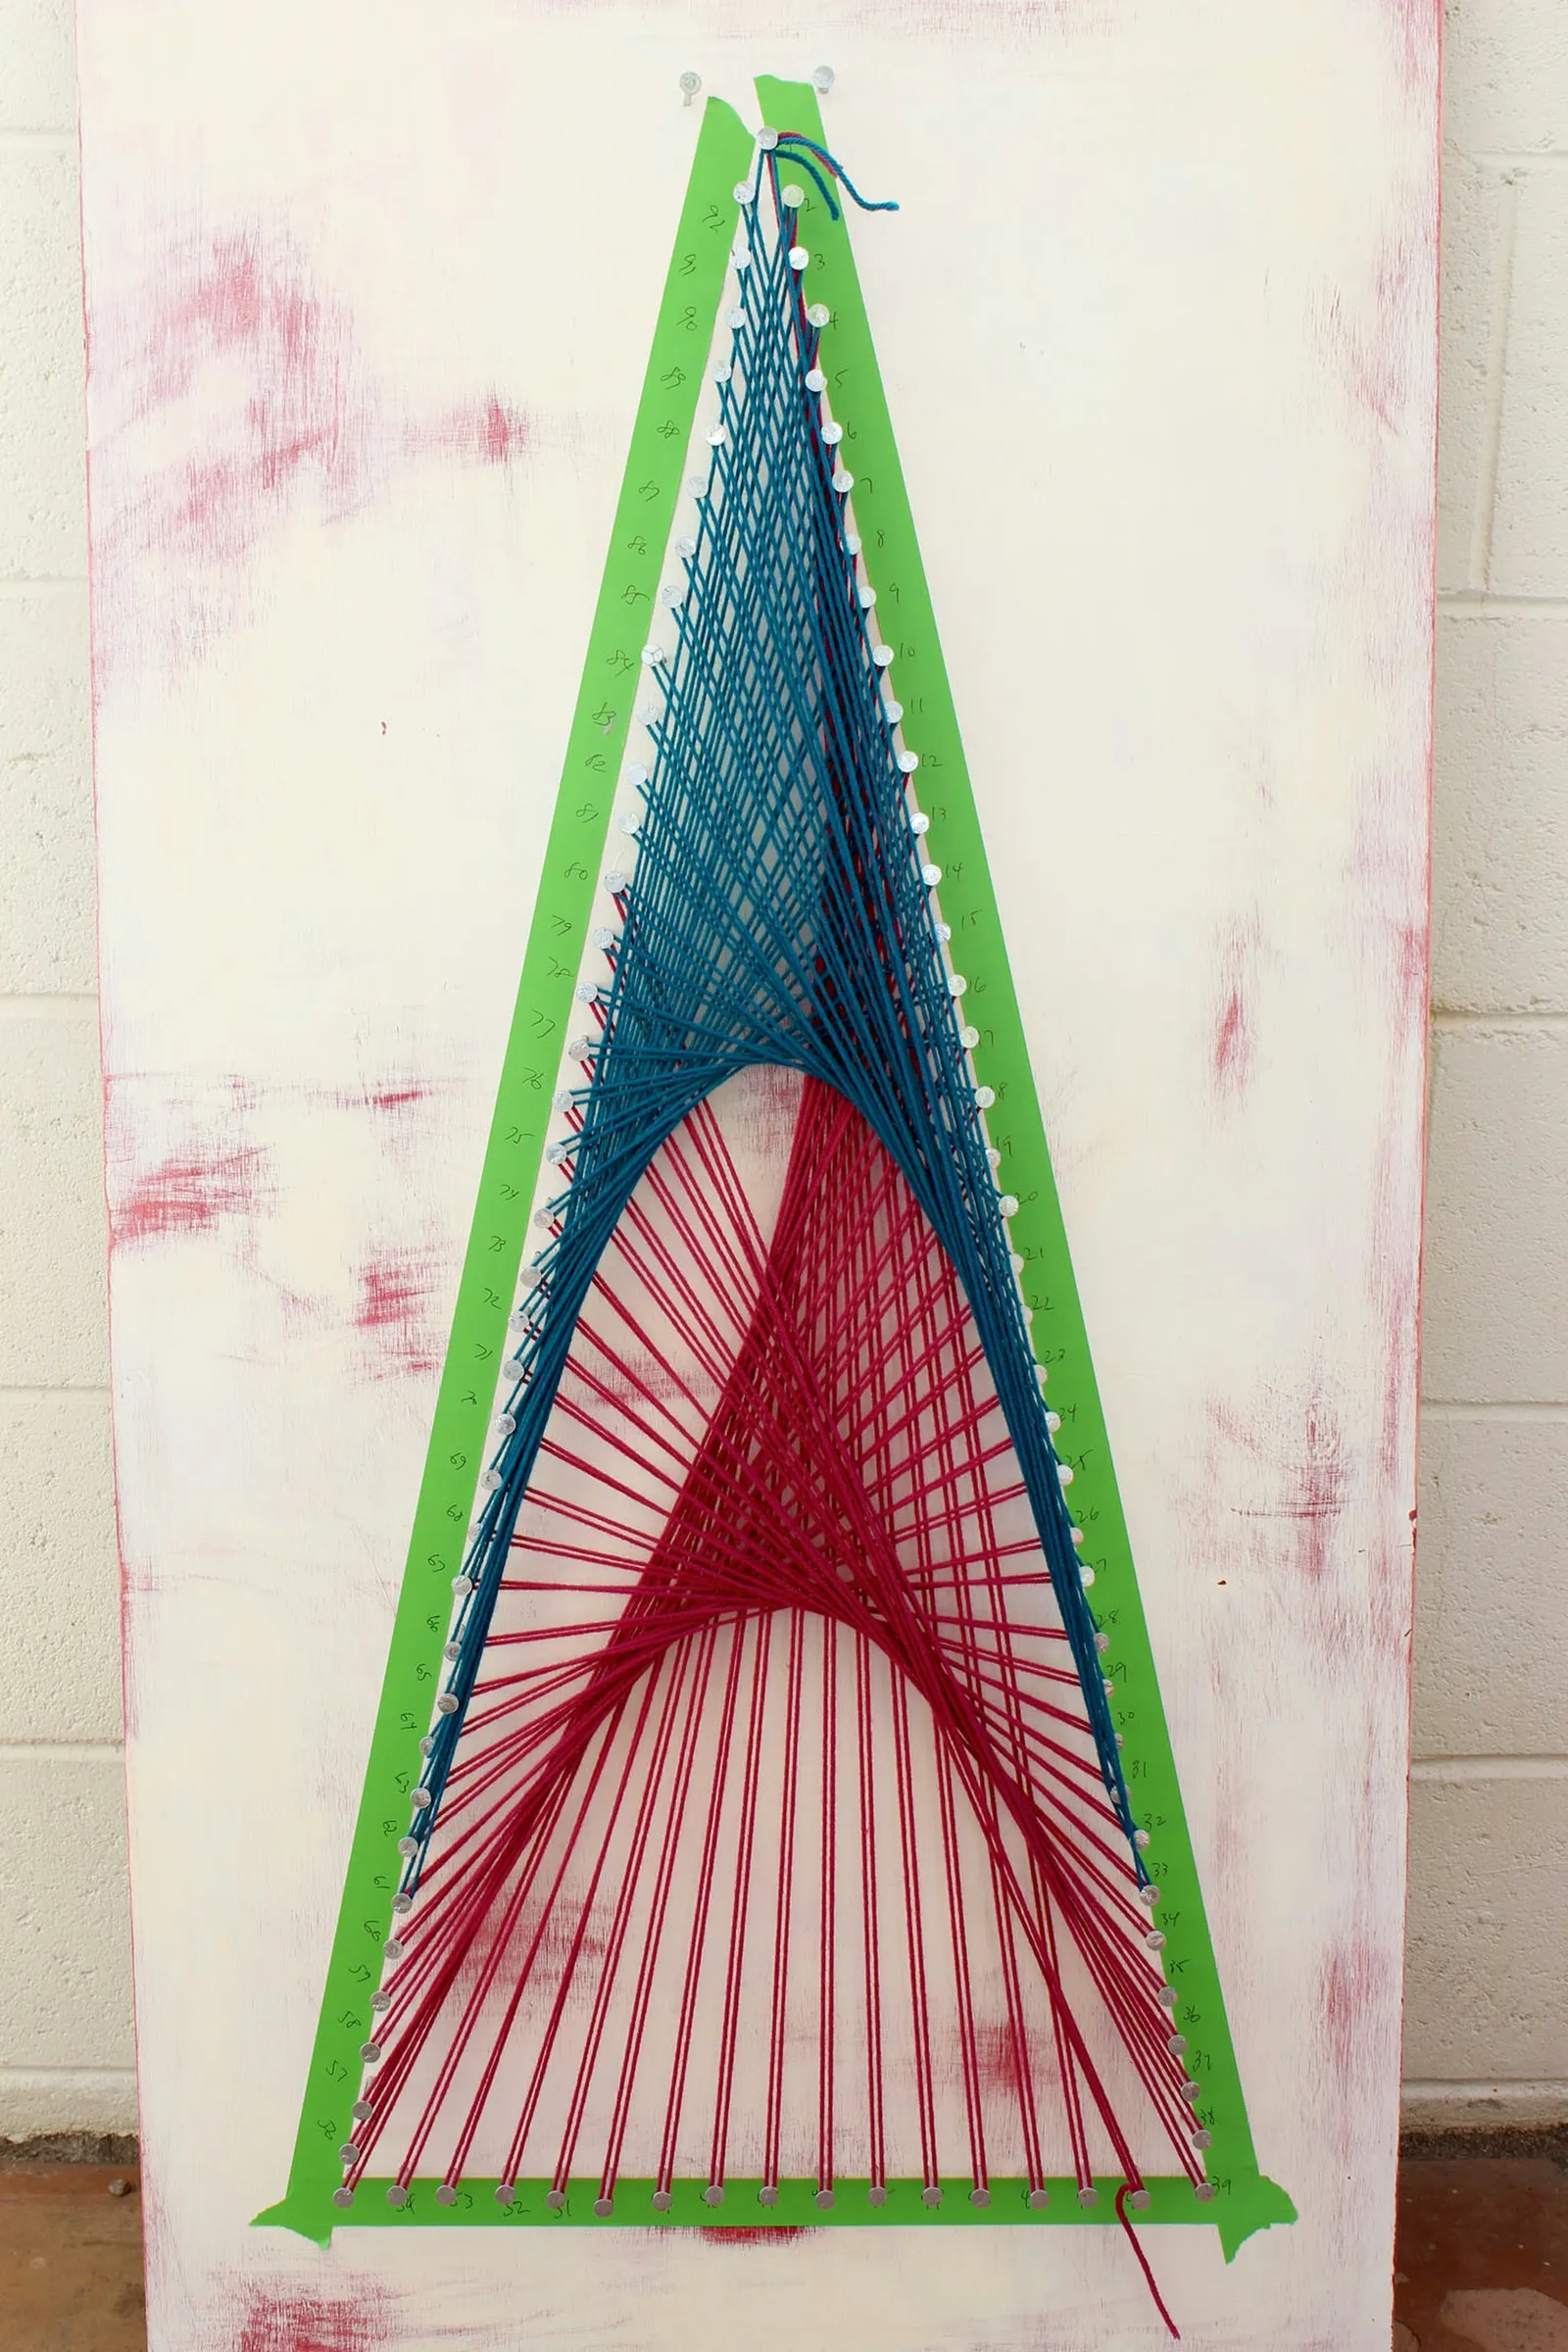
To make stringing easier, place masking tape beside the nails and write numbers on each. Begin at the top with #1 and move clockwise until every nail has a number. In this example, there are 92 nails: number 1 at the top, number 38 at the bottom right, number 54 at the bottom left, and number 92 back at the top. Numbering might look like an extra step, but it greatly aids in following your string patterns.
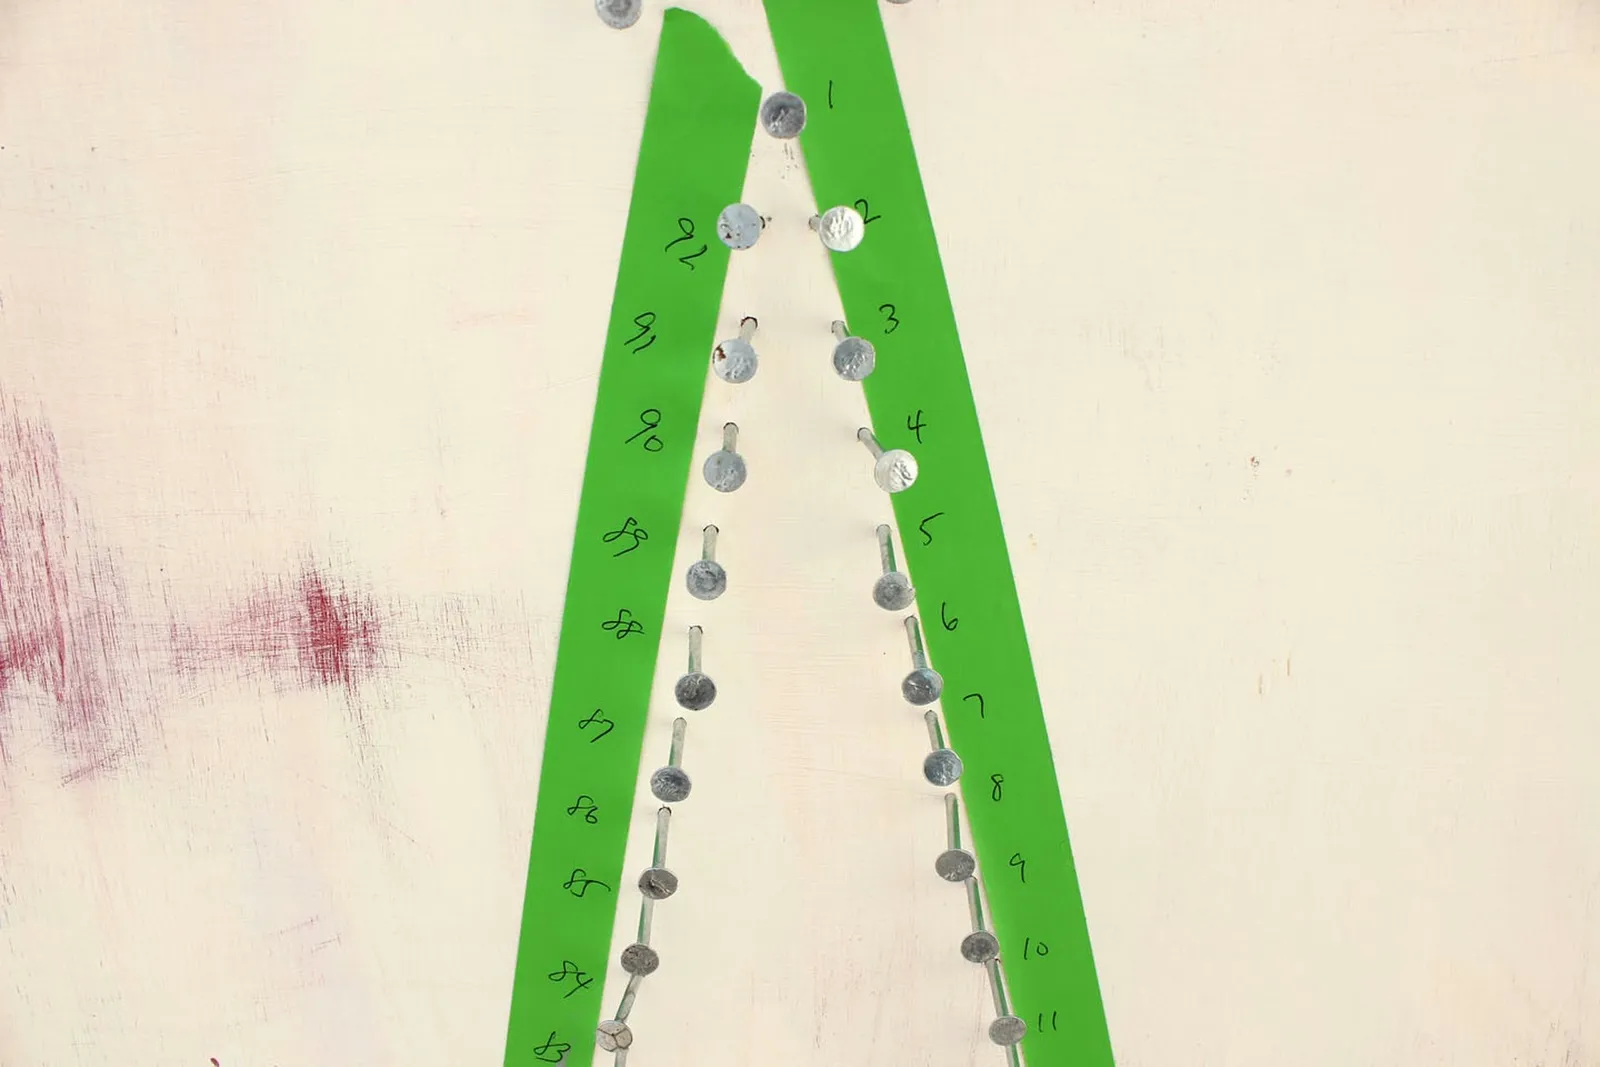
Step 6: String the First Color
With the first color, secure the yarn end at nail number 1. Then bring the yarn down to the tree's base and wrap it around number 41. Go up to number 2, then down to 42. Up to 3 and then 43, and continue this way. The numbers make the process much clearer and help prevent skipping a nail. For this first color, I stopped at nail number 80, a third of the way up the left side, instead of returning to number 1 at the top, to create an asymmetrical look.
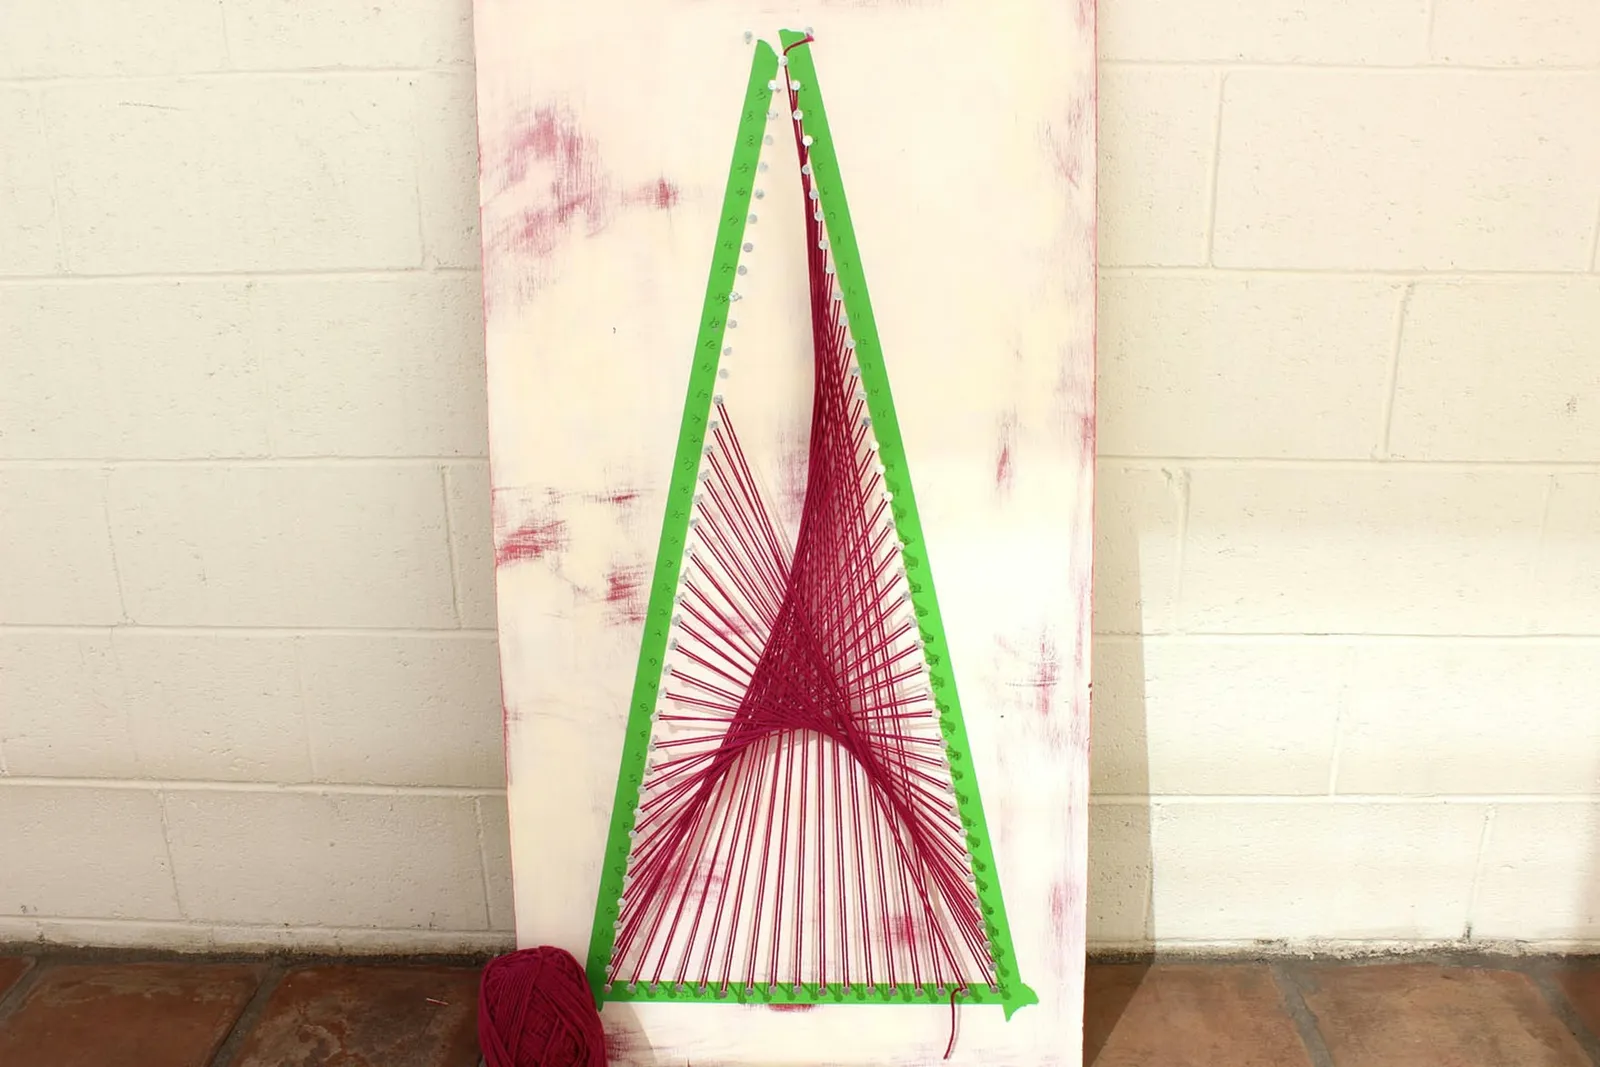
Step 7: String the Second Color
For the second color, we'll fill the upper part of the tree. To do this, tie the yarn end again at nail number 1, cross to the left side and wrap around nail number 61. Then go back to the right side to number 2, then to number 62, then 3 then 63, and so on until you reach the last nail, number 92. I find counting in tens helps me keep track of where I am.
Step 8: String the Third Color
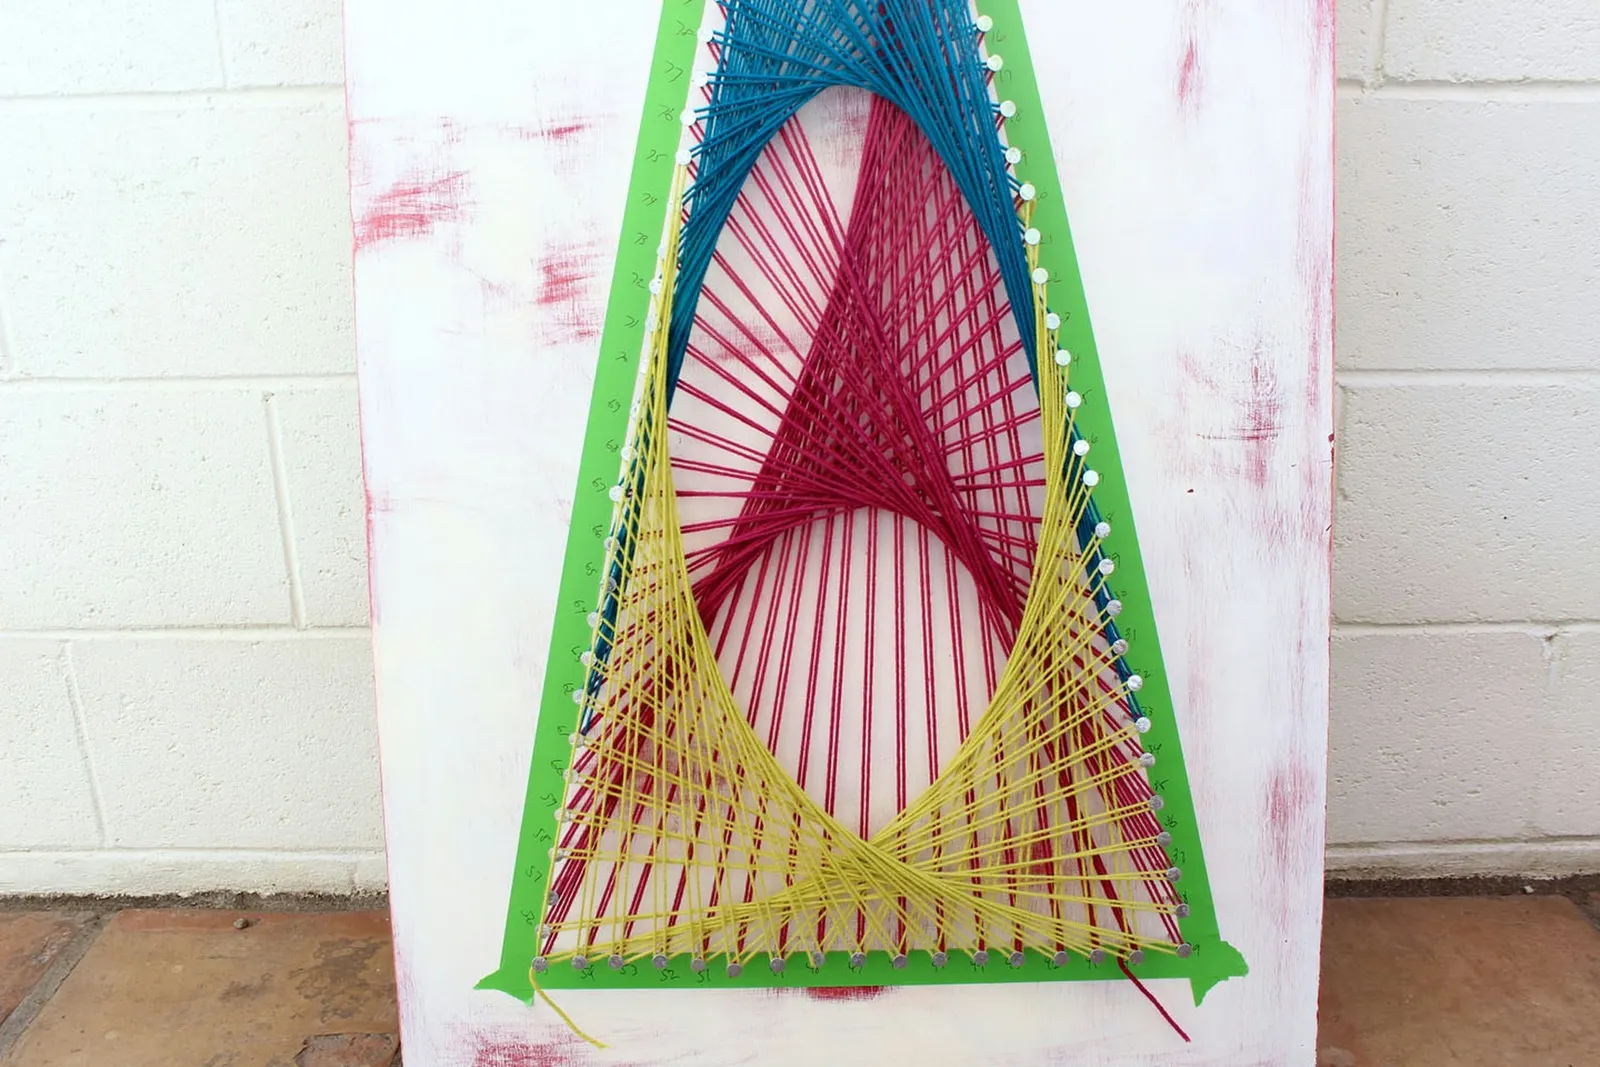
For the third color, we'll fill the lower part of the tree. Begin the yarn midway on the right, tying the end around nail number 20. Then go down and wrap around number 40, then up to 21, then down to 41, then 22 and 42, and so forth.
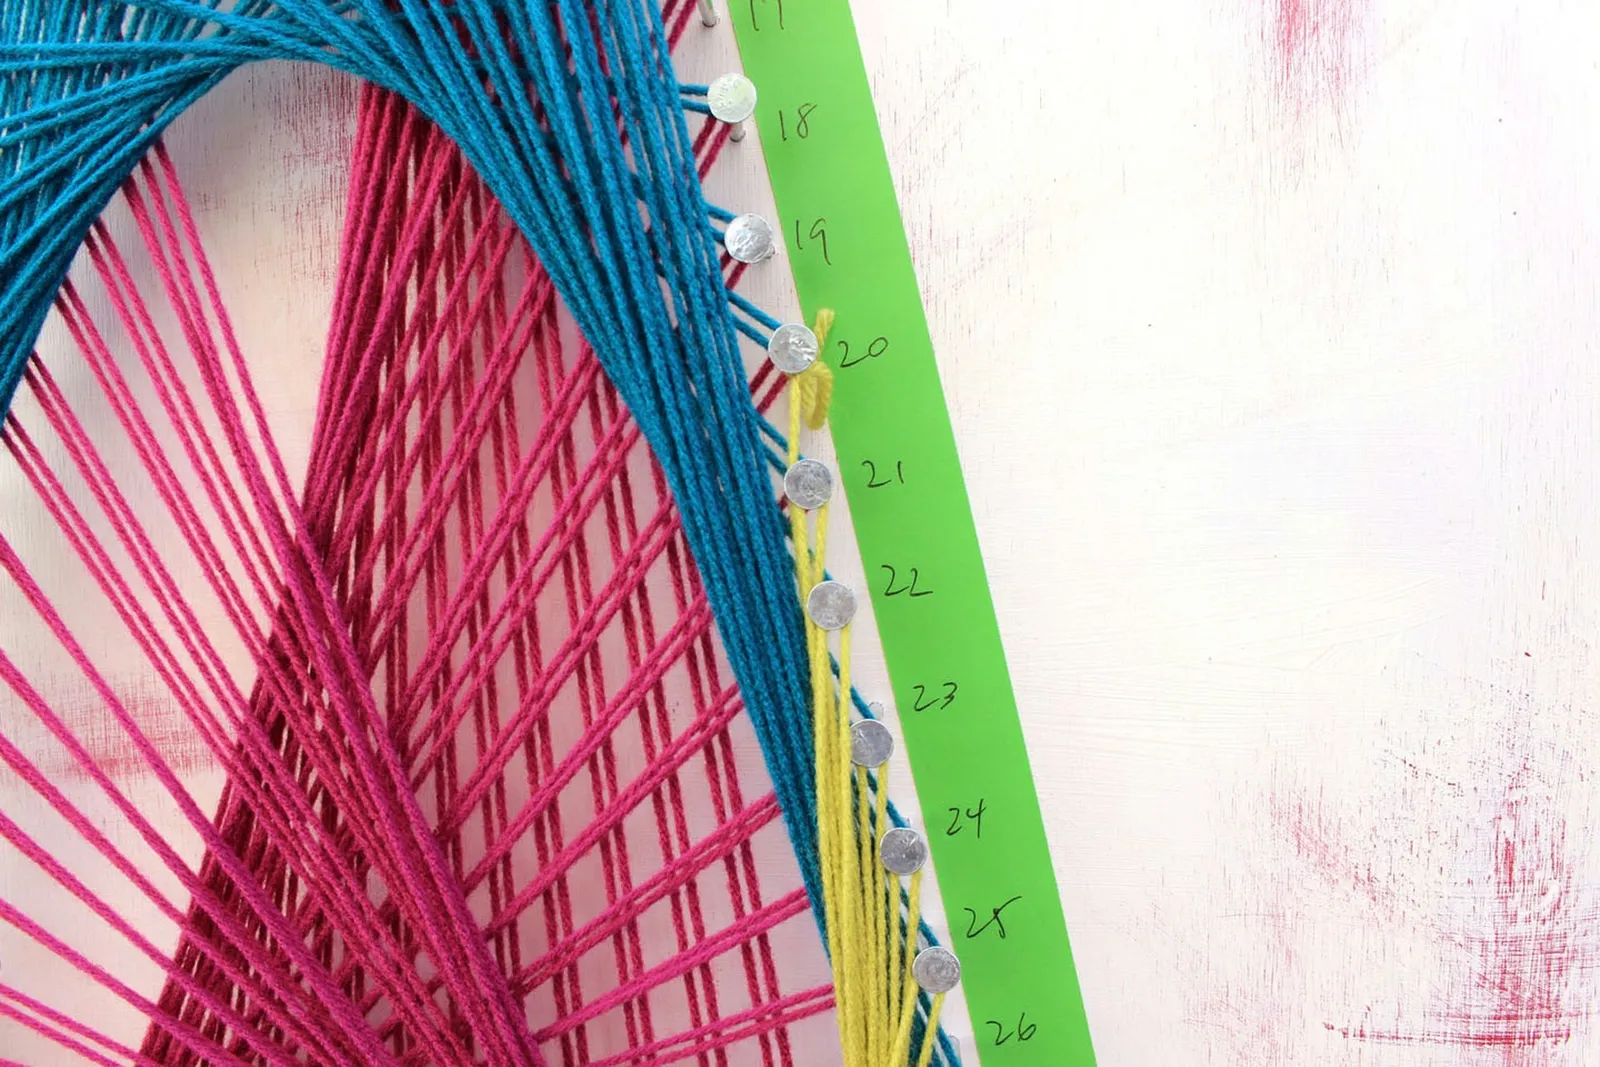
I finished the pattern at nail number 72, directly across from nail 20, making this pattern symmetrical.
Step 9: String the Star
To complete your tree, form a star shape with the five nails above the tree using all three yarn colors.
This string art Christmas tree brings a nostalgic touch to any room and can also be an option for those without space for a real tree.